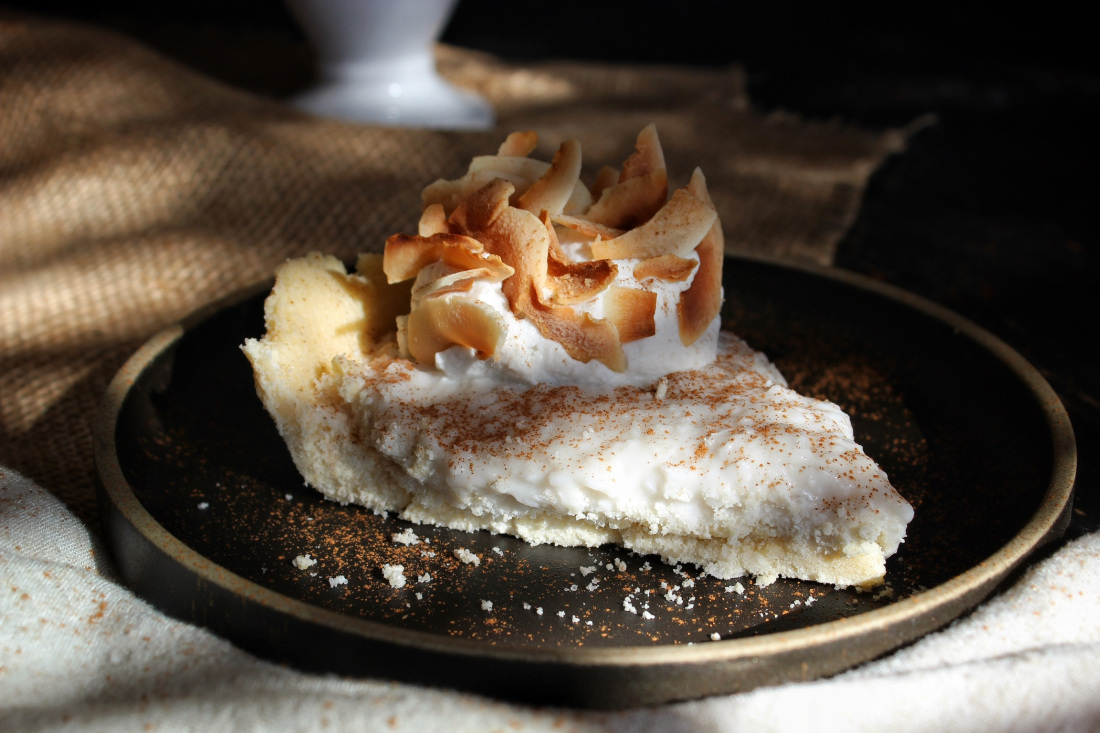
Vegan coconut pie recipe with coconut flakes, crispy crust and coconut cream. The active cooking time takes about an hour, the remaining 6 hours the cake freezes in the refrigerator. To make the pie easier, you don't need to bake the coconut crust. Instead, you need to grind the coconut flour and other ingredients and then refrigerate them to harden.
Vegan coconut pie recipe with coconut flakes, crispy crust and coconut cream. The active cooking time takes about an hour, the remaining 6 hours the cake freezes in the refrigerator. To make the pie easier, you don't need to bake the coconut crust. Instead, you need to grind the coconut flour and other ingredients and then refrigerate them to harden.
Sign up to receive email updates on new recipes.
FoodNerdy is a powerful platform to manage and keep your recipes You do not need any experience in web development, It is very easy to use and customize
Some example text some example text. John Doe is an architect and engineer
.jpg)