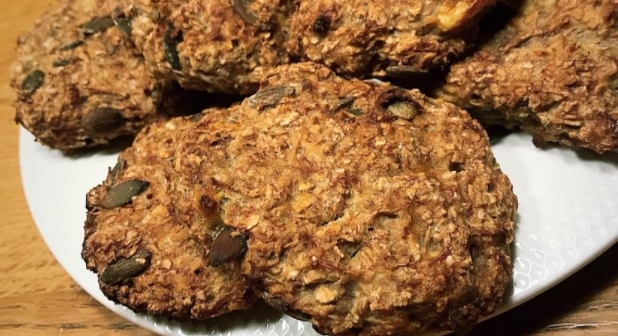
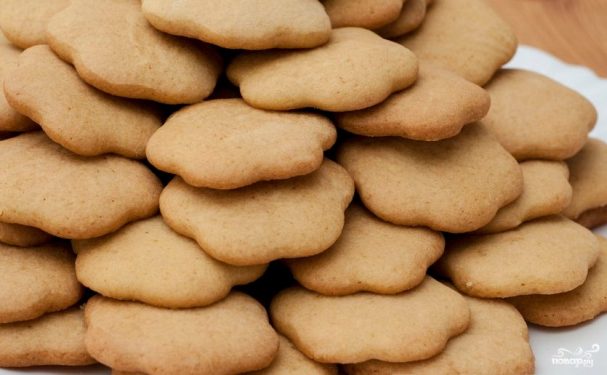
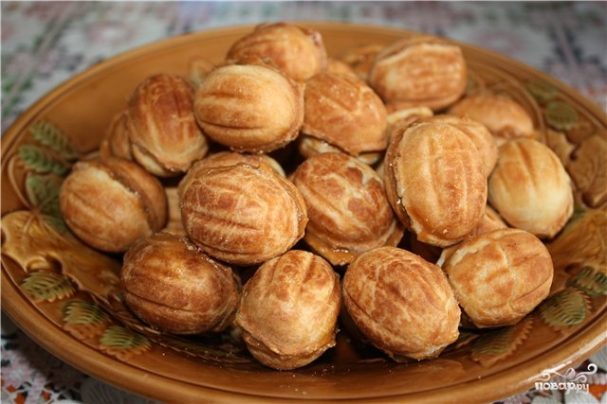
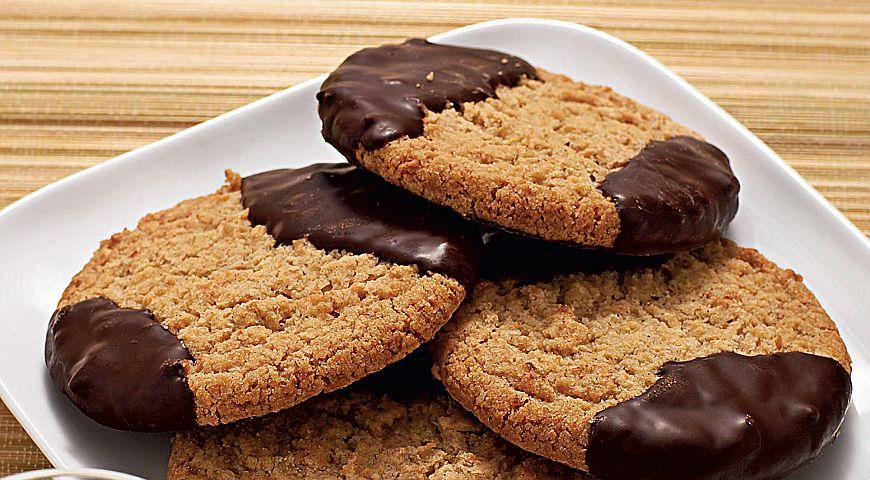
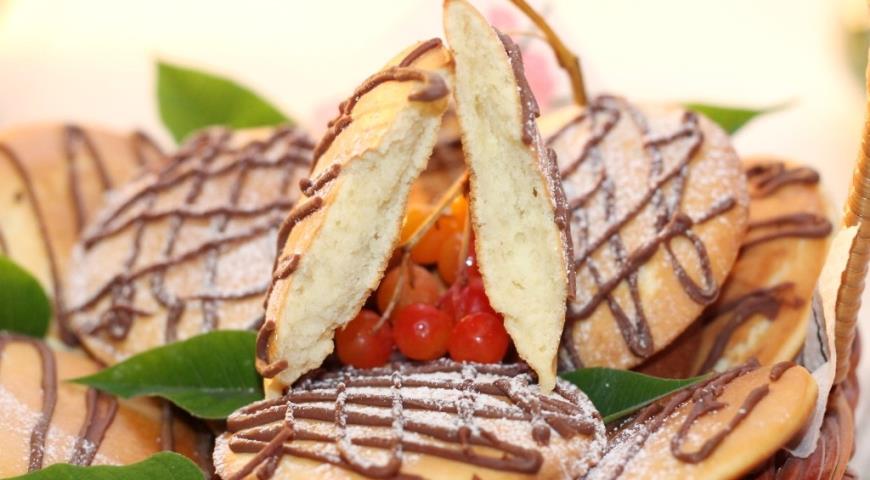
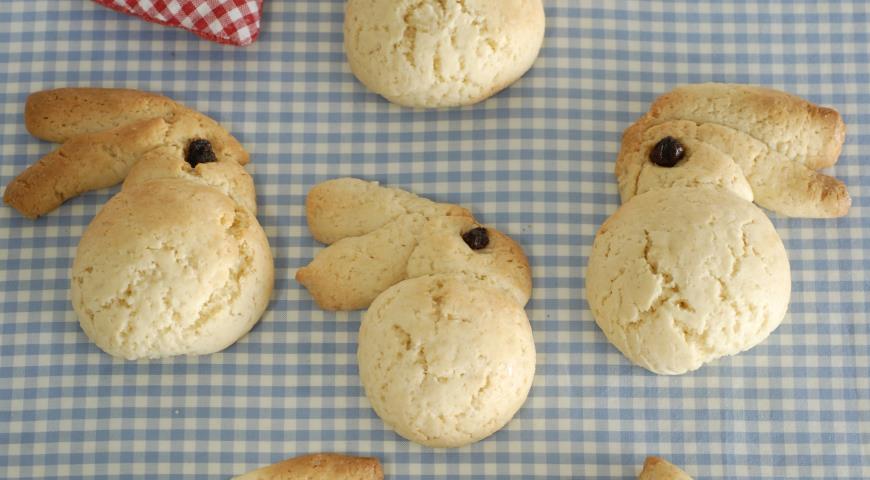
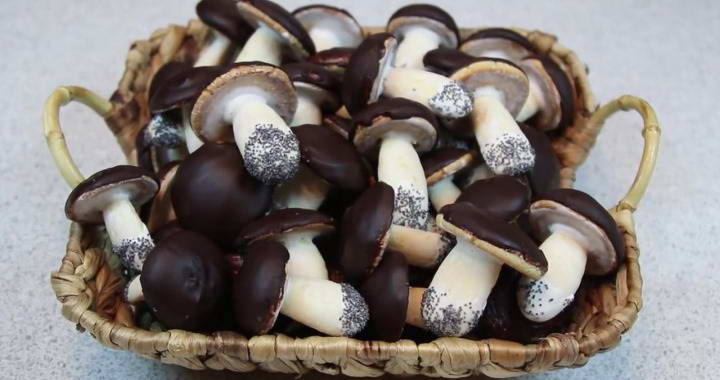
On your own or together with the children, you can cook mushroom cookies at home, guided by the recipe from the article. The process of their preparation is rather painstaking, and at the same time very interesting. Each stage is described in detail and supplemented with a photo for your convenience. To prepare the dough, you will need different ingredients listed in the table in the right amount. Serve the finished mushroom cookies in a wicker basket. They look very beautiful, and the baked goods are tasty and aromatic.
On your own or together with the children, you can cook mushroom cookies at home, guided by the recipe from the article. The process of their preparation is rather painstaking, and at the same time very interesting. Each stage is described in detail and supplemented with a photo for your convenience. To prepare the dough, you will need different ingredients listed in the table in the right amount. Serve the finished mushroom cookies in a wicker basket. They look very beautiful, and the baked goods are tasty and aromatic.
Sign up to receive email updates on new recipes.
FoodNerdy is a powerful platform to manage and keep your recipes You do not need any experience in web development, It is very easy to use and customize
Some example text some example text. John Doe is an architect and engineer
.jpg)