| FoodNerdy Recipes Management System")


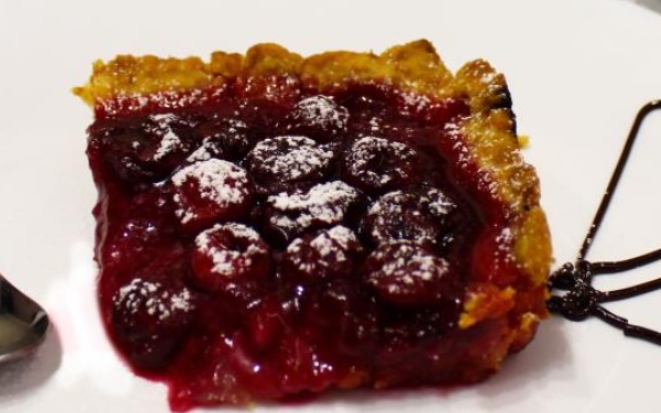
A simple and insanely delicious no-bake summer cherry cheesecake recipe. Ideal for those who do not like to fiddle around the oven for a long time. The cheesecake consists of a crispy base, an airy creamy filling, which is covered with a delicious cherry sauce. This is an incredibly delicious dessert! The cheesecake looks amazing and tastes just as delicious!
A simple and insanely delicious no-bake summer cherry cheesecake recipe. Ideal for those who do not like to fiddle around the oven for a long time. The cheesecake consists of a crispy base, an airy creamy filling, which is covered with a delicious cherry sauce. This is an incredibly delicious dessert! The cheesecake looks amazing and tastes just as delicious!
Professional Chef with 28 years of industry experience at the highest levels. Restaurant owner. Beverage Director with experience creating world-class nationally recognized cocktail programs. Food writer with a distinctive Chef-driven voice and point of view.


Sign up to receive email updates on new recipes.
FoodNerdy is a powerful platform to manage and keep your recipes You do not need any experience in web development, It is very easy to use and customize
Some example text some example text. John Doe is an architect and engineer
.jpg)