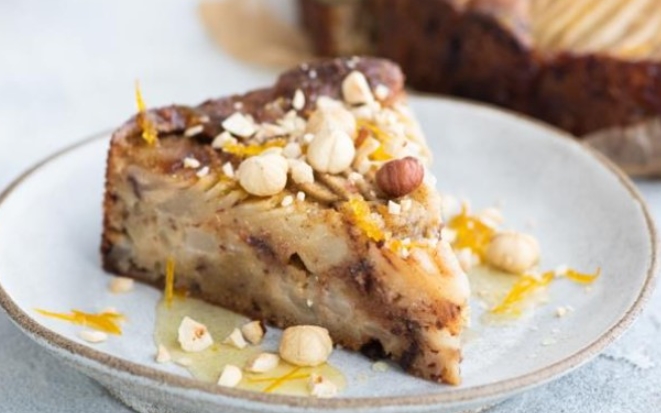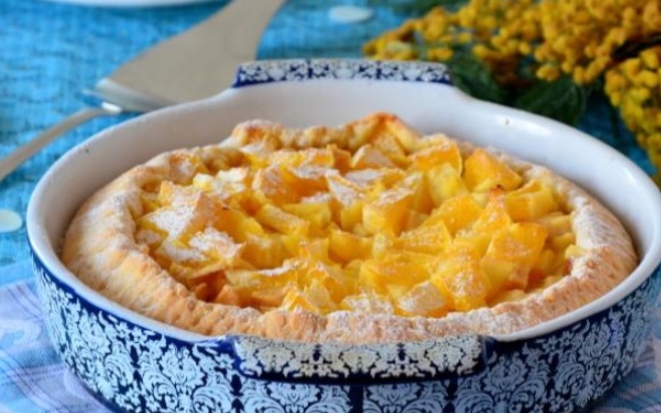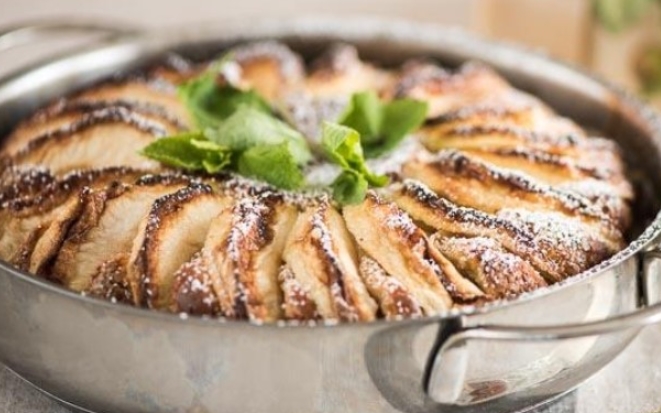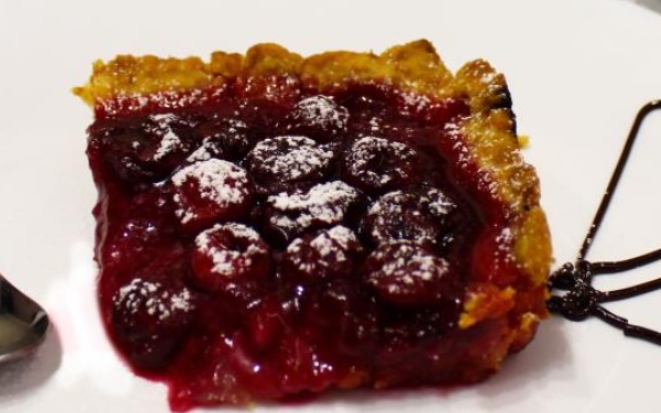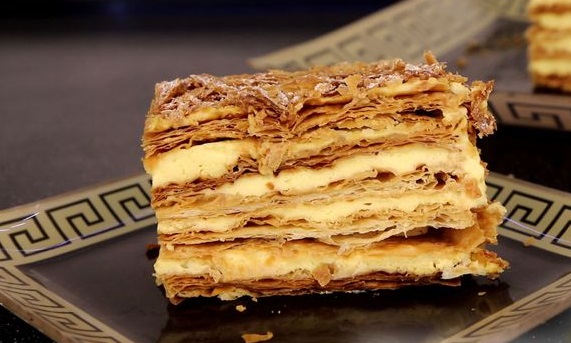
Today I want to share the recipe for the cake "Napoleon". The most delicate cakes, the thinnest layers that remain crispy even after soaking, and fragrant, delicious custard. Lots of cream! The cake is crispy, not wet, but still very tender and not dry. In a word - the perfect Napoleon! Join now! I hope you will like it.
Today I want to share the recipe for the cake "Napoleon". The most delicate cakes, the thinnest layers that remain crispy even after soaking, and fragrant, delicious custard. Lots of cream! The cake is crispy, not wet, but still very tender and not dry. In a word - the perfect Napoleon! Join now! I hope you will like it.
Professional Chef with 28 years of industry experience at the highest levels. Restaurant owner. Beverage Director with experience creating world-class nationally recognized cocktail programs. Food writer with a distinctive Chef-driven voice and point of view.


Sign up to receive email updates on new recipes.
FoodNerdy is a powerful platform to manage and keep your recipes You do not need any experience in web development, It is very easy to use and customize
Some example text some example text. John Doe is an architect and engineer
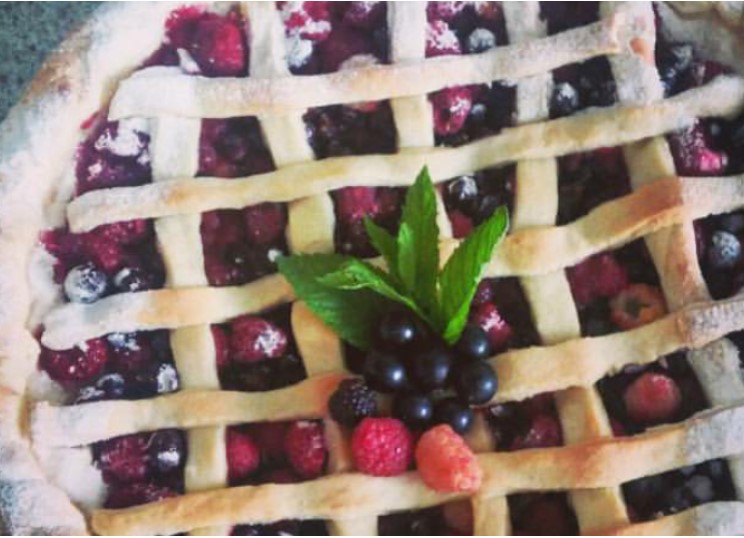
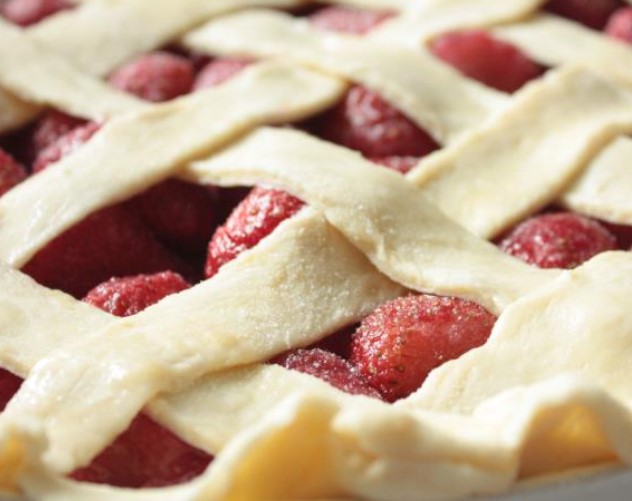
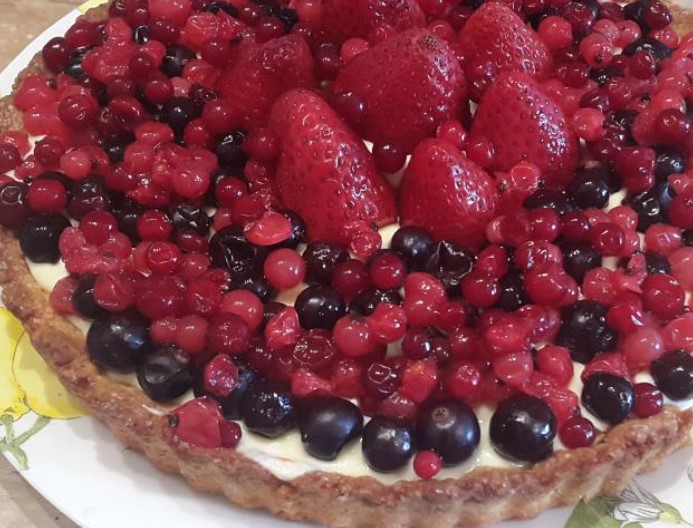
.jpg)