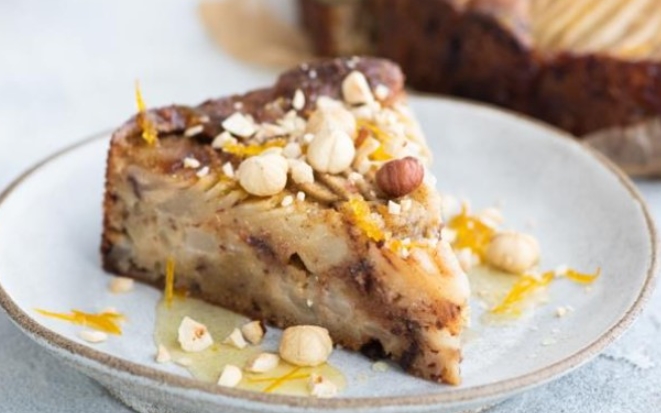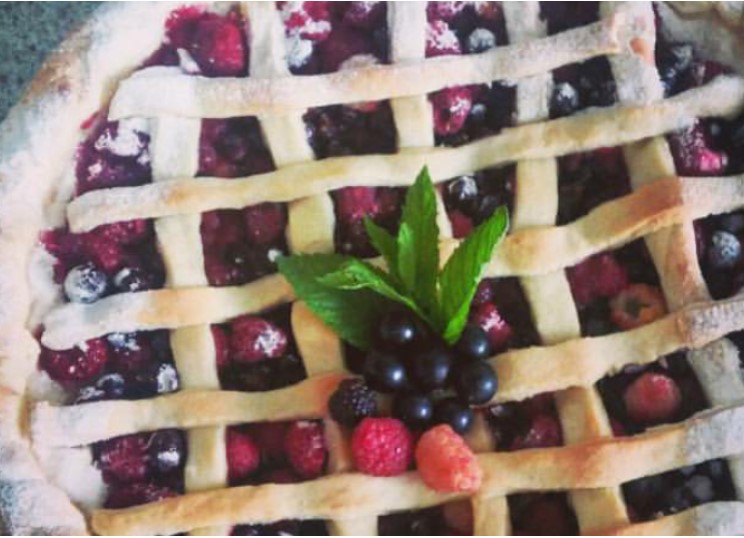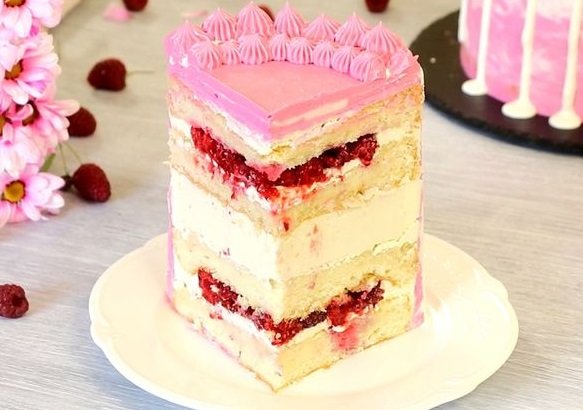
I offer a recipe for lovers of delicate and delicious berry desserts - honey mousse cake with raspberries. Moist and juicy chiffon sponge cake soaked in fragrant honey syrup, inside a layer of fresh raspberries, cream cheese with butter and a thick layer of the most delicate honey mousse. You can admire the cut of the cake for a long time! Better yet, make this cake!
I offer a recipe for lovers of delicate and delicious berry desserts - honey mousse cake with raspberries. Moist and juicy chiffon sponge cake soaked in fragrant honey syrup, inside a layer of fresh raspberries, cream cheese with butter and a thick layer of the most delicate honey mousse. You can admire the cut of the cake for a long time! Better yet, make this cake!
Professional Chef with 28 years of industry experience at the highest levels. Restaurant owner. Beverage Director with experience creating world-class nationally recognized cocktail programs. Food writer with a distinctive Chef-driven voice and point of view.


Sign up to receive email updates on new recipes.
FoodNerdy is a powerful platform to manage and keep your recipes You do not need any experience in web development, It is very easy to use and customize
Some example text some example text. John Doe is an architect and engineer
.jpg)