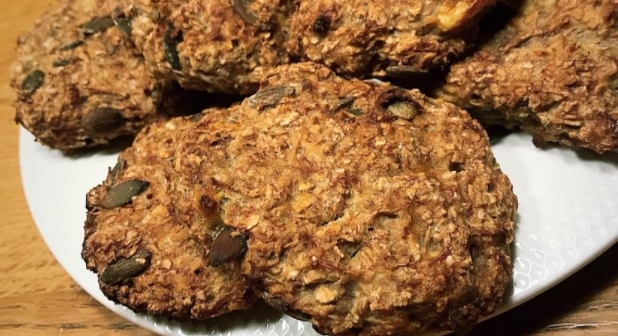
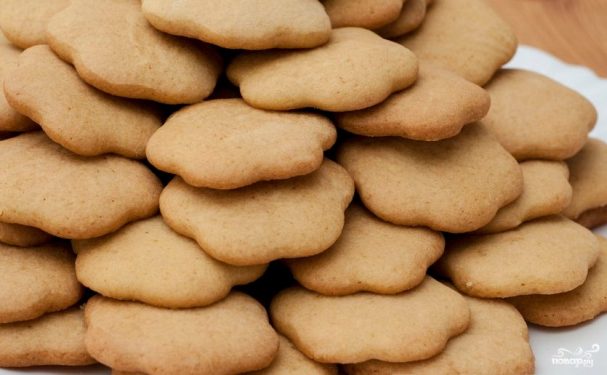
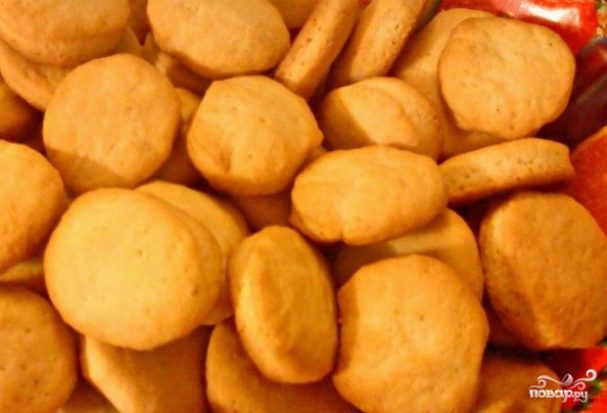
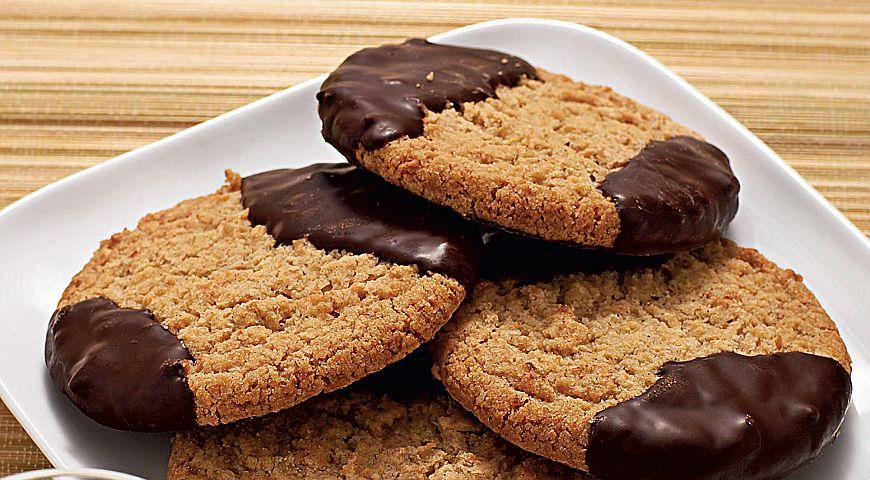
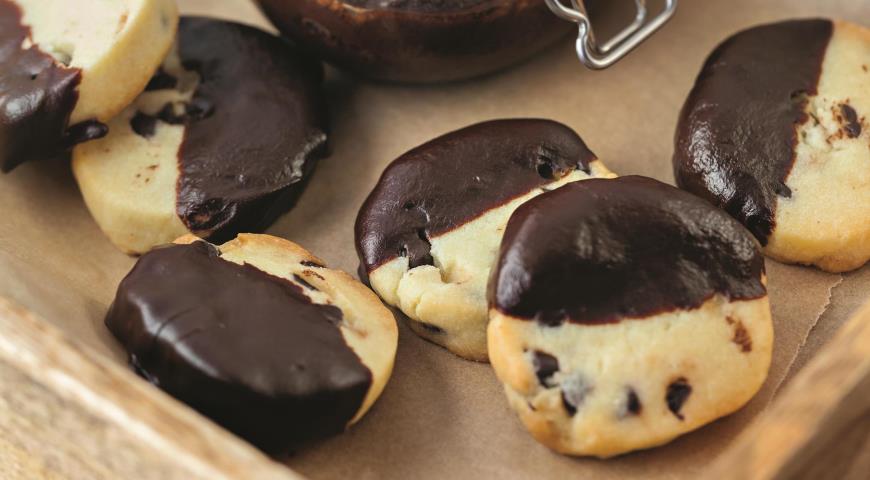
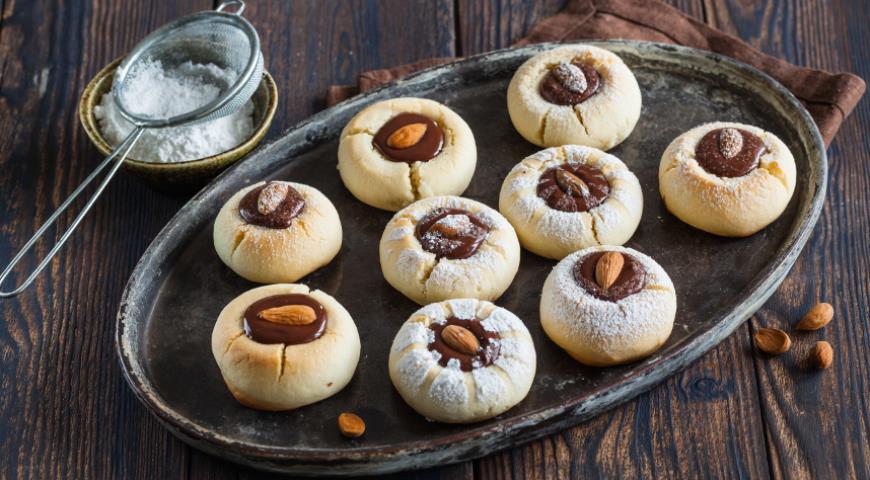
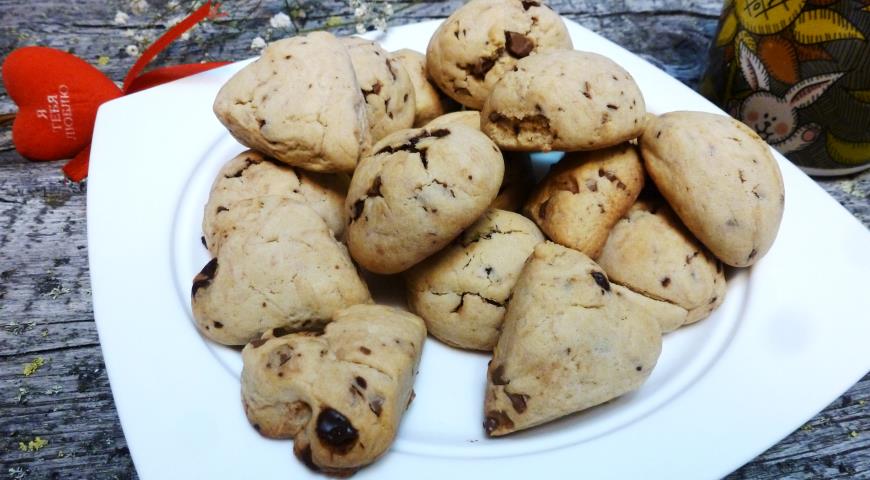
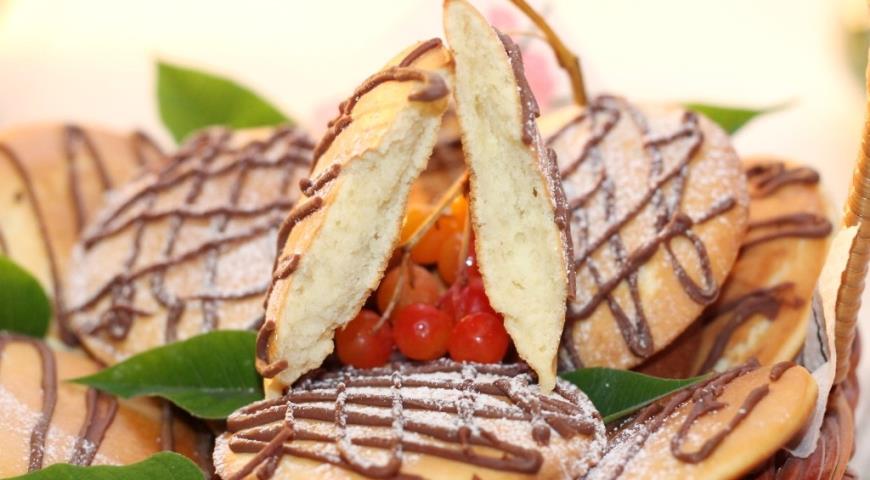
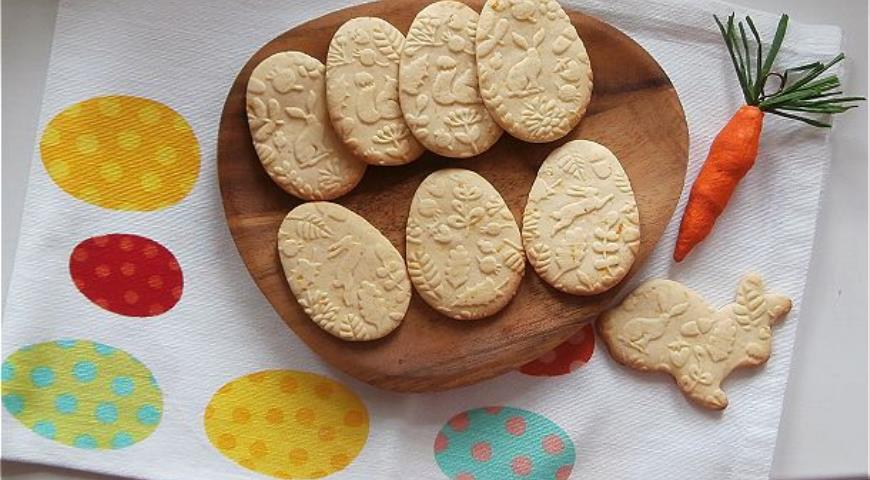
An excellent option for morning tea, when there is no time for fiddling in the kitchen, the famous Kurabye cookies, which are not only very tasty and tender, but also moderately nutritious, giving a feeling of pleasant satiety, can be an excellent option for you. It is not at all necessary to run in the old fashioned way to the store, since there you most likely will not find the "very" classic product that we enjoyed in childhood with a glass of milk. To recreate this taste, join me, because today I will make simple, quick and tasty Kurabye cookies according to my grandmother's recipe (the recipe is given below), preserved from the times when people created real masterpieces without even having bits of the kitchen equipment that is available to us now. So let's get started.
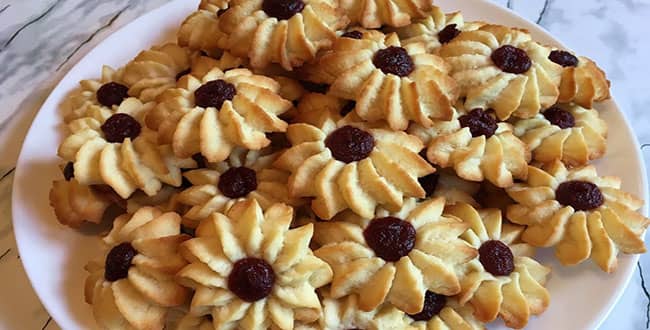
An excellent option for morning tea, when there is no time for fiddling in the kitchen, the famous Kurabye cookies, which are not only very tasty and tender, but also moderately nutritious, giving a feeling of pleasant satiety, can be an excellent option for you. It is not at all necessary to run in the old fashioned way to the store, since there you most likely will not find the "very" classic product that we enjoyed in childhood with a glass of milk. To recreate this taste, join me, because today I will make simple, quick and tasty Kurabye cookies according to my grandmother's recipe (the recipe is given below), preserved from the times when people created real masterpieces without even having bits of the kitchen equipment that is available to us now. So let's get started.
Sign up to receive email updates on new recipes.
FoodNerdy is a powerful platform to manage and keep your recipes You do not need any experience in web development, It is very easy to use and customize
Some example text some example text. John Doe is an architect and engineer
.jpg)