Tag

back

Browsing

Hair tints are done quickly and give you a temporary, individual look. Find tips on how to get unwanted color out of your hair here.

hair tints

Normal hair tints usually last eight hair washes; Intensive tones should conjure up your current desired color in your hair for up to eight weeks or 24 hair washes.

Intensive tints are neither a “simple” tint nor a coloring, which means they are not permanent like a color, but cannot be washed out as easily as a normal tint.

Tips on how to get unwanted color out of your hair

Sometimes the toned color in your own hair doesn’t look the way you envisioned it. If so, here are five tips on how to get the toned color out of your hair:

Tip 1: If your tint is less than 24 hours old, you can mix equal parts honey and water and apply to the hair, leave on for about 60 minutes and then rinse out.
Tip 2: Use a deep cleansing shampoo and leave it on for a few minutes before rinsing it out.
Tip 3: You can lighten the tint with chamomile tea. To do this, take five tea bags in a cup of water and pour it onto your hair when it has cooled down, so that it can act for about ten minutes; then you can rinse it off.
Tip 4: You can also lighten your hair with vitamin C. Dissolve five effervescent tablets in a bowl. Leave the mixture on for about 30 minutes and then rinse it out.
Tip 5: You can also use hair color remover (only works for intensive tones!).

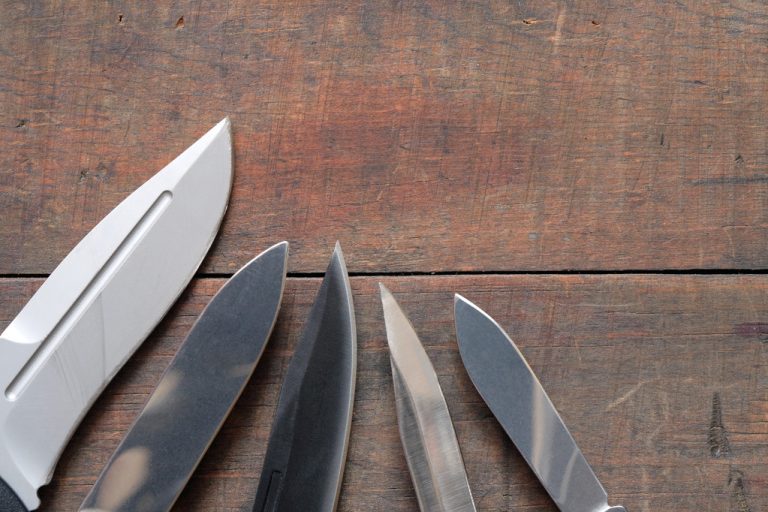
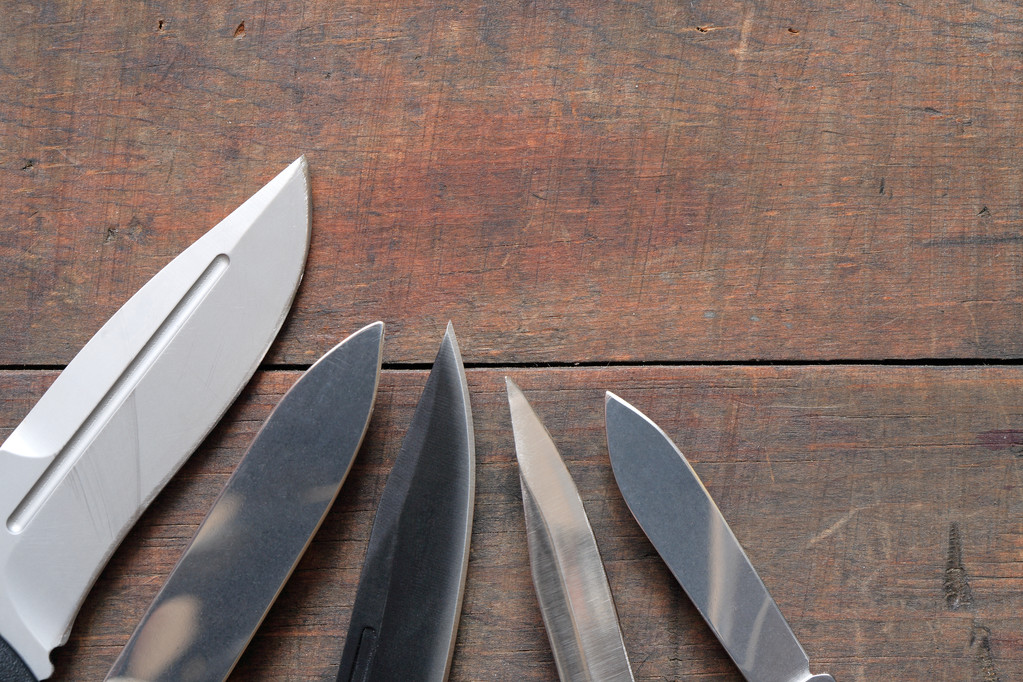
Cooking is simply more fun with a sharp knife. But how do you properly sharpen your knives? We’ll tell you.
Why do knives become dull?

Blunt knives should always be sharpened. But how does it even come about? The wrong cutting technique, a surface that is too hard or cleaning in the dishwasher are absolute no-go’s when dealing with knives. Do you already feel caught? We show you five mistakes that you should avoid in the future. Because, as is so often the case, prevention is the be-all and end-all.

If your cutting boards are made of marble, glass or stainless steel, i.e. very hard materials, these increase material wear. The harder the surface, the quicker your knife will become blunt. Wooden or plastic boards are better suited.
The wrong material to be cut, i.e. very hard food such as frozen products and bones, will damage your knife. It is best to use a kitchen cleaver for such purposes.
The wrong cutting technique also leads to accelerated blunting. High-quality kitchen knives should not be used for chopping. Instead, try to use loose and smooth cutting movements.
Stay away from the dishwasher! Improper cleaning can also damage your knife. Knives don’t handle the heat and harsh chemicals well at all. Instead, you should wash your cutting tool by hand with a mild detergent immediately after use. But you shouldn’t wait too long with it, because if the knife is left in the wet for too long, there is a risk of rusting.
Incorrect storage can also shorten the life of kitchen knives. They are best stored separately or in a knife block.

Sharpen knives at home – can I do that?

Sharpening takes practice because doing it wrong can ruin knives. Not all types of sharpening are equally suitable for beginners. If you have little or no experience, you should use a grinding machine, as it is relatively easy to use. Grinding on a whetstone delivers a particularly precise result, but this requires practice. As is well known, no master has fallen from the sky and that also applies to knife sharpening. You can definitely learn it if you are not completely untalented with your hands and you will be able to see learning progress after a short time. However, if you have two left hands or simply don’t have the time to sharpen your knives yourself, you can alternatively have this task done by professionals. Sharpening services are becoming increasingly rare these days, but if you have found a grinder, you can also have scissors, tools and garden equipment repaired there.

Sharpen knives – whetstone or sharpening steel?

Grinding with the sharpening steel

Sharpening steels are more suitable for maintaining sharpness than for actual sharpening. With them you can get your knife ready for use again quickly, but they cannot replace a basic sharpening of the blade. A basic distinction is made between two types of sharpening steels – the exciting and the straightening. Exciting sharpening steels made of ceramic or diamond remove some material from the cutting edge and thus ensure roughness. However, these sharpening steels bring only short-term success. If you want to keep your blade sharp for a long time, you should use a sharpening steel made of metal. No matter which sharpening steel you have chosen, you should make sure that it is harder than the knife to be sharpened.
When sharpening with the sharpening steel, make sure to maintain the correct cutting angle, i.e. the angle between the blade and the steel, of 15-20 degrees. The speed at which you carry out the sharpening movements is entirely up to you, just make sure that you guide the entire cutting edge along the sharpening steel. If you have aligned the angle correctly, you can now start the sharpening process. To do this, pull the knife down along the steel and repeat this on the back to sharpen the blade from both sides. You can repeat this process five to ten times, depending on the sharpness you want.

Sharpen with the whetstone

If your knives don’t cut ideally despite using a sharpening steel, you have to find another solution. The most well-known way to sharpen a knife is also the best way – for a great result with a whetstone you can get your knives particularly sharp again. This is also very flexible, because there are different stones for each grinding phase, from coarse to very fine. A sharpening stone* not only ensures a long service life for your knives, you can even use it to sharpen the knives thinly.

However, a sharpening stone also has disadvantages. On the one hand, a perfect result takes time and, on the other hand, sharpening with a whetstone requires a high degree of skill. If you change the angle even slightly during the process, it can destroy the result. For passionate grinders, however, there is no way around the grindstone. For beginners, it is advisable to use a knife sharpener guide*, which helps to keep the angle. Some sharpening stone sets* already have the guide included.

Sharpening stones differ in their grit: the higher the grit, the finer and sharper the result. With a little practice and a fine grit, you can achieve razor-sharp results. For knives that have been sharpened a lot, the so-called “thinning out” of the knife is also recommended. This will adjust the sides, which are becoming thicker and thicker as a result of the sharpening, and you will immediately enjoy your knife more. When choosing the grit of your sharpening stone, you should be guided by the degree of wear and tear of your knife. To sharpen very worn and blunt cutting tools, choose a coarse grit of 200 to 400. For normally worn knives, a grit of 800 to 1000 is recommended. If you want to fine-tune your blades or polish them, a grit of 3000 or advised from 6000.

When it comes to whetstones, a distinction is also made between water stones and oil stones, with the respective liquids forming a film on the surface. This not only reduces friction, it also prevents particles from getting stuck in it. To soak the water stones, place them in a water bath for about 15 minutes. You can tell whether they are ready for use when no more air bubbles rise. The stone must also be kept moist during sharpening, because only then can the necessary grinding sludge form, which sharpens the blades gently and at the same time very intensively.

More ways to sharpen your knives

Sharpening rods for quick sharpening

Sharpening rods are suitable for anyone who wants to keep their knife sharp. With a quick grip on the sharpening rod* you can keep your knives sharp and save yourself the hassle of sharpening with a whetstone etc. However, the sharpening rods are not suitable for sharpening knives that are already blunt or thinning knives. That’s why you should pay attention to regular grinding.

Pull-through grinder for everyday knives

Pull-through grinders* are probably the easiest way to sharpen your knives. They are very easy to use: just insert the knife, pull it out and you’re done. Repeat this process a few times depending on how hot you are. However, these sharpeners are only suitable for everyday knives. You won’t get your knives very sharp with it, since the cutting edge will always be a little frayed. The sharpness does not last long either, so regular sharpening is also recommended here. For the everyday kitchen knife, however, this is completely sufficient.

electric grinders

Electric grinders* are for those in a hurry. They are visually reminiscent of the pull-through sanders and are just as easy to use. The result of the electric grinder is definitely impressive and is even significantly better than that of the hand-operated colleagues. But: Electric grinders remove more material than e.g. whetstones, which can shorten the life of your knives.

Which method is suitable for which knife?

The sharpening stone, in particular the Japanese water stone, is the ideal tool for sharpening Japanese knives. If the grinding is carried out regularly and you value extreme sharpness, we recommend a grit of 1000. We speak of polishing stones from a grit of 2000 and up and can use this to sharpen the knives. The sharpness can be increased in this way, but the result is shorter than that of a basic grind.
European knives are comparatively more robust than Japanese ones. A sharpening steel is sufficient to sharpen these rather insensitive knives. This straightens the blade again and again and thus ensures a smooth and sharp cutting edge, but after a while a basic sharpening is also necessary for European knives.

Can you sharpen a knife with plates?

Not everyone has sharpening stones, machines or sharpening steels at home. With plates and cups it is of course quite different. In order to give you a material and wallet-friendly method of sharpening knives, we asked ourselves: What is the truth of the myth of using plates to get knives sharper? In fact, it works! To do this, pull the blades off the rough underside of your ceramic dishes several times. Of course, this DIY cannot replace the professional methods with whetstones and the like, but it does bring a small amount of success.

Save money online with Cashback. The principle is great: get money back when shopping on the Internet. So you can save and shopping is much more fun. We explain how it works.

Get money back when shopping

Earn miles or points – you probably know the principle of getting points credited to your customer account for every purchase or booking. And if you have enough together, you can choose more or less great rewards for it. Or you can have this credited to the purchase of another product. Wouldn’t it be great if you were paid money instead of points? This works out. With so-called cashback.

What is Cash Back Shopping?

Cash is credited to the provider account for every purchase made on the Internet. You can then have the amount paid out to your free checking account. Of course, this makes online shopping really fun. The whole thing is called cashback, which means “get money back”. In some cases, you can get back up to 30% of the order amount.

Difference between bonus program and cashback

Cashback campaigns are a one-time purchase incentive to promote sales of certain products. In contrast, the bonus program is applied to every purchase to earn points. If you now combine both, you can really save money.

How does cashback shopping work?

In order to benefit from cashback payments, you need a provider who can show a corresponding number of partner shops and who also has the technical solution ready. And this is how it works:

  1. You register for free on the website of a program provider and create your account.
  2. Confirm the customer account with the confirmation link from the email.
  3. Access the partner shop from the vendor list, then shop as usual.
  4. After purchase, it takes up to 72 hours for the amount to appear in your customer account.
  5. Payments are made from a minimum amount of €5 after approval by the retailer.

Procedure at the cashback provider

How does the money get back after registration? In principle, it is very simple. Because you can shop as usual. You should only make sure that you let the respective cashback portal redirect you to the partner site so that the purchase can be registered. Thus, the online shopping brings nice advantages. Accordingly, proceed as follows:

  1. Select from the provider in partner shops.
  2. Shop in this online shop as usual.
  3. The purchase is recorded and saved as a cashback credit.

Earning opportunities with cashback

Active members earn an average of 20-40 EUR per month. Even higher earnings are possible through bargains and the redemption of vouchers. Because you can choose from hundreds of well-known and well-known online shops where you receive a refund for internet orders that you would have ordered anyway. You can earn even more by referring friends. So this can be a clever way to make money on the internet.

Do I really get money or is there a catch?

You don’t have to expect a catch. Because the operator of the cashback platform gets a commission if he puts you in touch with an internet retailer and you buy something there. Then he shares the commission according to the principle of profit-sharing. Because this is worthwhile for a large number of customers and can therefore be regarded as a serious model. In addition, this is common practice in e-commerce. Consequently, every large Internet retailer either has its own so-called affiliate program or operates an affiliate program through a specialized affiliate service.

What do I have to consider with cashback?

The conditions of the partner shop apply to the cashback. For example, no cashback will be given on purchases that you have returned as a customer. Usually, only one bonus program per purchase is used. However, you can read the respective conditions in advance so that there are no ambiguities here. And from a technical point of view, it only matters that your browser accepts cookies. This is the only way the purchases can be assigned to your account.

Finally sleeping without back pain and back problems. We have the best tips for restful sleep and a pain-free awakening. Because a good night’s sleep decides how you start your day. Therefore, the right sleeping position and the right mattress are crucial.

You can only start the day relaxed and strengthened if you sleep enough and wake up refreshed. There are several factors that either rob you of sleep or ensure a wonderful night’s sleep. We show you which sleeping positions and mattresses prevent back pain the next morning.

Sleep properly and avoid back pain

For a long time, sleep was viewed as a purely passive state. Today, the latest scientific studies have shown that the body is running at full speed while we sleep. A prerequisite for these necessary processes is a healthy sleep of six to eight hours. But people often wake up with back pain and suffer from back problems during the day. Sleep disorders are also increasing. It is therefore important to take action and promote healthy sleep. On the one hand, you should effectively combat insomnia and, on the other hand, follow our tips for sleeping without back pain.

Avoid back problems from sleeping

Good sleep is a prerequisite for health and for mental and physical well-being. An effective tip for falling asleep and sleeping better is not only an individual evening ritual but also the right bed and mattress. Consequently, you can quickly get rid of the back pain that occurs after sleeping with the following tips. In addition, also note our home remedies for herniated discs and disc problems.

1) Choose the right sleeping position

What is the healthiest sleeping position? This is the most important question if you are aiming for back pain-free sleep. But here, too, opinions differ. However, the Techniker Krankenkasse recommends lying on your side with your legs slightly drawn up as the ideal sleeping position. Because the spine lies in its natural curvature. the back position with a good mattress can also prevent back pain. In contrast, lying on your stomach is not good for sleeping. As this position can cause pain in the cervical spine and back.

2) The optimal mattress supports the body

The optimal mattress is a point-elastic one. It should support your body, especially in the shoulder and hip areas. In addition, the vertebrae should be straight. It is also important to match the firmness of the mattress to your body weight. Because the mattress is too soft, there is a risk of curvature of the spine. Whereas if the mattress is too hard, the shoulders and hips will not sink in and the back and waist will therefore not be adequately supported. You should also clean your mattress regularly.

3) Choosing the right pillow

Equally important is a pillow that provides adequate neck support. The empty space between your shoulder and spine should be filled with the pillow. The wrong pillow causes problems with the neck muscles and neck pain. If this happens, our simple home remedies for neck pain can help you relieve the pain.

4) Exercise before bed

To wake up after sleep without back pain, you can do some exercises before bed or start yoga at home. Because these should help to relax your muscles. In addition, this represents an optimal evening routine.

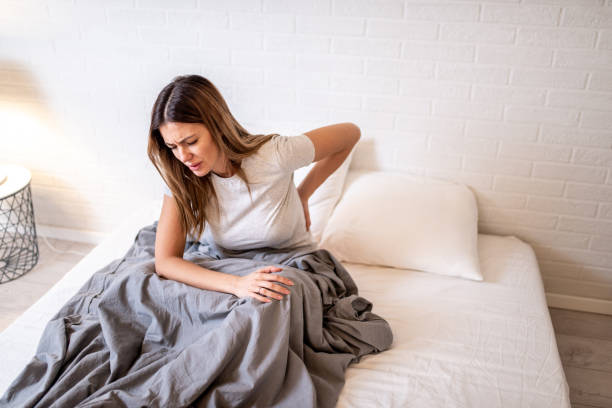
Everyone knows it, the nagging pain in the lower back. We will show you how to treat and relieve back pain in the lower back and what causes it.

Nowadays, many younger people are also affected by back pain due to a lot of desk work. However, these can have different causes. It mainly depends on the place where the pain occurs.

Common causes of back pain

Back pain is most commonly located in the lower back since the lumbar spine is a more prone area to injury and damage than the cervical and thoracic spine. Causes of back pain in this area are, for example, obesity, lack of exercise, or stress. Incidents such as pregnancy, a herniated disc, or the like can also lead to back problems.

What you can do about it

There are a few methods to counteract back pain, which we will explain to you below. If the pain is severe, you can also take an over-the-counter pain reliever. This can temporarily relieve your pain and make it easier for you to relax and stay active. Back pain can also occur while sleeping, so make sure you get enough sleep and a correct position.

1) Heat to relieve pain

The heat helps with complaints such as back pain, as it relaxes the muscles and relieves tension. For example, you can make a hot water bottle, a cherry pillow, or a warm bath. Heat plasters from the pharmacy or the drugstore can also help. A heating belt/massage device can also help you with acute back pain.

2) Exercises for back pain below

Relaxing and circulation-enhancing exercises can also relieve the pain. In the following video, you will find some helpful exercises to relieve back pain and relax your lower back. You need a yoga or sports mat to do the exercises.

3) Exercise to prevent back pain

In order to prevent back pain, you should exercise actively, because studies show that anyone who has recurring pain in the lower back can reduce the frequency of pain attacks by almost half through regular exercise. So try to incorporate walks into your daily schedule. Especially if you work at a desk, getting enough exercise should be on your priority list. Also, try to motivate yourself to do some sport or exercise in other ways and to overcome your weaker self.

Exercise therapies can also relieve back pain and improve general fitness and mobility. In general, you can remember that endurance sports are good for the back muscles because the joints are protected and the muscles are strengthened by the even and appropriate load.

4) Massage techniques to relieve pain

The most common type of massage used for back pain is the classic massage. The tissue is loosened by various movements such as rolling, circling, kneading, tapping, and stroking. For a good massage, you can also use homemade massage oil. The massage helps with tension.

You can also just give yourself a massage. Stand with your back against the wall and lean against a hard foam roller, for example. Then massage your back with the roller using slow up and down movements.

When to See a Doctor for Lower Back Pain

If you have acute lower back pain, you should definitely see a doctor, even if the pain comes on very suddenly or you notice one or more of the following symptoms in addition to the back pain: increasing muscle weakness or sensory disturbances in the arms, legs or genital area.