Tag

bake

Browsing

If you want to bake pizza properly, you don’t need a stone oven. But there is a crucial trick how the pizza gets really crispy in the oven at home. We’ll tell you.

Baking pizza properly is an art in itself. A traditional Italian pizza has a crispy base and topped with fresh ingredients. The secret behind this is the preparation in the stone oven: a fire burns under the stone, which heats up its surface considerably. The pizza is then baked crispy brown directly on the hot stone.

But you can also imitate how a stone oven works at home. Most modern ovens have a setting where the pizza gets nice and crispy without burning. We’ll show you a simple trick to make pizza like it’s out of the stone oven.

Choose the right setting
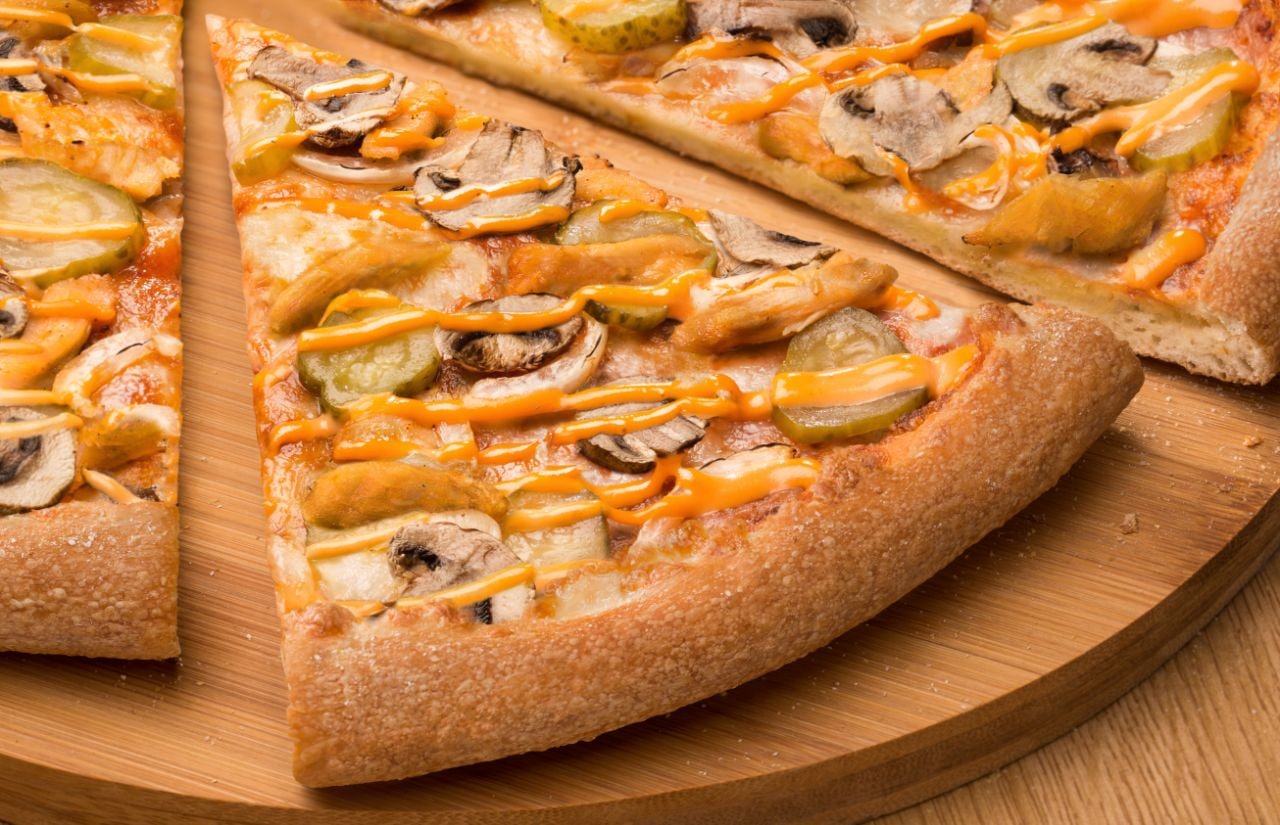
In order to bake pizza properly, you should select the appropriate setting on your oven. So first familiarize yourself with the different oven symbols.

The setting, which mimics the brick oven, is convection with bottom heat. You can recognize this setting by the symbol of a fan with a line or a wave underneath it. This setting is perfect for properly baking pizza. It is baked crispy on the bottom, but only gently cooked on top.

Bake your pizza with this setting in the lower third of the oven at maximum temperature. Depending on the recipe, the pizza is ready in ten to twenty minutes.

If your oven does not have this setting, then alternatively bake the pizza at the maximum temperature on top/bottom heat. Place the pizza at the bottom of the oven. In this way, the heat comes directly to the dough and makes it crispy. The baking time also varies with this variant depending on the recipe.

By the way: This setting is also suitable for heating up pizza. The leftovers will still taste good the next day.

Pizza like from the stone oven: ideas for at home

With the right setting on your oven, you can also make a pizza with a crispy crust at home. It tastes especially good if you make the pizza yourself. Both the pizza dough and the pizza sauce are prepared quickly. Then choose your favorite ingredients and top the pizza with peppers, spinach, olives, cheese or fresh rocket, for example. Get inspired by these pizza recipes:

  • Cauliflower Pizza
  • Spinach pizza
  • Pizza Marinara
  • Arugula Pizza

Tip: Pizza as fast food does not have to be unhealthy. You can also bake a healthy pizza without yeast and white flour. We’ll show you how it’s done here: Fast and healthy pizza? It works with this ingredient.

Papadam is a typical accompaniment to Indian dishes. And the crusty bread also tastes great as a snack between meals. We reveal a simple recipe and the best way to serve the bread.

Papadam is a light, crusty bread that is served with curry, dal and various dips in India. You can often find it under the spellings Poppadom or Poppadam. The dough for the thin flatbread is made from a few ingredients and then fried briefly in a pan. Traditionally, papadam is mixed with urd bean flour. However, you can only find this in a well-stocked specialist shop. Here we use chickpea flour as an alternative.

When choosing your ingredients, make sure they come from organic farming. In this way you avoid residues of chemical-synthetic pesticides on and in your food. This protects health, biodiversity and the environment. We can particularly recommend the organic seals from Demeter, Bioland and Naturland, as they follow stricter criteria than the EU organic seal.

Also, buy locally sourced products whenever possible. Indian dishes are usually cooked with exotic spices. Choose a locally grown version whenever possible, and only use imported spices occasionally.

Bake papadam yourself: This is how you succeed

Ingredients:

320 g chickpea flour
1 pinch(s) of salt
1 pinch(s) of pepper
1 pinch(s) cumin
1 clove(s) garlic
125 ml water
200 ml frying oil

Directions:

In a large bowl, combine the chickpea flour, salt, pepper, and cumin.
Peel the garlic and chop it very finely. Mix the garlic into the flour as well.
Gradually add the water. This forms an evenly firm dough.
Form small balls about an inch in diameter.
Roll out the balls into very flat cakes.
Heat the frying oil in a frying pan.
Add the papadams one by one to the hot oil and fry them for about a minute on each side.

Tip: spread out a cloth that can get greasy on the work surface. Place an oven rack or wire rack on the kitchen towel. Then, after frying, place the papadams on the rack to drain.

Serve papadam: That goes with the bread

Serve the papadams as an accompaniment to a main course or as a snack between meals. These recipe suggestions go particularly well with the crispy flatbread:

  • Cook a delicious vegetable curry with regional ingredients or the simple chickpea curry and serve with the papadam.
  • The Palak Paneer is classic Indian: a curry recipe with spinach and cream cheese.
  • Also try a dal as a main course. Tip: Alternatively, use chickpeas to create a Chana Dal.
  • If you want it quick and easy, opt for plain curry rice with the papadam.
  • Serve your papadam with dips as a snack between meals or as an appetizer. Dips with an exotic touch, such as the date dip, onion chutney or zucchini chutney, are particularly delicious.

You can store the fried papadams in an airtight box for a few days.

Zucchini bread is juicy and aromatic and adds variety to your diet. We’ll show you how to make the healthy bread yourself at home.

Zucchini bread is a tasty change from traditional bread recipes. With just a few ingredients you can make a juicy bread that you can serve with snacks, soups or as a snack in between.

Incidentally, you can get zucchini from German cultivation between June and October. For all other ingredients, too, we recommend using regional products wherever possible. This saves long transport routes and thus CO2 emissions.

When buying the ingredients, also pay attention to organic quality. In this way you support sustainable agriculture that does not use chemical-synthetic pesticides.

Zucchini Bread: This is how you make it yourself

Ingredients:

0.5 package(s) dry yeast (for 500g flour)
1 tsp sugar
40 ml lukewarm water
200 g flour
200 gzucchini
150 g almonds, ground
20 gflaxseed (crushed)
1 tbsp olive oil
1 pinch(s) of salt
2 teaspoons bread spice
1 tbsp flour for the mold

Directions:

Mix the dry yeast with the sugar, the water and half of the flour. Mix everything together until there are no more lumps in the batter. Now let the mixture rise in a warm place for 15 minutes.
Meanwhile: Wash the zucchini. Cut off the two ends and grate them roughly with a kitchen grater. Squeeze them lightly with your hands and drain off the excess liquid.
Now mix the remaining flour, the almonds, flaxseed, and the olive oil into the dough. Knead the dough thoroughly.
Now mix the dough with the grated zucchini, the bread spice, and a pinch of salt. If the dough is too wet or too dry, add a little more flour or water.

Let the dough rise again in a warm place for 20 minutes.
Sprinkle a loaf tin (length 26 cm) with some flour so that the bread can be removed more easily later. Bake the bread with top/bottom heat for 40 minutes at 180 degrees Celsius.
Tip: To ensure that the zucchini bread lasts as long as possible, you should follow a few tips when storing it. You can find out more about this here: Storing bread – you should pay attention to this.

Serve zucchini bread: This goes well with it

Zucchini bread tastes especially good fresh out of the oven with a little margarine or butter. And the bread is also a good side dish for soups and dips:

  • You can serve zucchini bread with zucchini soup, butternut squash soup, pea soup, or wild garlic soup, for example.
  • On warm days, the bread is suitable as an accompaniment to a cold gazpacho.
  • You can make vegetable dips from fresh vegetables and herbs such as beetroot, wild garlic, or tomatoes and serve them with the bread.
  • The bread tastes particularly delicious with a light salad.

If you can’t finish the zucchini bread, freeze the bread. This way you avoid food waste and always have some homemade bread in the freezer.