Connoisseurs have always appreciated leather. Because the furniture with leather covers becomes more and more beautiful with age. Provided they are properly cared for and cleaned over the years. We show you which cleaning agents are good and which should be avoided.
The leather and its properties
Leather is a material made from animal skin. Centuries ago, people used the material as tent walls and for the production of clothing and containers. Because the leather has positive properties, such as its durability and breathability. In addition, it is flame-retardant and keeps you warm. It is so popular because it is very durable with proper cleaning and care. But you should use the right tools. Otherwise, you can destroy the leather during cleaning.
Tips for the correct cleaning of leather
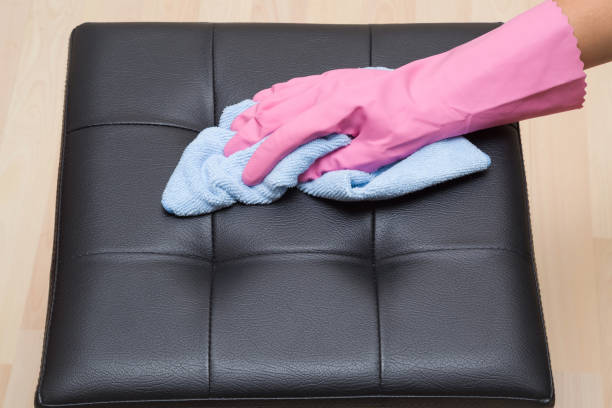
Leather is hard-wearing, but if you want it to look good for a long time, it needs gentle cleansing. In addition, you should take care of it regularly. You shouldn’t do it thoughtlessly. Because there are some important things to consider in order not to ruin the beautiful leather furniture and leather upholstery. That’s why we’ve collected tips for the right treatment of your leather covers. Also, read how to refresh and polish old leather.
1) Refrain from using chemical cleaning agents
The following substances are considered absolutely unsuitable and dangerous for the leather fabric: stain removers, solvents, floor wax, and shoe polish. You should also avoid using petrol and turpentine when cleaning leather. All of these detergents can damage the fabric. Instead, use natural home remedies for cleaning or a special cleaner for leather from the internet.
2) Note the type of leather when cleaning
Contrary to popular belief, simple leather care does not necessarily have to be expensive to be effective. But different types of leather require special care. Thus, the effect can be targeted. Therefore, you should first determine the type of leather. Once you know the species, you can start cleaning.
Cleaning aniline leather
These are the so-called uncovered leathers. This type of leather does not require complicated maintenance. But you should protect it from too much sunlight. You should also dust it off regularly with a damp cloth (at least once a week). And twice a year, treatment with a special cleaning agent should be carried out. Also, note how you can clean leather upholstery with cornmeal.
3) Use a little curd soap
If you want to remove stains from smooth leather, using curd soap can help. You should be careful not to use too much of it. Large-scale use is also not advisable. And you should foam up the curd soap a little beforehand. Then test it on a small spot before you really start. Then care for the material with leather grease. So it doesn’t dry out. Also, note our tips for removing carpet stains.
4) Clean leather with hair shampoo
If you don’t have a special leather cleaner on hand, you can use hair shampoo to clean smooth leather. To do this, dilute it in water. Then you can rub it into greasy spots and dirt. But you should also test the mixture on a small area beforehand. And it is important to let everything dry well afterward. Also, read our ideas for making hair shampoo yourself.
5) Make your own leather care products
Leather furniture tends to develop its own beautiful patina with age. You can make your own care product to keep the leather soft and elastic. To do this, mix 150 ml of water and milk with an egg white. Then use a sponge to apply the mixture thinly to the previously brushed furniture and let it work for a short time. Finally, remove the excess solution with a dry cloth. After this procedure, your leather furniture will be well cared for and shine like new. In addition, note how to remove ink stains from leather.

6) Remove bad smell from leather
If your leather sofa or leather jacket has gotten a bad smell, you don’t have to throw it away right away. Instead, use the popular home remedy vinegar to neutralize the smell. To do this, take a cloth and add some vinegar. Then wipe the respective piece of leather with it.
7) Protect leather upholstery from sunlight
Leather suites are sensitive to light and should not be exposed to direct sunlight over the years. Because they can easily fade in this way or darken in patches. Also, note our article on cleaning and caring for car seats.
8) Enough humidity for leather
You should also ensure that there is sufficient humidity in the living room. Because the leather needs moisture to stay soft and supple over the long term. This is just as important for the care of old furniture and antiques.