
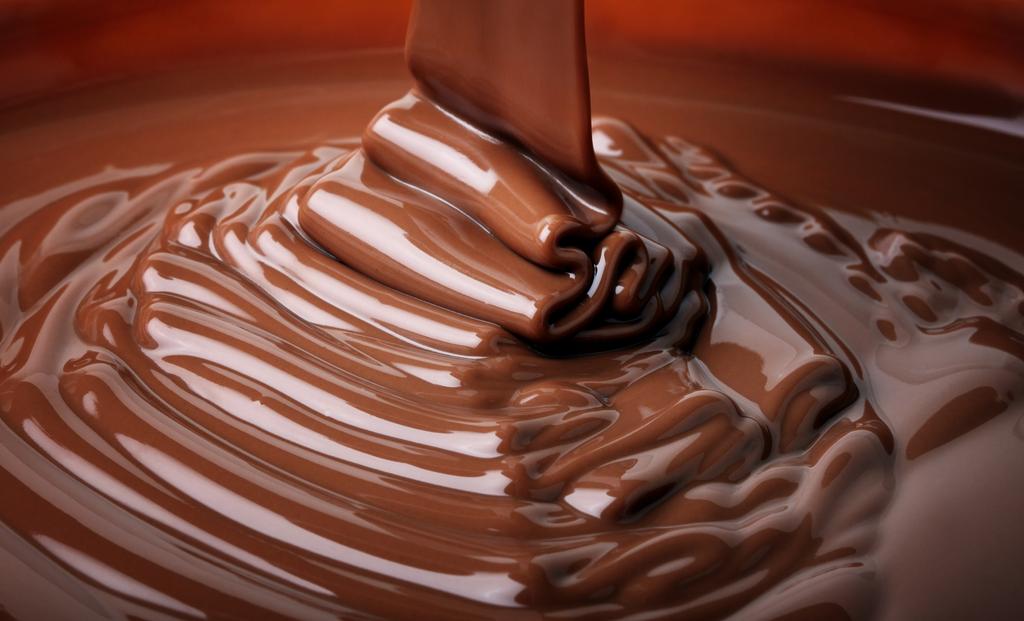
In order for the chocolate coating to have a nice shine, you have to heat the chocolate properly. Here you can find out what you have to pay attention to and which methods are available.
Tempering Chocolate: Why is it Important?
Chocolate is very sensitive to temperature. Just one degree more or less can change its consistency. This is due to the cocoa butter it contains, which can harden into six different crystal forms depending on the temperature. Only in the fifth crystal form (from about 28°C) does the chocolate harden stably. The tempering of chocolate is therefore also referred to as “pre-crystallization”. This gives your chocolate the following properties when it has solidified:
smooth and shiny surface
crisp break
quick drying
If you don’t temper the chocolate, it may not harden, may not break cleanly, or may form a gray-white haze as it dries – called a fat glaze.
Tempering chocolate: The temperature is crucial
The optimum temperature for pouring depends on the chocolate. You can use the following information as a guide:
Dark chocolate: 31-32°C
Milk chocolate: 30-31°C
White chocolate: 29-30°C
Ideally, you should use a thermometer to accurately measure the temperature. With a little sensitivity, however, you can also temper chocolate without a thermometer.
Tempering Chocolate: Three Methods
There are various methods of bringing the chocolate to the desired temperature. But the basic principle is the same for all.
1. Vaccination method:
Melt chocolate: Chop or grate the chocolate into small pieces. Place 2/3 of the chocolate in a bowl and melt over a water bath while stirring. Make sure the water isn’t boiling and the bowl isn’t touching the water. It is also important that no water gets into the chocolate, as this could cause lumps.
Lower the temperature: Remove the chocolate from the water bath and add the remaining third. It is important that you stir constantly so that the chocolate melts evenly. The mass thereby cools down to about the desired processing temperature. If the chocolate has melted evenly and become thicker, you can now use it. It is best to check the temperature with a thermometer.
Measure the temperature: If the chocolate has a temperature of around 29 to 32 degrees Celsius (depending on the type of chocolate), you can use it. If the temperature is lower, heat the liquid chocolate again over the water bath to the desired temperature.
2. Tabling method:
Melt the chocolate: Melt the chocolate as described above (to about 45-50 degrees Celsius) and pour 2/3 of the melted chocolate onto a smooth and cool work surface (a marble slab works best here).
Lower the temperature: Use a kitchen spatula to spread the chocolate over the plate and push it back towards the center. Keep the mixture moving until it has cooled and become more viscous. The chocolate should now be around 27 degrees Celsius.
Measure the temperature: add the slightly cooled chocolate back to the remaining third of the melted chocolate and mix thoroughly. The chocolate should now be at the optimum temperature for pouring. To be on the safe side, you can use a thermometer as a precaution and, depending on the cocoa content, bring the chocolate to the exact temperature with the help of a warm or cold water bath.
3. In the microwave:
Microwave the chocolate on high for about 20 to 30 seconds, then stir vigorously.
Repeat this process until most of the chocolate has melted. If there are only a few pieces left, you no longer need to put the chocolate in the microwave. Then stir until all the lumps are melted.
The chocolate should now be slightly viscous and have reached the optimum processing temperature. You can check this with a thermometer.
Tempering chocolate: more tips
And here are a few tips…
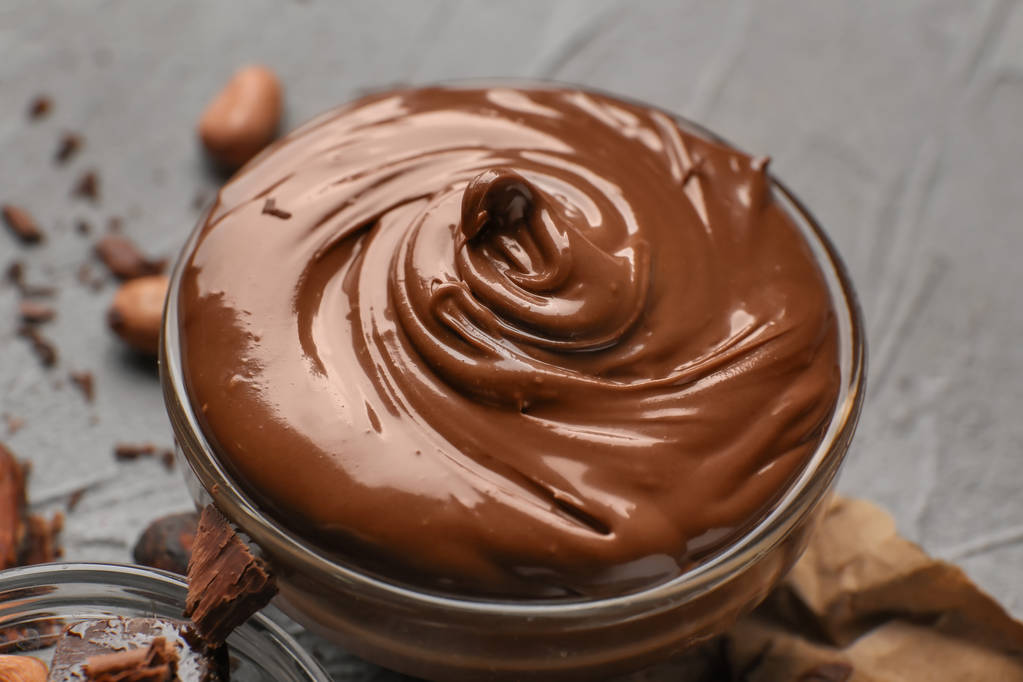
To test if the chocolate is setting the way you want, you can dip a spoon in it and let it dry. After a minute or two, the chocolate should set and have a slight sheen – that’s how you know everything worked out!
In general, the more you stir, the better. Because that promotes crystal formation and you get a better end result.
If you want to make it a little easier for yourself, you can use cake icing or fat icing instead of chocolate. These are specially made for coating sweet delicacies and have a higher fat content. This means you don’t have to pay so much attention to the temperature when melting and the glaze still gets a nice shine.


