Tag

crisp

Browsing

Blanching is a handy trick for processing many types of vegetables and fruits. We’ll show you how your vegetables stay fresh and crunchy for longer.

Benefits of Blanching

Blanching is a simple and very effective technique for processing vegetables and fruit. Typically, you blanch by adding your fresh veggies or fruit to a large pot of boiling, salted water, and shocking them in cold ice water at the end of the cooking time. In the case of numerous fresh vegetables, a process is set in motion which, depending on the variety, inhibits toxins, releases important nutrients or makes the vegetables last longer.

Due to the short time in boiling water, your fresh vegetables do not lose their taste and remain crisp and fresh. It is often advisable to blanch vegetables before freezing them. In this way, it withstands the cold temperatures better and cooks more quickly when processed later.

Blanching vegetables sets important processes in motion:
It deactivates certain enzymes and thus stops unwanted changes in the fresh product. (such as progressive maturation and the associated changes in taste)
It preserves valuable ingredients such as vitamins and minerals.
It allows vegetables to retain their fresh color.
It makes many types of vegetables last longer and prepares them for freezing.
It draws out toxins and harmful germs.
It softens inedible flavors and substances that are difficult to digest (e.g. some types of cabbage).
It cooks sensitive vegetables ready to eat (e.g. leaf spinach or chard).
Blanching is also suitable for some types of fruit and nuts: Almonds, peaches or tomatoes, for example, can be skinned more easily after a short time in the bubbling cooking water and processed into mush or sauce, for example.

Blanching – that’s how it works

You can blanch in no time at all. It is only important that you take into account the individual cooking time depending on the variety.

For blanching you need:
a large pot full of water
Salt
Skimmer or sieve for chilling
That’s how it’s done:
Bring the water in your pot to a boil. Carefully add some salt, making sure the water doesn’t overflow.
Add your vegetables or fruit to the boiling water and let it simmer according to the cooking time.
Lift it out with the slotted spoon or drain into a large colander.
Pour cold water over your vegetables or fruit to stop the cooking process immediately. It’s even easier to have a second pot of ice water ready to dump your blanched veggies into after cooking time.
Wait for the vegetables to cool.

Blanch – note individual cooking times

Depending on the variety, you have to wait a certain amount of time for blanching. Our overview will help you. The times are for one 500 gram serving in a large saucepan.

Artichokes: 6 minutes
Beans: 3-4 minutes
Cauliflower: 3 minutes
Carrots: 2 minutes
Peppers: 2 minutes
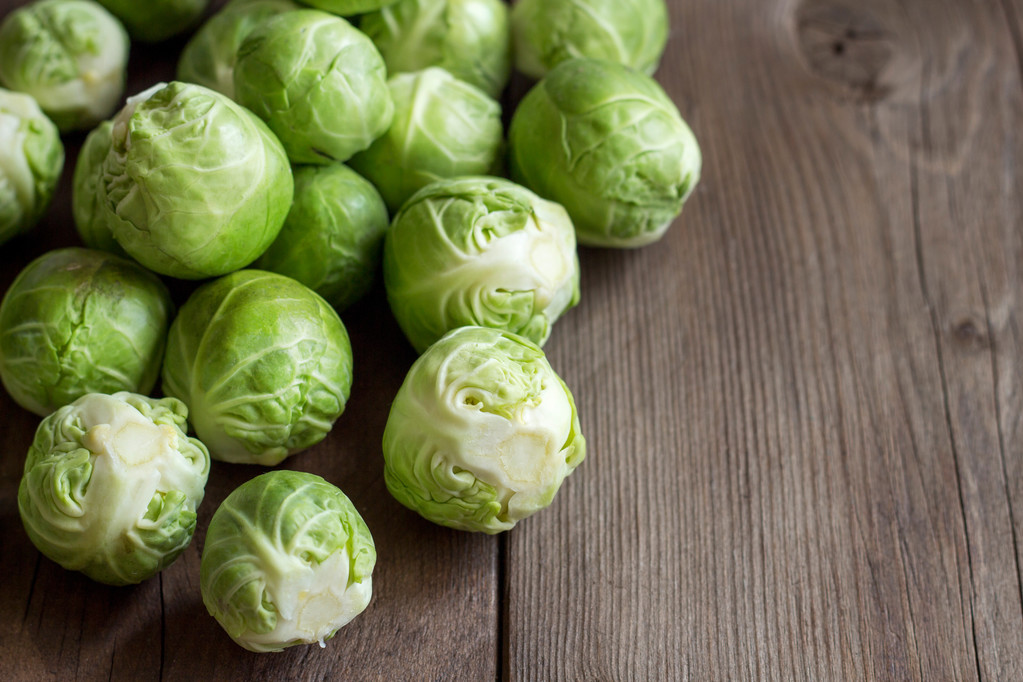
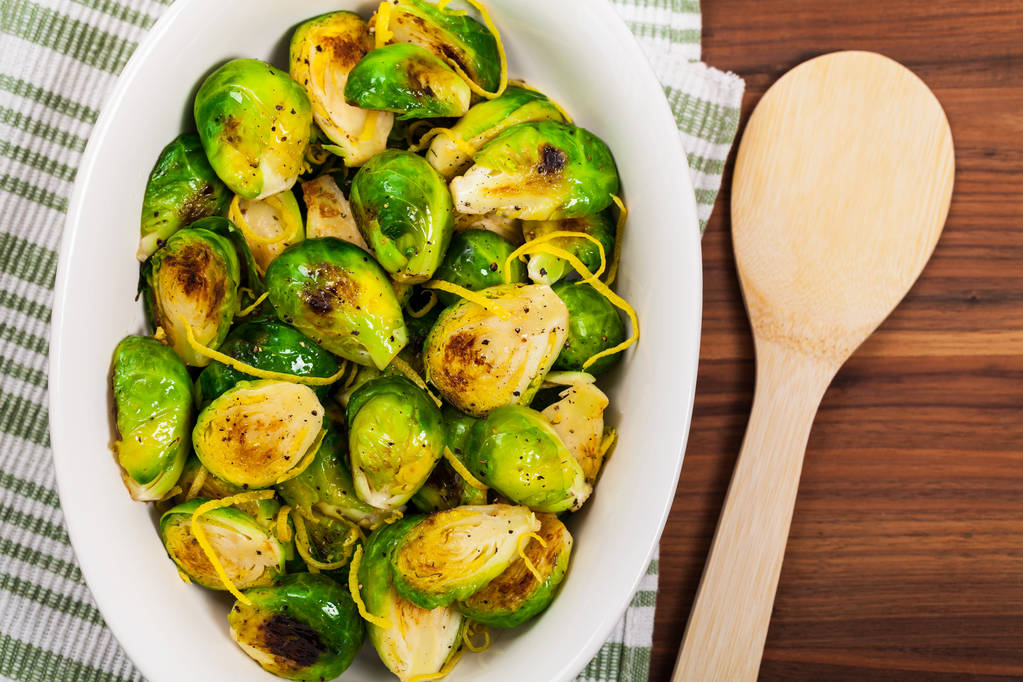
Brussels sprouts: 3 minutes
Peas: 2 minutes
Corn on the cob: 5 minutes
Spinach: 1/2 – 1 minute
Apples: 2 minutes
Pears: 2 minutes
Blanching cabbage simplifies the preparation. The leaves, which are often brittle, become softer with a short boil and are then easier to roll.

Chinese cabbage (leaves): 2 minutes
Chard: 1-2 minutes
Leek: 3 minutes
Pointed cabbage leaves: 2 minutes
White cabbage leaves: 2 minutes
Savoy cabbage leaves: 2 minutes
To make raw vegetables more digestible – for example in a salad – you can also blanch them. Just add the following types of vegetables to the boiling water for a short time before you eat them al dente or freeze them for later.

Broccoli: 3 minutes
Kohlrabi: 3 minutes
Celery: 5 minutes
Zucchini: 3 minutes
Sugar snap peas: 2 minutes

Brussels sprouts are a very healthy winter vegetable. Here you can find out what you should consider when preparing Brussels sprouts and find suitable recipe ideas.

Brussels sprouts are a classic winter vegetable: they are in season from October to February and provide us with valuable nutrients during the cold season. Brussels sprouts are rich in vitamin A, vitamin C, iron, potassium, calcium and magnesium.

To ensure that the vitamins and minerals are retained during preparation and that the Brussels sprouts remain crisp, you should observe the following instructions.

Cook Brussels sprouts: This is the ideal cooking time

How long Brussels sprouts should cook depends on its size. If the florets are rather large, the cooking time is about fifteen minutes. If they are small, you shouldn’t cook the sprouts for more than 10 minutes.

To keep the Brussels sprouts from overcooking and becoming crunchy, you should follow these steps:

Before cooking, remove any eaten leaves and wash the Brussels sprouts florets thoroughly in cold water. In another article you will find tips for cleaning Brussels sprouts.
Then bring plenty of salted water to the boil in a saucepan and then add the Brussels sprouts. Turn the heat down to medium-low and let the florets simmer in the salted water for 10-15 minutes. Periodically check with a fork to see if the cabbage is done. As soon as the tines sink relatively easily into the rosette without falling apart, it’s done.
Then pour the Brussels sprouts into a sieve and briefly rinse them under cold water. So its green color is preserved.

Steam Brussels sprouts

Another preparation method that is gentle on the Brussels sprouts is steaming. How to do it:

Before cooking, remove any eaten leaves and wash the Brussels sprouts florets thoroughly in cold water.
Put water in as wide a pot as possible. The water should only be deep enough for you to put a steamer basket in without it leaking through the holes. Alternatively, you can also hang a large sieve in the pot.
Place the Brussels sprouts in the steamer basket or colander and let the water boil. Then immediately turn the heat down to medium-low and let the Brussels sprouts steam for 10 minutes.
Finally, quench it with cold water to give it its light green color.

If you want to store cucumbers, you should consider a few things. In this article you will learn what you need to know to keep cucumbers fresh for a long time.

Cucumbers consist of 97 percent water and are therefore relatively sensitive. If you store them incorrectly, they are prone to staining and mildew. In this article you will get many tips on how to store cucumbers properly.

Since the micronutrients are concentrated in and under the skin, you should eat cucumbers unpeeled. Therefore, use cucumbers of organic quality: they are free of chemical-synthetic pesticides.

In Germany, cucumbers are in season between June and September. During this time they are available from regional cultivation. Regional products have shorter transport routes and therefore have a smaller CO2 footprint. You can get unpackaged organic cucumbers at farmer’s markets, from direct sellers in your area or in organic boxes. You can find more information about the season of different vegetables in the Utopia Seasonal Calendar.

Storing cucumbers: You should pay attention to this

It is best to buy cucumbers unpackaged. The plastic wrap is meant to protect the cucumber. However, sometimes the cucumber starts to mold faster due to the condensation under the foil because it is packed airtight. However, opinions differ on this. You can also read online that cucumbers wrapped in plastic wrap last longer. From the point of view of environmental protection, however, unpackaged cucumbers are preferable to those sealed in plastic. More about this here: What is more sustainable: organic or unpackaged?

How to store cucumbers correctly:

Store the cucumber in a dark and cool place in the pantry or basement. Cucumbers do well at temperatures between ten and 13 degrees Celsius. Properly stored cucumbers can be kept for up to three weeks.
If you don’t have a pantry or basement, store the cucumber in the crisper of your refrigerator. This is better than storing the cucumber at room temperature. Cucumbers only last four to five days in the fridge.
Stored at room temperature, you should use cucumbers within a day or two.
Avoid storing cucumbers near apples or tomatoes. The cucumbers ripen faster due to the escaping ethylene.
Because of the high water content, you should not freeze cucumbers. The cold destroys the cell structure and the cucumber becomes mushy.

Storing Cucumbers: Store chopped cucumbers

Once you cut the cucumber, you should use it as soon as possible.

Place the sliced cucumber in a sealable container. You can also store small leftover cucumbers in a jar.
Store the container in the refrigerator and use the cucumber within a day or two.
Before the next meal, remove the dried part of the cucumber and wash it thoroughly again.