Tag

drying

Browsing

Tomato plants are popular and available all year round. If you would like to do something for the environment, you can plant them yourself. You can then dry, freeze or pickle the tomatoes. We will show you how to do it and how to store tomatoes properly.

The red delicious balls are among the most popular types of vegetables. Because they taste good and can be used in many ways. From this, you can conjure up many different tomato recipes. We have collected the most important information about this plant.

The history of the culinary golden apple

The tomato plant originally comes from the Andes, an area in South America. Then Christopher Columbus brought the plant to Europe. At first, it looked a bit different. Because she was smaller and yellowish. Hence the name Pomodoro in Italian means golden apple. But back then, people were skeptical, probably because people thought it was Adam and Eve’s apple of paradise. Thankfully, that has long been overcome and we now find them in a variety of recipes. We have collected the most important tips for tomatoes so that you too can take care of and use the plants properly at home.

1) Tips for planting tomatoes

The plant can grow between 20cm and two meters high. They like nutrient-rich and humus-rich soil that is well loosened. If you want to plant tomatoes, you can grow them in tubs, large pots, or in a greenhouse. Also, note the use of a growing mat for plants. You can also plant them outdoors, but then special hoods are recommended. You should also note the following things and read our tips on growing chili yourself.

  • Keep the plant airy. This means that you should remove the leaves in between. But not too many at once or the tomatoes may burst.
  • Water regularly at the bottom, but be sure to avoid waterlogging.
  • Tomatoes hate rain. When the raindrops fall on the tomato leaves, leaves will wither.
  • They love the sun. The more sun exposure, the bigger the fruit will be.
  • Harvest time from the plant is 7 to 8 months after planting.

2) Store tomatoes properly

Don’t store tomatoes in the fridge. Because the longer and colder the plant is stored, the higher the probability that it will not taste good. But with a relative humidity of 75 to 80, you can store the tomatoes well. Then the last one to six weeks, depending on the variety and degree of ripeness. You should also store them at the following temperatures. In addition, note our tips on storing food correctly.

3) Tomatoes simply dry

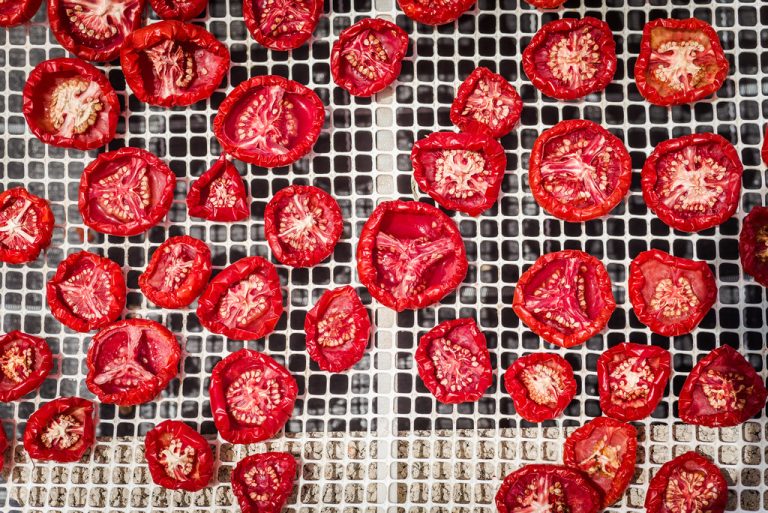
There are three different ways you can dry your tomatoes. So it works in the oven, in the sun, or with a dehydrator. For all methods, you should core the fruit and cut it to the right size. So cut them into large slices and halve the small ones. Then you have to grease the grid of the oven or the dehydrator.

Then place them on the grid and season them to taste. In order for the tomatoes to dry successfully, you can heat them at between 50 – 90 degrees for about 6 – 10 hours, depending on the device. You should turn the tomato pieces several times. And in the oven, it is important that the moisture can escape. So leave the door open a crack. Also, note our tips for dehydrating and drying food.

4) Pickling tomatoes

You can also pickle your tomatoes after harvesting. So they last a long time. And you still have some of the tomato fruits you planted yourself in winter. You can insert them according to your taste according to different recipes. For this, you need water, vinegar, sugar, salt, peppercorns, and mustard seeds for the brew.

5) Can you freeze tomatoes?

Yes, you can freeze these. If you want to freeze tomatoes, you should choose ripe and firm fruits. Then you should wash and dry them thoroughly. You should also remove the stems. You can also freeze them whole or in pieces. Before you put them in the freezer, pack them in a jar or freezer bag. However, once thawed, you can only use them for cooking. Because they are very mushy. Since they lose their flavor in the cold, our tip is to process them directly into a delicious sauce and then freeze them. Or season them accordingly 10 minutes before freezing. Please also note our tips for freezing beans.

There are many instructions and tips for drying herbs. We show you which tips really work. This is how you can easily dry your own herbs.

There is nothing better than cooking with herbs from your own garden. Because it tastes wonderful and smells wonderful. But there are times when you don’t have fresh garden herbs on hand. It is worth having dried herbs in the house for this purpose. We’ll show you how.

How to properly harvest your herbs

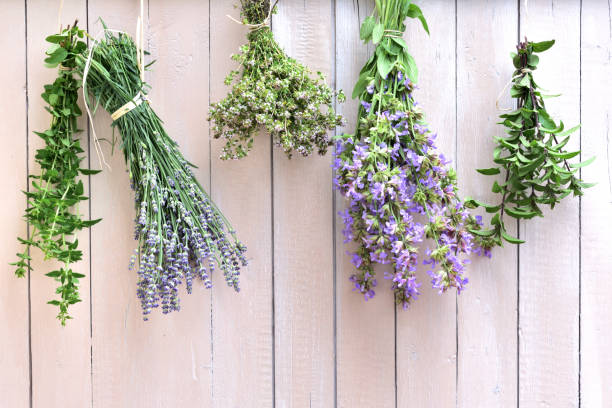
The ideal time to harvest herbs is just before or during flowering. This is because the herbs contain the most ingredients and are most aromatic during this time. If you have summer herbs in the garden, it is best to harvest them in July. Herbs from the windowsill can also be dried well. All you need is a pair of scissors or a garden knife and a suitable container to collect the herbs. You will also need twine and rubber bands as well as airtight containers for the subsequent drying.

Which part of the plant is suitable for drying?

The stems, leaves, and also small flowers of the respective plant are suitable for drying your herbs. If you collect the collected plant parts in small bundles, then you will succeed best in drying your herbs. Unless the edible flowers of your herbs are too large, you can dry them along with the stems. You can also thread the flower upright through a trellis. This keeps the flower head intact and you can dry it separately. But large flowers are only suitable for drying to a limited extent. Because large buds hold a lot more moisture, the drying process is a bit more demanding.

Which herbs are good to dry?

Herbs from the Mediterranean region are well suited for drying. These include herbs such as rosemary, thyme, oregano, lavender, and sage. But the closely related plants marjoram, rosemary, and savory can also be dried well. You can also dry peppermint, woodruff, chamomile, tarragon, spearmint, motherwort, mugwort, and lemon bush.

Herbs with a lot of moisture are moderately suitable for drying. Therefore, you should dry these herbs quickly. Otherwise, they lose most of their aroma when they dry. These include basil, parsley, dill, chives, and lemon balm.

Herbs are poorly suited if not much remains after drying than the pure leaf mass. That’s why it’s best to freeze them. These include cress, burnet, sorrel, rue, borage, black nettle, and tripmadame.

Tips to make drying a success

  1. It is best to pick the herbs in the morning, after 1-2 hours of sunshine. Then they contain the most flavor.
  2. You should avoid extensive washing. This will only take longer to dry and will affect the quality.
  3. To free the herbs from the dust, a simple shake is enough.
  4. Do not tie bouquets that are too thick. Otherwise, the inner leaves remain moist. Also, it takes too long to dry. As a result, the valuable ingredients of the herbs are lost.

The right methods for drying herbs

Some herbs don’t lend themselves well to drying. Because they quickly become limp and almost completely lose their aroma. Since there are different methods of treating herbs, it is easy to lose track. But we have put together tips for fresh kitchen herbs. In addition, you should freeze some herbs, pickle them in vinegar or make herbal oils out of them. But you can dry other herbs wonderfully. In the following, we will show you how to dry your garden herbs.

1) The air drying of herbs

The gentlest and easiest method is air drying. But this method is very time-consuming. However, air drying best preserves the ingredients. A warm, wind-protected, and shady place is ideal for drying. The temperature should not exceed 35 degrees. You hang the herbs loosely in small bouquets next to each other. Drying takes no more than 3-4 days.

2) Drying herbs in the dehydrator

The more modern variant is the use of a dehydrator. The machine gently removes the moisture from the herbs. You should not set the device too hot, between 30 and 50 degrees is ideal. Also, read the article Foods for dehydrating and drying.

3) Dry herbs in the oven

Drying in the oven at a low temperature (30 to 50 degrees) is also a good method. To do this, chop up the garden herbs and then place them on a baking sheet covered with baking paper. Leave the oven door ajar so that the evaporated moisture can escape. Drying the herbs in the oven takes about 3 hours. Cleaning the oven beforehand is an advantage, otherwise, the whole smell will seep into the apartment when the herbs are drying.

4) Drying the herbs in the microwave

Some Mediterranean herbs can also be dried in the microwave. However, you should only use this quick type of drying for very dry herbs without a lot of moisture. You can use oregano, thyme, or marjoram for this. But you should only dry them in short intervals of 30 to 45 seconds at a maximum of 300 watts. You also cover the herbs with some kitchen paper. And after each interval, the herbs are turned. There is no need to clean your microwave afterward.

Simply dry flowers and press dried flowers. Whether drying flowers in a book, with hairspray, or in the oven. Press flowers for children or dry flowers yourself. Dried flowers as a decoration or a dried bouquet. Make it yourself cheaply instead of having to order dried flowers online.

It’s a pity when beautiful flowers quickly wither. To make flowers last longer, flowers can be dried and then pressed. Because pressed blossoms or dried flowers can be used as decoration in the picture frame. Or give away a bouquet of dried flowers. It’s more fun to get creative. And even children can press flowers and have fun making crafts with dried flowers.

Which flowers dry best?

In principle, almost all types are suitable. The helichrysum is the most popular flower for drying. Marigolds, daisies, daisies, poppies, lavender, violets, and pansies are also suitable. Knapweed, hydrangea, heather, tickseed, larkspur, whorl-leaved, and dead-nettle are also often dried. Roses and gypsophila are particularly popular as gifts in picture frames. But many herbs are also suitable. Here you will find instructions and tips for drying herbs. Consequently, we show you different ways to dry your flowers and preserve their color.

1) Drying the flowers with hairspray

After picking, you should first let the flowers dry. Especially when the flowers are still damp from rain or dew. You can simply let the wet flowers dry on absorbent kitchen paper or blotting paper or dab them off. Only when the flowers are no longer damp can you dry your flowers. Check the flowers for insects, unsightly or wilted spots, and remove them. You should only use blossomed, beautiful, good-quality flowers for drying. Then tie them together with a wide ribbon or raffia to form a bouquet.

Now hang your bouquet in a well-ventilated, dark place. The attic or basement is best suited for this. It is important that the air circulates well so that the flowers can dry and that the room is dark so that they do not fade. Then you spray your bouquet with hairspray and make sure that the ribbon does not cut into the stem for the next 2-4 weeks. The flowers are ready when they are dry and crackle. If you want to dry flowers for eating or decorating cakes, see Edible Flowers and Dried Edible Flowers.

2) Preserved the color of the flowers

In order to preserve the color of your flowers, you should not expose them to direct sunlight. In order to be able to dry your flowers, you should only use dark places such as basements, attics, or pantries. Even if your flowers have already dried, you should not put dried flowers in direct sunlight. Light fades the color of the flowers. Incidentally, the same can also apply to dark laundry. You can find out how to avoid laundry fading under 6 common laundry mistakes.

3) press flowers in the book

For pressing in the book you need heavy books, if necessary heavy objects to weigh them down, tweezers and kitchen paper or blotting paper. Then you put a kitchen paper or a piece of blotting paper on both the book page and the flower. Next, carefully close the book. You should also weigh downlight books with objects. When a day has passed, you change your damp kitchen towel. After 3-4 days you change again. In about a week your flowers will be pressed.

When you move your flower, you’d better use tweezers so you don’t break them. If you want to dry delicate flowers, there is a risk that the petals will become brittle when pressed. You can easily prevent this by taking a small brush and dabbing it in a little cooking oil. You then carefully brush the delicate, small flowers with it. Then place baking paper in front of and behind the blossom to avoid oiling the pages of the book or the objects.

4) Press flowers with the iron

Flowers can be pressed particularly quickly with an iron. To do this, place the flowers between two pieces of paper or newspaper on an ironing board. Then you put a heavy book over it and press it flat for a moment to be able to iron it better. Check that the iron has no more water because it must not get wet when you press them. Set the iron to the lowest level and press directly on the flowers for 10-15 seconds. Then, after waiting for the paper to cool down, run the iron directly over the flowers a second time.

5) Salt and silica gel for drying

The color of the flowers can be preserved particularly well with dry salt or silica gel. Getting dried flowers with dry salt is very easy: you need sealable containers that you fill with some salt. Then you put the flowers in the container with the petals down and cover them with the drying salt. After about a week the flowers have dried. Silica gel or silica gel can also be used instead of dry salt. Silica gel achieves good results even within 3 days and can be reused.

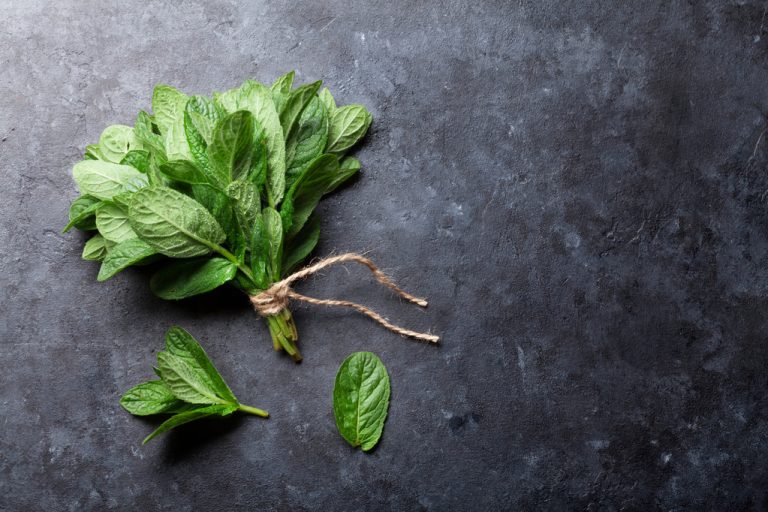
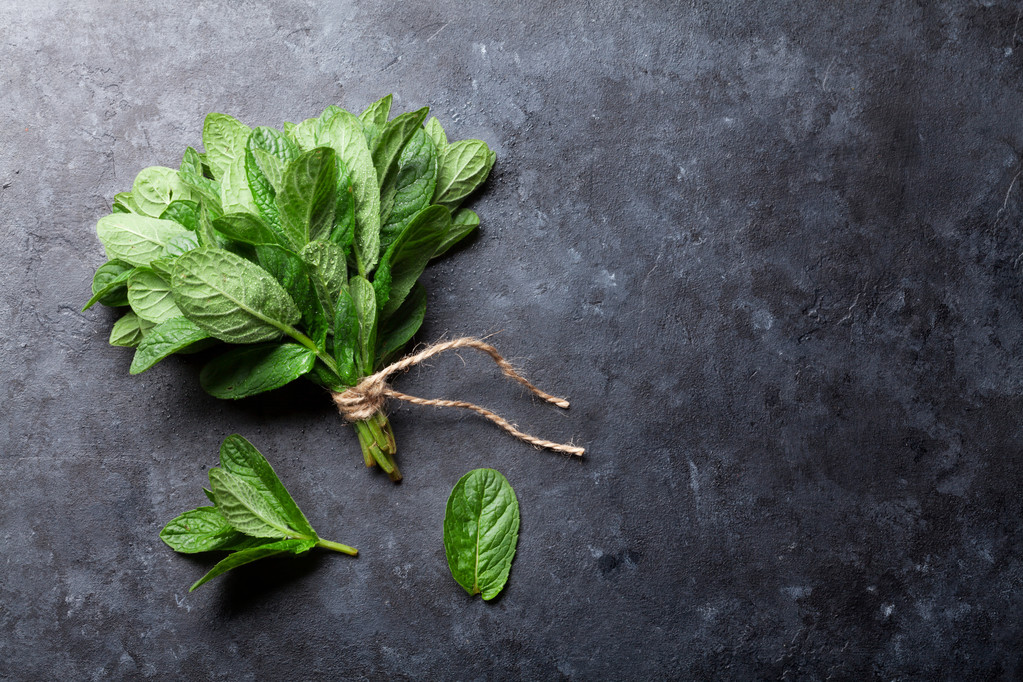
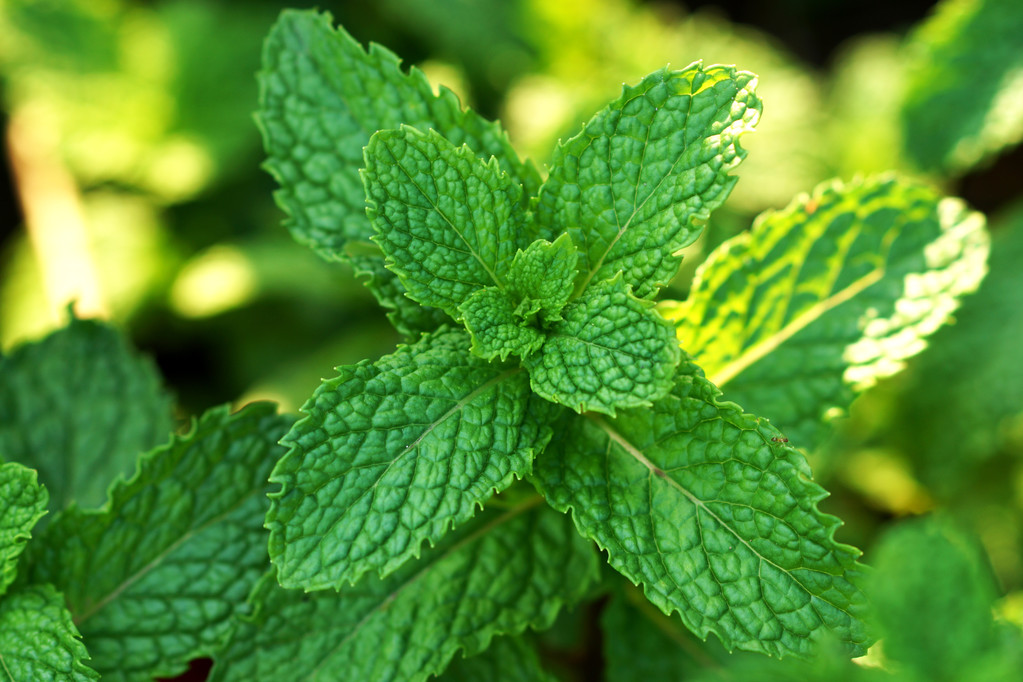
We’ll tell you how to dry peppermint and thus preserve it. We also show you how to use the delicious leaves.

If you want to dry peppermint, you should cut it right before flowering. At this point, the mint contains a very high proportion of aromatic substances, which are retained even after drying. Flowering begins in June.

Dry peppermint: how it works

First cut off the stems. Make the cut above the last pair of leaves above the ground. Use a pair of scissors and place the stalks in a basket or cloth bag.
If possible, avoid washing the peppermint stems. In this way, the aroma is better preserved.
Remove the leaves from the stems.
Place the leaves individually on a grid.
Put the leaves in a breezy, warm place. However, do not expose them to direct sunlight.
Turn the leaves every now and then.
After two weeks at the latest, the mint should be completely dry.
You can also tie the stems into small bundles and hang them upside down to dry:
Tie no more than ten stems together.
It is important that the peppermint bouquets get air from all sides.
After the leaves have dried, you can carefully strip them off the stem. Then pour it into a screw-top jar.
Mint will keep for several months in a dark, dry place.

How to use dried peppermint

You can use dried peppermint in many ways, for example:
as an ingredient in leaf and pasta salads
as a freshly brewed peppermint tea that not only tastes delicious, but also soothes an upset stomach
in sauces and soups
as a spice in oriental dishes and dips, for example couscous salad
as a syrup, boil one kilogram of sugar with one liter of water and add two handfuls of dried mint
as an additive for bath water
in scented sachets

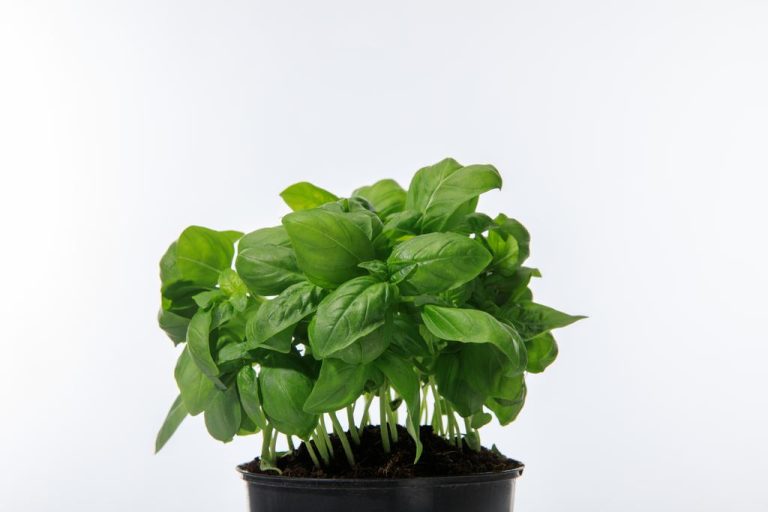
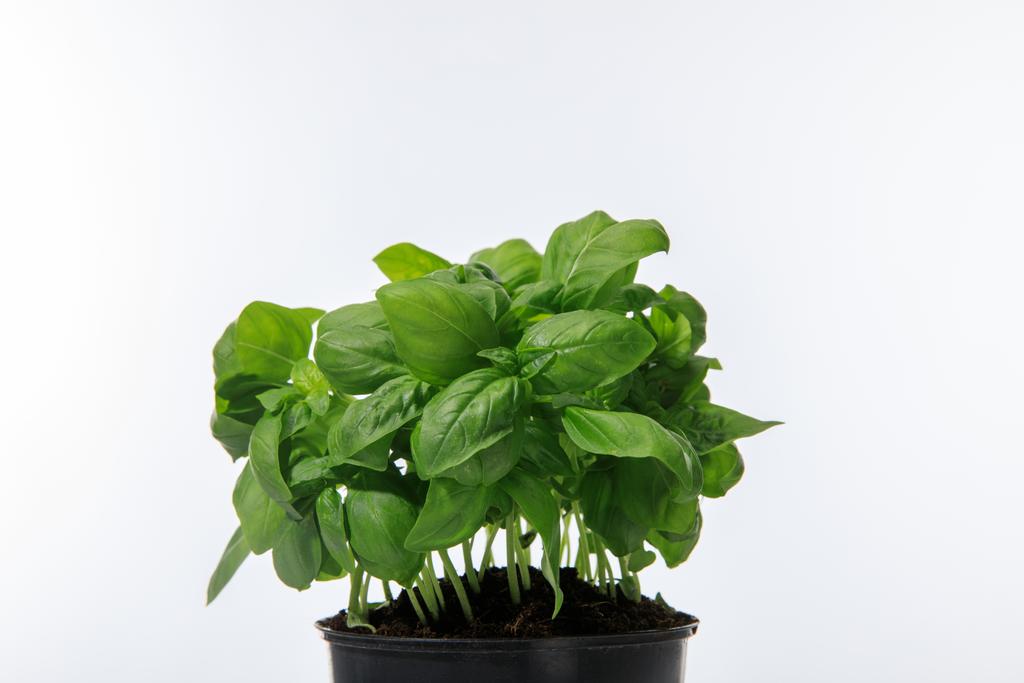
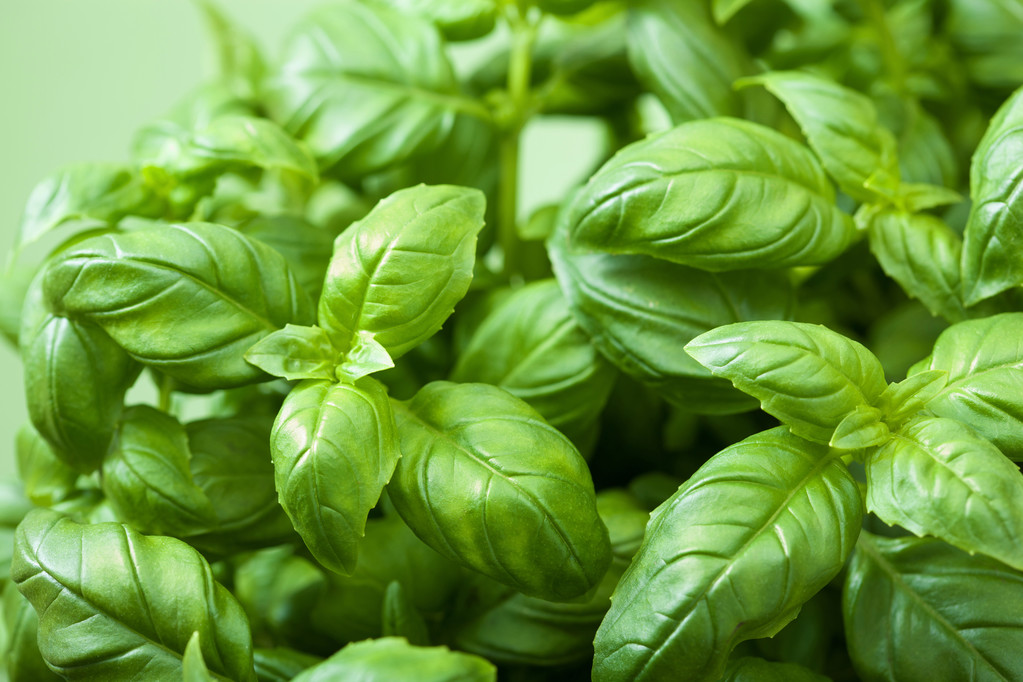
Drying basil is not difficult, but it is worth it: you can use dried basil to refine your dishes all year round. Here you can find out what you have to consider when drying basil.

Dry basil: in the air

Basil is particularly indispensable in Italian cuisine and should therefore not be missing from homemade pizza and pasta. But especially without a garden or balcony, you don’t always have fresh basil at hand – you can prevent that by stocking up on the dried herbs. Like other herbs, you can dry basil in the oven or food dehydrator. However, it is much more energy-efficient to simply let the plant air dry.

Use scissors to cut the basil leaves off the stem. Leave as much of the stem as possible so you can bundle the leaves later. The leaves just before flowering are best, as they are at their most aromatic at this time.
You can use flexible wire or string to tie the individual leaves together by the stem and then hang them on a hook or similar device. An airy place with some sun exposure is best.
After about two weeks, your basil leaves will be completely dry; depending on the location, the drying process can also be faster. You can tell they’re dry enough by the fact that you can simply crumble them with your fingers.
Now you can put the leaves in a sealable jar or other container.

Drying basil: in the oven

If you don’t have the time to air dry, drying the basil in the oven is a much more time-saving option. All you have to do is spread your picked leaves evenly on a tray and let them bake for about 20 minutes at the lowest temperature. It is best to leave the tray in the closed oven overnight to ensure that the basil leaves are completely dry. Then you can also fill them in a suitable container. It is advisable to use this method only in exceptional cases due to the increased energy consumption.

Dry basil: these are the advantages

Drying basil is – like preserving other foods – ecologically advisable.
The basil pots from the supermarket in particular usually don’t last long – before they die, it makes sense to dry and store the leaves immediately. In this way you can counteract food waste, at least in small steps.
If you have a garden where you grow basil, you can save it from the cold season by drying the leaves—that way you’ll also have a supply for next spring.
Dried spices or herbs are available in supermarkets and also in most organic markets, almost only packed in plastic. If you dry your basil yourself at home, you also save on packaging.

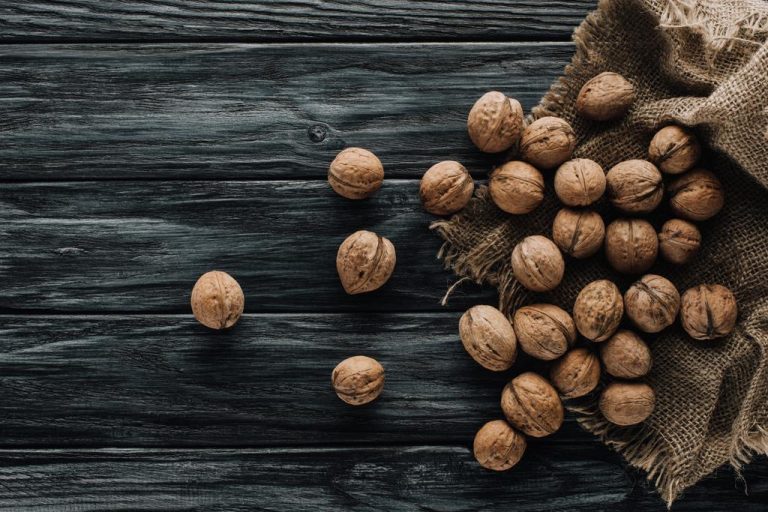
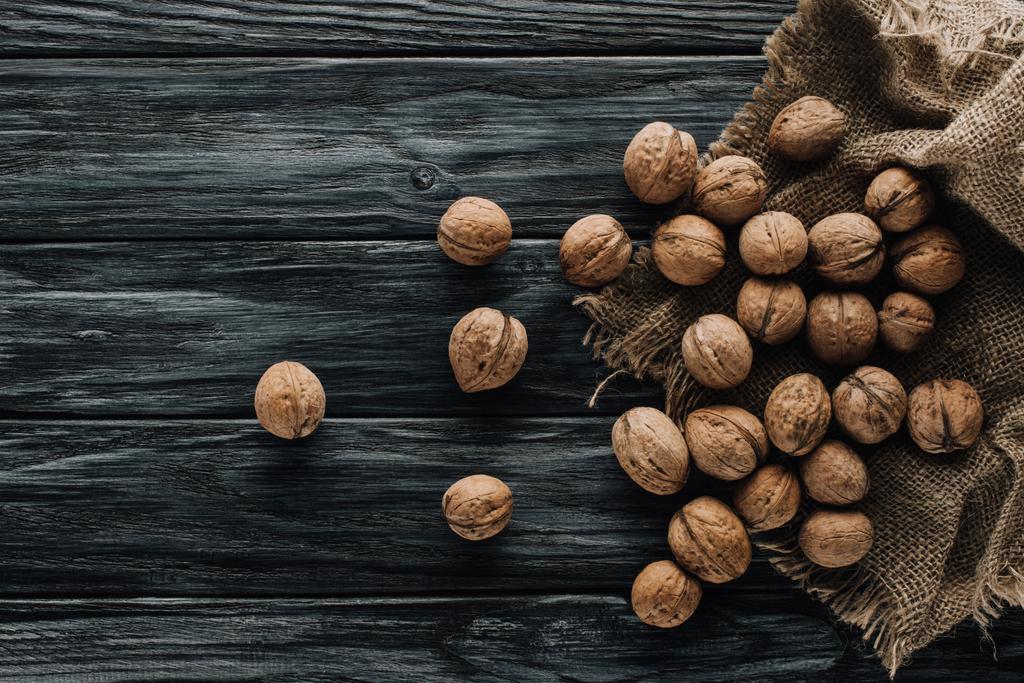
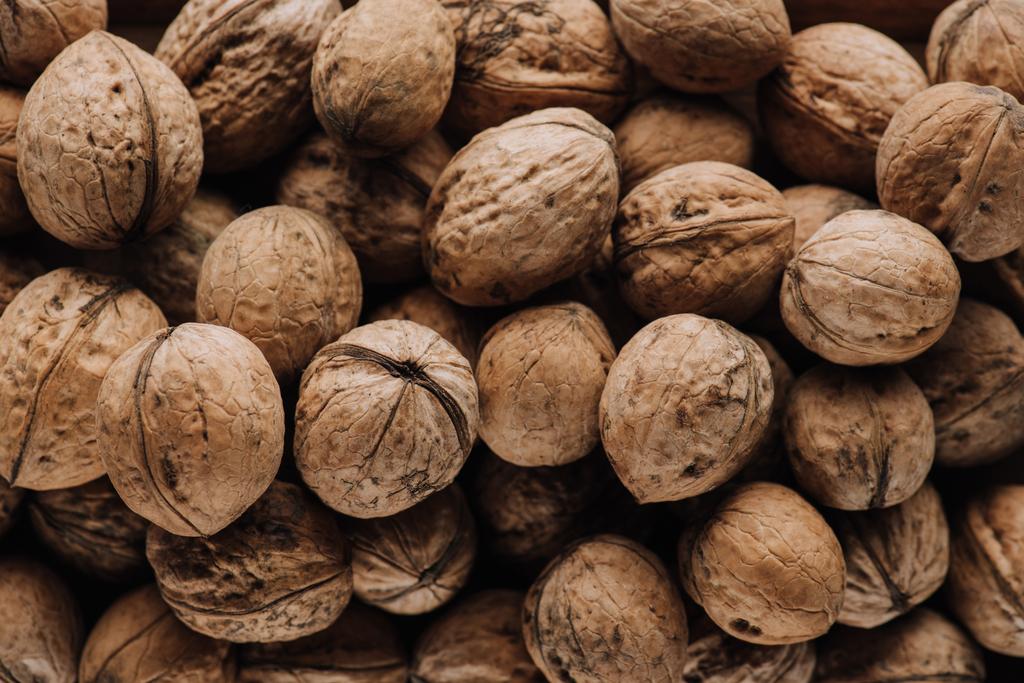
Walnuts from the garden must first be dried before they can be eaten. Find out here how best to dry the delicious nuts and what you should bear in mind when doing so.

Why dry fresh walnuts first?

During the walnut harvest, the nuts are not picked from the tree, but picked up from the ground. Ripe walnuts usually fall from the tree by themselves between September and the end of October. You should then collect them quickly: If soil moisture penetrates through the wooden nutshell, mold will form after a short time.

The walnut harvest can extend over a longer period of time because the nuts do not all fall off at the same time. It is best to check the ground under the walnut tree every day for freshly fallen, ripe nuts that you can pick up.

A walnut tree can easily bear up to 130 kg of fruit. If you want to store a large amount of walnuts, be sure to dry them first. This is the only way to prevent your harvest from spoiling.

Drying walnuts: This is how you prepare the nuts

After harvesting, you should prepare walnuts as follows:

Clean: The wooden walnut shell may still be surrounded by the soft outer shell. Remove these thoroughly and completely with a brush, otherwise mold can form. It is best to wear gloves when working: this way you avoid the peel discolouring the skin on your fingers and hand.
Never wash the walnuts with water, as moisture can spoil them quickly.
Sort: Dry only pristine and ripe walnuts. If they have black spots or appear shriveled, this indicates mold or parasites. These walnuts absolutely must be sorted out.

How to properly dry walnuts

After these steps, you can dry the walnuts. Pay attention to:
The right temperature: It is best to dry the nuts in a room in the house that is around 20 °C. Suitable are, for example, an insulated attic, the boiler room or the house entrance. But make sure that the room is not too warm.
The Right Place: Dry the walnuts in fruit crates lined with newspaper. Wooden frames over which grids are stretched are also very suitable.
Enough space: The most important rule when drying: Only place the walnuts in a single layer in the fruit box or on the grid and leave enough space between the individual nuts. Make sure they don’t touch. The air must be able to circulate around the nuts so that they dry evenly and do not form mold.
Sufficient time: The walnuts need about 4 to 6 weeks to dry completely. Turn them every few days so they dry evenly. Finally, check if the nuts are dry: open one or two and take a good look at their kernels. If it’s not brittle, but rather rubbery, the nut isn’t dry enough.
Once the walnuts have dried, you can store them. Fill them in a basket or in a potato sack and keep them in the pantry. There they stay fresh for up to 12 months.

Chilies add flavor to any meal and are easy to grow here too. To keep your chili peppers longer, you can easily dry them and use them in a variety of ways.

Drying the chili: This keeps the pods durable

Chili plants are easy to care for and high-yielding and are therefore becoming increasingly popular with hobby gardeners in this country. Depending on the variety, you can harvest the pods in late summer or autumn. However, if you grow the chilies to use in the kitchen, you will hardly use all the pods at once. To preserve them, you can dry chili. So you don’t have to throw away your harvest and you can stock up for the whole year.

Drying chili: the right method for the right pod

You can air dry chili peppers, in the oven, or in a food dehydrator. Which method is most suitable also depends on the type of chili. If you want to air-dry your chillies in an environmentally friendly and energy-saving way, you should take this into account when choosing the variety.

Air: You can thread the fresh pods onto a string and hang them up like a clothesline in a warm, dry place. After about four to six weeks, the chillies should be completely dry. This method is suitable for thin-fleshed, narrow chili peppers, such as Cayenne or Tabasco.
Oven: Halve the pods and remove the stalk. You can also dry the seeds if you like. Arrange the chillies on a baking sheet lined with parchment paper so that they do not overlap. Let them dry in a fan oven at 80 degrees for about 6 to 8 hours.
Dehydrator: Even when drying in the dehydrator, you should halve larger pods. After about eight hours, the pods should be dry – they should no longer bend and should be slightly brittle. The last two methods are ideal for thick-fleshed chili varieties such as jalapenos or habaneros.
Tip: Drying chillies in the oven or dehydrator uses a lot of energy. If you don’t preheat the oven first, it at least saves a little electricity. Never leave the oven door open while you are drying the chillies: this wastes a lot of energy and the pods have to stay in the oven longer.

Attention: In the oven or dehydrator, sharp vapors develop quickly that can irritate the eyes and nose. To avoid this, you can leave your kitchen window open during the drying process.

Drying chili: tips for storage and use

You can store the dried chillies as whole pods, process them into flakes or powder. They retain their aroma best as pods, while flakes or powder are easier to use as spices. If you later want to process the pods into chili powder, it is advisable to remove the seeds before drying.

You can roast whole, dried pods briefly before using them. This is how you enhance the sharp aroma. If you soak the dried pods for half an hour before you process them further, they almost return to their original shape: You can then fill them, for example, or use them to make a hot sauce. Dried chillies can be used in many ways and complement your spice rack.

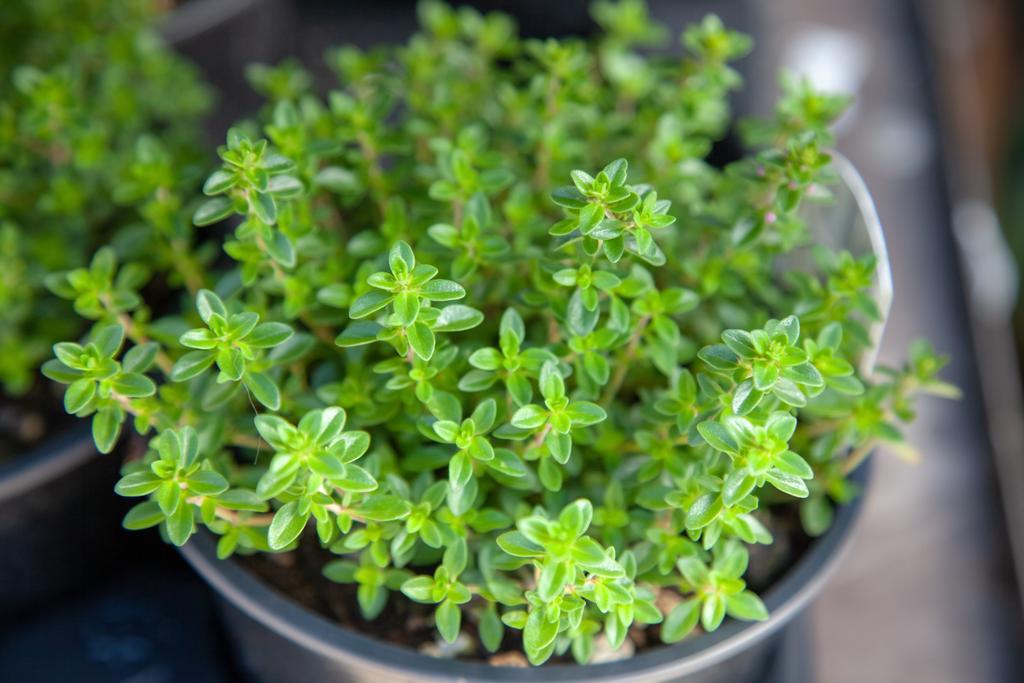
If you want to dry thyme, you can do this very easily in the air under the right conditions. It’s worth it, because thyme has a very long shelf life when dried, so you can use the spice for a long time.

In order to be able to use thyme for as long as possible, you should preserve it. The best way to do this is to dry it. In the dried state you can use it for seasoning, for example for potatoes, tomato sauce, various soups and vegetables such as eggplant or zucchini. You can also use dried thyme as a tea. Thyme tea is said to have a positive effect on colds. Simply pour hot water over the thyme. This works with both fresh and dried herbs.

Thyme is at its most aromatic when you harvest it just before it blooms, between May and September. You can also create your own small herb garden, there is even enough space on the balcony or windowsill.

Drying Thyme: Instructions

To dry thyme, use scissors to cut off several branches of the plant. If your thyme is outside, it is best to choose a day when it is not raining. Because if the thyme is very damp, the risk of mold increases. That’s why you shouldn’t wash the thyme if possible. If there are wilted leaves on the branches, remove them before drying.
Now take a piece of twine and tie several sprigs of thyme together in bundles.
Hang the bundles so the thyme hangs upside down. Choose a warm, dry place to hang. This place should be as dark / shady as possible. Make sure the bunches of thyme aren’t hanging too close together so they get enough air from all sides.
After two to four weeks you can remove the thyme, it is then well dried. You can tell by the fact that you can easily crumble the leaves between your fingers.
Separate the leaves from the stems and fill them in screw-top jars.
Store the spice jars in a dark and dry place. This way you can use the thyme for several months.

Even if most people can no longer hear the advertising slogan “Then it’ll work with the neighbor too” of the beaming housewife with a sparkling wine glass in the camera, the nagging envy tells us all: “I also want to have clean glasses like that .”

However, today’s cleaning lady thinks economically and avoids environmental pollution wherever possible. This commendable attitude is in no way opposed to the Clean Glasses plan. Here are a few tips on how glasses, cutlery, and porcelain, and especially stainless steel, can shine in the kitchen cupboard without water stains.

How are water stains formed?

The given tips work against contamination on dishes, which are usually due to incorrect treatment. Water stains occur when the water cannot flow freely down the clean dishes. Therefore, very well cleaned dishes can air dry without forming water stains. Usually, this condition does not last very long, so it is advisable to dry the dishes well right away.

1. What the dishwasher really needs

Unfortunately, this is often the case: the dishes come out of the dishwasher unclean. On the one hand, this can be due to the wrong acknowledgment, but more often the lack of salt is the devil in the details.

Dishwasher owners should therefore always make sure that there is enough salt in the filling device provided for this purpose. Although the “Minna” washes with hot water alone, the composition of the rinsing water contains magnesium and calcium ions, depending on the degree of hardness, which is deposited in a light layer on the dishes.

The dishwashing salt prevents this process by precisely separating these ions and leads to clean dishes that do not show any streaks when dried with a clean tea towel. Also, note tips for descaling and cleaning the dishwasher.

2. Washing by hand: Crystal clear, environmentally friendly

It’s not the amount of detergent that causes clean dishes. It’s washing dishes with your head. For people who have their own household for the first time: First, the glasses, then the plates, then cutlery, pots, and pans, as these are the dirtiest, in the end. The glasses should be washed so hot that you almost (!) burn your fingers. It is enough not to let the sink fill up completely with water.

Once briefly cleaned underwater with a kitchen sponge inside and outside as well as on the handle, a small amount of cold water can always remove the foam. This means that the washing-up water also has a more bearable washing-up temperature for the dishes that follow the glasses. The other cutlery and dishes are then treated in the same way before they are wiped dry with the tea towel.

3. Tea towel is not a hand towel

Before using them for the first time, new tea towels should be washed just like another laundry, as the textiles often contain chemical color pigments. Not only are these unhealthy, but they also leave a film on the dishes that make spot-free cleaning difficult. Failure to do this first wash can lead to smeared dishes that cannot stand up to scrutiny in the sunlight.

Surprisingly, many people, mostly men, students, and trainees, do not know the difference between a hand towel and a tea towel. In the industrial processing sector, too, this differentiation is no longer made exactly, since they are both almost the same size. However, the tea towel is made of thin cotton or linen fabric, while the hand towel, as a category of body towels, is made of less absorbent but thicker cotton fabric. Since cotton fibers fluff easily, the long-fiber linen tea towel with a dense weave structure is the better choice for drying glasses and good china.

Cutlery and stainless steel can also be perfectly polished with it. The extremely absorbent microfiber cloths are just as powerful. However, when washing at 40 or 60 degrees, they must never get fabric softener on them, as the remains lead to the formation of streaks and the absorbency of the microfiber cloth is reduced by the fibers being pressed together. To ensure that dishes are cleaned as germ-free as possible, the tea towels should also be changed regularly. In addition, note how you can remove coffee and tea rims from cups.

4. When the dishes “take a hit”

If the enamel is broken, it is unfortunately not possible to have a flawless tableware appearance without a professional repair. If, on the other hand, water or dirt stains have formed over a long period of time due to incorrect treatment, which is becoming increasingly clear under the barely visible layer that is not so easy to remove, pure vinegar or citric acid can work wonders.

However, these household helpers, which can effectively replace almost all special chemical cleaners anyway, require a little more exposure time for stubborn dirt. Concentrated vinegar or vinegar essence with 75% water content or acetic acid is easily degradable and the somewhat unpleasant scent disappears in no time. However, this cleaner is powerful against calluses, grease, and limescale and even makes blind glasses and mirror surfaces shiny again.

For burnt pots or greasy pans, a dash of vinegar essence diluted with a soda can be spread over the surface with a sponge. After a short exposure time of about 10 minutes, this mixture, which has practically absorbed dirt and lime, can be easily washed off. Even stubborn burnt residues, such as those often found on grills or in ovens, can be removed in this way without having to scrub.

Sun-dried tomatoes are a great reminder of summer. We’ll show you three methods you can use to dry tomatoes yourself and make them durable.

If you want to dry tomatoes, you first need the right tomatoes: they should be fully ripe, as that is when they have the most flavor. It is best if you use tomatoes from your own garden. But local organic tomatoes, which are available on the market in summer, are also well suited. Regardless of which method you choose to use to dry the tomatoes, here’s how to prepare them:

Wash the tomatoes and cut out rotten spots and spots.
Skinning the tomatoes is sometimes recommended for drying with a dehydrator.
Chop the tomatoes depending on their size: With small cocktail tomatoes, halving them is enough. Larger tomatoes, on the other hand, should be cut into slices that are about half an inch thick.
Remove the juice and seeds from inside the tomato. This allows them to dry faster and you therefore need less energy and time. You can do without it with firm tomatoes that contain little juice.
You can now use the oven, a dehydrator or – under favorable conditions – the sun to dry. All methods have their advantages and disadvantages.

1. Dry tomatoes in the sun

Drying the tomatoes in the sun is the original method, which is still practiced in Italy, for example. Unfortunately, there are rarely enough hours of sunshine in this country. But if there are several consistently sunny days in a row in summer, you can try it. That is how it goes:

Place the prepared tomatoes, cut-side down, on a wire rack (such as a grill grate) or suitable trellis. Season with a little salt and other spices if you like.
Cover them with a close-meshed net to protect them from birds and pests. For example, you can use cheesecloth.
Place the grate well off the ground in a sunny and airy spot.
The drying process takes about three days. Meanwhile, you should turn the tomatoes several times. When it rains and also overnight, it is best to put the tomatoes inside.
You can recognize the finished tomatoes by the fact that they look shriveled and leathery. The drier the tomatoes end up, the longer they will keep.

Advantages:

You don’t need any energy to dry the tomatoes in the sun, so this is the best option from an ecological point of view.
Due to the slow drying at a comparatively low temperature, a particularly large number of healthy nutrients are retained.
Disadvantages:

In this country, the weather is usually not suitable for drying tomatoes in the sun.
Drying in the sun takes the longest.
Tomatoes, despite protection, can be attacked by pests.

2. Dry the tomatoes in the dehydrator

If you generally like drying fruits and vegetables, it might be worth getting a dehydrator. How to dry tomatoes with a dehydrator:

Brush the sieves with some oil to prevent the tomatoes from sticking to the dehydrator.
Place the tomatoes about an inch apart on the sieves and season with a little salt.
Dry the tomatoes. This can take different amounts of time from device to device. Some dehydrators have a temperature controller and a timer for this. It is most nutritious if you dry the tomatoes at less than 50 degrees.
After about ten hours the tomatoes are ready. You can tell by the fact that they take on a rubbery consistency.
Advantages:

You don’t need to turn the tomatoes as they dry.
Many dehydrators can dry the tomatoes at low temperatures and thus protect the nutrients.
Disadvantages:

Dehydrators cost money. Depending on the quality, you pay 30 to 400 euros.
Although most dehydrators use less electricity than the oven when drying, the electricity consumption is not low here either. There are, of course, economical and less economical devices.

3. Dry tomatoes in the oven

If the weather is not suitable for drying in the sun, you can also dry the tomatoes in the oven. How it works:

Preheat the oven to 90 degrees.
Place the chopped tomatoes about an inch apart on a greased baking sheet. Season with a little salt and any other spices you like.
Dry the tomatoes in the oven for about 6 hours, turning them several times. To allow the moisture to escape from the oven, you should stick a cooking spoon in the oven door.
Advantages:

Drying in the oven is independent of the weather.
You don’t need any special tools.
Disadvantages:

At 90 degrees, many nutrients are already destroyed. You can also dry the tomatoes at lower temperatures, but then the drying time will be correspondingly longer. Many ovens also become very inaccurate at low temperatures.
Since the oven has to heat up for several hours and heat constantly escapes through the open door, energy consumption is highest here.

Our conclusion

It’s best for the environment if you air dry the tomatoes. This variant is also nutrient-friendly, but the weather is rarely suitable for it and this method is certainly the most complex otherwise.

If you don’t want to rely on the weather, a low-power dehydrator is probably your best alternative. To make the purchase worthwhile, however, you should consider whether you will use it from time to time. A dehydrator is a device that can also be easily loaned out to the family or neighborhood. it could be worth buying and using together.

On the other hand, if you only want to dry your annual tomato harvest once, you can also use the oven. In order to at least limit the energy consumption here, you should juice the tomatoes well before drying. Finally, in all cases, we recommend that you take tomatoes that have been harvested in the region during the summer and that do not come from a heated greenhouse.