Tag

have

Browsing

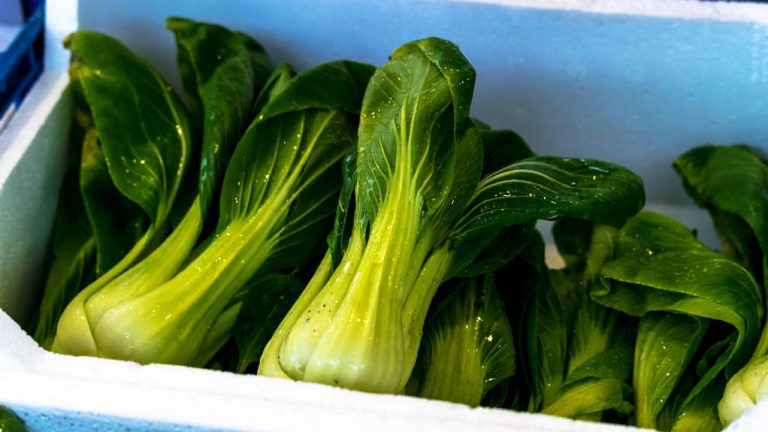
To fry Pak Choi, you only have to pay attention to a few points. We’ll show you how to prepare the delicious Asian cabbage in a pan or wok.

Pak Choi, or Bok Choy or Pak Choy, is related to Chinese cabbage and is particularly popular in Asian cuisine. The vegetable looks similar to the local chard, but has its own taste with a mustard note. In this article you will find out how to fry pak choi deliciously.

Frying Pak Choi: Preparation

Basically, it is very easy to prepare Pak Choi in a pan or wok. Before you can start roasting, you must first prepare the cabbage:
Cut off the base of the stalk so that the leaves come loose one by one. If necessary, remove wilted leaves.
Wash each leaf thoroughly with water. To dry them off afterwards, you can shake them off or use a salad spinner.
Separate the leaves from the stems by either plucking them off or cutting them off with a knife. Keep the leaves separate from the stems, as you don’t want to add them to the pan at the same time afterwards.
Cut the stems and leaves into bite-sized pieces. Since the thicker stems in particular need a little longer in the pan, you can cut them a little finer.

Frying Pak Choi: This is how it’s done with a pan or wok

After you have washed and cut the pak choi, you can fry the cabbage. In Asian cuisine, the wok is usually used for this. In this you can serve Pak Choi particularly crispy. If you don’t have a wok, you can also fry the cabbage in a normal pan.

In Asian cuisine, pak choi usually goes into the wok with many other ingredients – for example other vegetables and diced tofu. But you can also serve Pak Choi separately with a side dish. The only important thing is to fry the stems first, as they take longer to cook.

How to fry pak choi:
Heat some oil in a pan or wok. In principle, you can use any oil that is suitable for frying. The Pak Choi is particularly tasty with sesame oil.
Then first put the chopped stalks into the pan and fry them for about three minutes.
Then add the leaves and fry them for about one, maximum two minutes.
Take the pan off the stove and season the fried pak choi with salt, pepper and some soy sauce.
Variations: Of course, you can also season Pak Choi creatively. Depending on your taste, some chilli paste, lemon juice, roasted sesame or peanuts are suitable.

To peel cucumbers or not? Many people face these questions when they want to prepare a cucumber. We’ll show you the pros and cons and whether it’s really necessary to peel the cucumber

Many consumers are unsure whether they should peel the cucumber. There are several reasons to peel the cucumber:

There are a number of vegetables such as carrots or beetroot that are usually peeled off before eating.
Another reason is that consumers bought the cucumber without plastic packaging in the supermarket and are afraid that there are microorganisms on the skin.
The cucumber is damaged on the peel.

peel cucumber? That speaks against it

There are good reasons not to peel the cucumber:
The skin of the cucumber contains a relatively large number of vitamins and minerals. They are very important for the body and you should therefore eat them. However, one cucumber is not enough to cover your daily requirement: 100 grams of cucumber, for example, contain an average of 160 milligrams of potassium – you need 4000 per day. In addition, the cucumber also contains vitamin K (16 of 60 µg per day).
Dietary fiber, which is important for digestion, is also mainly found in the peel. 100 grams contain about 0.5 grams of fiber – you need about 30 per day.
By scrubbing and rinsing the cucumber under running water, you can easily remove any bacteria that might be on the cucumber. However, detergents or sprays are superfluous.
If you buy organic cucumbers, you can avoid many pesticides. Because synthetic sprays are forbidden in organic farming. The organic seal provides orientation.

cucumber is healthy

The cucumber is a summer vegetable: its main season  is between July and September. Whether peeled or not: Cucumbers are tasty and also help to improve the fluid balance on hot days. Because they consist mainly of water.

The nutrients of 100 g of cucumber:

12 calories of energy
0.2 grams of fat
0.6 g proteins
1.8 grams of carbohydrates
0.5 g fiber

Tip: Sliced ​​cucumbers taste good with a dip or in a salad, for example.

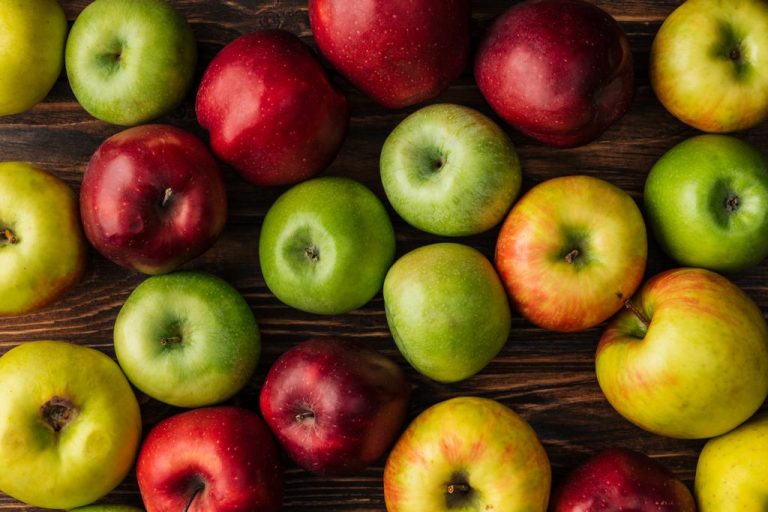
If you store apples correctly, they stay fresh and tasty longer and can even be stored for many months – just like grandma used to do! Utopia tells you what you should consider here.

Why is proper storage of apples important?

The ripening process of an apple continues even after it has been picked and the texture of the harvested fruit changes. If you store apples incorrectly, they can overripe, rot, or dry up.

In order to avoid food waste, save money and simply enjoy the healthy fruit for longer, you should follow a few tips and store apples correctly.

Store apples separately from other fruit

Anyone who has ever put together a decorative fruit basket with apples, bananas, plums or pears knows how quickly the fruit ripens.

Apples give off the plant hormone ethylene, which causes the other fruits to ripen faster or even rot. Potatoes also suffer if they are stored with apples – they become shriveled and old faster. Therefore, you should always store apples separately.
You should also make sure to keep your apples cool and dark, ideally in a closet or basement. The vegetable drawer in the refrigerator is also suitable, but it should not contain any other fruit and vegetables because of the ethylene. The fridge shouldn’t be too cold either, because apples don’t tolerate frost.
If you still have old plastic bags at home, you can also use these for storage: the film retains moisture and the fruit is protected from drying out. But make sure that not too much water accumulates in the bag.

Stock up on apples to keep them fresh through the winter

With a few tricks, you can not only store the apples for a few days or weeks, but make them durable for the whole winter or even until the next harvest in autumn. This is far more ecological than buying imported apples from overseas.

Keep the following points in mind when storing apples:
Find a dark, cool storage place with a constant temperature – preferably between three and four degrees Celsius. For example, a basement compartment, a garage or a shed is suitable. Under certain circumstances, an unheated hallway or a cool pantry may also be suitable.
Make sure there is enough humidity so that the apples don’t dry out and shrivel up. For example, regularly set out bowls of water or loosely cover the apples with a perforated plastic wrap, if you have one. In this way, moisture is retained, but excessive condensation can escape.
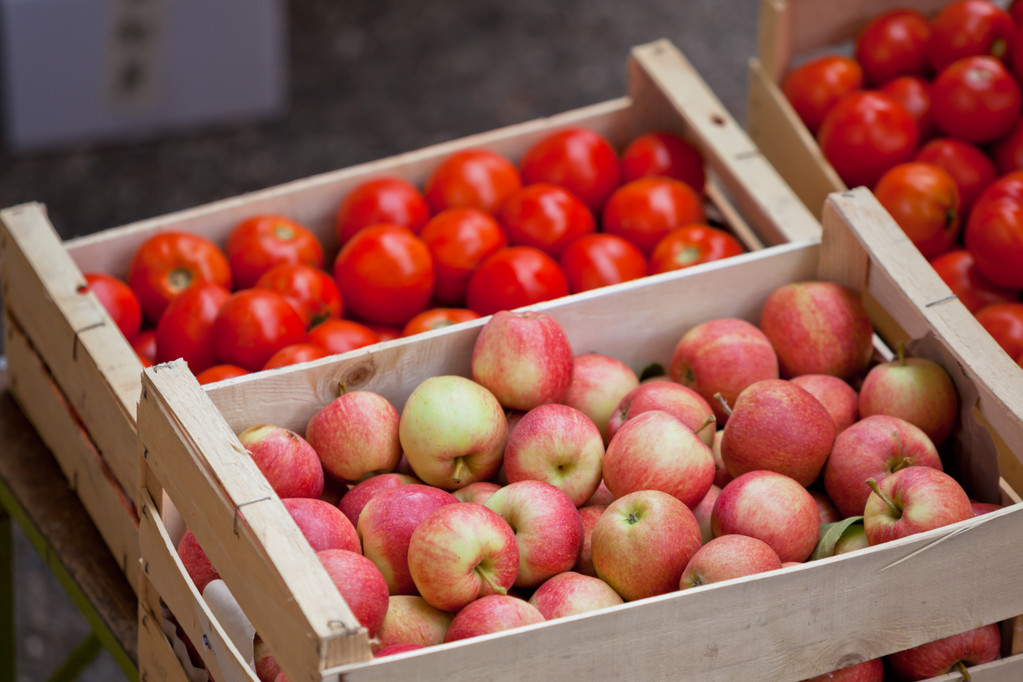
At the same time, make sure there is enough air supply so that the apples don’t get moldy. If you’re storing them in wooden crates, only put one layer of apples per crate and make sure the fruit doesn’t touch each other. Boxes with side or bottom slots are particularly suitable.
If you store your apples in a shed in the garden, be sure to protect them from frost and rodents, such as mice!
Before storage: Only choose apples that are in good condition for storage – i.e. only fruit without bruises, signs of eating or rot. It is best to store the apples with the stem.

It actually seems clear that sugar is vegan – it is obtained from plants such as sugar beet or sugar cane. In some cases, however, sugar is refined with animal substances. We explain when sugar is vegan – and when not.

Sugar is often hidden in processed foods in particular. But the sweetener is also often used in your own kitchen, when baking or for coffee or tea. Even vegans do not do without sugar, since the food itself is purely vegetable. A closer look reveals, however, that this is not always entirely true. In some cases, animal substances are used in production.

Sugar is vegan – but not always

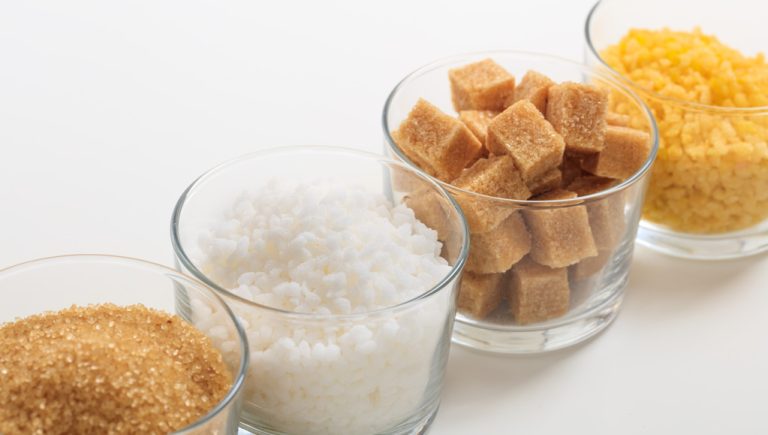
Sugar is usually obtained from sugar beets or sugar cane and is therefore a plant-based food. Animal charcoal is sometimes used to make refined sugar.

Refined sugar is a particularly white, pure sugar that is almost 100 percent sugar and contains no trace elements or by-products. In order to obtain this, the sugar is also filtered and decolorized in addition to various other processing steps. Various substances and means can be used for this process – including animal charcoal.

Animal charcoal, also known as carbo animalis, is an activated charcoal made from animal products such as bones, blood, or skin. Since these occur in large quantities as slaughterhouse waste products, animal charcoal is a particularly cheap filter material.  Alternatively, sugar is refined with activated carbon from other raw materials or kieselguhr.

Recognizing vegan sugar: you need to know that

Animal charcoal does not have to be specified on the packaging as a production aid. It is therefore not clear by what means the sugar was processed and refined.
To be on the safe side, you have two options:

Ask the sugar producer directly whether or not they use animal products in their production.
Skip refined sugar and buy whole cane sugar instead.

Whole cane sugar has even more advantages over refined sugar: Since the molasses with its valuable minerals and vitamins remains in the sugar, it is considered the healthiest type of sugar.

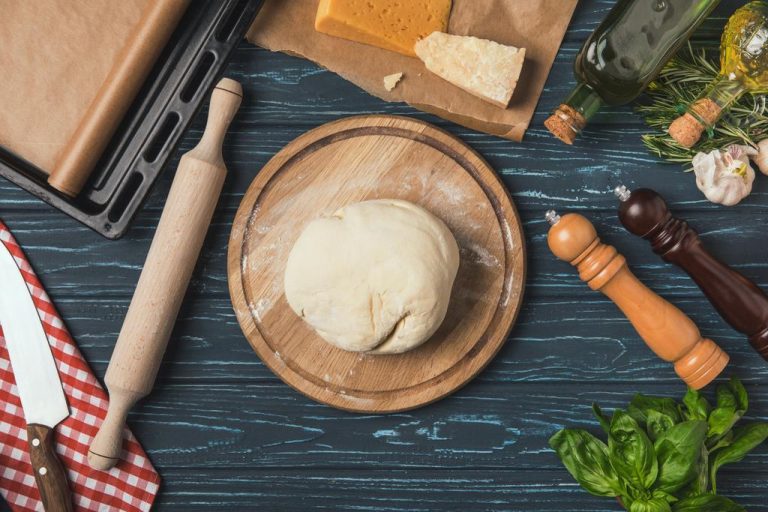
Freezing pizza dough is useful if you have misjudged the quantity or want to build up a small supply. We’ll explain how to freeze.

Freeze pizza dough in portions

Ideally, you freeze the pizza dough before it has risen – this way the pizza doesn’t get soggy. If you’ve made a lot of pizza dough, you should freeze the dough in the portions you need for one pizza at a time.

When freezing, it is important to pack the dough airtight. This works with cling film or freezer bags, but for the sake of the environment and your health you should avoid plastic. A good plastic-free alternative is a beeswax wrap.

You can freeze pizza dough particularly well in a cake tin: Roll out each portion of dough into a circle and place them in a round cake tin. Always put a layer of baking paper between the flatbreads (you can use the baking paper later).

Then you pack the whole thing airtight, for example in wax paper. The advantage of this method: You can take individual pizza bases straight out of the fridge. They thaw faster thanks to their flat shape and you don’t have to roll them out after freezing.

thawing and shelf life

Well packaged, the pizza dough can be stored in the freezer for up to three months. That’s enough to create a small supply.

You should defrost the dough slowly, ideally over a few hours or overnight in the refrigerator. This allows the pizza dough to rise again. If it has to be quick, you can save yourself the hassle, the pizza will be a bit crispy.

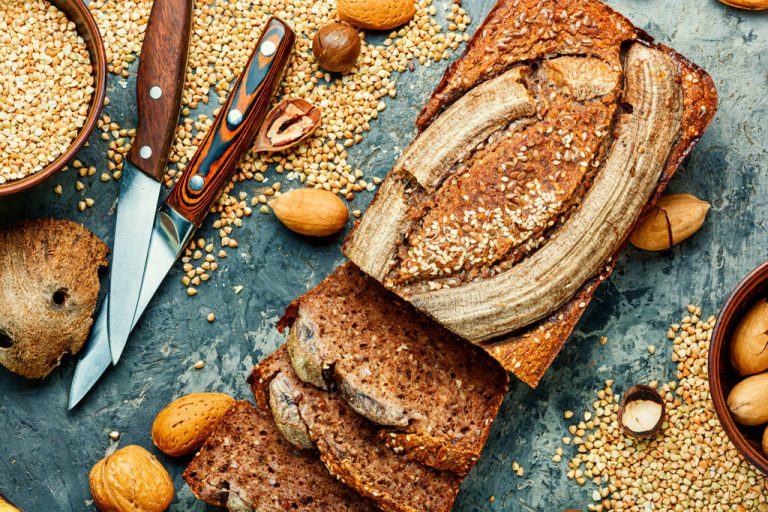
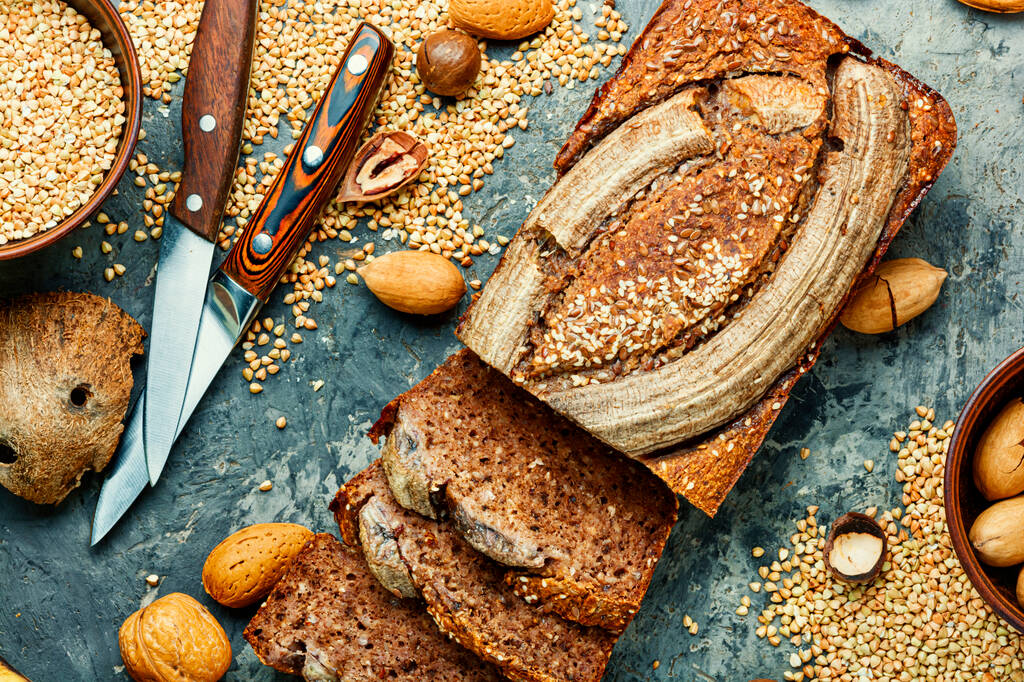
Baking alkaline bread is not difficult and does not take long. We present three recipes with which you can bake the healthy and low-acid bread in your kitchen.

Alkaline bread differs from conventional bread in the way it is made: For alkaline bread, the grain must first begin to germinate before it is crushed. The baking result most closely resembles crispbread. Basic bread is said to prevent an overly acidic diet. However, this has not yet been scientifically proven.

The big advantage is rather that with basic bread you do without unhealthy foods such as white flour or sugar.

Alkaline bread can consist not only of germinated (!) grain, but also of germinated oilseeds such as pumpkin seeds or sesame. In addition to herbs and spices, fruit and vegetables can also be part of alkaline bread. This works for example with bananas, zucchini and celery.

We recommend that you use organic food from regional suppliers for the following recipes. In this way you can support food with a low transport distance and a good carbon footprint.

Bake basic bread: Recipe for buckwheat bread

The first recipe is for a basic bread with grains. You can prepare it with chia seeds or alternatively with sunflower seeds or sesame:

You need these ingredients for a buckwheat bread:

500 grams of buckwheat flour
2 tbsp chia seeds
120 grams of buckwheat
100 g pumpkin seeds
3 tsp honey
450ml + 440ml + 400ml water
50 g amaranth
3 tsp sea salt
some olive oil
You should start preparing your basic buckwheat bread the day before:

Soak the buckwheat and pumpkin seeds in a glass of water in the morning. Use about 440 milliliters, twice as much water as seeds. Then let them dry overnight. The best way to do this is to spread the seeds out on a baking sheet lined with baking paper and place them on the heater.
Soak the chia seeds in a glass filled with water overnight. The chia seeds should be completely covered with water. Use about 400 milliliters of water for this.
Preparation:

Puree the buckwheat grains and pumpkin seeds in a blender and then set them aside for a moment.
Blend the soaked chia seeds and water again in the blender.
Now put the chia seeds, buckwheat, pumpkin seeds, honey, water, sea salt and amaranth in a bowl and stir vigorously with the buckwheat flour.
Spread the batter on a greased baking sheet.
Let the basic bread dry in the oven at around 40 degrees for eight hours.
Turn the bread and let it dry for another eight hours, then it will have the right consistency.
Tip: If you like, you can sprinkle your bread dough with sunflower seeds or sesame seeds before you put it in the oven.

Baking basic bread: A sweet variant

You can bake sweet basic bread with the help of fruit, sweet spices and nuts. How about a sunflower seed bread with banana and cinnamon?

You need these ingredients:

500 g wholemeal flour
100 g sunflower seeds
150 grams of flaxseed
1 liter of water
1 banana
3 tsp honey
3 tsp vanilla
3 tsp cinnamon
some sunflower oil
How to prepare this basic bread:

Fill a jar with 1 liter of water and let the sunflower seeds and flax seeds soak in it overnight.
Then let the seeds dry for a few hours without the water.
Puree the dried sunflower seeds and flaxseeds.
Peel the banana and cut it into small pieces.
Put the banana, honey, vanilla and cinnamon in the blender and blend until smooth.
Mix the seeds, the mixture from the mixer and the whole wheat flour.
Spread the batter on a greased baking sheet.
Let the basic bread dry in the oven at around 40 degrees for eight hours.
Turn the bread and let it dry for another eight hours, then it will have the right consistency.

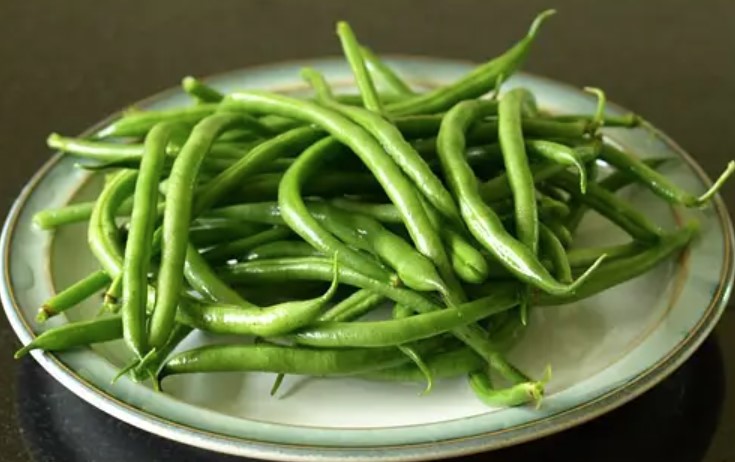
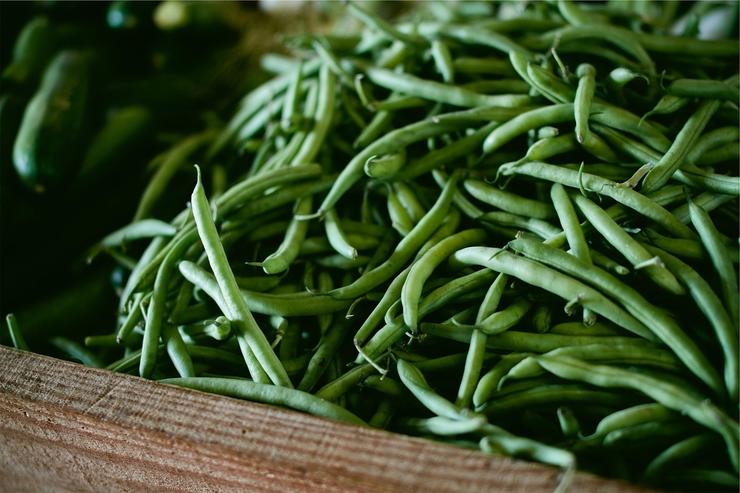
With their good nutritional values, green beans are a healthy legume from the region. In this article you will find out which nutrients are in the beans and how healthy they are.

The green bean is also called garden bean or beans and grows as bush or pole beans. Originally from Latin America, it has been cultivated in Europe since the 16th century. As a legume, it binds nitrogen from the air with the help of bacteria on the roots, which is why it also thrives on nitrogen-poor soils.

As a regional legume, green beans are in season in Germany from July to October. We will explain to you what nutritional values are in the bean and how healthy it is.

Green beans: nutritional values ​​at a glance

Like all legumes, green beans are a good source of plant-based protein and fiber. In addition, the bean contains vitamin B2, vitamin B6, vitamin B7 and beta-carotene, the precursor of vitamin A. When it comes to minerals, they contain significant amounts of potassium, calcium and magnesium. (Source: Apotheken Umschau)

Due to the high proportion of B vitamins, green beans contribute to a healthy metabolism and a strong nervous system. The minerals it contains are important for healthy muscles, bones and teeth. Green beans provide a long-lasting feeling of satiety, but can sometimes lead to flatulence and other digestive problems. Read the next section to find out how to prevent this.

Green beans – nutritional values per 100 grams:

Calories: 33 kcal
Carbohydrates: 5g
Fat: traces
Egg white: 2.5 g
Minerals:

Potassium: 225 mg
Calcium: 65 mg
Magnesium: 25 mg
Phosphate: 35 mg
Beta carotene: 320 mcg
vitamins:

Vitamin B1: 76mcg
Vitamin B2: 111mcg
Vitamin B3: 570mcg
Vitamin B5: 500mcg
Vitamin B6: 264mcg
Vitamin B7: 7mcg
Vitamin B9: 56mcg
Vitamin C: 20 mg

Healthy beans: Important tips for preparation

In addition to the healthy nutritional values, green beans also contain lectins such as the protein phasin. This is difficult to digest and is considered toxic to humans. That’s why you should never eat green beans raw, but always cook or boil them sufficiently: heating destroys the dangerous protein compound. According to the Bavarian Consumer Advice Center, you should cook, boil or blanch green beans for at least ten minutes. Important: pour off the cooking water, as this is also poisonous.

To prevent digestive problems such as flatulence, you can add caraway and/or fennel (seeds) to the dish. Alternatively, you can also prepare a caraway tea or tea made from fennel or aniseed and drink it after the meal.

Recipe ideas: In separate articles we will show you how to prepare bean salad and other green bean recipes.

Many people wonder whether pretzels are vegan at all. After all, many foods contain animal products that we would not suspect. How about the pretzel?

Pretzels are not always vegan

A pretzel traditionally consists of a lye dough, i.e. flour, yeast, water, salt and baking soda for the lye. In some regions and in some bakeries, traditionally prepared pretzels also contain lard. This makes the dough smoother and the machines can process it more easily. Especially with fresh dough that has not rested for long, the lard helps with further processing.

Today, however, many bakeries do without the lard and use butter or vegetable fat instead. If butter is used, the pretzel is no longer vegan, but at least vegetarian.

How do I recognize vegan pretzels?

The use of pork fat or butter does not have to be labeled. As a rule, however, bakeries have lists of ingredients on hand so that they can also provide information in the event of allergies. Here it helps to simply ask for the list of ingredients. You can also find ingredient lists online at larger bakeries.

Some bakeries also label pretzels with “vegan” on the price tag. The V-Label identifies vegan products reliably and transparently.

You can be absolutely sure when you bake pretzels yourself.

Do pretzels contain egg?

In some Internet forums you can read again and again that pretzels are coated with egg. They should then look nicer and browner. However, the browning is caused by the bath in caustic soda and the subsequent baking of the pretzel.

Olive oil is a healthy and tasty Mediterranean cooking oil. It just can’t get too hot. Here we tell you what you should pay attention to when heating olive oil.

Heat olive oil: tips for cooking, braising, baking and frying

Whether you want to fry onions until translucent, season a pasta sauce to taste, or brush a pumpkin in the oven with the popular oil in autumn: you can use most olive oils – including good “extra virgin” quality olive oils.

As long as the olive oil is cooking, stewing or baking in the pot with vegetables or other water-containing foods, it hardly gets hotter than 100°C.
You can even fry in olive oil as long as you use a temperature controlled fryer and don’t set it above 180°C.

Be careful when frying: do not let the olive oil get too hot

In fact, there are few situations where olive oil can actually burn and lose both its great taste and health-giving properties. For example, if you want to sear something to create roasted aromas.

The so-called smoke point of olive oil is around 180°C. Beyond this temperature, the oil burns and not only loses its healthy components – dangerous and sometimes carcinogenic by-products such as the toxic acrolein are also produced.

If it must be olive oil, only hot-pressed, refined olive oil would be suitable for searing. This is heat-resistant at temperatures of up to 220°C. During hot pressing, however, a large part of the aroma and the health-promoting properties of the oil are lost.

In summary – what should be considered when heating olive oil?

Here are a few things to keep in mind when heating olive oil:

Combined with vegetables or other water-containing foods, olive oil does not burn.
With a temperature control, you can even use olive oil for frying at a maximum of 180°C.
For temperatures higher than 180°C, you should use hot-pressed olive oil or other cooking oils.
If you want to get the most out of your olive oil, both in terms of taste and health, you can add it at the end of the recipe to refine it. Organically grown olive oils from cooperatives are best for the environment and producers. However, since it is such a coveted raw material, consumers are often misled.

There are almost countless methods and variants of coffee types. If you have to make a decision, it can be very difficult. We have put together the most important ones for you.

What it may be? Coffee types with milk – they are not all the same!

Coffee is coffee, you might think. If you order a latte in a café, for example, you might be served a café au lait in one and a café macchiato in the other, because although both types of coffee are made of coffee and milk, there are still differences – both in terms of taste and what it is preparation is concerned.

Let’s start with the popular and at the same time easy to prepare milk coffee. This type of coffee usually consists of filter coffee with a little milk. There aren’t many more regulations when it comes to milk coffee.

However, it is different with the other types of coffee with milk: French café au lait is also made from filter coffee and hot milk, but you have to be a little more precise here: 50-50 is the mixing ratio and both components should also be filled into the cup at the same time . The Frenchman also has clear ideas when it comes to the cup: Strictly speaking, the café au lait is not drunk from a classic cup, but rather from a drinking bowl.

The ratio of milk to coffee is also precisely defined in the Italian counterpart, the cappuccino: one third espresso diluted with hot water, one third milk and, to top it all off: a topping of milk foam, which should also make up one third.

The latte macchiato consists of these three ingredients. Here, however, great importance is attached to the correct preparation, or to be more precise, the sequence: hot milk, milk froth and finally the espresso – albeit in the undiluted form here – is allowed to flow very carefully into the glass. This brings us to the next point that distinguishes the latte macchiato from the cappuccino: A latte macchiato is served in a tall, usually thin glass with a long-handled spoon.

Filter coffee, mocha, espresso, instant coffee – for those who like it black

Those who prefer not to use milk in their coffee can also choose from a considerable selection of different types of coffee.

Filter coffee is still very popular with us, it has even recently experienced a real comeback.

If it has to be quick, you can also use instant coffee. The fast-dissolving type of coffee, which only requires hot water, is also available as decaffeinated coffee.

However, for those who prefer to celebrate their coffee hour, the classic Turkish mocha is probably the right choice: fine coffee powder is brought to the boil with water in an open pot, the so-called ibrik, briki or cezve. It is important with this type of preparation that the mocha should boil not just once, but twice. Then comes the trick: before you pour the coffee – mind you, along with the powder – into a cup, add some cold water. The reason? The powder should settle more quickly at the bottom of the can.

Another classic coffee variety is Epsresso. It is available in several variants. Contrary to popular belief, however, it is no stronger than conventional filter coffee. However, if you want a caffeine kick, you can use the espresso doppio, because here you have two espressos in one cup. On the other hand, if you prefer the gentle version, the espresso lungo is suitable, because it usually consists of twice as much water as the original.

So now all you have to do is decide…