Tag

here’s

Browsing

More and more people appreciate the original coffee taste of filter coffee. In particular, the hand filter method is more popular than ever. You can read everything about the preparation and its advantages here.

What is hand filter coffee?

If you want to prepare a coffee with the hand filter, you only need two utensils: the filter holder and a filter. In addition, of course, the appropriately ground coffee powder and hot water are required for the preparation. Hand filter coffee is characterized by a clear aroma and full-bodied taste. The difference between filter coffee and hand filter coffee is already evident in the name. While normal filter coffee is usually prepared in a machine and the brewing process runs automatically, with hand filter coffee the water is poured over the ground coffee by hand.

This is how you prepare the perfect hand filter coffee

The hand filter method is a little more complex than the automated brewing process with the coffee machine. It takes several manual steps and of course your time. But it’s worth it. We explain how to brew hand filter coffee correctly.

Ingredients needed for one liter:

60 grams of ground coffee with a medium degree of grinding
1 L of water with a temperature between 93 and 96 degrees

Step 1: grind beans

For the preparation with the hand filter, the beans should be ground to a medium degree of grinding. The coffee powder is perfect when it is a little finer than for the French Press, but not as fine as for an espresso. The ground coffee should be as fresh as possible so that the extraction process works optimally. In addition, the ground coffee loses more and more aromas the longer it has been roasted and ground. The reason for this is oxidation.

Step 2: Fold filter paper, insert and rinse

First fold the filter paper at the lower end. Why? It’s very simple: the filter fits exactly into the filter holder due to the buckling. So there is no slipping that could cause coffee powder to get into the drink. Then insert the paper filter into the hand filter. Before brewing, the filter should be rinsed once with boiling water to remove any flavors.

Step 3: Add ground coffee

Put the ground coffee into the filter. Pay attention to the crowd. For one liter of coffee you need about 60 grams of powder. For a cup with 250 ml you calculate with about 15 grams of coffee powder. How many spoons that is depends on the size of your spoon. Just weigh the amount and you have the perfect dosage of coffee spoon to ground coffee.

Step 4: Boil water and let coffee swell

Boil the water, ideally it should be between 93 and 96 degrees. There is a reason for this: the coffee beans contain oils. At the specified water temperature, these combine best and ensure an aromatic taste. In the first step, pour enough water onto the coffee powder until it is completely covered. Now the coffee begins to swell, which is also called “blooming”. This “pre-brewing,” where small bubbles appear, should last about 30 seconds.

Step 5: Top up with water

After about 30 seconds, slowly pour the remaining water into the filter in a circular motion. Gradually add more water to the filter until you have the desired amount in the jug. When pouring the water, make sure that the ground coffee is wetted and not the edge of the filter. This prevents the water from running past the powder. It should take a total of two to four minutes – depending on the amount of water – until you have poured the liquid completely over the ground coffee.

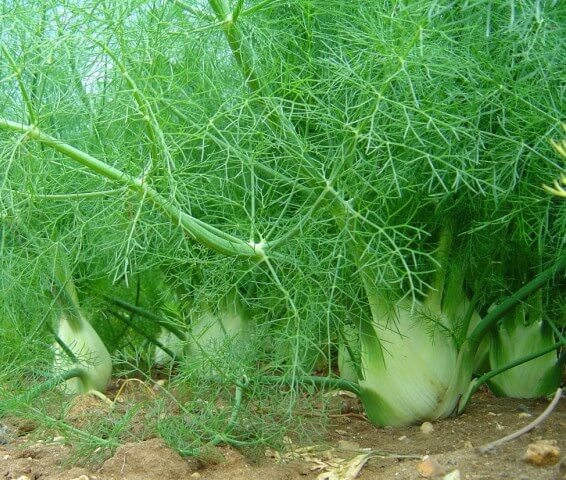
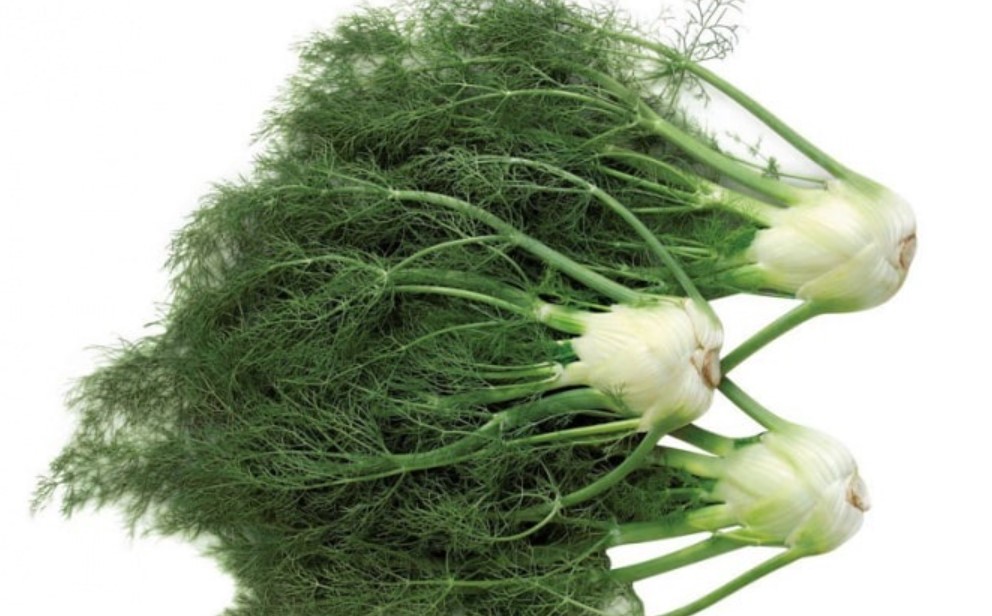
Fennel green is healthy and brings a lot of aroma. Instead of throwing it away, you can use it to flavor many dishes. You can find out how to use it and how to make a delicious fennel green pesto here.

Almost all parts of fennel are edible: apart from the hard stalk, you can use everything it has to offer – even the green fennel. It’s too good to end up in the trash. Because fennel green not only tastes very spicy, but is also healthy.

In Germany, the fennel season runs from June to November. Outside this period, the vegetables come from Mediterranean countries such as Spain and Italy.

Fennel green is so healthy

Fennel is considered an extremely healthy vegetable. It contains many minerals such as calcium, potassium, magnesium and iron, which, among other things, ensure strong nails, healthy hair and strong bones. In addition, it provides vitamins A, C, and B, as well as essential oils.

A study found that there are even more minerals in the green fennel than in the tuber. In addition, fennel green contains omega-3 fatty acids, including α-linolenic acid, which according to the study should have anti-cancer properties.

Various essential oils have also been detected in fennel greens, including anethole, which is considered to be expectorant and slightly antibacterial.

100 grams of fennel green have the following nutritional values:

Energy: 84 kcal
Carbohydrates: 18.44 g
Protein: 1.16g
Fat: 0.6g

Here’s how you can use fennel greens

Especially in summer you can get particularly fresh fennel from the region. Not only the tuber is then suitable for many delicious dishes, you can also process the fennel green. We present you a recipe for fennel green pesto. In addition to the pesto, you can also try the following ideas with fennel greens:

Use it like parsley and season fish and meat dishes with chopped fennel greens. But the spicy aroma also goes well with salads and vegetables such as kohlrabi and cauliflower.
Top various dishes with fennel greens, for example bread topped with cucumber.
Try a classic Italian dish with fennel greens: pasta with fennel.
Tip: Find out the right dosage of fennel herb. The intense taste can quickly ensure that other flavors are masked.

Save the fennel greens

Like any herb, you should also use fennel greens as soon as possible, because it tastes the most intense fresh. If the herb looks limp and wilted, it is no longer fresh. However, if you have more fennel greens than you can use right away, you can store them for a few days. This is the best way to do it:

Pluck the fennel greens from the stalks.
Fill an oblong container with cold water and place the fennel greens in it.
Seal the container and put it in the fridge – but not in the back where it’s coldest. There it can get too cold for the fennel greens.
Alternatively, you can freeze fennel greens:

Pick off the green fennel, chop it finely and fill it into ice cube trays.
Fill them up with oil and freeze them.
You can thaw the ice cubes for salad dressings, for example.

Recipe for fennel green pesto

Ingredients:

150 g green fennel
3 EL pine nuts, toasted
20 g Pecorino (optional yeast flakes as a vegan alternative)
100 mlorganic olive oil
salt to taste

Directions:

Wash the fennel greens and dry them well with a clean kitchen towel. Pick the fennel greens from the stalks and chop them finely.
Finely chop the pine nuts and grate the pecorino cheese. You can also use yeast flakes as a vegan alternative to pecorino.
Mix together the fennel greens, cheese or nutritional yeast, pine nuts, and oil. Season the pesto with salt.
Pour the pesto into a sealable jar and keep it in the fridge. Tip: If the aniseed flavor of the fennel herb in the pesto is too intense for you, you can replace half with parsley or carrot greens.

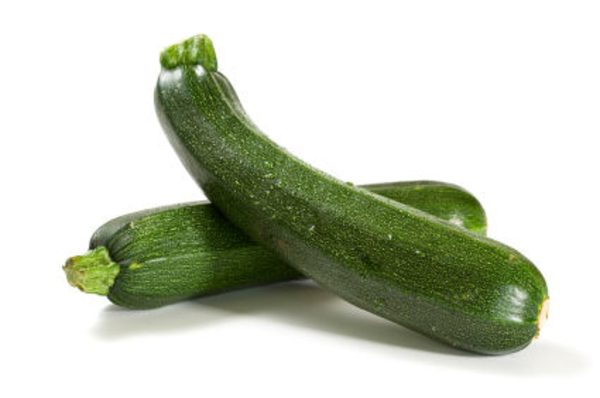
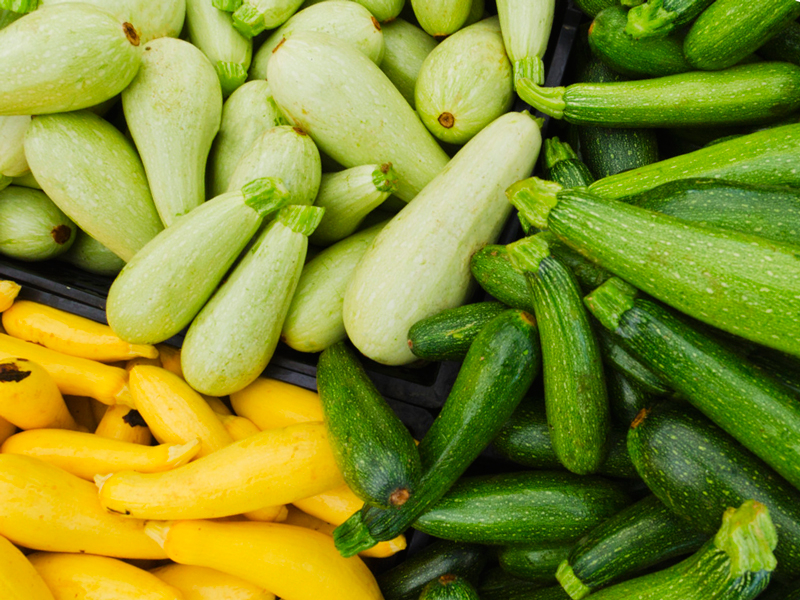
You can easily freeze zucchini and use it for cooking when it is not in season. You can do without plastic freezer bags – we will show you suitable alternatives.

Freeze zucchini: 12 months shelf life

Since zucchini is a seasonal vegetable, you should buy and freeze it from regional cultivation and organic quality during the season (June to October in Germany). So you can enjoy the summer squash all year round.

The courgettes will keep in the freezer the longest if you don’t cook them first:

Wash the courgettes and cut them into cubes or slices.
To keep your zucchini crunchy when defrosting, sprinkle them with a little salt. The salt draws moisture from the zucchini, making it easier to freeze.
After a few minutes, some water will form on the zucchini pieces. You can dab this off after five to ten minutes.
Then put the zucchini pieces in a screw-top jar and freeze them.
Frozen zucchini will keep for at least 12 months and retain their flavor.

Freezing zucchini cooked: what do you have to pay attention to?

Freezing cooked zucchini is especially worthwhile if you overcooked it. Then you don’t have to throw away the leftover zucchini. Again, you can put the zucchini in a screw-top jar to freeze them.

To prevent the zucchini from getting mushy when defrosting, you should defrost them very slowly at room temperature. Then heat them up briefly in a saucepan or pan.

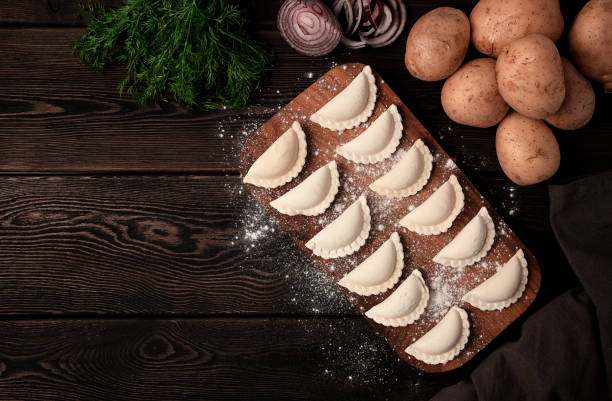
Fruit dumplings are simply delicious! We would love to have plum, apricot, or strawberry dumplings all year round. The good news: Sweet dumplings made from potato or curd dough can also be frozen wonderfully. We’ll tell you the best way to do it.

Freeze and finish dumplings properly

Place the dumplings at a distance from each other on a baking sheet and pre-freeze them so that they don’t stick together, then simply place in portions in cans or freezer bags and freeze.

To finish, place the dumplings, not thawed, in the boiling, lightly sugared water, allow them to rise, and allow them to steep for 15-18 minutes.

Meanwhile, prepare the butter crumbs.
Lift the dumplings out of the water, drain, roll in the buttered crumbs, and serve sprinkled with icing sugar.

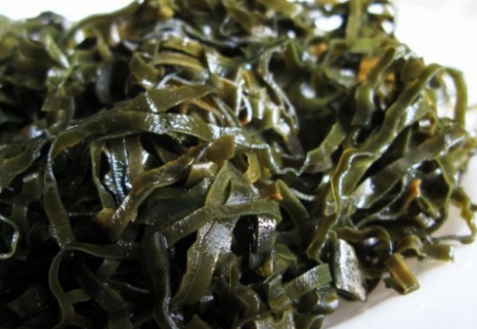
Sea kale is a native plant that grows mostly along coasts. With a little skill, you can also plant and harvest the cabbage in your own garden.

Sea kale, also known as beach kale, is native to the coasts of northern and western Europe. It used to be plentiful, but now stocks have dwindled. Therefore, the wild sea kale may no longer be collected.

Sea kale grows between 30 and 75 centimeters high and up to 80 centimeters wide. The plants form clumps and can be easily recognized by their upright flower stalks.

If you also want to plant sea kale in your garden, you will find all the information you need below.

Sea kale: location and sowing

As with all plants, the same applies to sea kale: if you want it to thrive, you have to find the right location for it before planting. Growing wild, it prefers salty coastal soils, but it also adapts to garden soils. It is important that you plant it in a sunny location and that it has no direct plant neighbors. The location should also be airy and as free as possible. As for the substrate, sea kale feels most comfortable in sandy, well-drained soil. It also accepts stony, loamy soil – but only if you loosen it regularly.

Once you have found a suitable place, you can start sowing. The best time to do this is in the spring.

Obtain sea kale seeds from a garden supply store. Preferably use organic seeds.
Soak the seeds in water for a day.
Prepare a few seed trays and fill them with potting soil.
Press the seeds about an inch deep into the soil.
Place the planters in a light spot, but not in direct sunlight.
Keep the soil moist.
After about three to four weeks you can separate the plants and plant them outdoors. Keep each plant about 50 centimeters apart so that they have enough space to flourish.

Caring for sea kale properly: This is how it thrives

Overall, sea kale is a very low-maintenance plant. In the time after planting you should provide it with sufficient water. But make sure that it doesn’t get waterlogged, because it doesn’t tolerate that.

After about a year the plant has grown well. From then on, the sea kale can provide itself with water from the ground and you don’t have to water it additionally. You should only give it some water in extremely hot and dry phases.

The sea kale supplies itself almost exclusively with water, but not with nutrients. It has a relatively high nutrient requirement, which is why it is worth mixing some compost or manure into the soil every year in autumn or spring. If you want to harvest sea kale regularly, you should provide it with slow-release fertilizer.

Sea kale: How to use it properly

Don’t harvest your sea kale in the first year of planting. From the spring of the second year you can get started.

Sea kale is a so-called bleaching vegetable, so you must bleach it before harvesting it. Bleaching refines the flavor of the sea kale and makes it less bitter. To do this, put a large pot or something similar over the root base in February. Due to the deprivation of light, the plant does not form any chlorophyll and therefore does not turn green. About four weeks later you can harvest the first shoots.

You can cook them like asparagus and, for example, use them as a vegetable side dish, in salads or in lasagnes and casseroles.

After bleaching, remove the pots and let the sea kale continue to thrive. After a few weeks, you can then harvest the flower buds. You can prepare these just like broccoli.

By the way: It is best to leave a few flowering shoots. Not only the gardener’s eye is happy about this, but also the bees in your garden.

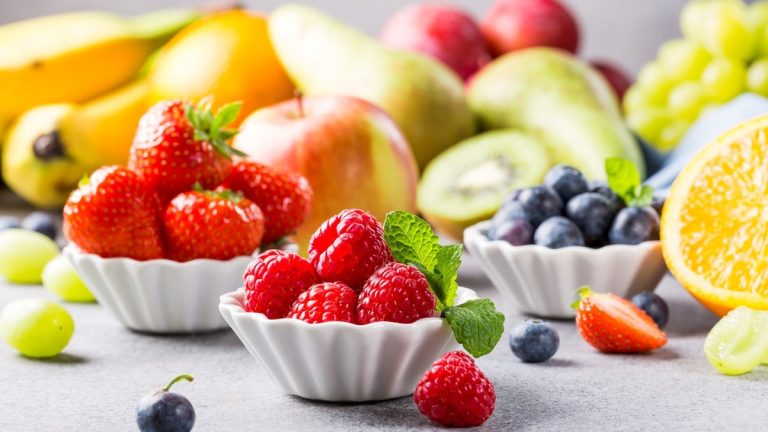
Don’t buy fruit but pick it yourself? That is possible because there is a lot of wild fruit that grows in Europe. In this article, you will find out what it is and how you can process it further.

Wild fruit in Europe: what, where, and when you pick it best

There is a lot of wild fruit in Germany that you can pick yourself. These include, among others:

Blackberry (May-June)
Elder (May-June: flowers, August-October: berries)
Pear (June-July)
wild plum (July-August)
Raspberry (depending on species; July-October)
Sea Buckthorn (August-October)
Quince (September)
Sloe (November-December)
You have probably already seen or heard of most of the varieties mentioned, but of course there are also some other varieties that are not so common.

Once you have found out what sorts there are, you can go and pick them. However, there are a few things you should keep in mind:

While you are allowed to pick in public areas such as parks, forests and fields, it is forbidden in nature reserves and on designated private property. Also, try not to pick along roads or next to chemically treated fields, as the wild fruit you find there may be contaminated with pollutants
Harvest only fully ripe fruit, because once picked they will no longer ripen
Only take as much of the wild fruit with you as you really need to avoid unnecessary food waste.
So that you don’t go out completely without a plan and look for possibly edible wild fruit, there is a website called Mundraub. On the website you will find a directory of different places where you can find wild fruit. Herbs, nuts and groups of other “mouth predators” are also listed. You can also look out for trees or bushes that are marked with a yellow band. As a result, the private owners invite you to pick them, as they cannot eat the entire harvest themselves.

So you can plant wild fruit yourself

Instead of picking wild fruit from nature, you can also plant it yourself. Of course you need a (Schreber) garden for that. Then think about the following:

What wild fruit would you like to plant?
In what form would you like to do this, for example a hedge or a tree?
What are the requirements for the wild fruit you want to plant and how does it grow in the nest?
Once you’ve done that, you can start planting.

If you don’t have your own (allotment) garden, just a balcony, that’s no problem either. You can also plant wild fruit plants such as wild strawberries, blueberries or cranberries on the balcony. More on this here: Creating a balcony garden: Simple step-by-step instructions and growing fruit on the balcony and terrace.

Wild fruit recipes to try

When you harvest wild fruit fresh, you often end up with large amounts of fruit. You can process them in different ways.

The most common methods are in the form of jam, compote, cake, juice or jelly. You can also boil the fruit to make it last longer.

Some wild fruit varieties also help against certain ailments in processed form. For example you can:

Dry blueberries and then use them against diarrhea
Juice elderberry, which relieves feverish colds
Prepare sloe juice, which helps with loss of appetite

Eating parsley roots raw is not a problem, because the root vegetable not only tastes good as a soup ingredient. We present you a recipe for raw parsley root salad.

The parsley root is probably best known as a classic soup vegetable. No wonder, because it’s in season in the colder months. From the end of October to February, it provides us with valuable nutrients as a spicy ingredient in stews and soups.

The root vegetable, which is an old subspecies of parsley, contains, among other things, calcium, iron and vitamin C, as well as various essential oils. However, the levels of some of these nutrients, most notably vitamin C, are reduced when you cook the parsley root. You can find out more about the nutrients and effects of parsley root here: Parsley root: preparation, effects and nutrients.

However, you can also eat the aromatic parsley root raw. Raw, it’s as easy to prepare as a carrot. Raw parsley roots are particularly tasty when they are fresh. You can tell by the fact that the root is crisp, firm and smooth. Incidentally, smaller roots are more tender than large specimens and are therefore particularly recommended for raw food dishes.

We also recommend buying parsley roots organic whenever possible. This is how you support agriculture without chemical-synthetic pesticides.

Eating parsley root raw: How to prepare it

If you want to eat parsley root raw, first clean it like this:

Peel the parsley root with a vegetable peeler.
Cut off the ends.
Hold the turnip briefly under running water and dry it.
Cut them into cubes, slices or sticks, depending on their intended use.
You can enjoy raw parsley root raw with dips or add it to salads and smoothies. We present you a recipe for a delicious salad with raw parsley root, carrot, beetroot and apple.

Recipe: Salad with raw parsley root, apple, beetroot and hazelnuts

Ingredients:

500 gparsley root
250 g carrots
250 g beetroot
2 shallots
100 apples
1 handful of fresh parsley
4 tablespoons light balsamic vinegar
1 teaspoon sugar, maple syrup, or other sweetener
2 tablespoons of tahin or almond butter
Salt and pepper to taste
4 tbsp hazelnuts, toasted

Directions:

Peel the parsley root, carrot, and beetroot.
Either cut the vegetables into fine strips or grate them.
Peel the shallots and chop them finely. Wash the apple and cut it into small pieces. Wash the parsley and roughly chop it. Mix the vegetables and apple together.
Prepare the dressing: Mix together the vinegar, sugar, and tahini or almond butter. Season the dressing with salt and pepper.
Pour the dressing over the vegetables and mix well. Fold in the toasted hazelnuts. For example, serve some flatbread with a homemade herb dip with the salad.

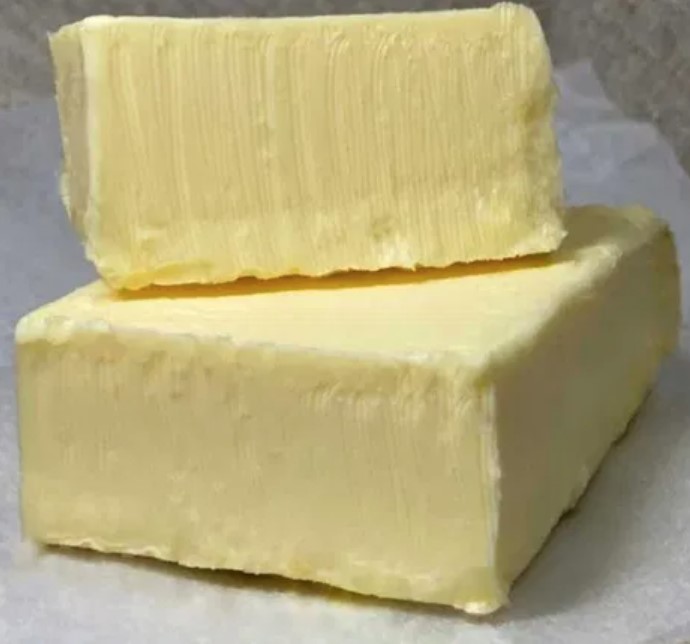
Butter can go bad – if you store it wrong. We explain how to recognize this and give you tips for the right storage.

Can butter go bad?

If you store it incorrectly, butter can go bad quickly. According to the consumer advice center, butter only lasts a few days at room temperature, for example, while it can be kept for several weeks in the refrigerator and even months in the freezer. If you are unsure whether you can still eat butter, trust your senses.

Signs such as a sour odor, dark yellow discoloration, and rancid taste can indicate the butter has gone bad. If you can identify the characteristics mentioned in your butter, you must throw it away. According to the consumer advice center, harmful decomposition products can arise during the decomposition process.

Note: An expired best-before date alone says nothing about whether the butter is still good. After all, this is not a use-by date like meat, but merely an orientation for you as a consumer.

Storing butter correctly: This is how it works

So that your butter does not go bad, you should store it properly:

Keep the butter as cool as possible, preferably in a sealable container in the butter compartment of the refrigerator.
Alternatively, you can freeze them in small portions.
If you want to spread the butter on your bread, for example, make sure you use a clean knife.
Incidentally, these storage tips can also be applied to margarine.
If you buy butter, you should pay attention to organic quality. This is how you support species-appropriate animal husbandry. The Naturland, Demeter and Bioland seals have particularly strict requirements. You can also make your own butter.

The same applies to margarine, which is even more environmentally and animal-friendly in production because it is mainly derived from plants (and vegan margarine is entirely plant-based). Margarine is particularly sustainable if it contains no palm oil.

You can actually eat banana peels. Raw they taste rather bitter, but they are easy to process. We’ll show you how.

Eating banana peels sounds strange at first. But not only the inside of the banana contains many nutrients, but also the banana skin – it is particularly rich in potassium. Since banana peels are quite firm and fibrous when raw and also taste bitter, you should eat them cooked. The banana peels taste a little sweet and slightly nutty.

Eat banana peel – You should pay attention to this

If you want to eat banana peels, you should buy organic bananas. According to a sample from Öko-Test, unripe bananas are very susceptible to caterpillars and fungal diseases, which is why they are protected from infestation in conventional agriculture with synthetic chemical pesticides.

Also make sure that you wash the bananas well before further processing, even if you use organic bananas. Sometimes pesticide residues are also found on bananas from organic farming.

Eat banana peel: That’s why it’s a good idea

When you eat banana peels, you’re not only helping to reduce food waste – banana peels contain many vitamins, such as vitamin C, vitamin B6, vitamin K and folic acid.

In addition to the vitamins, there are also some minerals such as potassium, magnesium and phosphorus in the banana peel.

Four quick banana peel preparation ideas

There are several ways to eat banana peels. These recipes are quick to make and taste good:

Baked Banana Peel:

Separate the top and bottom of the banana peel and cut into strips.
Sprinkle the banana peel with sugar or drizzle with simple syrup or honey.
Let the banana peels cook in the oven at 180 degrees for half an hour.
Pulled banana peels:

Cut off the ends of the banana peel again.
Using a fork, tear the banana peel lengthwise into strips. Season with oil, paprika powder and cumin.
Sauté chopped onions and garlic in oil. Then add the banana peels with some water and wait five minutes.
Now add barbecue sauce and let the pulled banana peels simmer for ten minutes.
Season everything with salt and pepper.
Banana Peel Smoothie:

Cut two peeled bananas into small pieces.
Add 1 tablespoon cocoa, 3 teaspoons chia seeds, and 3 teaspoons grated chocolate, and 8 ounces apple juice.
Blend everything in a blender for about 30 seconds.

Banana Peel Cake:

Preheat your oven to 180 degrees.
Cut three banana peels into chunks and place in a blender with 1/4 cup of water.
Separate the yolks from two eggs and save the whites for later. Then beat the egg yolk with a cup of cane sugar and 30g of butter until a light yellow mass forms.
Mix in the banana peels, then add 1.5 cups of flour and 3 teaspoons of baking powder.
Then beat the egg whites until stiff and carefully fold them into the cake mixture. Pour the mixture into a baking pan and let it bake for about 30 to 40 minutes (depending on the thickness of the cake).

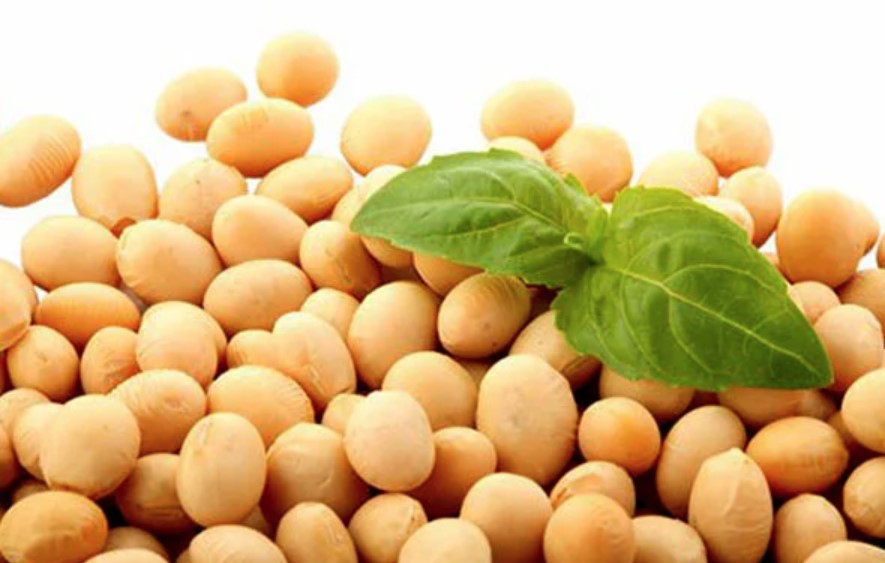
Textured soy should not be missing in vegan cuisine. The soy product is very popular as a versatile meat alternative. We explain how you can use it.

If you like to cook vegan and want to try something new, textured soy offers you many options. It is also called soy meat, TVP or textured vegetable protein. The popular and versatile meat substitute is a purely vegetable dried product.

Actually, textured soy is a by-product of the production of soybean oil. It is made as follows: Ground soybeans are greased in several presses and then formed into the desired shape or size. This is done with the help of extruders. Extruders are devices that use pressure and heat to give viscous masses a shape. For example, steaks, medallions, cubes, shreds, or granules are common forms of textured soy. The fibrous structure of the finished product resembles the muscle fibers in meat.

Textured soy contains a lot of vegetable protein and carbohydrates but hardly any fat. It also has a high fiber content and is rich in some minerals such as potassium or magnesium.

Textured soy doesn’t have any flavor of its own, so you need to season it well when preparing it.

Textured soy: difference from tofu

Textured soy is not the same as tofu. To make your own tofu, coagulate a soy drink with nigari, a sea salt bitters extract, magnesium chloride, or calcium sulfate. Then you drain it and press it into blocks. So you can imagine the production similar to cheese production. Tofu has a slightly sour flavor and lacks the fibers that make textured soy a good meat substitute.

Here’s how to buy and use textured soy

If you want to get textured soy, you have several options. On the one hand, you can order it online as a dry product. However, it is also available in vegan supermarkets, health food stores or health food stores. As mentioned above, you have the choice between granules, sliced ​​meat, steaks or, for example, medallions.

Tip: If possible, buy European organic soy. The organic seal assures that no chemical-synthetic pesticides were used during cultivation and with European soy you avoid unnecessary transport routes. Some soy products now even come from Germany.

You can easily prepare textured soy in the kitchen:

First you boil the dried product in salted water. Alternatively, you can use vegetable broth to add some spice. Cooking time can range from eight to 20 minutes. That depends on the size of the textured soy.


Squeeze out the liquid. This works well with a spoon or fork.
You can then process the textured soy further. For example, it can be fried or grilled very well.
As already mentioned, you should season the meat substitute well, as it hardly has any taste of its own.