Tag

how

Browsing

Thickening cherries is worthwhile for refining various desserts. We present three ways to help you thicken without much effort.

Thickening cherries is an easy way to create a delicious topping for desserts and sweets. There are three options: You can thicken cherries with cornstarch (or a cornstarch substitute), vanilla pudding powder and cake glaze. For this you need the following ingredients:

650 g organic cherries
0.5l water
2 tbsp cornstarch/custard powder/cake glaze

It usually takes less than five minutes to thicken the cherries. We explain step by step how to do this:

Place the cherries in a saucepan with the water.
Let the kirsch come to a boil.
Stir in the starch/custard powder or frosting as soon as the mixture boils. Caution: Begin stirring immediately after adding your thickener of choice to the water. That way no lumps form. You should also not add cornstarch directly to the boiling water, but mix it with a little cold water first and then add it. This also prevents lumps from forming.
Important: cherries are in season from June to August. So this is the best time to thicken cherries.

Everyone loves pasta. But you can do a lot wrong with this supposedly simple dish. We explain what you should pay attention to if you want to indulge in pasta happiness in a sustainable and enjoyable way.

“Making pasta is also cooking!” Anyone who wholeheartedly agrees with this student motto is not alone: ​​pasta is at the top of many people’s list of favorite foods. But from the purchase to the preparation to the use of leftover pasta, you can do a lot wrong.

If you keep a few things in mind, pasta is not only a delicious dish, but also a healthy and sustainable one. You should avoid these common mistakes:

1. Always choose “normal” spaghetti

Durum wheat semolina pasta is delicious, but if you stick to it, you’re missing out.

2. Mismatching sauce and pasta

Not all noodles are the same – and combining them with the right sauce is a chapter in itself. Because only when both are coordinated can the taste really come into its own. As a rule of thumb, long, thin pasta like spaghetti or linguine are perfect for oil-based or creamy sauces.

Thicker or slightly chunky sauces and pesto combine well with short, thick, textured pastas like rigatoni, fusilli, or penne. The sauce sticks to the windings of the noodles, and ingredients such as pieces of vegetables can be mixed in perfectly – while long noodles quickly sink to the bottom of the plate.

3. Cooking pasta wrong

One would think that cooking pasta is not the fine art of gastronomy. Nevertheless, there is a lot to consider, because common mistakes reduce the enjoyment.

Many hobby cooks use a pan that is too small or too shallow, too little water and too little salt. If you add the salt at the beginning, you prevent the noodles from absorbing it optimally – so it’s better to only add salt when the water is boiling. Another mistake: putting oil in the water. Although it ensures that the pasta does not stick together, it also seals the surface of the pasta and the sauce can no longer be properly absorbed.

If you stir too little during cooking, the noodles will stick together – a wooden spoon is good for short varieties, and a fork is recommended for spaghetti & co. You should also be careful not to exceed the correct cooking time, otherwise it means “arrividerci al dente”.

4. Pour away the pasta water

Pasta water is far too valuable to be thrown down the drain – and has the potential to become a liquid all-purpose product for cooking and baking, for your plants and even for your skin and hair.

5. Quench pasta

Once the noodles are in the colander, the sources of error continue: You shouldn’t quench your perfectly cooked, al dente pasta with cold water – this will wash the starch off the surface and the sauce will no longer stick to the noodles as well.

6. Serve pasta wrong

Now it’s a matter of timing: If the sauce isn’t ready yet and the pasta waits too long in the sieve to be used, it will quickly become sticky. When serving, you should not spread the sauce separately on the pasta, but mix both in the pot beforehand – this is how the elements fuse perfectly.

7. Discard leftover pasta

Most hobby cooks portion pasta by eye. And it is not uncommon for the quantities to be misjudged when the stomach is growling. However, if you have leftover pasta after eating, don’t throw it straight into the trash – it’s a waste of food that really isn’t needed.

You can store a small amount in the fridge for a short time and turn it into a new meal with some freshly cooked pasta. You don’t want to eat any more pasta in the next few days? No problem either: you can freeze pasta without any problems.

8. Buy conventional pasta

The basic noodle consists only of durum wheat and water.

9. Buy pasta in plastic packaging

A mistake that most pasta comes with: it is wrapped in plastic. Anyone who buys pasta currently has few alternatives to avoid this plastic waste.

Porcini mushrooms cannot be grown commercially, so they are not available fresh all year round. However, if you dry porcini mushrooms, you can preserve them. We’ll show you how.

Drying porcini mushrooms: the right preparation

Before you dry the porcini mushrooms, you should take the following precautions:

Dry the mushrooms as soon as possible after picking. This is the best way to preserve their aromatic taste.
Wet porcini mushrooms are not suitable for drying, as they easily mold. Therefore, only clean the mushrooms with a slightly damp cloth before drying. You can also scrape off dirt with a sharp knife.
Cut out any eaten spots on the porcini mushrooms. The best way to dry porcini mushrooms is to cut them into slices three to five millimeters thick.
Now you can decide, because there are two ways to dry porcini mushrooms without a professional dehydrator: in the air or in the oven.

Air dry porcini mushrooms

Air-drying porcini mushrooms is the easiest and most environmentally friendly option. However, you need the right weather for it. The air drying process only works when the weather is dry and as hot as possible. How to do it:

Thread the porcini slices on a thin thread or spread them out on a baking sheet. The mushroom pieces should not touch each other.
Dry the porcini either in full sun or in the shade. The former speeds up the drying process, but the latter is gentler and better preserves the aroma of the mushrooms.
If the mushroom slices are on a baking sheet, you should turn them several times a day. If you dry the mushrooms outside, you also have to bring them inside in the evening, otherwise they could absorb moisture from the cool night and morning air.
The duration of the drying process varies depending on the weather. The dried porcini mushrooms are ready as soon as they are dry on the inside but can still be bent. They also rustle like dry leaves.

Drying porcini mushrooms in the oven

Drying in the oven requires more energy. Proceed as follows for the drying process in the oven:

Spread the porcini slices on a baking sheet and place in the oven.
Then let the mushrooms dry at a maximum of 50 degrees and circulating air. Important: Hold the oven door ajar with the handle of a wooden spoon so that the moisture in the mushrooms can escape into the oven.
With this drying variant, too, the duration of the drying process varies depending on the performance of the oven.
Tip: If you have a stove with a stone plate, you can also let the porcini mushrooms dry on this plate while the fire burns in the stove. This way you don’t use any additional energy.

Properly store dried porcini mushrooms

You should store dried porcini mushrooms in airtight jars in a dark, dry place.

Stored in this way, dried porcini mushrooms will keep for several years. If they get a slight gray tinge after a while, this is harmless: they are leaked minerals.

The choice of cat food is huge. But how can you feed your cat well and sustainably? We give you tips on what you should consider.

Feeding the cat: nutritious nutrition for four-legged friends

Cats need a lot of nutrients that they can only get from food. The composition of a balanced cat menu consists of:

high-quality animal proteins,
fats,
phytonutrients,
vitamins,
minerals and
Water.
Carbohydrates are difficult for cats to digest. This is also one of the problems with conventional cat food: grain is often added to it, which can cause problems for cats. Of course, this isn’t the case for all cats, as many cats’ stomachs have become accustomed to even small amounts of grain over time

Ingredients for the cat food: what goes in it?

There are many foods that cats absolutely cannot tolerate: dairy products, onions, garlic, strong spices, grapes, raisins, caffeine, alcohol and chocolate. Under no circumstances should these products end up in the feeding bowl.

The composition of purchased cat food is particularly problematic. In principle, it doesn’t matter to your cat whether it’s “meat waste”, but it depends on the proportions. Too many hooves, claws or feathers can harm your cat just as much as too much grain, fat or meat components. Category 3 animal by-products may be further processed into animal feed, but are not suitable for human consumption. The quality of conventional cat food is therefore often inferior and enriched with additives, sugar and flavor enhancers. The cat can become really dependent on it. For this reason, your cat is better cared for with organic food. Here the quality is assured and the ingredients are sometimes even specified in exact quantities.

In addition to incompatible ingredients, there can also be residues of antibiotics and mercury (especially in fish) in cat food – even more reasons to use organic quality or even to prepare your own cat food.

Avoid cat food waste

If you buy cat food regularly, there is also a lot of packaging waste.

With dry food, you can buy as large a quantity as possible in one sack. If this is too much for your cat alone, you can simply share it with one or another cat owner in your circle of acquaintances.

For large cans of wet food, you can try reusing a matching lid from another product and using it to seal the can when you put it in the fridge. There are also bowls with lids, so that you can divide the large can into them immediately after opening and pre-portion everything.

Brussels sprouts are a very healthy winter vegetable. Here you can find out what you should consider when preparing Brussels sprouts and find suitable recipe ideas.

Brussels sprouts are a classic winter vegetable: they are in season from October to February and provide us with valuable nutrients during the cold season. Brussels sprouts are rich in vitamin A, vitamin C, iron, potassium, calcium and magnesium.

To ensure that the vitamins and minerals are retained during preparation and that the Brussels sprouts remain crisp, you should observe the following instructions.

Cook Brussels sprouts: This is the ideal cooking time

How long Brussels sprouts should cook depends on its size. If the florets are rather large, the cooking time is about fifteen minutes. If they are small, you shouldn’t cook the sprouts for more than 10 minutes.

To keep the Brussels sprouts from overcooking and becoming crunchy, you should follow these steps:

Before cooking, remove any eaten leaves and wash the Brussels sprouts florets thoroughly in cold water. In another article you will find tips for cleaning Brussels sprouts.
Then bring plenty of salted water to the boil in a saucepan and then add the Brussels sprouts. Turn the heat down to medium-low and let the florets simmer in the salted water for 10-15 minutes. Periodically check with a fork to see if the cabbage is done. As soon as the tines sink relatively easily into the rosette without falling apart, it’s done.
Then pour the Brussels sprouts into a sieve and briefly rinse them under cold water. So its green color is preserved.

Steam Brussels sprouts

Another preparation method that is gentle on the Brussels sprouts is steaming. How to do it:

Before cooking, remove any eaten leaves and wash the Brussels sprouts florets thoroughly in cold water.
Put water in as wide a pot as possible. The water should only be deep enough for you to put a steamer basket in without it leaking through the holes. Alternatively, you can also hang a large sieve in the pot.
Place the Brussels sprouts in the steamer basket or colander and let the water boil. Then immediately turn the heat down to medium-low and let the Brussels sprouts steam for 10 minutes.
Finally, quench it with cold water to give it its light green color.

Frying tofu doesn’t have to be difficult: With a few extra steps during the preparation, you can create crispy, golden-brown tofu cubes with lots of flavor in the pan or in the wok.

Sometimes tofu doesn’t want to get crispy enough in the pan or doesn’t absorb enough flavor. With a few simple tricks during the preparation, you will no longer have this problem in the future and your fried tofu will be nice and crispy.

Frying tofu: How to prepare it

So that tofu also tastes good when fried, you should first prepare it:

Press the tofu dry: the less moisture it contains, the crispier the tofu can be fried. Before you continue to use it, it is therefore important to first remove the liquid from it. You can simply place the tofu block between several layers of cotton towels and weigh it down with a thick book or another object. Then leave it there for about ten to fifteen minutes. The weight forces most of the liquid out.
Marinating the tofu: Because tofu doesn’t have a strong taste of its own, you can season it in a variety of ways. If you marinate the tofu for a few hours before cooking, it will absorb the flavors best. You can prepare the marinade according to your taste, for example with soy sauce, ginger, garlic or chili.
Toss the tofu in cornstarch: when it is marinated, you can fry the tofu. Cut it into oblong slices or cubes. Before the tofu pieces go into the pan, it is best to turn them in some cornstarch. You can use potato, wheat or corn starch for this. The starch draws out the remaining liquid from the tofu before it is fried, making it even crispier.

This is how you can fry tofu crispy

The right pan: To fry tofu, it is best to use a high-quality cast iron pan or a non-stick pan. This will prevent the pieces of tofu from sticking to the bottom of the pan. Of course, you can also prepare the tofu in the wok, especially for Asian recipes.
The right temperature: To make it as crispy as possible, you should sear the tofu. To do this, set your stove to high, heat some oil in a pan and add the tofu. A few minutes is enough for it to turn golden brown and crispy. Don’t forget to turn the tofu regularly while frying so that it can brown evenly and doesn’t stick or burn.
The right oil: You can be generous with the oil if you want to fry tofu crispy. Note, however, that not all cooking oils are suitable for frying at high heat: Olive oil, for example, is ruled out here because it has a comparatively low smoke point. Instead, use unflavored sunflower oil to fry your tofu — or, if you like, sesame oil or coconut oil. They also give the tofu an interesting flavor.
Once you have finished frying the tofu, you can use it, for example, for vegetable pans, as a soup ingredient or as a special addition to salads. Or you simply eat it with a delicious dip.

Too much salt in the body can cause lasting damage to various organs. Here you can find out exactly how the spice affects our organism and how you can avoid consuming too much salt.

When do you start talking about too much salt?

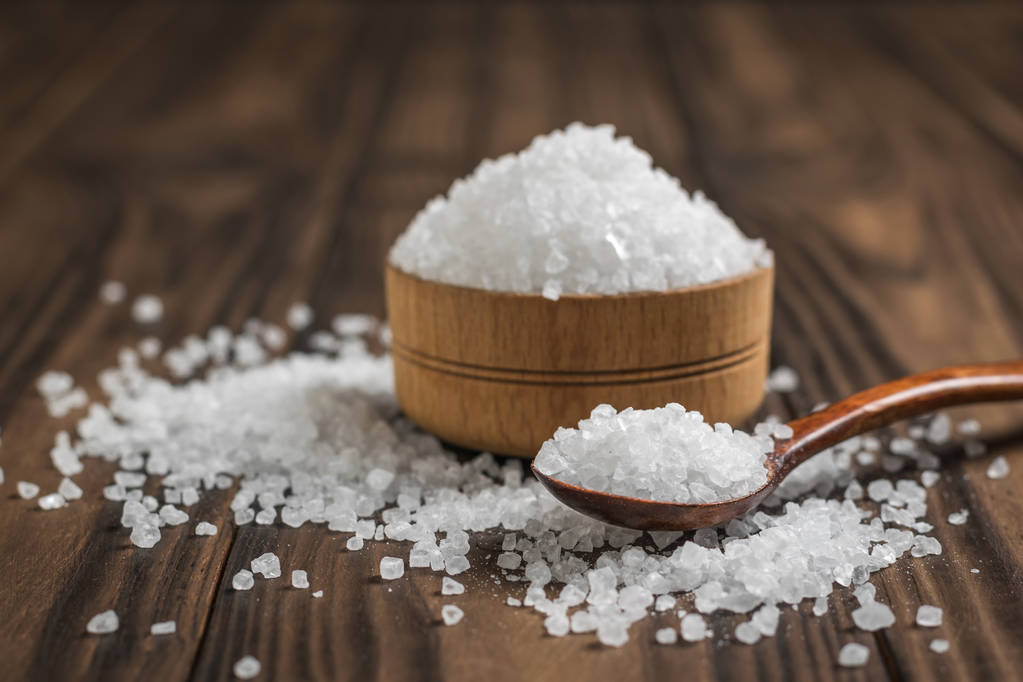
Salt used to be considered an expensive luxury product that was only accessible to the social elite. Today it is part of the basic equipment of every kitchen. Hardly any dish can do without the former “white gold”. Salt is absolutely essential for survival: it supplies us with the electrolytes sodium and chloride.

These help our body in particular to regulate the fluid balance. Adults should therefore consume around six grams of salt per day, according to the Society for Nutrition. However, due to ready meals, fast food, chips and other snacks, we often consume too much salt.

According to the adult women consume about 8.4 grams of table salt per day. For men, the value is even 10 grams. This is clearly higher than the recommended daily amount.

Too much salt: health consequences

Too much salt in the blood causes more water to accumulate in the bloodstream. As a result, the volume of fluid increases and blood pressure increases. If blood pressure is elevated over the long term, this has a harmful effect on other organs. In particular, the heart, the coronary arteries, other blood vessels, the brain and the kidneys are affected.

cardiac insufficiency and cardiac arrhythmia
Heart attack
stroke
chronic kidney failure
kidney failure
deteriorated visual performance.

Too much salt is not only harmful to people who already suffer from high blood pressure. Elevated salt consumption is a key risk factor for serious organ damage in all population groups.

Too much salt: first signs

Since each person reacts differently to salt, it is not possible to give general indications of excessive salt consumption. High blood pressure is the only sure sign. Other symptoms can also occur, such as:

fatigue
difficulty concentrating
Tremble
seizures
edema

In order not to let it get that far in the first place, however, you should already take preventive measures to avoid too much salt in your food.

Too much salt: How to avoid the white gold

To reduce your salt consumption, you should gradually wean yourself off the popular spice. Our taste buds have often adapted so much to foods that are too salty that low-salt foods quickly seem bland to us. Therefore, you should give yourself enough time to slowly reduce your cravings for salt. This increases the likelihood that you will stay on the ball in the long term.

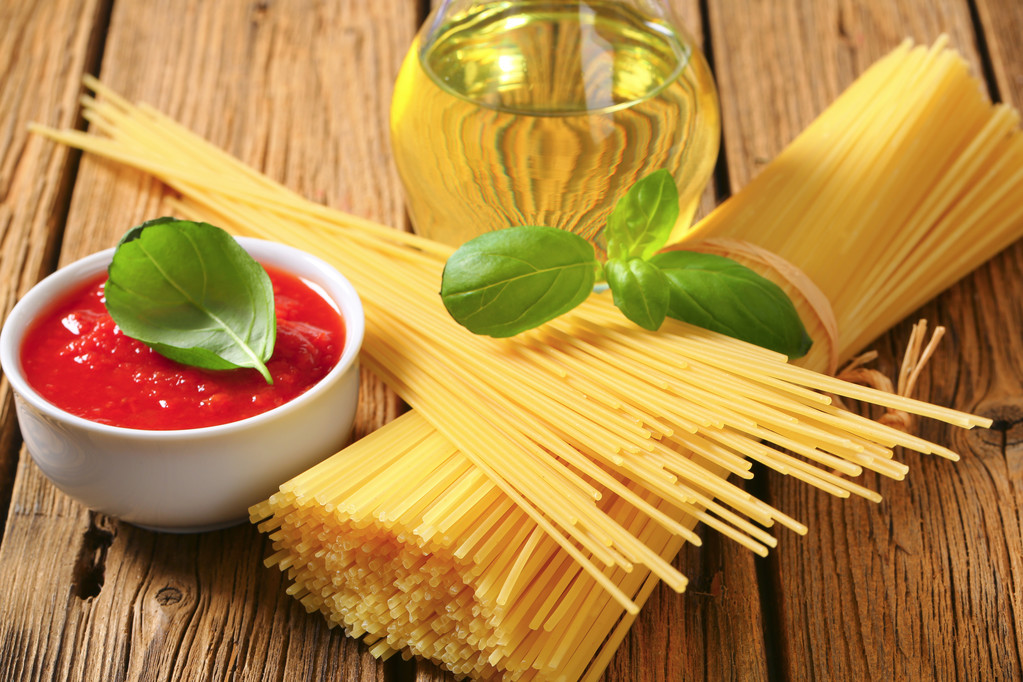
As a first step, you should first start cooking more at home and thus avoid ready meals. Make sure to add salt sparingly and to taste from time to time.

Try to avoid highly processed foods as much as possible. You can see how high the salt content is on packaged foods.

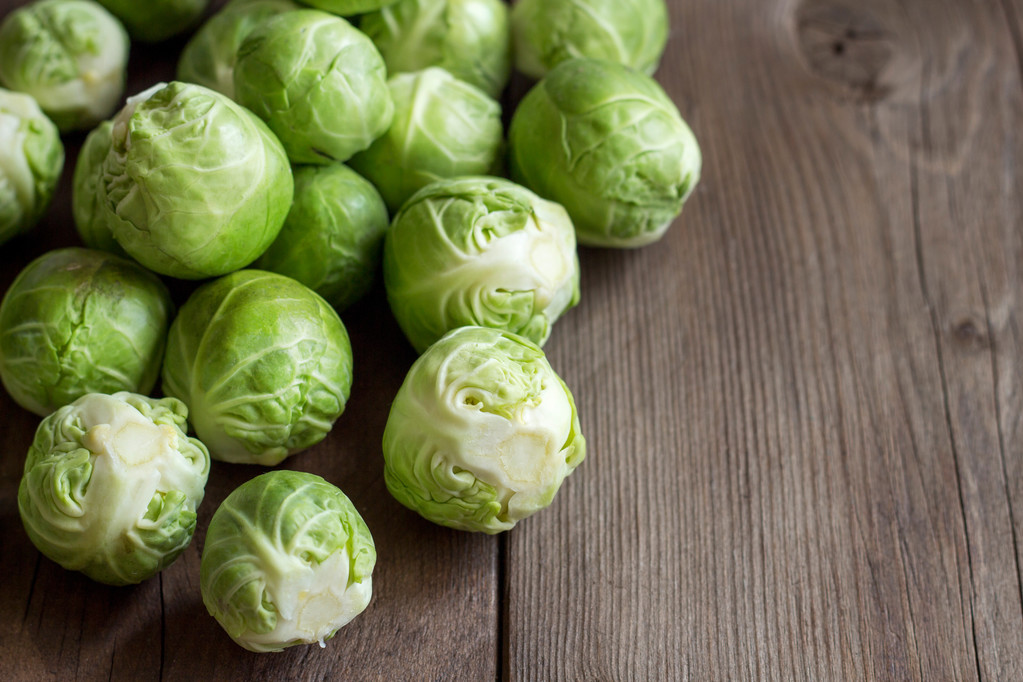
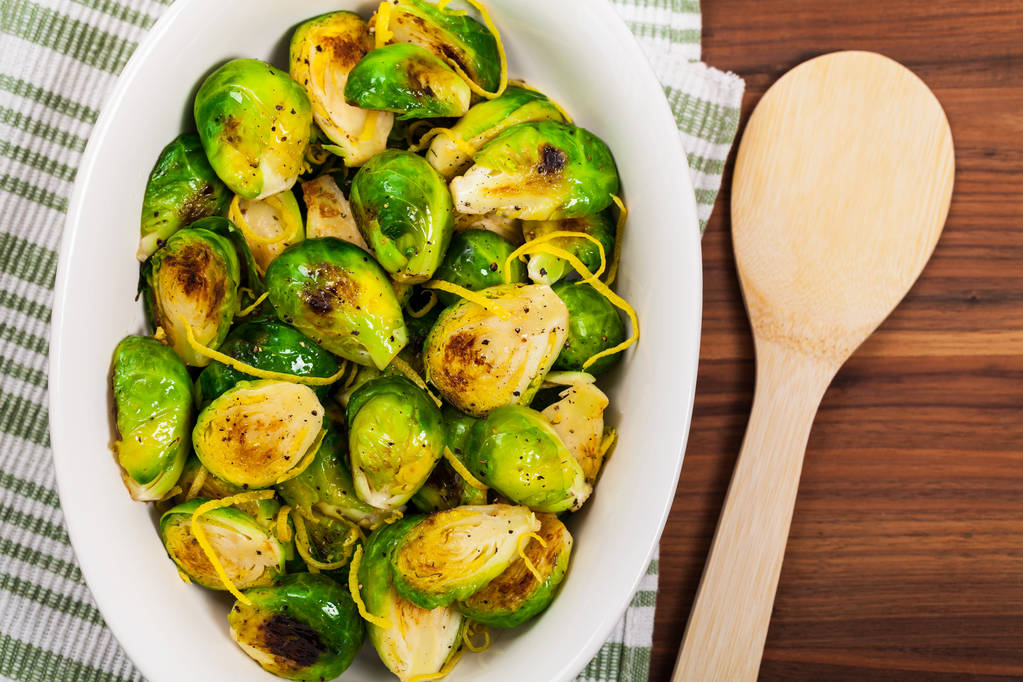
Eat enough unprocessed foods like fruits and vegetables. In general, a mostly plant-based diet will help you avoid excess salt by avoiding meat, fish, and dairy.

If low-salt dishes still seem too bland to you, you can refine your dishes with fresh herbs or spices.

You can prepare bread, rolls, crackers & Co. yourself at home and significantly reduce the salt content.

If you don’t want to do without animal foods completely, you should use low-salt representatives of this category. Types of cheese with a little less salt are, for example, mozzarella, Emmental or cream cheese. Mortadella and liver sausage are among the low-salt types of sausage, but in contrast to other foods they still contain a relatively large amount of salt.

You can harvest walnuts in autumn and stock them up for the whole winter. But harvesting alone is not enough. We’ll tell you what to look out for.

Harvesting walnuts – when does that work?

Walnuts are healthy and delicious. In addition, they can be stored well and for a long time. What could be more obvious than stocking up for the winter in autumn? If you have the opportunity, you should use it.

Walnuts ripen in the fall. They can be harvested from mid-September to the end of October. Strictly speaking, the term “harvest walnuts” is not so apt. Because you shouldn’t harvest walnuts from the tree. Rather, you wait until they fall from the tree on their own and collect them. This way you can be sure that they are really ripe.

Harvesting walnuts – this is the best way to do it

When walnuts grow on the tree, they have another, softer shell in addition to the hard, woody shell. This shell is initially green. When the walnuts are ripe and fall from the tree, the green shell bursts open. Later it turns black.

Especially in damp grass, the outer shell can quickly start to mold. Therefore, you should collect the nuts as regularly as possible. Preferably daily. It is best to sort out walnuts that are moldy or infested by caterpillars immediately.

Clean and dry walnuts

After collecting, you need to clean and dry the healthy walnuts. Remove the green outer shell by hand. You can also use a brush to remove any residue that gets stuck.

Drying the cleaned walnuts is not difficult. To do this, place them in boxes or baskets in a single layer if possible. It is best to turn them once a day or mix them vigorously. It is important that the walnuts dry as quickly as possible. Otherwise you run the risk of the walnuts starting to get moldy. An airy place with 20 to 25 degrees is best. If you dry the nuts outside, you should put them inside in the evening. Otherwise they will get wet again during the night.

The walnuts are dried enough when they lose about 50 percent of their weight. This is of course a bit difficult to control. The drying time is about three to six weeks.

Storing walnuts

After the walnuts have dried, you can store them for several months. Make sure that they are stored as dry and airy as possible. High humidity can lead to mold. It is best to hang the nuts in bags or nets.

Jam, marmalade or jelly: however you prepare your sweet spread, it’s always worth testing to see if it sets. You can find out why this is the case and how a gelling test works in this article.

Why is a gel test worthwhile?

You make an effort with your homemade jam, it tastes good, but it’s just too runny. Now you have several jars of liquid jam, which is not really suitable as a spread. This can be avoided with a gelling test – because as long as the jam is still warm, you can always make it gel later and give it a firmer consistency.

How does a gel test work?

The right time to test the jelly is when you have just made the jam and it is still hot. All you need for the rehearsal is a spoon and a small plate.

Put some jam on the plate.
Wait a minute or two and check if the mass has thickened and is no longer running.
If you are satisfied with the consistency of the jam, you can now fill it into jars.
Tip: The rehearsal works best if you chill the plate beforehand. For example, you can put it in the fridge before cooking the jam. If you are in a hurry, you can also put it in the freezer for a short time.

What to do if the gelling test didn’t work?

If the drop has not solidified, the gel test was unsuccessful. This could mean, for example, you didn’t use enough jam sugar or you added too much water to the fruit.

But that doesn’t mean your upstroke is lost. It is best to try cooking the jam for a few more minutes first. If the jam still remains too runny, you can save it by stirring in a packet of citric acid. The acid causes the mass to harden. Important: the jam must still be hot. You should then use another gelling test to check whether the jam now has the right consistency.