Tag

keep

Browsing

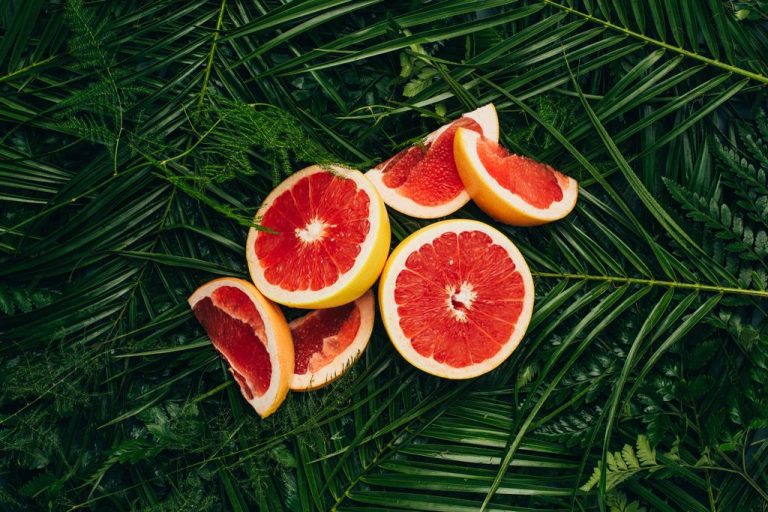
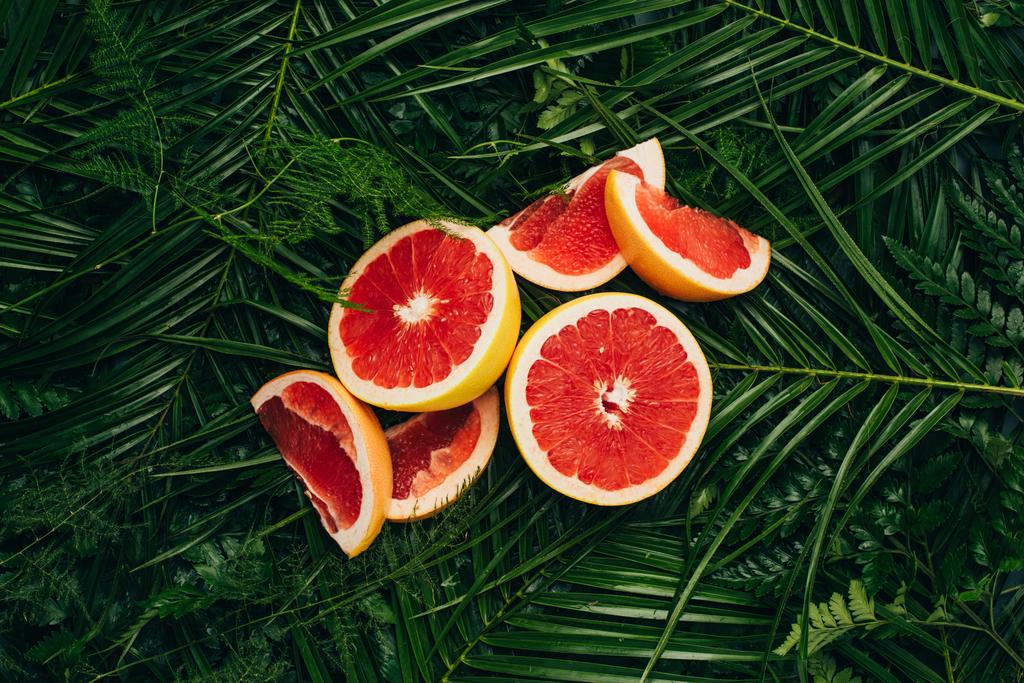
Grapefruit is considered healthy because it contains many vitamins, phytochemicals and fiber. However, grapefruit can also be dangerous – especially in combination with certain medications.

Like all citrus fruits, grapefruits are very healthy because of their high vitamin C content. The grapefruit has a lot to offer and also provides many other important nutrients. That is why the fruit is also considered the queen of citrus fruits. However, fresh grapefruit and grapefruit juice can also become a serious health hazard. We explain what makes grapefruit so healthy and what you should definitely pay attention to when eating.

Grapefruit is healthy – thanks to these ingredients

Grapefruit has a particularly high content of vitamin C. The so-called ascorbic acid is important for the immune system and the development of connective tissue, among other things.

In addition, grapefruit also provides folic acid (vitamin B9), the vitamin A precursor beta-carotene and some other B vitamins in smaller quantities. The citrus fruit also contains the minerals potassium, calcium, magnesium, iron and phosphate. The watery fruit has almost no calories and fat – but a lot of fiber pectin.

The many secondary plant substances also make grapefruit so healthy: carotenoids have an antioxidant, immune-boosting and anti-inflammatory effect. They should also be able to reduce the risk of cardiovascular diseases, age-related eye diseases and possibly even cancer.

Not healthy: Grapefruit interacting with drugs

Grapefruit and grapefruit juice affect the effects of 85 drugs.
Serious side effects can occur with about half of the drugs. Stomach bleeding, kidney or heart damage and even deaths have been observed.
Mode of action: Grapefruits inhibit the body’s own enzyme CYP3A4. This occurs mainly in the liver and the intestinal wall and is responsible for the breakdown of many drugs. By inhibiting the enzyme, the drugs are broken down less quickly. Many medications have a stronger effect, some weaker.
The drugs affected include antihypertensive drugs, heart pills, sleeping pills and sexual enhancers.
Even a single grapefruit or a glass of grapefruit juice can cause significant interactions. Even 24 hours apart, grapefruits can affect the effectiveness of medications.
For example, grapefruits can lead to pain and muscle weakness in combination with cholesterol-lowering drugs, heart pills to palpitations, dizziness and shortness of breath, or water-repellents to high water loss and dehydration, according to the BR.

In addition, grapefruit can also interact with birth control pills. Accordingly, the pill does not lose its effectiveness, but can lead to side effects such as breast tenderness and an increased risk of thrombosis.

Eat grapefruits healthily: Recommended intake

Based on the results, the scientists from the study mentioned advise against consuming grapefruit and grapefruit juice at all if you are taking medication.

The researchers also point out that there is still a need for research on drug interactions. It is quite possible that other drug interactions will become known in the future. Therefore, as a precaution, if you are taking prescription medication, you should minimize the consumption of grapefruit or consult your doctor.

Incidentally, the “dangerous” plant substance naringin is also found in grapefruit and in the bitter or Seville oranges, which are often used for jam. The same consumption recommendations apply to these types of fruit. According to the BR, oranges and orange juice are harmless, as is apple juice.

If you are not taking any medication, you do not need to worry about unwanted side effects: Then you can enjoy the healthy grapefruit and self-squeezed grapefruit juice and benefit from the good ingredients.

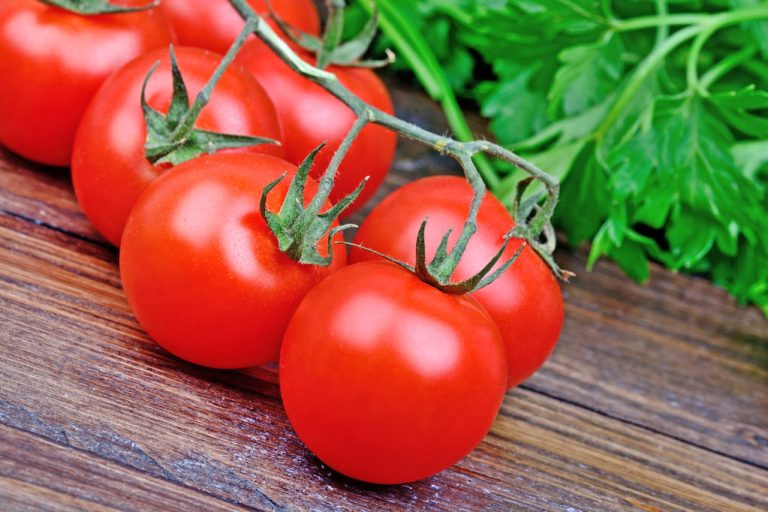
Tomatoes should not be missing in any kitchen, especially in summer. To keep them fresh and tasty for as long as possible, it is important to store tomatoes correctly. We tell you what you should pay attention to.

Tomatoes are sensitive fruits when it comes to storage: they don’t like refrigerators, but they don’t like too much heat either, and they prefer to spend their time away from other fruits and vegetables. Storing tomatoes correctly not only affects their shelf life, but also their taste, because tomatoes that are harvested unripe continue to ripen in storage. Preparation for storage also plays an important role.

Depending on the variety, tomatoes can be kept for up to 14 days under optimal conditions.

How to prepare tomatoes for storage

Even before the actual storage, you can pay attention to certain things that will ensure that your tomatoes stay fresh for a long time.

If you harvest your own tomatoes, you should first harvest them with the stalks and blossom ends and do not remove them even if they have dried up. The green provides the tomatoes with nutrients even after they have been picked.

The following applies to both self-harvested and purchased tomatoes: it is better not to wash them before storing them. When washed tomatoes go into storage, any moisture left behind can quickly lead to mold growth. Overripe tomatoes, on the other hand, burst easily when pressure is applied to them during washing. Therefore: It is better to wash them just before you eat the tomatoes.

Store tomatoes correctly: It depends on the temperature and location

If you want your tomatoes to last as long as possible, the right temperature plays an important role. So the most important thing first: Tomatoes don’t belong in the fridge. This place is the worst imaginable for storing tomatoes. They react sensitively to cold, which means they lose their taste and acquire a floury consistency. In addition, their vitamin content is reduced by the cold temperatures.

But even an environment that is too warm is not good for the harvested tomatoes when they are already ripe. It causes tomatoes to continue to ripen and can therefore rot quickly.

Tomatoes feel best when they

at room temperature
in an airy but dark or shady place
be stored. A simple shelf or the kitchen table is therefore a suitable place to store tomatoes.

Tip for unripe tomatoes: If you want to let unripe tomatoes ripen, you can put them in a slightly warmer place, for example on a sunlit windowsill. Because the higher temperatures accelerate the post-ripening process.

Store tomatoes correctly: Better without neighbors

Another important point is that it is best to store the fruit separately from other fruits and vegetables. Ripe tomatoes emit ethylene, a gaseous plant hormone that stimulates nearby fruit and vegetables to ripen faster—and possibly rot as a result.

Other fruit and vegetables also emit the ripening gas, which means that tomatoes in turn ripen faster – and possibly go bad.

Fruits and vegetables you should keep separate from include tomatoes

Apples, bananas, pears, apricots
Cucumbers, peppers, hot peppers.
Tip for unripe tomatoes: You can of course take advantage of the effects of ethylene if you want to ripen unripe tomatoes faster. Then just store them with these other fruits and vegetables. After a few days, the tomatoes will have ripened and should then be stored separately.

Store tomatoes correctly: the right container

Many tomatoes from the supermarket come sealed in plastic. However, the fruit does not get enough oxygen in it and therefore rots faster. It is therefore better to buy tomatoes without plastic packaging from the start, so you are also doing something good for the environment.

Tomatoes prefer it airy. Therefore, place them in an open container, such as a bowl, basket, storage box without a lid, or on a plate. Baskets work particularly well if they are made of woven straw or metal struts, as this allows for good ventilation.

To prevent the tomatoes from bruising, you can line the container with a clean kitchen towel beforehand.

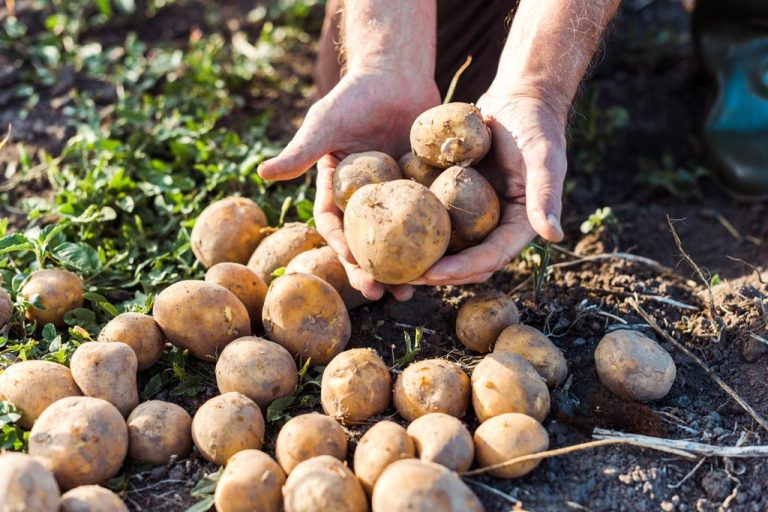
Storing potatoes properly is not difficult at all. The most important thing is that you protect them from light. Otherwise they will quickly start to germinate or turn green. Here you can find out what else you should pay attention to.

Store potatoes correctly: protect from heat and light

Potatoes begin to germinate quickly in warmth and light. The toxic germs cannot be eaten and they deprive the potato of important nutrients. As a result, it shrinks and loses flavor and firmness. Sprouted potatoes can have high concentrations of toxic glycoalkaloids. This substance is also contained in green potatoes and makes them intolerable. You can prevent or at least delay the potatoes from germinating and turning green by storing them correctly.

In addition, potatoes can easily go moldy – even one affected tuber can spread the rot to many other potatoes and possibly make the entire harvest unusable.

With a little experience, you can even store potatoes for many months until the next season. This is practical because you can buy local potatoes in advance without long transport routes. The late potatoes are ripe in September and October, the early potatoes as early as June.

7 tips for storing potatoes properly

Choose a dark place for storage: for example your pantry, the basement or a shed in the garden. If you don’t have all of this available, you can also store the potatoes in a linen bag in the kitchen to protect them from light.
Pay attention to low temperatures, because the potatoes start to sprout from around 10°C. At the same time, it must not get colder than 4° C, otherwise the starch in the tubers will turn into sugar, which will affect the taste. Ideal for storing potatoes is 4°C to 8°C.
Protect the potatoes from frost (e.g. when storing them in the garden or in cold cellars) and never put them in the freezer.
Store them in a dry and airy place so the potatoes don’t get moldy or rot. A linen sack or a wooden box in which the potatoes are loosely stacked is suitable for storage. Plastic bags are unsuitable for storing potatoes. If you have enough space in the garden, you can also build a potato tower.
Check your potatoes from time to time: If small sprouts have formed, the affected tubers must be eaten as soon as possible. Rotten potatoes must be removed immediately and disposed of with organic waste. Regular rearranging also ensures adequate ventilation.
Store potatoes separately from fruit, especially apples. The ripening gas ethylene that many fruits give off will otherwise quickly spoil the potatoes.
Only undamaged potatoes with an intact skin and without bruises or sprouting are suitable for long-term storage over several months. Slightly damaged potatoes should be eaten quickly. If the potatoes are stored well distributed on slatted frames, they will keep for months.

So that your glasses don’t get dusty if they remain unused for a long time, you should pay attention to a few things about storing the glasses. Consequently, you can avoid dusty glasses and save yourself cleaning after you have taken them out of the cupboard.

Glasses that are not used often gather dust quickly, even in closed cupboards, and have to be cleaned again before they are used again. You can use a simple trick to ensure that the glasses stay clean.

Tips to avoid dusty glasses

Have you planned a big family meal and are you getting the holiday glasses out of the cupboard? Then to find that all the glasses are covered in dust and they need to be cleaned? This is annoying and takes up an unnecessary amount of time. Therefore, we have collected some tricks that will avoid dusty glasses in the future. Also, note our clever tips for cleaning the kitchen.

1) Glasses do not get dusty upside down

To avoid dusty drinking glasses, simply place the glasses upside down in the cupboard. As a result, no dust can get into the glass and you always have clean glasses at hand. In addition, note useful tips for polishing glasses.EMPTY

2) Regularly wipe dust against dusty glasses

If you struggle with dust in the apartment and keep your glasses on open shelves, your glasses can quickly gather dust. Then regular dusting helps. And if you don’t have time to dust the whole apartment, at least try to dust off the glasses.

3) Avoid dusty glasses with plants

Since plants provide moisture, they ensure that the dust is bound. Then it usually settles on the leaves of the plant. So you can put plants next to the shelves where you keep your glasses. Consequently, the glasses are better protected from dust. Also, note helpful tricks for separating wedged glasses.

Storing Christmas cookies correctly is important so that you can enjoy your cookies for a long time. We’ll show you how to keep Christmas cookies fresh and how to use leftovers sensibly.

Storing Christmas cookies: This is how you succeed

Whether cinnamon stars, vanilla crescents or gingerbread – cookies are part of the Advent season. So that you can enjoy your homemade biscuits throughout Advent, you should make sure that they last as long as possible. Therefore, we have put together the best tips for you on how to store Christmas cookies properly:

Store by type: After baking, all types of cookies should be allowed to cool completely before tinning. The glaze or other decorations must first dry completely. Otherwise the biscuits may stick together. Then store the Christmas cookies according to type in different airtight cookie jars. You should also wrap homemade stollen in a kitchen towel.
Shelf life is related to the type of cookie: The use-by date is closely related to the type of cookie. Dry cookies can last up to eight weeks. However, if your cookies have a cream filling, you should use them up within a week if possible.
Freezing Christmas cookies: If you can foresee that you will not use up your cookies in time, you can simply freeze them. You will need an airtight container to put your cookies in after they have cooled. However, be careful not to freeze cookies decorated with chocolate. Chocolate turns gray in the freezer. If you want to thaw the frozen pastry again, take it out of the freezer and let it sit at room temperature for several hours.

Tips for making good use of leftover pastries

Storing Christmas cookies properly can avoid food waste. But what to do if there are leftovers? With our ideas you will be able to use what is left over. So nothing has to end up in the garbage, but can be used elsewhere.

Second chance for leftover cookies: You can crumble many types of Christmas cookies and use them instead of biscuits for various recipes. In this way you can refine (vegan) tiramisu or other layered desserts, for example. You can also use them to make sprinkles for apple crumbles. You can melt leftover chocolate and use it as a glaze for cakes or fresh pastries.
Utilize expired ingredients: Each food item is given a sell-by date before it is sold. However, this date is not to be taken so strictly for all foods. Because ingredients such as baking powder, flour or spices can keep much longer. Therefore, you can use these basic foods for baking for a long time without hesitation. Read more: Forget the best before date – many foods last longer than you think
Cookies as a gift idea for friends and relatives: What Christmas cookies you don’t want to store with you may be missing from others. How about giving your homemade treats to friends, acquaintances and relatives? Not only do you give your loved ones a little treat, you also don’t have to throw away your leftover cookies.

You can keep soap dry with soap dishes and other tools. This will prevent you from getting wet bars of soap and prevent it from dissolving too quickly. We have collected the best tricks for you.

Storing wet soap is a hassle because just laying out the soap to dry always looks kind of crappy. There are effective household aids to ensure that the soap stays dry or can dry better and does not start to smear.

1) Keep soap dry with bottle caps

So that your wet bar of soap can dry quickly, simply use a bottle cap. Then take this and stick it into the bottom of the soap bar. So the soap is always on the crown cap and can dry faster. Also, note our instructions for making soap yourself.

2) Use a loofah soap pillow as a soap dish

To keep soap dry, buy a loofah cucumber. Because their fibers are used as a kind of sponge. So you can cut it into slices and use them as soap pads. Then the soap lies on it, can dry better and it also looks good. Alternatively, you can simply place a slice of the loofah cucumber under the soap. You can also put a slice of loofah cucumber in a regular soap dish as a base for the bar of soap. So the soap is always clean and doesn’t stick. Also, read our tips on gall soap as a home remedy.

3) Use a soap pad with nubs

In addition, you can get soap pads with plastic knobs in specialist shops to put the soap on the sink. The distance between the nubs allows the remaining water to run off. So the soap dries faster. This is also a great idea to set up the bathroom.

4) Keep soap dry washing gloves

If you have wash mitts at home, you can use these as a base for your wet bars of soap. So put the soap on your wash mitts to dry. Or get yourself a laundry bag for soap. Because you can even hang it in the shower. Also, read how to properly clean your shower stall.

5) Different soap dishes from the internet

If you don’t want to make a soap dish yourself, you can find a variety of different soap dishes on the internet. Many are designed in such a way that the water can drain off. As a result, you can keep the soap dry without it looking dirty.

You can easily freeze parsley. So you don’t have to throw anything away after a lush harvest, because fresh parsley cannot be stored for long.

Parsley is at its most fragrant just before flowering. In May or June you can cut them just above the ground. Unfortunately, fresh parsley does not keep very long. To use parsley outside of harvest time, you can preserve it. In the event of a harvest surplus, you also avoid throwing away food.

In principle, you have the option of drying or freezing herbs. Since the parsley loses a lot of its aromatic substances when it dries, we recommend that you freeze the herb.

Freeze parsley: how it works

Wash the parsley with water.
Dry them gently with a kitchen towel.
Place the parsley in a sealable, frost-proof container. We recommend, for example, containers made of glass, stainless steel or cotton bags. For the sake of the environment, you should avoid using plastic fresh storage bags. (More information: Freezing food without plastic)
Another alternative are ice cube molds. Simply fill them with chopped parsley and some water.
Finally, place the parsley in the freezer.


As long as the cold chain is not broken, the frozen herbs will keep for several months. You can take them out of the freezer when needed and simply crumble them with your fingers.

Freezing gooseberries is a good solution if you’ve harvested too many to eat them all fresh. Here you can find out what you should pay attention to.

Freezing gooseberries works very well if you pay attention to a few things. The green, smooth gooseberries are particularly suitable for freezing. The berries don’t have to be quite ripe yet, because that way you reduce the risk of them bursting later.

Unlike other fruits, you don’t have to freeze gooseberries immediately after picking them – you can store them for a few days beforehand.

Freezing gooseberries: the preparation

Wash and trim gooseberries

Wash the gooseberries in the sink or a bucket, then remove their flowers and stems. The water should only be lukewarm or even cold.

Blanch gooseberries

To prepare, you should also blanch the gooseberries. To do this, put them in a pot of boiling water for about two minutes and then take them out again. Then pour cold water over them.

Sugar or not?

Optionally, you can sugar the gooseberries before freezing. This is not a must, but sugar makes the berries even more durable. Simply sprinkle the berries with a little sugar or boil it in some water and then pour the liquid over the berries.

Recommendation: shock-freeze gooseberries

Fruit often freezes together in the freezer and you can no longer remove it in portions. To prevent this, you should flash freeze the gooseberries before freezing:

Place them individually next to each other on a baking sheet or large plate.
Then store them in the freezer for two hours.
Important: The gooseberries should not touch each other and the freezer compartment should be set to the highest level for a short time.

The actual freezing

The last step follows: Freezing.

Take the shock-frozen gooseberries out of your freezer after two hours and store them in containers.
Make sure not to use plastic bags, but rather more environmentally friendly variants. Old jam jars or stainless steel cans, for example, are well suited. You can find out what other options are available here: Freezing food without plastic: 5 tips.
Store the jars in the freezer or freezer compartment.
The berries can now be kept for eight months. You can even store them in the freezer for up to a year.

If you have a surplus harvest or simply want to prepare cauliflower out of season, you can freeze it and preserve it that way. We’ll show you how.

Cauliflower is in season in Germany from June to October. Then you can harvest the vegetables in your garden or buy them at the market. But you shouldn’t freeze it raw – otherwise it will probably become soft after thawing. We will show you how to proceed as gently as possible and how to preserve the important nutrients in the vegetables.

Before freezing: chop the cauliflower

  • Wash the cauliflower and remove any leaves.
  • Cut the cauliflower into pieces. Depending on the intended use, you can decide how big the pieces should be. We recommend cutting the cauliflower into bite-sized pieces.

Freezing cauliflower: this is how it works

To preserve the nutrients in cauliflower, you need to blanch it before freezing.
Bring water to a boil in a saucepan.
Meanwhile, have a bowl of ice water ready.
When the water boils, add a squeeze of lemon juice. This prevents the cauliflower from turning brown.
Place the cauliflower in the boiling water for about three minutes.
Then take the cauliflower out of the hot water with a slotted spoon and place it in the ice water.
Remove the cauliflower from the ice water and gently pat dry with a towel.


Place the cauliflower in freezer-safe containers and place them in the fridge. It’s important to portion the cauliflower or it will freeze together. This makes it difficult to separate and portion.
The cauliflower will keep for several months. When you prepare the cauliflower, add it to the cooking water from frozen. If you thaw it beforehand, it will quickly become mushy.

If you want to store quinces, you should consider a few things. Then you will have something of the versatile regional fruit for a long time if you do not process it directly.

The quince is an old native fruit that you can harvest well into November. The naturopath Hildegard von Bingen even considered it a local medicinal plant. Quinces have lost importance compared to other types of fruit – also because they are comparatively complex to process.

But this effort is worth it. The quince is making a real comeback at the moment. Especially for people who strive for self-sufficiency, it is a good source of vitamins and a refreshing change from typical autumn fruits such as apples. The organic quince farmer Marius Wittur says in an interview that he appreciates the diverse flavors of the fruit, which range from “pomegranate to kiwi to citrus fruits”.

If you store quince properly, you can enjoy the fruit well into winter. In this article you will learn everything about storing quinces.

Storing quinces: when does it make sense?

Quinces are very suitable for jam or jelly as the fruit naturally contains pectin. Pectin ensures that the quince jam does not remain liquid, but gels. If you process your quinces into jam immediately after harvesting, for example, you no longer have to worry about storing them.

There are two possible reasons you might want to store your quinces:

You don’t want or can’t process them right after harvest.
You have a variety of quince that is edible raw and want to have some of the unprocessed fruit for a long time.

Store quinces or process them directly: tips for harvesting

When it comes to quinces, there is no single best time to harvest. Depending on the variety and the weather of the year, the harvest can extend from September to November. However, the most important factor in determining when to harvest is what you plan to do with the quinces.

1. Process quinces directly

If you want to process them directly, you should first let the quinces ripen on the tree and process them immediately after picking. When fully ripe, quinces only keep for a week or two. When harvesting, you should consider the following points:

Fully ripe quinces are golden yellow in color and no longer have soft down.
When your quinces have a very strong, spicy smell, they’re ready to harvest.
They can easily be twisted off the tree.
Cut open a fruit and look at the pips. Quinces are ripe when the pits have turned brown.
However, it is also important that you do not leave the quinces on the tree for too long: it is best to harvest them before the first longer frosts and before they develop brown spots.
Tip: Typical uses of quinces are jam, jelly or quince bread. Quince juice, quince chutney or quince cake are also delicious. In hearty stews, quinces provide sweet-sour notes and exciting aromas.

2. Store quinces

Would you like to store your quinces and not process them immediately? Then you have to consider these points during the harvest:

Harvest quinces before they are fully mature.
It is best to harvest at the point where the color changes from green to yellow.
The fruits slowly begin to lose their fluff. It can still be felt in some places.
Be careful not to bruise your quinces, so harvest them carefully. Bruises could later become rotten spots and significantly reduce storage time.
However, you should not harvest the quinces too early, as they will then not be able to develop their full aroma.
Some quince varieties are better suited to storage than others. For example, the “Franconian house quince” lasts a few months in storage. The “Portuguese pear quince”, on the other hand, should be used up quickly.

Storing quinces: how to keep them for a long time

If you harvest your quinces at the transition point from unripe to ripe, they will keep for another two to three months if stored correctly. An old storage cellar normally meets the necessary criteria – it just must not be damp. More modern cellars are usually too warm. This is the best way to store quinces:

Place the fruit in a single layer next to each other in boxes or boxes.
Wood shavings or newspaper are suitable as a base.
The temperature should be below ten degrees Celsius, zero to two degrees Celsius would be optimal.
It is important that the store is frost-free.
Only undamaged quinces are suitable for storage. If they are already eaten, have a slight bruise or something similar, then it is better to process them directly.
Do not store the fruit with other fruit. They quickly transfer their strong smell to other strains.
In particular, you should not store apples and quinces together. Apples give off the plant hormone ethylene, which accelerates the ripening process.
You should also heed these tips:

Check your stored quinces about once a week and sort out any rotten specimens.
Are very icy nights ahead and you are afraid that your fruit might break? Then protect them from freezing, for example with woolen blankets.
If the storage time is very advanced, your quinces may turn brown on the inside. Now you should process them as quickly as possible.