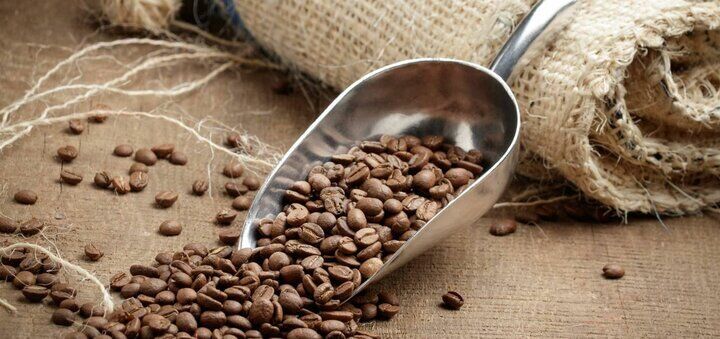
Coffee is undoubtedly the favorite drink of the Europe. The aromatic pick-me-up is enjoyed at home, in a café and even on the go. But how are the beans made and how do the types differ from each other?
Coffee plants belong to the blushing family. There are many types of coffee, but only a few are suitable for making coffee. Arabica and Robusta are the best-known and best-selling types of coffee in the world. In addition to these two types, there are others that are not easily available due to their rarity, but are still in great demand. The coffee beans form the seeds of the coffee plant or coffee tree. Since it is easier for the harvest, the trees are kept rather small. The coffee cherry usually contains two coffee beans. But sometimes the fruit buds wither away and only form one bean, the so-called pearl bean. This is particularly sought after because it contains a stronger aroma.
Arabica
The Arabica bean has the largest share in the coffee market. It is best known for its digestibility and soft fruity taste. The bean can be recognized by its oval body and the curved S-line on the flat side. Compared to Robusta, it contains less caffeine and is more demanding in terms of growing conditions.
Arabica beans prefer a higher altitude – between 800 and 2,000 meters – and need a balanced climate with mild, constant temperatures. From a cultivation height of 1,000 meters one speaks of highland coffee. The more demanding conditions are prerequisites for the diverse flavors that make the bean so popular. But the Arabica plant is the only coffee plant that is able to pollinate itself; all other types of coffee depend on cross-pollination by wind and bees. Some roasters only use Arabica beans for their blends. This blend is labeled “100% Arabica” on the packaging.
Robusta
The Robusta plant is much more resilient than the Arabica plant. It is more resistant to diseases such as “coffee rust”, which is due to the higher caffeine content, and can also handle higher temperatures better. Their cultivation height is less than 900 meters. It grows faster and has a higher yield than the Arabica plant, and its flavor is earthy, woody, and bitter.
That is why it is particularly popular for espresso blends. The bean is smaller and rounder than the Arabica bean. It usually has a straight slit on the flat side.
Lesser-known types of coffee
The Excelsa plant was only discovered about 100 years ago on Lake Chad, which lies in Central Africa between the countries of Chad, Cameroon, Niger and Nigeria. Despite dry soil and when there is little rain, it thrives very well and is also very productive. The taste of Excelsa coffee is strong and aromatic. Therefore, it is mainly consumed in the growing region. Only small quantities are exported abroad.
The Liberica plant – growing areas are Liberia, Sierra Leone, the Central African Republic, Benin, the Philippines, Indonesia and Vietnam – is very robust. It is hardly susceptible to parasites and pests, has a long lifespan and produces a very high crop yield. It has a very tart taste because it contains less sugar and more caffeine than Arabica and Robusta beans. However, their maturing process takes longer than with other types of coffee. Liberica beans are often used as an admixture.
Stenophylla beans grow at altitudes of up to 700 meters and require very little water. The fruits of the Stenophylla plant are black and take longer to ripen compared to other types of coffee. Therefore, it is usually only grown for domestic needs. Stenophylla coffee tastes very mild because it contains very little caffeine. This type of coffee is cultivated in Guinea, Sierra Leone, the Ivory Coast, Ghana and Nigeria.
Special types of coffee
Coffees are blends and variations of the above coffees. The types of coffee listed here have characteristics and differences due to local environmental factors or their production process.
Kopi Luwak comes from the islands of Sumatra, Java and Sulawesi. It is also called cat coffee because the civet cat species musang is responsible for the production. She eats different types of coffee beans. The fermentation of the beans then begins in the intestine due to digestion. After being eliminated, the beans are collected and processed. Kopi Luwak is considered the most expensive coffee in the world. The price for 1 kg is around 300€. However, since this is linked to the annual yield, the price can fluctuate greatly.
The Arabica variety Maragogype is also called elephant bean because it is about 30% – 40% larger than the usual Arabica beans. It is very low in acid and easily digestible. However, it is not suitable for industrial roasting, as it has to be gently roasted twice, with great care, so that it does not burn. However, the harvest yield of the Maragogype plant is lower than that of other Arabica plants and its price is therefore higher. It is mainly grown in Mexico and Nicaragua.
Jamaica Blue Mountain is an Arabica plant grown exclusively in the Blue Mountains of Jamaica. The coffee cherries are hand-picked and are not transported in sacks, as is usually the case, but in wooden barrels with black writing. The growth of the plant takes longer due to the climatic conditions, but a better aroma can develop. The climate is cool and there is a lot of precipitation. Since the cultivation area is very small, it is a real rarity. The Jamaica Blue Mountain tastes mild and sweet and is very aromatic.
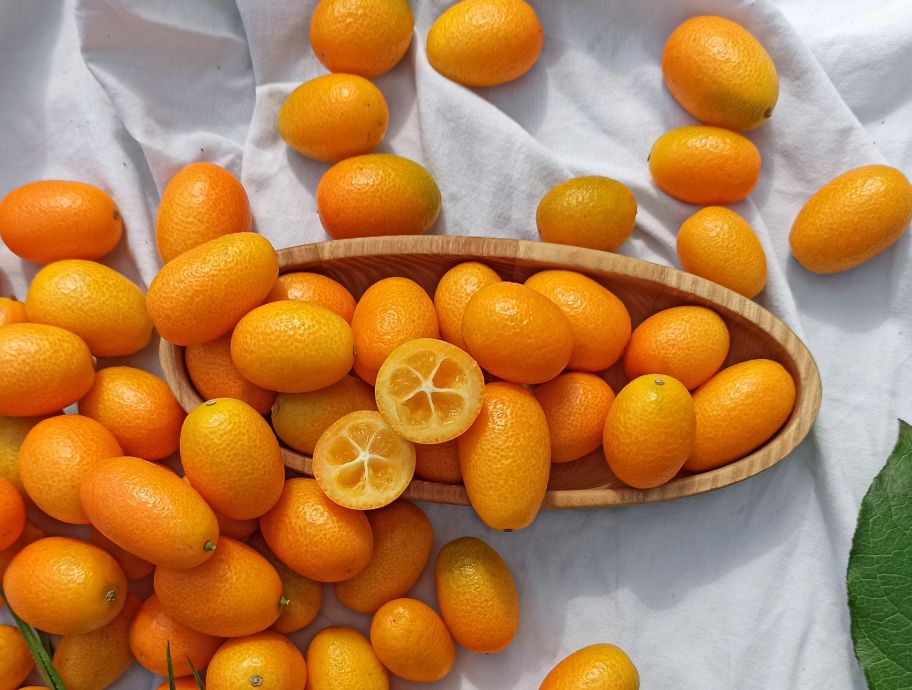
The coffee cherry
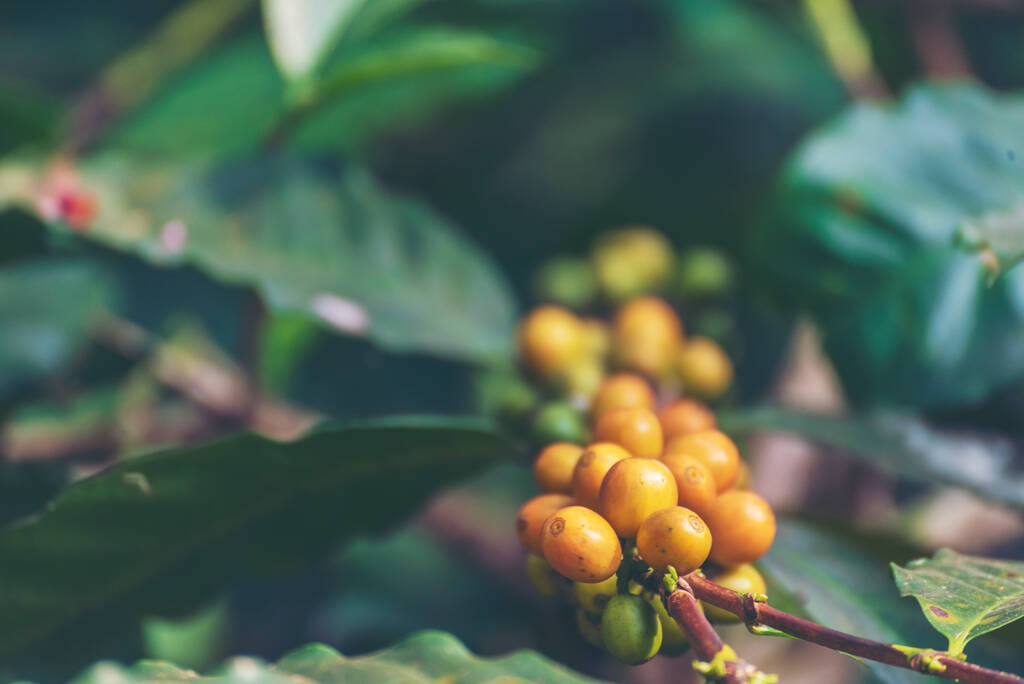
The fruit of the coffee plant is called the coffee cherry because it is red in color when ripe. Only the Bourbon coffee plant, which belongs to the Arabica species and grows in Kenya and Brazil, is an exception here, because its ripe coffee cherries are yellow. Unripe coffee cherries are green and turn yellow and red as they ripen. Overripe cherries turn black.
The coffee cherry contains two coffee beans inside, each of which is surrounded by a silver skin, which in turn is covered by a parchment skin. The two beans lie with the flat side facing each other. The two outer layers of the coffee cherry form the pulp – also known as the pulp – which consists largely of water, and the fruit skin.
Since coffee plants know no seasons, their fruits are not all ripe at the same time. The plants can flower, bear unripe and ripe fruit and wither at the same time. This tropical phenomenon has an impact on harvesting and processing, since only ripe fruits can produce high-quality, aromatic coffee beans of the best quality.
Growing areas

Coffee is grown in the so-called coffee belt. This extends from the 23rd degree of latitude north to the 25th degree of latitude south. Around 80 countries cultivate coffee plants, but not all of them export their coffee abroad. Only near the equator, along the tropical and subtropical zones – and a few exceptions – do coffee plants find the optimal conditions they need to grow. The influencing factors include:
Temperature: Coffee plants like it warm. The optimal temperatures are between 18 and 25 degrees. However, it must not be warmer than 30 degrees and not cooler than 13 degrees. The plants need constant temperatures without large fluctuations. Frost is particularly damaging to plants and can lead to crop failure. Direct sunlight must be avoided by using shady plants and trees.
Rainfall: In general, coffee plants need a lot of rain. Because they like high humidity. The exception is the Excelsa plant, which also copes well with little rainfall and dry soil.
Height of cultivation: The higher coffee grows, the more time it needs. On the other hand, coffee beans that have been grown in higher areas form more aromatic substances and are milder.