Quarantine, power outage or worries about the political situation: Many are considering stocking up on emergency food in case of an emergency. The Ministry of Agriculture has created a corresponding shopping list with recommended foods – we have looked at them.
An emergency supply can feed you for a few days if new groceries can’t be delivered or you can’t leave the house.
However, panic and excessive hamster purchases are not appropriate. Since the first lockdown, we have known that the food supply is working well. According to the Federal Ministry of Food and Agriculture (BMEL), however, it is still advisable to stock up on emergencies, regardless of the threat posed by the corona virus.
Apocalyptic scenarios are not understood as emergencies. A widespread power failure lasting several days can mean that supermarkets can no longer be supplied and the water supply is impaired.
But other unforeseen events such as natural disasters or epidemics can also mean that we suddenly no longer have access to fresh food. For these cases, the Federal Ministry has published a supply table with food that could feed a person for around ten days.
Emergency supplies: shopping list for cereals and potatoes

The list only includes products that do not need to be cooled, as it should also be valid in the event of a power failure. Therefore, frozen foods are not recommended. The ministry assumes a daily calorie intake of 2200 kilocalories per person. In addition to the “normal” table, which contains fish and meat, there is also a vegetarian shopping list. A vegan version does not yet exist.
In the cereals and potatoes category, the Ministry recommends the following foods for an emergency supply per person:
710g wholemeal bread
180g rusks
710g crispbread
280g pasta (raw)
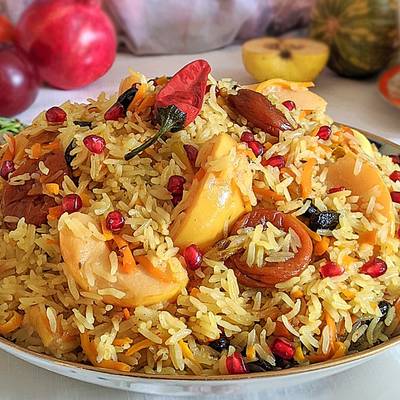
180g rice (raw)
540g oats or other cereal flakes
710g potatoes (raw, without skin)
Emergency supplies: fruit and vegetables
With regard to fruit and vegetables, the ministry recommends using canned goods for the most part. Because they have a long sell-by date. Your shopping list should include:
570g green beans
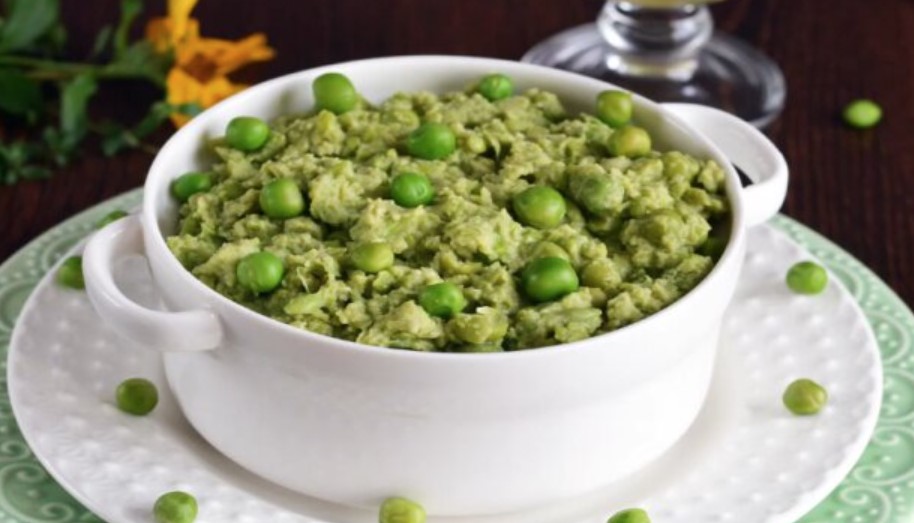
640g peas/carrots
500g red cabbage
500g sauerkraut
290g of asparagus
290g corn
290g mushrooms
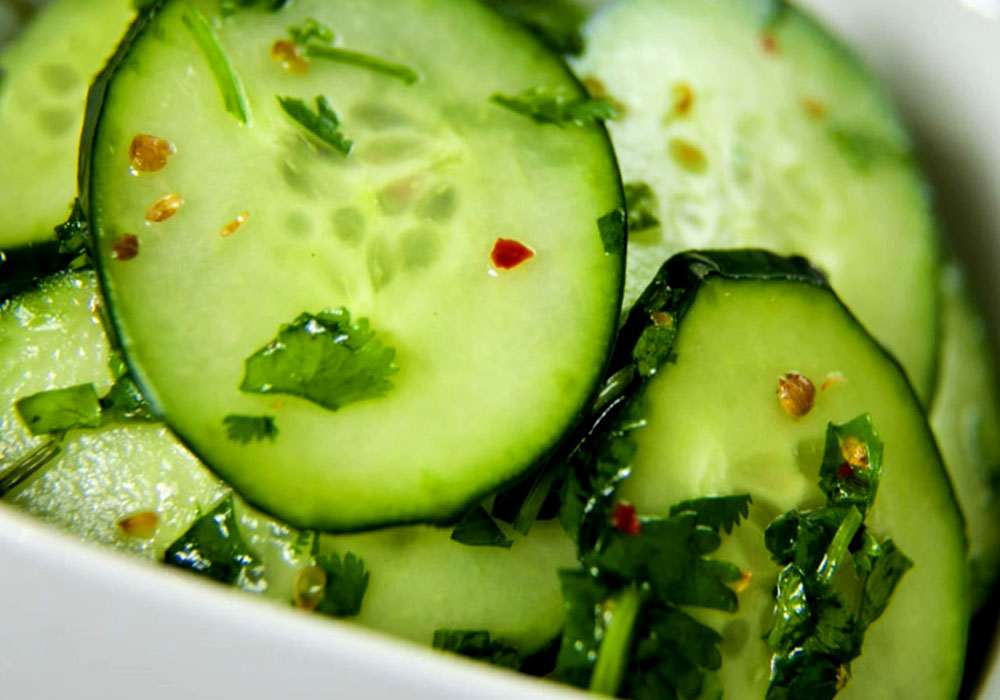
290g pickled cucumbers
290g beetroot
400g cherries
180g pears
180g apricots
250g tangerines
250g pineapple
The quantities always refer to the drained weight. Of course, canned food and well-travelled tropical fruits like pineapples are not exactly sustainable. The BMEL is primarily concerned with the list of shelf life and sufficient calorie intake. In order to improve the ecological balance of these foods, you could boil, pickle or ferment the fruit and vegetables yourself and use them to create a crisis supply.
Some dried fruit, nuts and fresh products are also on the BMEL’s emergency stock list. These are:
360g fresh onions
140g raisins
250g prunes
100g hazelnuts
710g fresh fruit (e.g. apples, bananas, pears, oranges)
Milk, eggs, substitutes, and fats on the shopping list
In the standard table, the Ministry recommends, among other things, canned tuna, sardines in oil, herring, corned beef, bockwurst or veal liver sausage. We think: Even in a temporary crisis situation, such food does not have to be. Tuna is heavily overfished, and canned sausage and meat products usually come from industrial factory farming.
The calories that the products are supposed to provide can also be consumed in other ways – without having to accept animal suffering. These products have been replaced by vegetarian alternatives in the vegetarian emergency stock list. The following foods can be found in this category:
200g tofu
150g vegetarian patties
230g vegetarian sausages
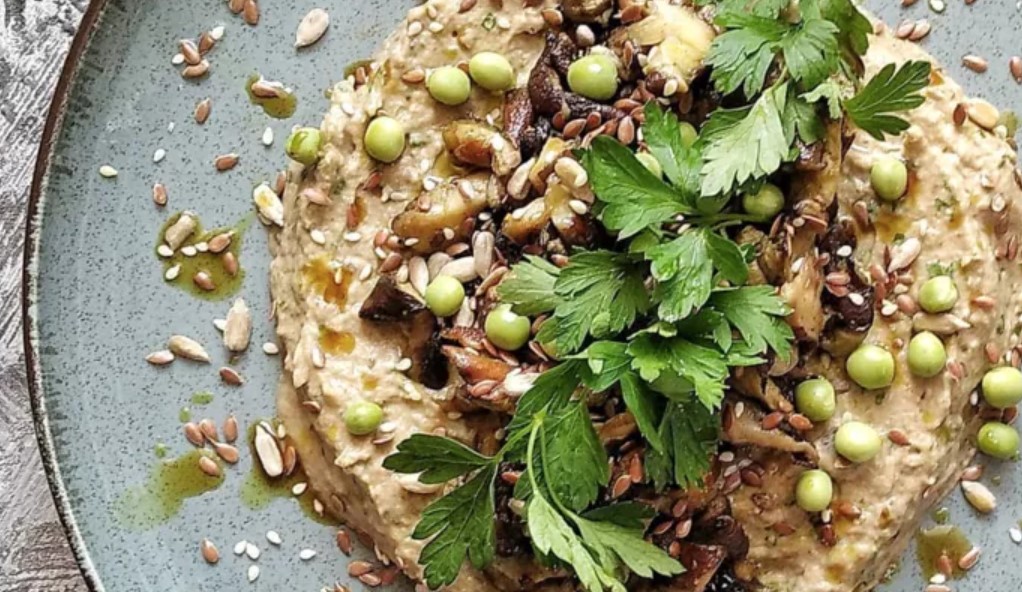
250g vegetarian spread
200g vegetarian salami
265g eggs (weight without shell)
Regarding dairy products, fats and oils, these products are on the list:
2l UHT milk (3.5 percent fat)
500g hard cheese
180g fat spread or butter
180g margarine
150ml cooking oil
To further reduce animal products, you can replace the UHT milk with oat milk or another plant-based drink. Make sure that it is a plant-based milk that does not need to be refrigerated, lasts as long as possible and has around 50 to 60 kilocalories per 100 milliliters.
Beverages and other items in emergency stock
For a 10-day emergency supply you need 20 liters of mineral water. This includes both the recommended drinking quantity of 1.5 liters per day and water for cooking pasta, rice and the like at 500 milliliters per day. For people over the age of 65, it is advisable to have even more water available, as they should drink around two liters of water a day.
In addition to mineral water, the following products are on the list in this category:
140ml lemon juice
180g coffee powder or instant coffee
90 grams of black tea
In addition, there is a table with other foods that are listed without a specific quantity. This includes:
sugar
sweetener
honey
jam
chocolate
iodized salt
ready meals
Dried potato products (e.g. mashed potatoes powder)
flour
cocoa powder
hard cookies
Pretzel Sticks
Create your individual emergency supply

The Ministry points out that this shopping list is only an example and must be adapted to individual needs such as allergies, intolerances and diets. Some foods are definitely not necessary for most people, such as artificial sweeteners or canned asparagus.
If you want to create a completely vegan emergency supply, you can rely more on legumes, which are not yet included in the ministry’s list. Lentils, chickpeas, beans and the like also provide you with important nutrients that keep you full for a long time. You can use both dried and canned products.
You can get dry groceries in bulk shops and thus avoid packaging waste. You can also reduce packaging in large containers and often save money at the same time.