With a detoxification cure you clean your body of substances that accumulate in the tissue. We’ll give you tips to make the cure a success.
With a detox you help your body to help itself. The metabolism is a finely tuned cycle that processes all usable substances from food. At the end of the chemical processes in the body, some “unusable” substances remain.
The detox cure acts like a regulator for the metabolic cycle in your body.
You regulate the intake: During the cure you mainly eat easily digestible meals. The predominantly vegetable food contains a lot of dietary fiber from the plant fibers. The energy metabolism gets less replenishment and works with the reserves in the body.
At the same time you regulate the transport: A detox cure includes sufficient exercise and liquid. This activates the body’s own transport system. It is now time to also take care of any residues of toxins in the tissue.

Purification cure: These are slag
According to the definition, “slag” are nitrogenous end products from the metabolism of the cells. The residues of proteins and fats consist of large molecules and do not fit through the fine pores of the bloodstream.
The body has a special drainage system for this “waste” in the tissue, the lymph. The substances reach the kidneys via the lymph nodes and from there into the urine. The lymph channels do not have their own “pump” like the bloodstream – they are only sucked in by the heartbeat. With a detoxification treatment you activate the lymphatic system and thus ensure that your body can excrete the waste quickly.
You are more likely to hear the term “metabolic product” for this process from a conventional doctor. Doctors are familiar with a number of diseases that are caused by too many or too few metabolic products, such as:
neurodermatitis
rheumatism
Gout: The Apotheken Umschau reports that uric acid can trigger gout attacks under certain conditions. Uric acid is a metabolite of purine found in meat and offal.
You can prevent it with a detox. The idea of cleansing the body and thus preventing or treating illnesses has been handed down from many ancient healing methods. There are also detox diets in Indian Ayurveda or in traditional Chinese medicine. In Europe, too, the detoxification cure has historical predecessors – Hildegard von Bingen, for example, recommended fasting cures to strengthen the immune system.
Signs of too much waste in the body
As a rule, the body is well equipped to deal with the end products of metabolism and other “unusable” substances:
The liver and kidneys are mainly challenged, which flush out many of the pollutants in the tissue via the urinary tract.
The intestine takes over the leftovers that the body cannot digest or that cannot be dissolved in liquid.
The skin can also excrete incompatible substances.
These signs can give you an indication that your body is overwhelmed by unhealthy waste products from the metabolism:
Digestion doesn’t work properly.
The stomach hurts and is often bloated.
You often get headaches.
You catch cold or catch infections easily.
You are quickly tired and overwhelmed.
You have trouble concentrating and are restless.
You can’t sleep well.
Purification cure: These methods are also included
There is not just one detoxification cure, but different approaches, especially in alternative medicine. Some methods often have multiple names, but essentially boil down to the same thing.
A detoxification cure can mean a cleansing of the intestines, which in healing practice is the beginning of a cleansing of the intestines.
Even detox cures that you hear about in the media are actually purification cures. Only the English short name Detox sounds more interesting than the German translation “detoxification”.
In the same way, a detoxification cure can also mean a fasting cure or Kneipp cure.
What they all have in common is that you avoid harmful substances over a period of time. This gives the body time to break down the residue. The liver, kidneys and intestines can then regenerate again.
In order for the organs to be able to fully recover, non-medical practitioners expect about four weeks for the detoxification cure. If you want to take such a cure, you should discuss this with your doctor or naturopath beforehand.
With short cures you give the body a break to break down the unhealthy substances. For example, you can insert a “detox weekend”. You often feel lighter afterwards and have more strength for everyday life. However, there is not enough time for the cells in the organs to regenerate.
Detox cure: It works with this diet
Easily digestible foods are on the menu during the detoxification cure:
Lots of seasonal vegetables and fruit
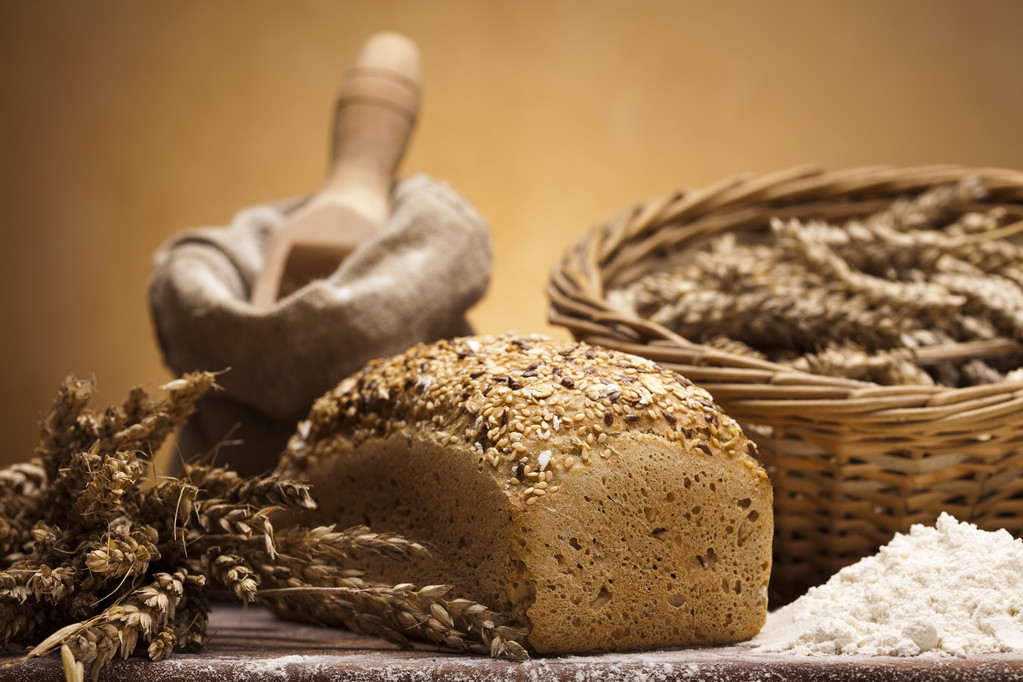
Whole grains like rice, pasta, bulgur, or other whole grains
Still water and herbal tea
On the other hand, do without during the detoxification cure:
Meat and animal protein, including cheese, eggs and dairy products
coffee and black tea
Bread or pasta made from white flour
sweets and sugary foods
Always prepare your meals from fresh ingredients and avoid ready meals:
You gently cook the vegetables with steam – this preserves more vitamins. The dietary fibers from the plant fibers stimulate your intestines.
It takes the stomach longer to digest raw vegetables and lettuce. Therefore, you should no longer eat a salad in the evening. For example, you can prepare a vegetable soup for dinner.
Bitter substances support the liver in breaking down toxic substances. They are contained in many types of vegetables such as chicory or dandelion. You can steam dandelions like spinach or prepare them as a pesto with parsley.
With herbal tea you support your kidneys and liver:
Drink a pot of herbal tea a day (preferably organic)
With nettle, parsley, horsetail or goldenrod herbal teas, the kidneys can better flush out the waste products via the urinary tract.
Tea blends made from dandelion and milk thistle are good for the liver.
Detox cure: Sport is also part of it
But not only the diet is important during the detoxification cure, but also sufficient exercise.
If possible, move in the fresh air for at least half an hour a day. For example, you can also start with morning exercise or jogging.
Yoga exercises relieves the organs and promotes digestion.
You can also do this:
Apply a liver compress in the evening: Place a warm towel below your lower right rib cage over the liver. Wrap a dry towel over it, cover yourself with a warm blanket and lie down relaxed for half an hour.
In the morning you can get your circulation going with alternating showers and a brush massage. As a result, the waste products that have been deposited in the tissue can reach the liver and kidneys better.
Sauna sessions also make it easier for the body to remove toxins.
Detox cures: dubious products
Attention: “Slag” is often used as a collective term in everyday language, which not only means the metabolic products, but also toxins that burden the body, for example:
drug residues
Environmental toxins, such as pesticides or heavy metals that you ingest through food
Amalgam from old tooth fillings
alcohol or nicotine
Doctors take a critical view of this very general term for slags. A medical inquiry should therefore sift through the evidence from alternative medicine, but there have been no solid studies on it. Thus, the statements that detoxification cures can eliminate the toxins mentioned from the body are not proven.
You should also critically question detoxification cures that require you to buy special powders or other means. Many products suggest that you can cleanse your body of these toxins – but there is often no medical evidence for this.

This is how you can prevent slag
If you move a lot and are active, your blood circulates faster. As a result, the lymphatic system can also quickly remove waste products from the tissue.
If you eat a balanced diet with lots of vegetables and use vegetable oils, less slag is formed from the metabolism. The lymphatic system has no problem removing all residues.
In this way you remain naturally “purified” and an additional purification cure is therefore not necessary.