Homemade breadcrumb substitute is a convenient alternative to traditional breadcrumbs. We show you five ingredients that you can use to make a delicious breading without any breadcrumbs.
Breadcrumb substitute brings variety to the meal and is also suitable if you don’t have any crumbs at home. The options presented here are suitable for all dishes that are otherwise prepared with conventional breadcrumbs. For example, tofu or fresh vegetables such as kohlrabi and cauliflower taste particularly delicious if you turn them in breadcrumbs and then fry them.
Traditionally, breadcrumbs are made from breadcrumbs. A breading of breadcrumbs and egg then ensures that the food is crispy on the outside and stays juicy and soft on the inside.
But you can also prepare a crispy breading without breadcrumbs. We introduce you to five ingredients that are suitable as breadcrumb substitutes. You can make vegan or gluten-free breadcrumbs yourself from regional ingredients.
Tip: If you only have a few leftovers of an ingredient, you can also mix the breadcrumb substitutes.
Seeds and kernels as a substitute for breadcrumbs
Breadcrumb substitute made from seeds and kernels is gluten-free, vegan and can be made from regional products. The following seeds and kernels are suitable, for example, as a substitute for breadcrumbs:
sesame
linseed
sunflower seeds
pumpkin seeds
hemp seeds
To use the seeds as a substitute for breadcrumbs, you’ll need to crush or grind them in a mortar and pestle. This gives them a consistency similar to breadcrumbs. This increases the surface area of the seeds and turns into a crispy shell when cooked.
But be careful: seeds and kernels burn faster at high temperatures than breadcrumbs. Always keep a close eye on your food while it is roasting.
Also keep in mind that some kernels and seeds have a strong flavor of their own. You should therefore adjust them to the taste of your dish. Sesame seeds go particularly well with Asian dishes and tofu.
Breadcrumb Substitute: Nuts, chopped and ground
In addition to seeds, nuts are also suitable as a substitute for breadcrumbs. For example:
walnuts
hazelnuts
almonds
To make breadcrumbs from nuts, proceed in a similar way to seeds and kernels. Crush the nuts with a mortar or high-powered blender. The finer the nuts are, the better they work as a substitute for breadcrumbs.
Also keep in mind that the nuts burn faster than conventional breadcrumbs. In addition, their nutty taste should match the dish.
Breadcrumb substitute made from nuts is vegan and gluten-free. However, some nuts, such as almonds, usually come from other countries and have been transported a long way. This causes high CO2 emissions and makes imported nuts a less sustainable food. Therefore, preferably choose nuts from regional agriculture.
Pretzel Sticks: Substitute for breadcrumbs for extra flavor
Breadcrumb substitute made from pretzel sticks brings an extra spicy note to your recipe. The pretzel sticks are already salty and hearty – that goes well with a hearty breading.
To make breadcrumbs substitute from pretzel sticks, you need to crumble them. To do this, pack the pretzel sticks in a reusable freezer bag and mash them up in the bag. The pretzel stick breadcrumbs are ready when they have a fine, crumbly consistency.
Breadcrumb substitutes made from pretzel sticks are usually not gluten-free, as pretzel sticks are traditionally baked with wheat flour. If you avoid gluten in your diet, gluten-free pretzel sticks or other breadcrumb alternatives presented here are suitable.
Oatmeal: The classic
Oatmeal is a classic substitute for breadcrumbs because it’s naturally rough and absorbs a lot of moisture. They ensure a crispy outer layer on breaded dishes.
Use the oatmeal whole or ground. The fine oat flakes are usually already fine enough to use as a substitute for breadcrumbs. Coarse oat flakes can be crushed in a mortar if necessary.
You can get oat flakes in the shop from regional and organic farms. In addition, oatmeal is gluten-free and vegan. They are therefore a healthy and versatile alternative to conventional breadcrumbs.
Cornmeal and corn products as a substitute for breadcrumbs
Corn products are also suitable as a substitute for breadcrumbs. These products include:
cornflakes
Corn flour (polenta)
tortilla chips
Keep in mind that some of these foods come from other countries or have already been processed several times. Choose preferably products from regional and organic agriculture.
Like pretzel sticks, cornflakes and tortilla chips need to be crushed before use. You can either use the cornmeal directly as a substitute for breadcrumbs or grind it finely in a mortar beforehand.
The advantage of cornmeal and corn products is that they form a particularly crispy breading. In addition, the taste is quite neutral and goes well with many foods.
Tip: Mix cornmeal with seeds, kernels or nuts. This gives you a crispy breading that also has a nutty aroma.
Bread with the breadcrumb substitute

If you have decided on a breadcrumbs substitute, then you can make a delicious breading. The process is the same for each ingredient. Just make sure that nuts and seeds burn faster than the other ingredients when frying or baking.
How to prepare the breading with breadcrumb substitute:
Choose the ingredients you want to bread. Wash and cut them as needed.
Toss the food in some flour until coated on all sides. If you are gluten intolerant, use gluten free flour.
Traditionally you turn the ingredients in whisked egg – but you can also just use plant milk for it. Also read the article breading without eggs.
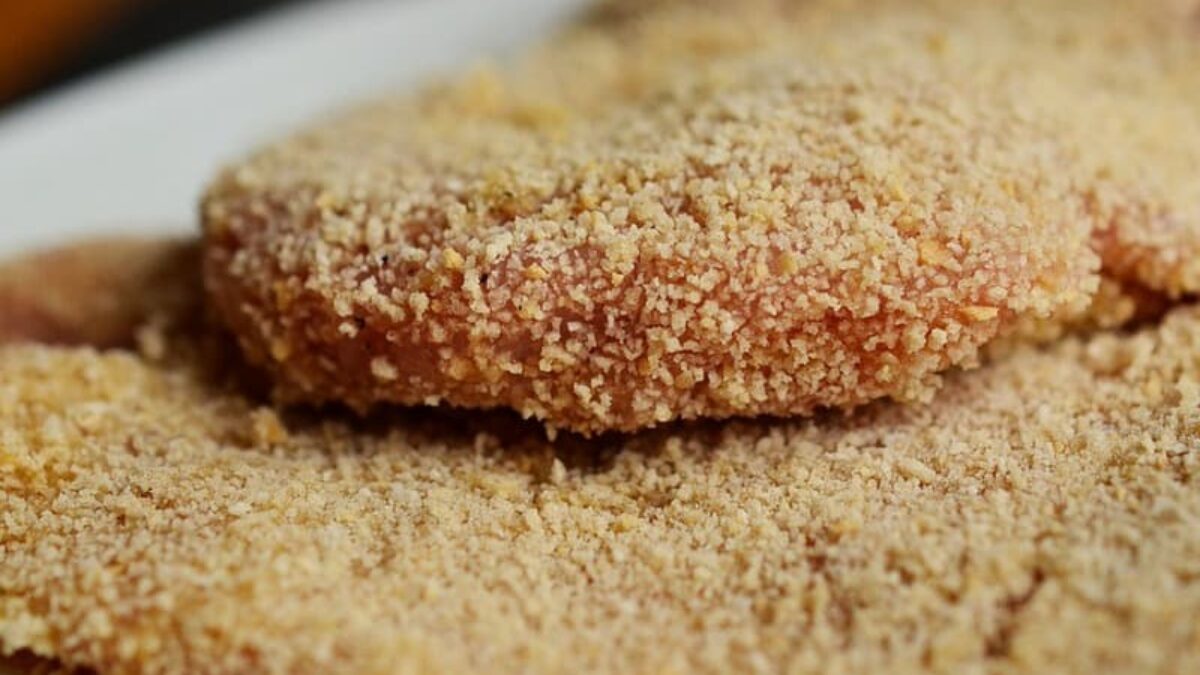
Finally, toss your ingredients in the breadcrumb substitute until evenly coated on all sides.
You can fry, grill or bake breaded foods. Follow the instructions in the respective recipe. For example, try breaded eggplant or breaded tofu.