Tag

baking

Browsing

Gluten-free bread is not available from every bakery. If you have to or want to do without gluten, you will find an uncomplicated bread recipe for everyday use here with teff flour, chia, and psyllium husks.

Those who cannot tolerate gluten-containing products must keep their eyes open when shopping. Getting gluten-free bread or rolls is anything but easy. In the meantime, however, there are baking mixes for gluten-free bread in health food stores, organic markets, or well-stocked supermarkets. If you don’t want to use a baking mix and want to bake your own bread, you can try this rather uncomplicated bread recipe.

Locust bean gum and psyllium husks ensure a nice bond. Organic psyllium husks in particular consist of up to 80 percent dietary fiber. They also contain mucilage. These swell in the digestive tract and bind up to 40 times their weight in water. Flea seed shells, for example, are great as an egg substitute for vegan baking. Why not try the organic psyllium husks from Steinberger! Alternatively, you can use chia seeds as a binding agent for gluten-free bread, for example, which swell into a thick gel when combined with warm water. Caution: The baking time will be slightly longer if you use chia seeds as a binding agent.

The types of flour can be replaced with other gluten-free flour; It is only important that the number of flour totals 500 grams.

Gluten-free bread: the ingredients to bake yourself

  • 500 ml lukewarm water
  • 1 cube of fresh yeast
  • 1 tsp honey
  • 200 grams of rice flour
  • 150 g teff flour
  • 150 grams of buckwheat flour
  • 2 tsp locust bean gum
  • 1 tbsp ground psyllium husk
  • 1 tsp salt
  • 1 tsp vinegar
  • 2 tablespoons oil
  • a handful of nuts, seeds, or kernels (we used hazelnuts)
  • 1 loaf pan (26 centimeters)

Gluten-free bread: preparation

  1. Put water in a bowl, dissolve yeast and honey in it
  2. Add the other ingredients and knead with the dough hook of the hand mixer until a viscous mass is formed. If the dough is still too dry, add some lukewarm water.
  3. Grease the loaf tin with a little oil and pour in the dough. Cover with a kitchen towel and leave to rise for an hour in a warm place.
  4. Preheat the oven to 220 ° C (fan oven). Place a small pan of water on the bottom of the oven. Brush the surface of the bread with some oil and put it in the oven for an hour. After 10 minutes, turn the temperature back down to 200°C.
  5. Let the bread cool down and turn it out of the pan.

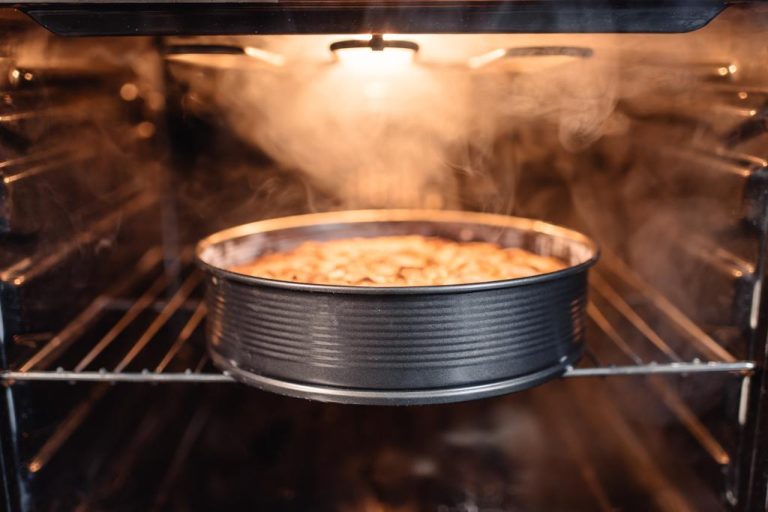
If you have an oven, it usually comes with a baking sheet and rack. What is the difference between the two utensils and when should you use which one?

baking tray

The baking tray is a flat sheet of tin. This is used to put food, such as fresh bread, in the oven and bake it.

In contrast to the grid, a baking sheet provides strong heat from below. The baking tray is therefore suitable for home-baked pizza and tarte flambée, for example. It ensures that the dough is baked quickly. Rolls made from fresh dough and cookies are also usually baked on a baking sheet.

rust

The grid differs from the baking tray in that it consists of metal bars and thus forms a grid base. Almost all dishes can be put into the oven on this.

The grid is particularly suitable for recipes with top heat or if you use the grill function. Therefore, the grid is an advantage if you want to bake cakes. The sheet cake is of course an exception. In contrast to fresh homemade dough, you can also use frozen pizza, for example

Tip: If your mold is very heavy, it is recommended to use the baking tray to gain more stability.

Conclusion

The difference between the baking tray and the grid is that the baking tray emits a lot of heat from below, for example to quickly bake fresh roll dough. The grid is suitable for recipes with top heat or grill function, such as cakes.

Another factor is the stability of the utensils. You should put heavy molds on the baking sheet in the oven.

Overall, you should make sure to clean the sheet metal and grate immediately after use. To keep the dirt to a minimum, you can use parchment paper or a reusable baking mat*.

A dirty baking sheet is not a particularly pretty sight. The encrustations and residues can be easily cleaned with the right tips and tricks.
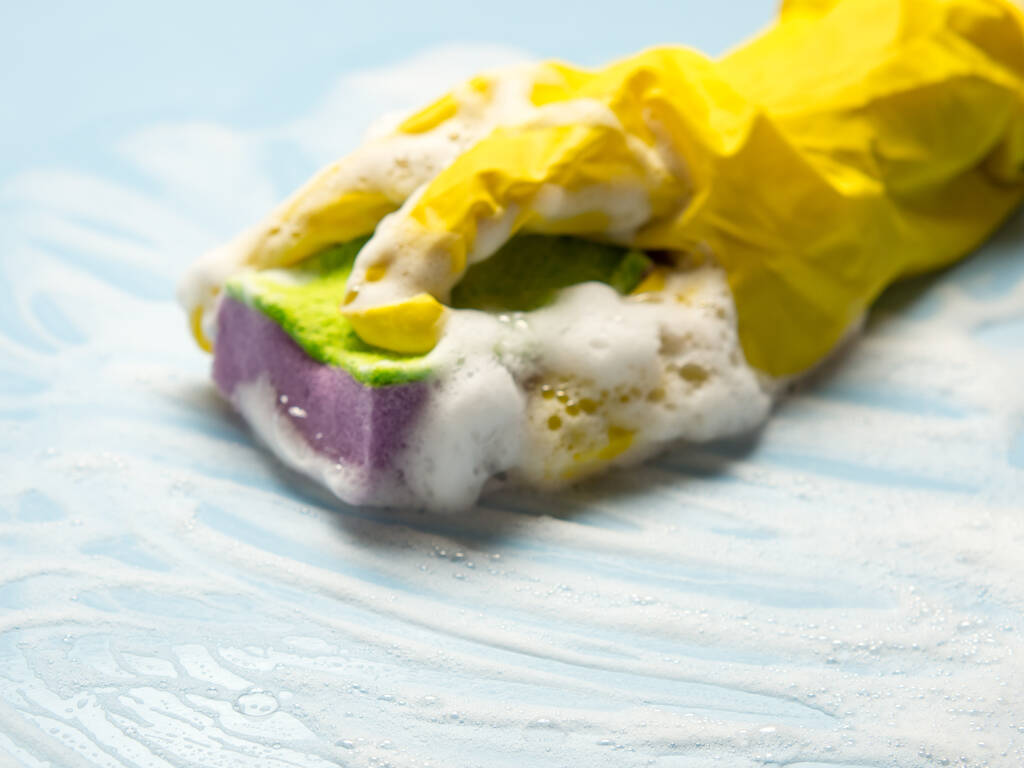
This is how baking sheets get dirty

If you use the baking tray daily or several times a week, it is quite normal for various types of soiling to appear, despite the baking paper or baking mat. The sheet metal can usually no longer be cleaned simply with water.

No matter what you prepare in the oven: there is always a chance that grease stains, dirt, leftover food or other residues will remain on the tray. We would generally advise you to remove any dirt immediately after use. If you continue to put the dirty sheet in the oven, smoke can form and the dirt can burn and become caked, making it difficult to remove.

Home remedies for cleaning your sheets

There are various cleaning agents on the market that have been specially developed for removing grease stains, burnt-in stains and the like. But if you want to do without chemical cleaners, you can easily use household remedies. These are on the one hand cheaper, on the other hand more environmentally friendly and the best thing about it: We usually already have products like salt, baking soda and vinegar at home.

Clean the baking sheet with baking soda and baking soda

When heated, baking soda develops, together with water, into a strong lye that splits proteins and fats into acids. It is therefore perfect for removing fat and stubborn crusts from the baking tray.

Although it is also found in baking powder as sodium bicarbonate, it can work even better in its pure form. Baking soda in combination with mineral water can hold a candle to some chemical cleaners.

That’s how it’s done:
First you put 50 grams of baking soda on the baking tray to be cleaned and then pour enough mineral water over it until the tray is completely covered.
Now heat comes into play: At 100 degrees below heat you can let the water-soda mixture slowly evaporate for about 20 minutes.
After taking out the tray, let it cool down a bit.
The burnt-in residue can now be easily removed with a sponge or dishcloth.
If you don’t have baking soda on hand, you can alternatively use baking powder. To do this, first soak the tray in warm water and then add a packet of baking powder. After a short exposure time, the crusts should be able to be removed with a damp sponge.

Remove incrustations with salt

Probably the simplest and cheapest home remedy for fighting incrustations is salt. To do this, generously sprinkle all baked areas with commercially available salt so that they are completely covered. Then you put it in the oven at 50 degrees and wait 30 to 60 minutes. When the salt turns light brown, you can remove the tray from the oven and drain the salt. The crusts should now be easy to remove and it is sufficient to rinse the tray again with a little warm water.

Get the baking sheet clean with vinegar and citric acid

Baked-in food residues can also be removed with vinegar and citric acid, which, with their acidic pH value, easily loosen stubborn crusts. The procedure should already be known from the previous uses of baking soda and salt – household remedies, in this case vinegar or citric acid, spread over a large area on the tray and then put it in the oven. At 200 degrees you give the mixture about 20 minutes to show its full effect. When the work is done, pour off the liquid. Here, too, the last step is to rinse the baking tray with clean water and wipe it off with a sponge or cloth.

Tip: The strong smell of vinegar is part of this cleaning method, but it can sting your nose and burn your eyes. To reduce the smell a bit, you can simply mix vinegar with lemon juice.

Fruit acids are also known to gently remove residues from sheet metal. To do this, first cut an apple, rub the incrustations with the inside of the peel and let the sheet soak briefly.

Cleaning the baking tray with coke – does that really work?

Sounds crazy, but it still has an effect! We are talking about cola, which contains phosphoric acid, an active ingredient that is also found in much higher concentrations in rust removers. Here you can simply use the stale leftovers that would otherwise end up in the drain. You put this on the baking tray and let the cola sit for a few hours or even overnight. In this case, you don’t have to heat the tray. After that, you can clean it with a sponge and rinse off the sugar thoroughly.

Chemical cleaners vs. home remedies

Even industrial cleaning agents such as oven and baking sheet cleaners cannot be denied their effective effect. They promise a particularly fast and effective removal of dirt, which is due to their chemical composition. However, such cleaners are not completely harmless. The ingredients can cause allergic reactions and also irritate the skin and eyes.
For environmental reasons, it is not advisable to use chemical cleaners. Our tips and tricks on how to get baking trays clean again with household products such as baking soda, citric acid and the like offer a much more environmentally friendly and gentle alternative.

But if you don’t want to do without industrial cleaning agents entirely, you can use dishwasher tabs to clean your trays. To do this, place a tab in the middle of your baking tray and pour hot water over it. Cover the entire area, wait until the tab has dissolved and then give the mixture some time to take effect.

Prevent encrustations – three rules to keep the sheet clean

So that annoying crusts do not form on the baking sheet in the first place, we give you the following tips:

Clean your baking sheet immediately after each use and don’t wait until the leftovers are badly burned on. It is best to soak the tray in warm water and washing-up liquid immediately afterwards. This prevents particularly heavy incrustations and makes cleaning easier later.
A pad is a must! Always use parchment paper or a permanent baking mat when baking.
It is better to avoid cleaning with scratching steel sponges or brushes. The scratches on the baking tray are then even more susceptible to dirt.

Conclusion: Only you can decide which method is the right one for you. But maybe you would like to try one or the other.

Baking powder is a home remedy and miracle cure in everyday life. Have you always wanted to know what you can do with the powder apart from baking? Here you will find the answer! From baking to cleaning, baking soda is a jack of all trades.

You can not only use baking powder for baking but can also be used in the household, in the garden, and in the beauty sector. Here are a few ways you can use the miracle powder. We also clarify what baking powder actually is.

1) Clean grout with baking soda

You can also use baking soda to clean your grout. It is particularly difficult to get rid of stubborn dirt between the joints. But with the application of the powder, it is very easy. To do this, take the powder and mix it with water. Then you can clean your dirty joints with an old toothbrush and the resulting.

2) Remove limescale deposits with baking soda

Limescale deposits are annoying. You should remove them regularly, especially in the washing machine or other appliances. If you want to remove limescale from your washing machine, you can also use the miracle powder here. Accordingly, mix water and the powder into a paste. Then put it directly in the washing machine or in the detergent compartment. Then run the washing machine through once at 60 or 90 degrees. Also, note our other tips for descaling washing machines.

3) Clean sink with baking soda

Descaling the sink or general cleaning of the sink can also be done with the miracle powder. To do this, sprinkle the affected areas with the powder and leave it on overnight. The next day, rinse everything off properly. You can also use the powder to effectively clean the toilet.

4) Remove fat deposits

You can also use the miracle powder to remove fat deposits and grease stains. Because it can bind liquids and odors. So mix the powder with water to make a paste. Then apply it to the affected areas and let it dry. You can then brush off the dried powder and the fat deposits are gone. The effective household remedy of washing soda can also be used to remove fat deposits.

5) Eliminate mold stains

Baking soda is a good mildew remover. Consequently, you can use it to clean your awnings if they are affected by mold stains. To do this, mix the baking powder with water to form a paste. Then spread it on the affected areas. After everything has dried, you can brush off the mass. And your awning is clean again.

6) Washing hands with the miracle powder

Due to its antibacterial properties, the powder is just as suitable for effective hand washing as soap. Since it also acts like peeling, it is also recommended for heavy soiling. So just put a portion of the leavening agent on your hands for baking. Then rub it with some water for a few seconds. Finally, rinse your hands with clear water.

A clever guide to freezing bread and baking bread. We will show you what to look out for when freezing bread and rolls and how to defrost and bake them.

It is very easy to freeze leftover rolls or bread and re-bake them when needed. Bread can be bought in larger quantities and defrosted in portions. The need for pasta can always be well covered. And honestly, what could be better than nice, warm rolls for breakfast or delicious, still warm bread with jam or cheese? By freezing and baking, you bring more flavor into the house.

Freeze rolls and bread

When freezing, it is important to ensure that bread or rolls are packed airtight. This is also good beforehand so that the products stay crispy for longer. That way you might even save yourself the hassle of freezing. If you want to use your bread or rolls a little longer, you have to keep the pasta in the dark. They will definitely stay fresher for longer. Please also note our tips on storing food correctly.

Many people use freezing especially when there is too many rolls leftover from Sunday breakfast. If you don’t want to go to the bakery or supermarket every day and want fresh bread. The good thing is, once the bread is thawed, it tastes really fresh. It is perfect if you freeze the bread in portions, as well as the rolls. This way you can always take the amount you need from the freezer. So you always have a good supply of bread or rolls and can defrost in the evening to have fresh pasta for breakfast. You can simply let the pasta thaw in the sink, you don’t need the fridge for that. Also, note our tips for freezing asparagus and instructions for freezing beans properly.

Bake buns and bread

Bread and rolls can easily be re-baked. For a better taste, however, the pasta should be thawed beforehand. But if you want to bake the baked goods frozen, they usually don’t taste as good as they did before they were thawed. Or try it out and bake your own bread.

Basically, bread becomes tastier again when you bake it. The same goes for buns. The process is basically very simple: simply preheat the oven, brush the loaf of bread or rolls with a little water and then put them in the 200-degree oven for 7-9 minutes. This makes the bread soft on the inside and crispy on the outside. That’s what most people like and with a little effort you can achieve exactly that.

Anyone who knows these tricks will no longer have to throw away bread and rolls. Above all, you can also shop at the bakery if your favorite bread is on sale there at a good price. Some bakers have a special offer on all pieces of bread once a week and if you buy in bulk, you can still enjoy fresh bread when it is baked.

Baking soda is an old basic household remedy from my grandmother’s medicine cabinet. This baking soda is great for household, kitchen, bath, or health use. An all-rounder.

The miracle cure is the main ingredient in baking powder or effervescent powder. From a chemical point of view, it is sodium bicarbonate and is often referred to by the chemical trivial name sodium bicarbonate.

Use of baking soda in the home

As shown in the video, baking soda, like the household remedy baking powder, is an all-rounder. And is therefore often confused with baking powder. Because it is mainly used to make baking powder and effervescent powder. But baking soda is also used in many recipes. In addition, the fine powder can be used as a home remedy for a wide variety of things. That’s why you should definitely have baking soda on hand in the household. Below we show the most important and most common areas of application of cooking soda.

1) Odor neutralization with baking soda

Since the versatile powder neutralizes odors, it is used to clean sources of odors such as the litter box. Even when it comes to neutralizing acids, e.g. B. apple cider vinegar or citric acid. Because the alkaline property of the cooking soda helps to neutralize the pH value of acidic environments. That’s why you can also use it to remove the smell of vomit or neutralize the smell of the smelly apartment.

2) Baking soda as a home remedy for heartburn

Likewise, cooking soda is known as a home remedy for heartburn. Because sodium salt can fight the acidification in your body. The alkaline property of the baking soda counteracts the acid. As a result, it effectively contributes to the relief of heartburn. So if you suffer from heartburn, you should definitely have this remedy in the household. So you can mix it with water after heavy meals or take it in the form of a tablet.

3) A miracle cure for hangovers

If you’ve been dancing and partying all night and drinking a little too much alcohol, then baking soda pills can help. Because these are good home remedies for an alcohol hangover. As they counteract the acidic alcohol. To do this, take one or two tablets with plenty of water before you go to sleep. This should get you fit the next morning.

4) Relieve sunburn with baking soda

The powder is also a good home remedy for sunburn. Because you can use this to cool the affected skin areas. To do this, mix about a liter of water with 1 tablespoon of the powder. Then soak a cloth with it and place it on your skin. Or put the mixture in a spray bottle and spray yourself with it.

5) Whiten teeth with baking soda

Many know the trick to whitening their teeth with baking soda. And thus get sparkling white teeth. And the same goes for baking soda. So you can mix the powder with some water until it becomes a paste and brush your teeth with it. But the mechanical abrasion can destroy your tooth enamel. Therefore this method is not advisable.

6) Baking soda mouthwash

Baking soda is not only used by some people to whiten their teeth. It is also used as a homemade mouthwash. For this, one tablespoon of baking soda is mixed with half a liter of water. And then gargled. According to this, the soda is supposed to neutralize the acids in the mouth. But here, too, opinions differ. Because some experts think that the baking soda solution is too aggressive for the teeth. Instead, flush with a saline solution or use the powerful wonder drug coconut oil.

7) Clean clogged drain

If you need to unclog a clogged drain, avoid using expensive chemicals. Instead, use the more environmentally friendly version with baking soda and the effective household remedy vinegar. All you have to do is pour a packet of baking soda down the drain. After that, pour a cup of vinegar afterward. Now it should foam properly. This loosens the dirt. Finally, rinse with lukewarm water.

8) Baking soda for sweat

If you need home remedies for sweaty feet and hands, then you can use the miracle cure of baking soda. Because it has a disinfecting effect. It also neutralizes odors. All you have to do is sprinkle a little of the powder in your shoes or socks. So a real miracle cure for smelly socks and stockings. You can also rub your hands with it regularly.

Coconut flour is gluten-free, high in fiber and low in carbohydrates. We explain what is important when baking with coconut flour and what you should pay attention to.

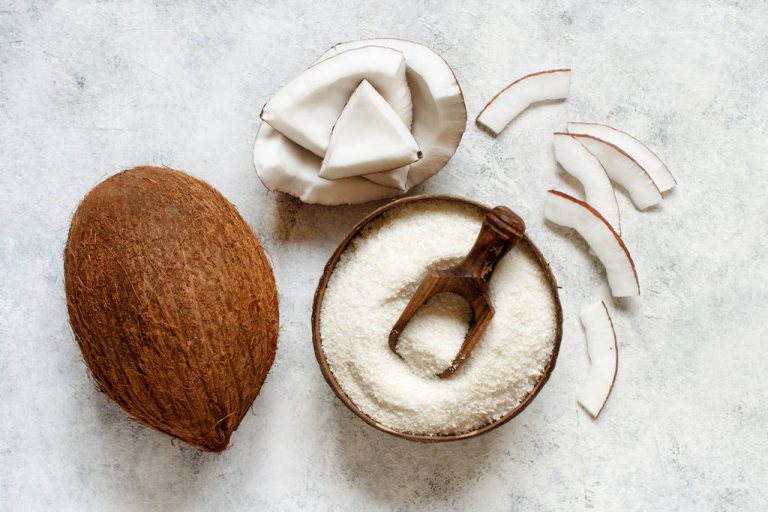
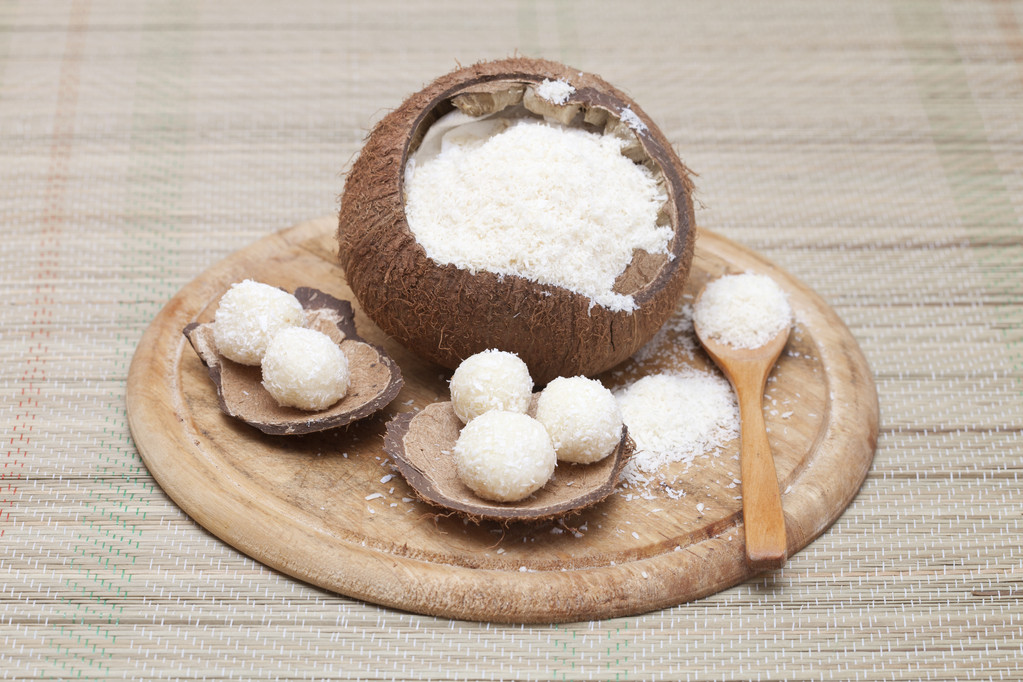
Coconut flour can be an alternative to wheat flour. Those with celiac disease and a sensitive digestive system will equally benefit from coconut flour. It is gluten-free, low-carb, high-fiber, low-fat and cholesterol-free. It is used in a variety of healthy recipes. For example in cakes, smoothies, sauces, soups, spreads and desserts.

To obtain coconut flour, the fresh flesh of the coconut is dried, de-oiled and then ground into flour. Since coconut flour has traveled a long way and the coconuts used are usually harvested and processed by hand, it is important that you use fair, organic products.

In most recipes you cannot substitute coconut flour 1:1. This is mainly because coconut flour is very absorbent. One option is to replace just a portion of the wheat or whole wheat flour with coconut flour. You can easily replace a quarter of the flour with coconut flour without having to change the rest of the recipe. But there are also ways to completely replace the flour.

A commonly mentioned variant is to add one egg for every 30 grams of coconut flour. Depending on the quantity, however, this can lead to a fairly high number of eggs, which unfortunately neutralizes the positive property of coconut flour to be low in cholesterol. Another option is to increase the liquid content. You have to add water, oil and (plant) milk accordingly until the dough has the desired consistency.

The easiest way is to look for recipes that are specifically tailored to use coconut flour. We show you how to bake delicious brownies with coconut flour.

Baking brownies with coconut flour: the ingredients

The brownies are not only gluten-free, but also vegan and sugar-free. This makes them ideal for a vegan or gluten-free diet. You need the following ingredients:
115 g ground almonds
30 g coconut flour
60 grams of cocoa powder
1 tbsp baking powder
140 g agave syrup
120 g vegetable margarine
7 tablespoons unsweetened applesauce

Bake brownies gluten-free

Mix almonds, coconut flour, cocoa powder, and baking powder in a bowl.
Mix the margarine and agave syrup together until the mixture is foamy.
Add the applesauce to the margarine and agave syrup while stirring.
Now stir in the dry ingredients.
Place the batter in a springform pan or on a small baking sheet.
Bake the whole thing at 175 °C top/bottom heat for about 40 minutes.
Let the cake cool down well and then cut it into pieces.

With puff pastry, you are always prepared, no matter what time of day unexpected visitors are at the door. If you have it in the house, you can always entertain your guests appropriately.

Oh dear God! An unexpected visitor is at the door. And you don’t have anything in the house, now what? You are always ready with puff pastry. So you can always offer your guests something.

How do I use the puff pastry?

It doesn’t matter whether you’re visiting for a coffee or a quick supper. If you have puff pastry at home, you can always help yourself. Let the frozen puff pastry thaw a little. Now you can handle it well. Prepare squares of the same size. Now fill the squares with tangerines, peaches, or canned apricots. Off to the preheated oven. It is best to place another cup half-filled with water in the oven. This makes the puff pastry nice and crispy.

Puff pastry for dinner

Even if the visitor rings in the evening hour. No problem with puff pastry. Try puff pastry pockets filled with sheep’s cheese. Layout squares of puff pastry of the same size.

Now cut the feta cheese into cubes. Place the feta cheese in one corner of the square and fold it into a triangle. Now glue at the edge. And into the oven. Twenty minutes is enough and you can monitor your guests with delicious cheese dumplings. But don’t forget the cup half-filled with water.

Baked goods should be delicious and you don’t want to pay attention to the calories. Nevertheless, with some wholesome and natural substitutes, you can not only bake healthier but usually also much more delicious. The modern bakery cannot do without sugar and flour. Both are relatively inexpensive foods, but they are not necessarily healthy.

Many of the ingredients of the whole grain are usually removed from conventional flour. And the sugar also lacks any taste but provides all the more sweetness. The end product, therefore, contains hardly any nutrients, but all the more calories.

1) Use flour as coarse as possible

Flour is an example of how many products we now use that have almost completely lost their nutritional value. Especially the frequently used 405 flour is only an extract of the whole grain and tastes far inferior to it.

Here it is already advisable to use coarser flours. Although these are primarily suitable for baking bread, they can also be used for delicious wholemeal cookies. The 1050 and 1740 flour in particular still contain the nutrients and the taste of the ripe grain. Also, learn how to prevent the dough from collapsing.

2) Refined sugar should be avoided

Another frequently used substance in our bakery is sugar. It may be cheap, but it’s bad for your teeth, high in calories, and just plain sweet to taste. Another problem is that although foods with too much sugar are initially filling, the next food cravings appear very quickly after eating.

Instead of sugar, natural products should be used that are not only nutritious but also add flavor to the pastry. Honey should be mentioned here first. With him, the taste can also be creatively influenced by the different types of honey. However, it is also possible to add syrup. Raisins can also be used for coarser pastries.

3) Reconsider all the ingredients

Once you have started, you should reconsider all the ingredients in the recipes and look for full-fledged alternatives. Instead of flavorings, the originals can often be used, which have a much more intense taste. You can buy spices as coarse as possible to grind them up at home.

This alone gives you valuable ingredients and flavors that benefit the baked goods and ultimately you. You eat more consciously and healthier, and cravings in between are avoided. And ultimately, the home-baked food is simply tastier than with alternative ingredients. So you should bake your own bread more often.

When you bake buns, you save valuable food from being thrown away. It only takes a few minutes and rolls from the day before taste fresh again. Here you can find out what to look out for when baking bread rolls.

Bread is one of the oldest staple foods in the world. According to the WWF, 90 percent of Germans eat it at least once a day.

Baked goods are also among the most frequently thrown away foods: According to the WWF, more than a third of the production ends up in the garbage. In the supermarkets, rolls that are more than three hours old are no longer considered fresh. In addition, many people do not want to eat soft rolls from the day before. It is very easy to bake bread rolls and save them from the dustbin.

Bake the buns in the oven

How you store bread and pastries is crucial to help them last longer. Bread and pastries are best stored at room temperature and protected from air, for example in a bread bin. In the refrigerator, on the other hand, the baked goods quickly harden.

You can simply bake them in the oven so that your rolls still taste fresh from the baker later:
Brush the buns with a little water using a kitchen brush. If you don’t have a kitchen brush, run the buns under running water for 1-2 seconds.
Place the wet buns on a baking sheet.
Bake the rolls at 150 degrees Celsius for five to eight minutes until they are crispy again.
Allow the baked buns to cool briefly on the baking rack before serving.
This method is suitable if you want to bake a larger quantity of rolls. Avoid heating the large oven for just a bun or two to conserve electricity.

Bake the buns with the toaster

Many toasters have an attachment for baking buns. With a toaster, you can therefore bake small amounts of bread rolls, saving time and energy.

How to bake your rolls with the toaster:
Place one or two buns on your toaster’s raising device.
Choose the highest temperature and bake the buns for two to three minutes.
Then flip them over and bake for another minute or two. Then they are crispy on the other side too.
After you’ve baked the buns, serve them immediately.

Bake hard buns

You can also re-bake older, hardened rolls instead of throwing them away. If they are already too hard, you can use them for other things, such as breadcrumbs.

In this way, hard rolls taste fresh again:
Soak a tea towel in water and wring it out well.
Wrap the bun in the damp cloth and let it soak up the moisture for 2-3 minutes.
You can then use either of the two methods described to crisp up the moistened bun