TCM nutrition aims for a lasting balance in the body, which should lead to health and well-being. Here you can find out the basics of this form of nutrition and how you can implement it yourself.
Basics of TCM nutrition
According to the teachings of traditional Chinese medicine (TCM), a person is considered healthy when energy (yang) and matter (ying) are in harmony with each other. Because only then does the life energy Qi flow and ensure well-being and a stable balance. In order to achieve and maintain this state, certain principles should also be observed in the diet.
Fundamental to TCM nutrition is the five-element theory, according to which each food can be assigned to a specific element based on its taste. The elements are fire, water, earth, metal and wood. The human organs can also be categorized into elements according to TCM teachings. It is also important that all elements are connected to each other through constant interactions and influence each other.
TCM Nutrition: Characteristics of the Wood Element
All foods with a sour taste belong to the wood element. They are said to preserve the body’s juices and strengthen the substance. They are also said to have a cooling and refreshing effect. According to the teachings of TCM nutrition, acidic foods also have the property of contracting: they bundle the body’s energy inwards.
Typical foods of the wood element:
many types of fruit, such as berries, citrus fruits, pineapples, cherries or sour apples
some dairy products, such as buttermilk, cottage cheese, or sour cream
Vinegar
Parsely
sourdough
tomato
sorrel
According to TCM, the organs associated with the wood element are the liver and gallbladder.
This is how the water element works
In TCM, salty foods are associated with the water element. They are primarily intended to have an emollient effect, but can cause hardening in the body if you consume too much of it. According to TCM nutrition, they then deprive your body of important juices and it dries out.
Water foods are said to direct the life energy Qi downwards and therefore also have a draining effect. Typical representatives of this category are:
almost all types of fish
seafood and seaweed
pork meat
legumes
soy sauce
Mineral water
The associated organs are the kidney and the bladder.
Characteristics of fire in TCM nutrition
Fire element foods taste bitter. In TCM nutrition, they are said to have a drying effect and direct the Qi downwards. They are said to be helpful with digestion, for example, and to increase mental and physical activity in the short term. However, if you eat too many bitter products, this can lead to nervousness, restlessness and sleep disorders.
The fire element includes:
all grilled meats
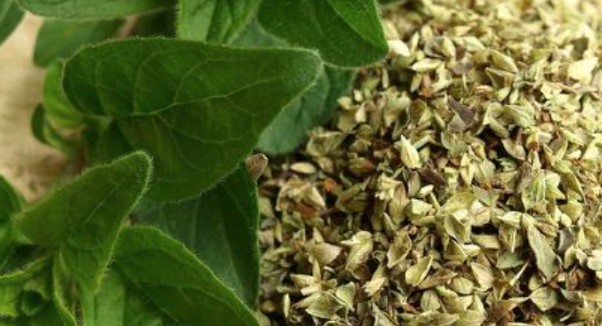
many kitchen herbs
goat cheese
turmeric
bitter salads, such as chicory or endive
grapefruit
Green tea
bitter alcohol
The organs of this element are the heart and small intestine.
Effect of the element earth
All sweet foods belong to the element of earth. According to TCM nutrition, they play a key role in building up Qi: They are said to have a filling and relaxing effect and strengthen the center of the body. Therefore, according to TCM, “sweet” foods should make up the main part of our diet.
However, this does not mean that TCM mainly prescribes sugar and sweets. The earth foods include primarily:
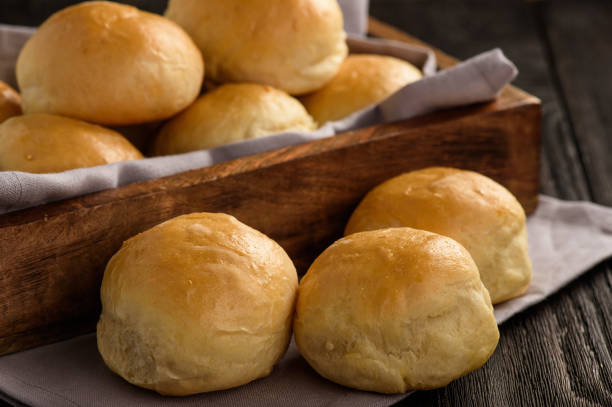
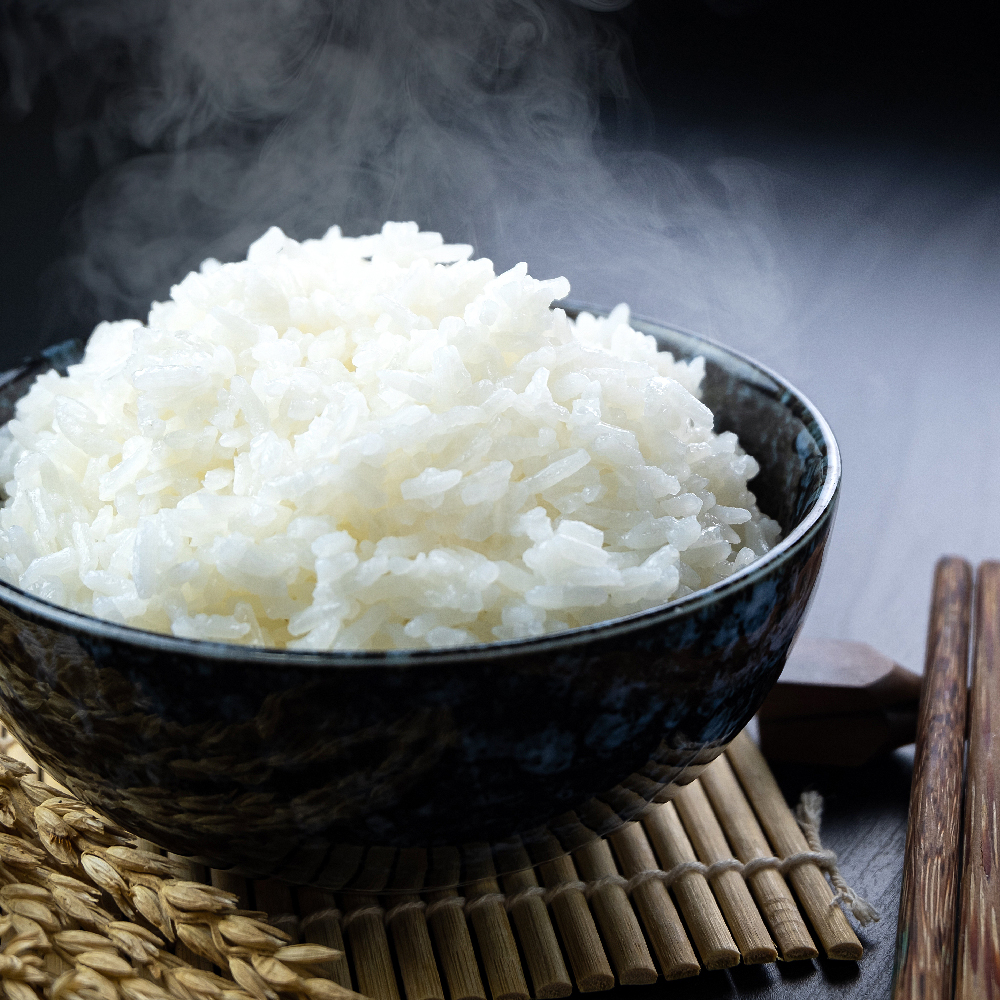
almost all types of grain (e.g. millet, barley, wheat bran, quinoa, etc.)
many vegetables (e.g. pumpkin, cabbage, green beans, sweet potato, spinach, broccoli, etc.),
beef
some fruits (e.g. grapes, papaya, plums and avocado)
lots of dairy products
nuts and seeds
Many of these foods are also said to have a moisturizing and constructive effect. Dairy products, on the other hand, are said to have a moisturizing effect in the negative sense of TCM nutrition, which is said to lead to congestion and blockages. The associated organs of the earth are the spleen and the stomach.
Metal in TCM nutrition: How it works
All foods with a pungent taste belong to metal. According to TCM nutrition, they generate heat in the body and get our Qi moving. This is supposed to release blockages and release energy. However, if we eat too many spicy products, this is said to result in persistent feelings of heat, constant sweating and high blood pressure.
According to TCM, spicy foods include:
any hot spices (such as pepper, chilli, ginger, mustard, coriander or cinnamon)
onions
garlic
horseradish
spicy cheeses
Kohlrabi
radish
mint tea
The corresponding organs are the lungs and large intestine.
TCM nutrition: The thermal effect
Food can not only be divided into five groups according to the elements, but also according to their thermal effect. TCM nutrition distinguishes between cold, refreshing, neutral, warm and hot. However, these designations have nothing to do with the measurable temperature of the food, but are more of a spiritual nature.
Examples of cold foods include unripe fruits and vegetables, as well as watermelon or yogurt. They have a strong cooling effect and are said to slow down our metabolism. According to TCM teachings, refreshing foods such as many types of fruit, raw meat or butter strengthen the blood and help to build up bodily fluids.
Many grains, eggs, cooked vegetables or very ripe fruit are considered neutral. They should have a strengthening effect and ensure a balance in the body. According to TCM teachings, warm foods such as cooked meat, cherries, fennel or walnuts warm our center and therefore increase Qi and Yang. The TCM diet counts many spices and strong alcoholic beverages among the hot foods. They are said to move the Qi and lead to feelings of heat.
For many foods, which element or thermal reference they belong to depends heavily on how you prepare them. The classification of a food can also change as a result of processes such as cooking, baking, grating, grilling, pickling or freezing.

TCM nutrition: How to implement it in everyday life
You now know a lot of theory about the teachings of TCM nutrition. But how can you put them into practice in everyday life? Here are some important tips and basics to keep in mind when practicing TCM:
According to TCM, eating irregularly or fasting for too long can lead to digestive problems, weakness and lack of energy. That is why TCM nutrition recommends eating regularly.
Gulping down your food quickly or regularly overeating can lead to an uncomfortable feeling of fullness in your stomach. This is because your body cannot process the food as quickly and your digestive organs are overloaded. Other possible consequences are headaches, bad breath and nausea. That’s why you should eat slowly.
TCM nutrition recommends: You should eat your largest meal early. Lunch should be a bit smaller, while dinner should be your smallest meal. You should also be careful not to eat anything too late in the evening. This could put additional strain on your digestive organs.
You should also give your digestive system at least four hours between meals to process the food you eat.
TCM nutrition assumes that foods of one taste category strengthen the organs that the element theory assigns to them. So if you eat too much or too little food of a certain element, this leads to imbalance, as some organs do not get “feed”. Therefore, you should make sure to include all flavors in your diet in a balanced ratio.
According to TCM, cold drinks cool down the digestive fire, weakening your metabolism. That is why TCM nutrition recommends avoiding cold liquids before, during and after meals.
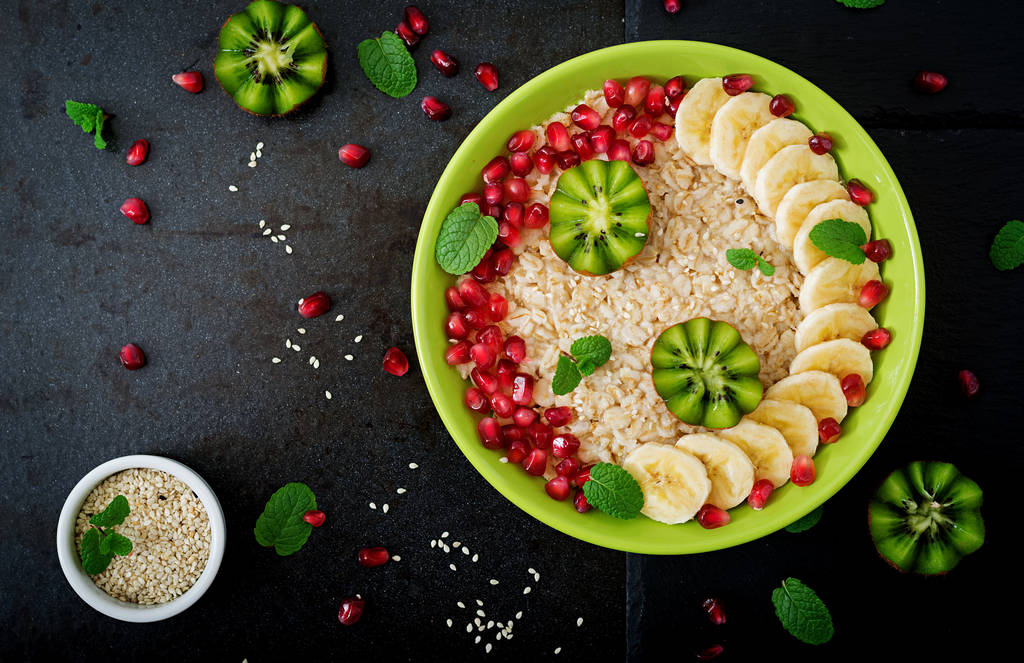
TCM also says that raw foods have a negative effect on the digestive system because they extinguish the digestive fire in too large quantities. That’s why TCM nutrition recommends a warm breakfast and a warm drink, especially in the morning when your digestion is still a little weaker. She advises against too much raw food.
Prefer ecologically grown and regional food in organic quality. They are not treated with chemicals and have more vitamins and minerals.
Avoid finished products and foods with many additives.