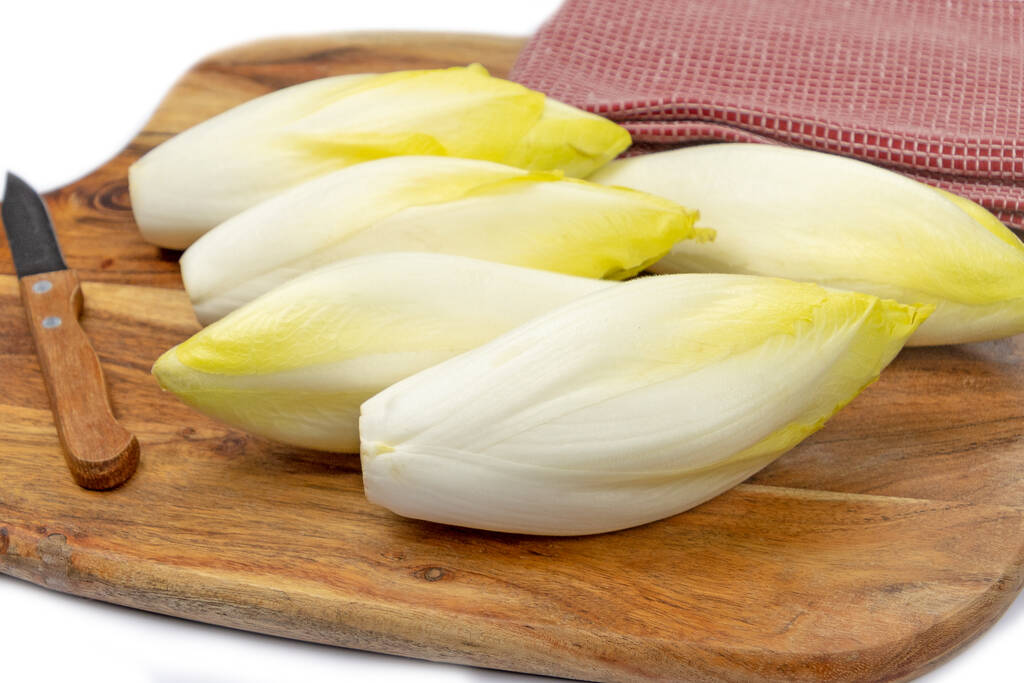
Tag

boil

Browsing

Canning beans is a great way to make healthy vegetables last longer. Here we show you how it works and what variants there are.

Whether green, yellow or white – by preserving beans you can preserve them for a long time and also enjoy them outside of the bean season. Depending on your taste, you can boil them salty or sour.

Boil beans with salt

For about three jars of the salty beans you need the following ingredients:
1 kg of beans
20 grams of salt
water
You can easily cook beans in just a few steps:
Clean and wash the beans. Remove the ends and cut the beans to the desired size.
Preheat the oven to 100°C. Meanwhile, bring water and salt to a boil in a saucepan and blanch the beans for 5 minutes.
Then take the beans out of the pot and rinse them with cold water. Boil the bean water again.
Place the quenched beans in previously cleaned mason jars and pour the boiling bean water over them. Close the jars tightly.
Place the glasses in a roasting pan, large pan or casserole dish and fill the respective container with water. It is important: The glasses must not touch the edge of the container!
Now let the beans cook in the oven for two hours and then cool them down under a tea towel.
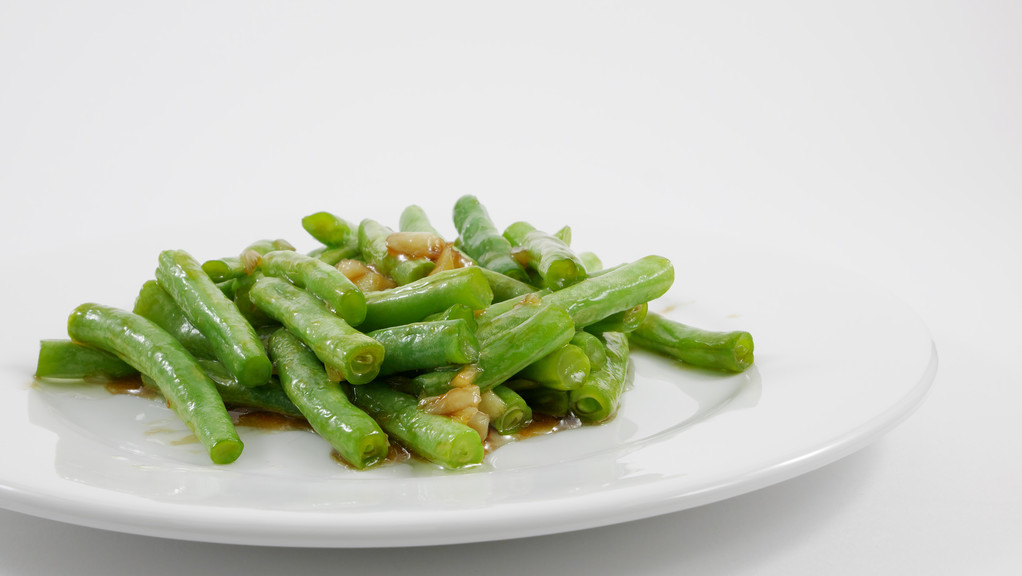
Boil the beans sour

If salty beans aren’t quite to your liking, you can easily boil them sour with just a few more ingredients. You will need for about three glasses:
1 kg of beans
2 onions
125 ml vinegar
500ml of water
30 grams of sugar
pickled spice
Salt
dill
savory
Preparing sour beans works a little differently than the first recipe:
Wash and trim the beans. remove the ends.
Boil them in salted water until al dente. This takes about 10 to 15 minutes.
Take the beans out of the water, shock them with cold water and fill them into the previously cleaned mason jars.
Add dill and savory and 2 teaspoons of pickling spice.
Peel the onions and cut them into rings.
Bring the water, salt, vinegar, sugar and onions to a boil in a saucepan and let it simmer for a few minutes. Then fill the brew into the mason jars and seal them tightly.
Now place the glasses in a water-filled, oven-safe container as described in the first recipe. The glasses should not touch the edge of the container.
Cook the beans at 100°C for two hours, then take the jars out of the oven and let them cool, covered.

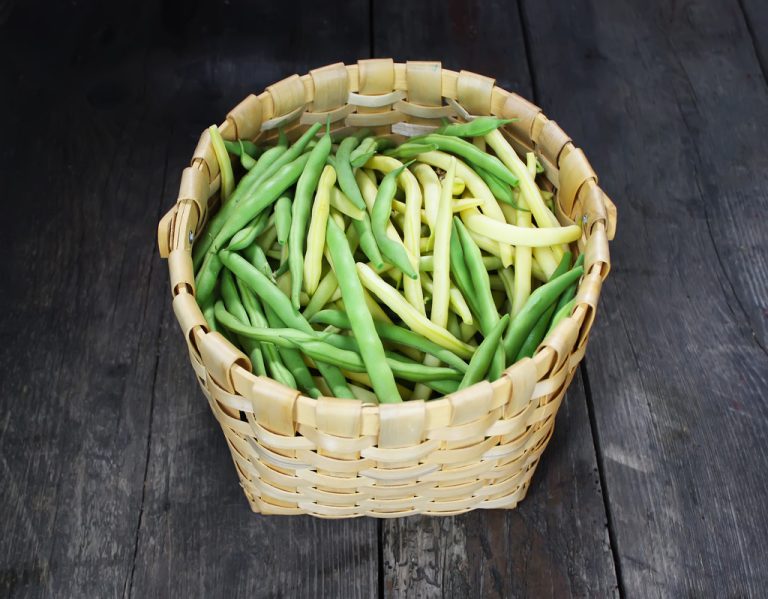
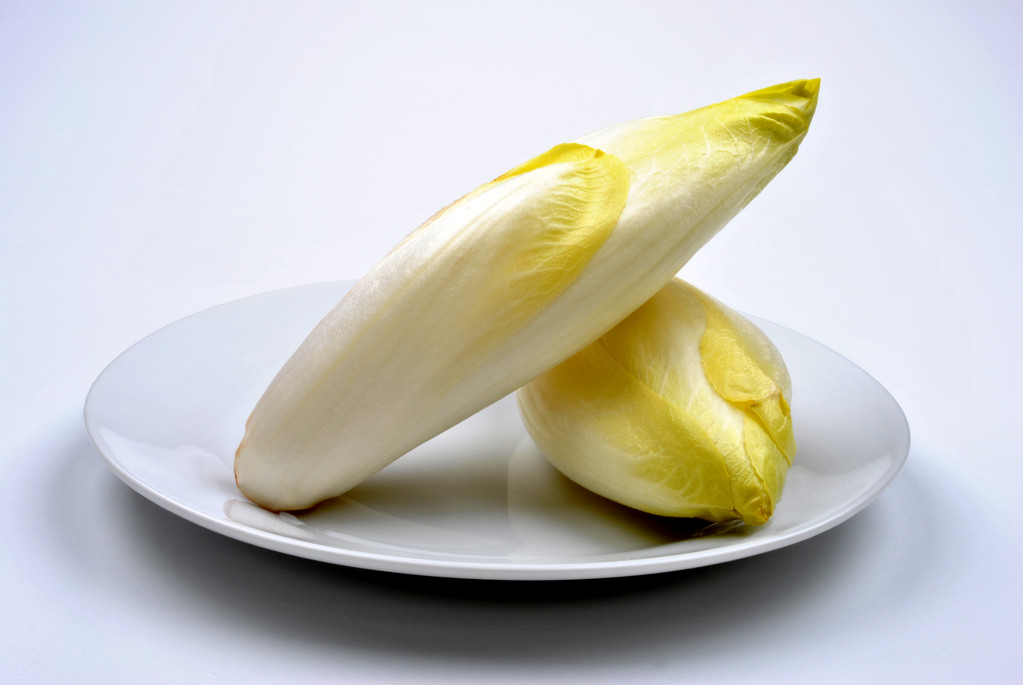
You can prepare chicory quickly and deliciously. We will explain to you which types of preparation there are for the winter salad and how it tastes the least bitter.

Preparing chicory: This is how you recognize good chicory

You can buy chicory particularly well at the weekly market from local farmers. It is best to choose organic chicory, as it is not contaminated with pesticides. Mostly you get white chicory. But there is also a red variant that was created by crossing chicory with radicchio. Red chicory tastes a little milder than white. Here are more tips for your chicory purchase:
You can recognize good chicory by the fact that it is relatively firm and has no brown or wilted spots.
Small chicory bulbs are less bitter than large ones.
The greener the leaves are, the more bitter they are. It is best to buy chicory whose leaves are white and only yellow at the tips.
You can store fresh chicory in the vegetable compartment of your refrigerator for a few days. If you want to prepare it, you should wash it (cleaning the outermost leaves is usually enough) and cut out the stalk – this is particularly bitter and woody.

Prepare raw chicory in refreshing salads

In a delicious winter salad, chicory provides you with a particularly large number of vitamins. Since raw chicory tastes the bitterest, you should use small, mild bulbs when preparing it in a salad. If you then cut the leaves into fine strips, they mix particularly well with the other flavors of the salad.

What goes particularly well with chicory?

Salads with citrus fruits, apples or pears are classic. In fact, the fruity sweetness is a good balance to the slightly bitter chicory.
Strong cheeses such as Gorgonzola are particularly suitable as hearty counterparts.
You can then mix the whole thing with a spicy-sweet salad dressing and sprinkle with roasted nuts.

Prepare chicory in the pan: fry or steam

When you cook chicory, it loses most of its bitterness and takes on a slightly sweet, nutty flavor. Chicory tastes particularly delicious if you roast it in oil or butter for a few minutes until golden brown:
To do this, cut the tubers into small pieces or just halve them and cut out the stalk.
All you have to do is season the finished chicory with salt and pepper and sprinkle with a little lemon juice if you like.
Then put it in the pan for a few minutes.
It also tastes delicious if you serve the fried chicory with a white wine sauce.
You can prepare chicory particularly gently if you steam it.

It’s enough if you cut the chicory in half.
Place the halves in a pan and cover halfway with water.
If you add a little more lemon juice, you prevent the chicory from turning gray.
Bring the water to a boil, put a lid on the pan and let the chicory simmer over low heat for about 15 minutes.
Then lift it out of the pan or let the remaining water evaporate. Season the chicory to taste.
Tip: If you add a little sugar to the water when steaming, the chicory will be particularly mild.

Prepare the chicory in the pot

You can prepare chicory particularly quickly and easily if you blanch it.

To do this, bring a large amount of salted water to a boil in a saucepan and add the whole chicory bulbs.
Blanch the vegetables for about five minutes, then rinse them in cold water to keep them crisp.

Prepare chicory in the oven

Chicory takes a little longer to prepare in the oven, but it is also particularly mild. Since the tender vegetables disintegrate quickly, you should not cut them into small pieces, just halve them or separate the individual leaves. Otherwise, all that’s left is chicory slush.

Tip: Roast the chicory in a pan, season with salt, pepper, lemon juice and fresh herbs, place in a casserole dish coated with olive oil and bake in the oven with a strong cheese.

To soften white beans, you don’t necessarily have to soak them beforehand, unlike other legumes. We explain how to properly prepare white beans.

White beans belong to the legumes and are rich in protein and fiber. They ensure a long-lasting feeling of satiety and are among the best vegetable protein sources. Nevertheless, beans rarely end up on the plate in this country. You can prepare white beans easily and quite quickly.

Boil white beans: Soaking is worth it

Contrary to popular belief, you don’t necessarily have to soak beans before cooking. However, by soaking them overnight first, you can reduce the oligosaccharide content, making the beans easier to digest. However, this has not been definitively proven: while some people get severe flatulence even from soaked beans, others never have problems with the delicious legumes.

But what definitely speaks in favor of the soaking method is a shorter cooking time:
dry beans: cook for 1.5 to 2 hours
Beans soaked for more than 12 hours: cook for 45 to 60 minutes
So, soaking white beans overnight not only saves you time in the kitchen, but also energy when cooking.

The ideal preparation of the white beans:
The day before: Rinse the beans with water, then pour plenty of fresh water over them and let them soak overnight.
After at least 12 hours: Drain the soaking water, rinse the beans again with fresh water, and place them in a saucepan.
Pour water into the pot until the beans are about an inch or two covered with water.
Optional: add spices or fresh herbs of your choice to the cooking water, for example some marjoram or bay leaves.
Let the beans simmer over low heat until nicely tender, about 45 to 60 minutes.
If you don’t want to continue using the beans hot right away, you should let them cool down in the warm broth. Otherwise the fine skin of the beans would burst open. This is particularly important with giant white beans.

Cook white beans without soaking

If you forgot to soak the kidney beans first, you can still cook them. You only have to plan about twice as long cooking time so that the white beans become soft. Otherwise the preparation remains the same:
Rinse the beans with water, then place them in a saucepan.
Add enough water to cover the beans by about an inch or two.
Optionally, you can add fresh herbs or spices of your choice.
Let the beans simmer over low heat for about 1.5 to 2 hours until tender.
Here, too, you should let the beans cool down in the warm broth if you don’t want to use them hot.

Tip: Quick soak method for beans

If you didn’t think about soaking the night before, but are thinking about the bean dish at least a few hours before cooking, you can also use the following method:
Rinse the beans with water and place them in a saucepan with an inch or two of water.
Bring the water to a boil, let the beans simmer for about 2 minutes, and then remove them from the heat.
Allow the beans to sit for about 1 to 1.5 hours to cook.
The quick soak method also delays the cooking time a bit, which can save you energy. However, with this preparation, the white beans are most likely to disintegrate and sometimes lose the skin. Therefore, this method is more suitable if you want to puree the beans anyway – for example to make a delicious spread.

Boiling raw milk is important: Because it is not pasteurized, it always poses a certain health risk. In this article you will find out how long you should boil raw milk and what else you have to consider.

Normally, the milk that you can buy in stores is already preheated and thus preserved. The pasteurization process also kills germs and bacteria.

It’s different with raw milk: it’s untreated, unpasteurized milk from farm animals. Raw milk can contain harmful bacteria such as listeria, campylobacter, EHEC or salmonella. Therefore, you should boil them before you eat them. The heat kills possible bacteria and pathogens.

Boil raw milk: this is how it works

You can significantly reduce the health risk from raw milk by boiling the raw milk before using it further. You can easily do this yourself at home – we’ll show you how it works:
Pour the raw milk into a saucepan.
Heat the milk on high (over 72 degrees Celsius) for 20 to 30 seconds.
As soon as the milk forms small bubbles and starts to foam, you can remove it from the heat.
Buy raw milk: Here it is
You can often buy raw milk at so-called milk filling stations. There you have the opportunity to tap the milk yourself. The milk filling station usually provides glass bottles for this purpose. Of course you can also bring your own bottles and use them for bottling.

Even if you get your milk directly from the farmer, it is usually raw milk. If you are not sure, you can of course ask.

Why you should boil raw milk

You can never rule out the possibility that cows will get sick or that equipment will not be completely clean. Raw milk can therefore contain pathogenic bacteria.

The milk filling stations clean their dispensers regularly and the bottles they offer must meet high hygiene standards. Nevertheless, sometimes bacteria can get into the raw milk. The consumer advice center refers to studies according to which almost every tenth sample of raw milk from milk filling stations contained pathogenic germs.
To be on the safe side, people with a weak immune system, children or pregnant women should therefore avoid raw milk products altogether.
By the way: The bottles at the milk filling stations are sealed and have to meet high hygiene standards. If you use your own bottles, make sure they are extra well sterilized.

When you cook carrots, you ensure that your body can better utilize the healthy nutrients. Here you can find out what else you should consider when preparing carrots.

Vitamins and nutrients in carrots – It depends on the cooking

Carrots taste wonderful in a salad or as a snack between meals. But did you know that their valuable ingredients can be utilized even better by your body with the right preparation method?

A study conducted in Sweden in 2012 examined how the availability of the healthy, fat-soluble carotene varies depending on how it is prepared. The conclusion was that both adding fat and cooking the carrots made the valuable ingredients easier for the body to utilize. Above all, however, chopping the vegetables has a positive effect on availability, as reported by ZEIT online.

According to the study, around three percent of the carotene in whole or roughly chopped carrots passes into the gastric juice.
By cooking, the amount can be increased to six percent.
By adding additional oil, the value increased to eight percent.
However, if the carrots were strained or grated before consumption, the value increased many times over: the availability of beta-carotene in boiled and grated carrots increased to a full 27 percent. With additional oil, the value even increased to 45 percent.

Boil the carrots or cook them in a sieve

In order to preserve as many of the healthy ingredients in the carrots as possible during cooking, you should cook them as gently as possible. That’s how it’s done:

Using a vegetable brush and water, scrub the carrots thoroughly to free them from soil.
Cut off the base of the leafy greens and the carrot into small pieces – as you need them for the dish.
Just barely cover the vegetables in the pot with water. The carrots don’t have to be completely immersed in water to cook, as the vitamins are lost in large quantities in the cooking water.
Steam cooking with a sieve insert is even gentler. This allows the carrots to lie in the sieve without coming into contact with the cooking water. Vitamins and nutrients are optimally preserved. Make sure to close the pot and sieve insert with a suitable lid. This will ensure that the steam cooks the carrots properly.
The cooking time in the sieve insert is slightly longer than when cooking in water. Depending on the size of the pieces, carrots require between 10 and 15 minutes. Before the time is up, test your carrots for consistency by puncturing them with a sharp knife. Anything you like is allowed! If you prefer your carrots to be soft, let them cook a little longer. If you like them crispier, shorten the time accordingly.


Season the carrots with as little salt as possible. Salt removes water from the carrots and thus the healthy nutrients.
Tip: Use carrots from organic farming. It has been scientifically proven that organic vegetables and fruit contain more vitamins than conventionally farmed vegetables. Enjoy your meal!