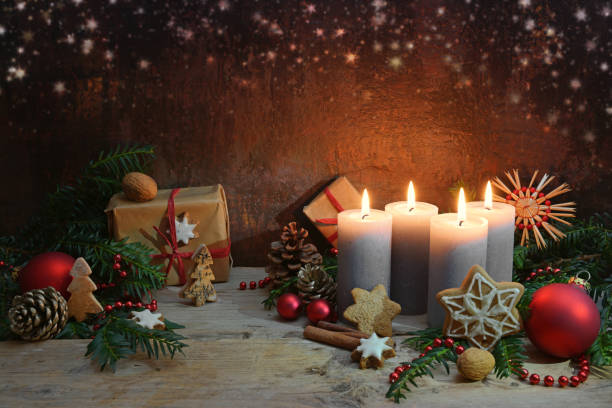
Traditional candles are increasingly taking on new forms: faces, bodies, cubes. But you can also pour the unusual candles yourself. We explain how to do it.
1.1 Material selection: Everything at a glance
When choosing your materials, there are a few things you should keep in mind. For example, when choosing the wax, you can choose between waxes of different origins. That’s what we’re going to talk about in more detail in the next paragraph. In general, to cast wax you need:
for the heat source: a medium saucepan and container or bowl for a double boiler
Bees, paraffin or stearin wax (like pallets?)
or like wax residues from home
as you like: wax color and/or glitter
Perfumes or oils for scented candles
a mold for casting: a jam jar, a toilet paper roll, or a pre-made mold
Wicks and wooden sticks (depending on the mold)
If you have taken care of all this, you will not be missing anything to pour candles. Now we will show you what you should pay attention to when choosing wax and shape.
1.2 Material selection: The right wax
The most popular waxes for pouring candles are paraffin, stearin or beeswax. As a by-product of petroleum, paraffin wax is the most commonly used in Germany. However, paraffin (wax) is often criticized. Not least because of their chemical composition. The EU Chemicals Regulation (also known as the CLP Regulation) is a global system for the classification and labeling of chemicals. She classifies paraffin as harmless to humans, but emphasizes that it also depends on the use and the further composition. However, this does not necessarily mean the paraffin in candles. Because this is also found in cosmetics and medicine, for example. Unfortunately, it is not uncommon for remains of this to end up in nature. Because paraffin is environmentally friendly, petroleum, definitely not.
Stearin wax has a higher melting point than paraffin, so it’s not quite as sensitive to heat and has a longer shelf life. Stearin wax is less polluting, but more expensive. It is obtained from vegetable or animal fats, mostly palm oil or coconut fat. Incidentally, both paraffin and stearin waxes are colorless.
A wax of natural but animal origin is beeswax. Therefore the candles are not vegan. On the other hand, organic beeswax candles are probably the most environmentally friendly alternative. But it is also the most expensive raw material to produce. In addition, beeswax already comes with a golden-yellowish color. As you can see, unfortunately none of the waxes are really sustainable or vegan, which is why you can first look around for wax residues at home. You can use both colored and colorless candle residues. Watering works just as well and you usually already have them at home.
1.3 Material selection: the right shape
Depending on the purpose of the candle, you can use different shapes. You can easily use toilet paper rolls from home to mold your candles and then easily remove them from the roll. Aluminum foil, which you can shape like a bowl, is also suitable for smaller shapes.
If you want to pour scented candles or colorful candles, jam jars are good for this. You can wrap them up with a lid and give them away as gifts. You can also observe the color gradient for candles made of colored wax, and the glass alternative is always sustainable.
If you would like to dare to make large, unusual candles, you can probably still get some shapes online. These range from bodies and faces to a wide variety of shapes. It’s worth browsing. Since the process of making the candles is always the same, you can first try your hand at the toilet roll and then individual shapes.
2.1 Preparation: heat source
There are different ways to heat wax. We will introduce you to the safest and cleanest option. This means that candle casting can also be carried out with small children without any problems, under the supervision of adults.
In order to melt the wax of your candles, you need to set up a water bath. To do this, take a medium-sized saucepan and add a few glasses of water to a heatproof container to melt the wax, or a few more to melt in a bowl. You put your bowl on the pot with water, you put the container in it so that part of it lies or stands in the water.
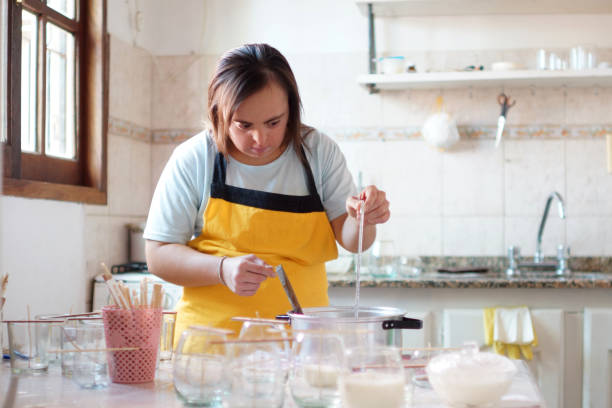
Once this is done, you can add your wax to the bowl or container and begin melting it. Occasional stirring should be enough to get your wax runny. One benefit of heating your wax in a water bath is that you can easily keep it warm or reheat it.
2.2 Preparation: Prepare the wick
Without a good wick, there is no long-lasting candle. But that is not an obstacle either. We will show you how you can make a wick quickly and easily at home and how to properly prepare this or a store-bought one for watering.
Make a wick yourself: You can easily make a candle wick yourself. For this you need yarn made of pure and thick cotton (this is important!). Once you have chosen your shape, you can first adjust and cut your yarn to length. Then you take your cut yarn and dip it completely into your wax except for a few finger widths (leave the top free) and wait for the first pass until it is well soaked. Then let your wick cool down briefly before repeating the process three to four times. Then let your wick cool down before you use it. Finished!
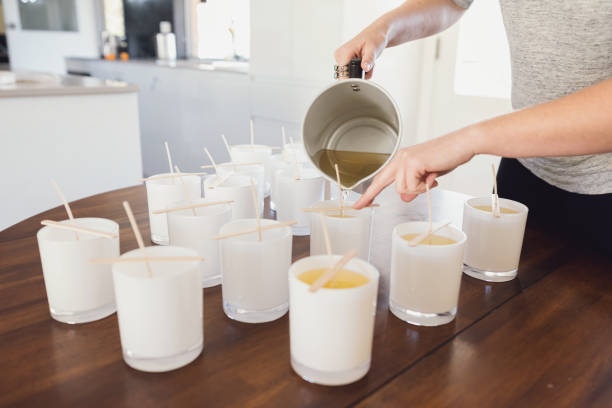
Prepare a store-bought or homemade wick: You can attach your wicks, whether you have made them yourself or bought them, to one side of the wooden stick and place this over the opening of your mould. This way your wick won’t slip or fall into the wax when pouring and you can easily pour without worrying about your wick slipping.
3.1 Casting: procedure
Now let’s get to the watering! Once the wax has melted, you can color it, add essential oils or glitter. Note that the wax is initially clear and later white. Therefore, you should use moderation with the intensity of your color. You can also place multiple containers in a water bath to pour different color gradients. To do this, you wait after each layer of paint until it cools down. Now it’s about how your candle should ultimately look like.
For smooth candles, the wax should be hot and very runny. This creates a smooth candle shape when pouring, just like you know from the drugstore. To pour matte candles, you should wait a while after heating your wax until it has cooled down a bit, but of course it is still liquid enough. This creates the matte effect of your candle.
Now let’s get to the fun part. You can simply let your poured candles cool down in the molds. Ideally, you’ll give them a day to really solidify.
3.2 Creative casting
We would now like to briefly introduce you to a special way of designing your candle despite its original shape. So you can pour candles with a great optical effect without any effort.
Ideally, use a vessel that has the familiar candle shape. You can also use a toilet paper roll, but you can only see your result afterwards. Therefore, jam jars are ideal for observing the pouring. Then color wax in two containers with at least two colors or leave one colorless or white. Then lay the wick together with the wooden stick over your glass.
Tilt your glass and pour the first layer of paint into the glass. Pour until the wax takes the shape of a pyramid or triangle. Let the layer cool and then take the container of the other color. Now turn your glass in the other direction and pour out the free part. You can repeat this alternately before you recognize the triangle pattern and your glass is filled.

4. Your candle as a decoration or gift
After a few runs, you should be able to make candles fairly easily, which is why you can make candles for yourself as well as for family and friends.
Beautifully cast candles in the form of bodies are increasingly found as decoration in our living rooms. Colorless or single-colored candles are simple and give your living room table style. Colorful candles are perfect as a decoration in the garden for long summer nights. Even poured scented candles give your room a Christmassy scent in winter.
Therefore, you can also give your candles nicely wrapped as homemade gifts. Individually selected shapes can be used for family and friends in advance. This gives your gift a personal touch. As you can see, the production is not too difficult and time-consuming, the result is all the more beautiful. Have fun!

