Tag

easy

Browsing

Some say potatoes should be peeled, others advise against it. We reveal what’s really true and show a trick you can use to peel potatoes in a flash.

You can conjure up many delicious dishes from potatoes: baked potatoes, potato gratin or simple boiled potatoes. The tuber is versatile, tasty and healthy. When preparing the potatoes, many people ask themselves: should I rather peel the potatoes or can I eat them with the skin on?

Toxins in the potato peel

In addition to nutrients and roughage, the potato peel also contains toxic glycoalkaloids: a-solanine and a-chaconine. These toxins occur naturally in the potato. They are mainly concentrated in the skin and in the germ. Inside the potato, on the other hand, there are significantly fewer toxins.

Glycoalkaloids are heat stable but water soluble. This means: High temperatures do not affect the toxins. If, on the other hand, you cook the potatoes in boiling water, the substances are removed from the skin.

Our commercially available potato varieties naturally do not contain any concentrations of these toxic substances that are harmful to health. The actual content of these substances is additionally influenced by several factors:
Unripe potatoes contain more toxins than ripe potatoes
Damage (e.g. during transport) and light favor the formation of toxins
If potatoes are stored too warm or too cold, more toxins are also formed
So if your potatoes are ripe, undamaged and stored properly, you don’t have to worry about the glycoalkaloids.

Potato peel protects the nutrients and flavors

Potatoes contain a lot of vitamins B and C. However, some of these vitamins are lost during cooking. The potato skin acts as a barrier when cooking: If you cook your potatoes with the skin, fewer flavors and nutrients are released into the water. This means that more of these valuable substances remain in the potato.

To peel or not to peel potatoes?

Although there is a significant amount of glycoalkaloids in the skin, you don’t necessarily have to peel potatoes. The Bavarian State Ministry for the Environment and Consumer Protection confirms that potatoes can be eaten with their skins without hesitation as long as they are of “normal quality”.

If you still want to peel the potatoes, we recommend that you only peel them after cooking. In this way, the potatoes retain as many nutrients and flavors as possible. Make sure, however, that you use the potatoes soon after cooking so that you don’t lose any more flavor and nutrients unnecessarily.

Green spots are an indication of increased levels of toxins. Therefore, cut out the green areas generously. Very green potatoes should be discarded entirely.

Trick: peeling potatoes made easy

You can easily peel potatoes with the following instructions:
Wash the potatoes and score the skin all over with a sharp knife.
Boil the potatoes until they are done. Make sure that the potatoes are not overcooked, otherwise they may fall apart when you peel them.
Place the cooked potatoes in ice water and chill for at least 10 seconds.
You can then simply peel off the peel either with your fingers or with a knife.
You can actually peel potatoes quite easily using this method. However, this isn’t magic either, and the peel won’t always come off “in one go”. Especially if the potato is a bit misshapen or has small “spots”, you will definitely have to touch up some areas.

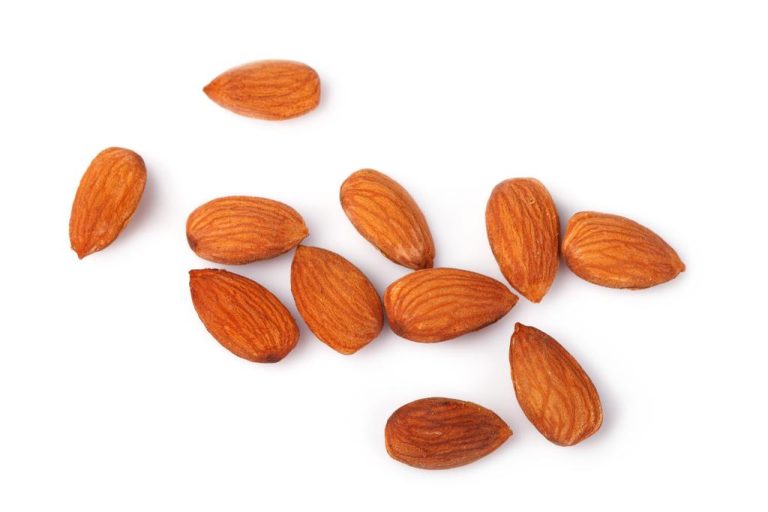
Would you like to peel almonds but don’t know how to do it? It’s easy. We explain how it works and what you should know about almonds.

Peel almonds – what do you mean by that?

Almonds are delicious and contain valuable oils and proteins. You can get them in stores mainly as almond kernels, where the hard shell has already been removed. If you want to process them, you may want to peel the almonds even further for certain recipes. What is meant by this is the thin brown skin that surrounds the amygdala. This skin is often a bit bitter. But it can be easily removed with a simple trick.

How to peel almonds

To peel almonds, you have to blanch them briefly. When dry, you will hardly be able to remove the skin. How to do it right:
Put as many almonds in a saucepan as you need.
Cover the almonds with water and let the almonds boil.
Let the almonds cook for 2-5 minutes.
Pour them into a colander and shock them with cold water.
The skin can now be removed very easily: You can practically push the almond out of the skin. The best way to do this is to press your fingers together at the rounded end of the almond.
If you want to peel a lot of almonds, the above method can be a bit tedious. In that case, try this trick:
Blanch the almonds as described above.
Put the quenched almonds on a kitchen towel and fold it shut.
You rub this packet through a bit and then collect the skinned cores.
You may need several passes until all the almonds are shelled.

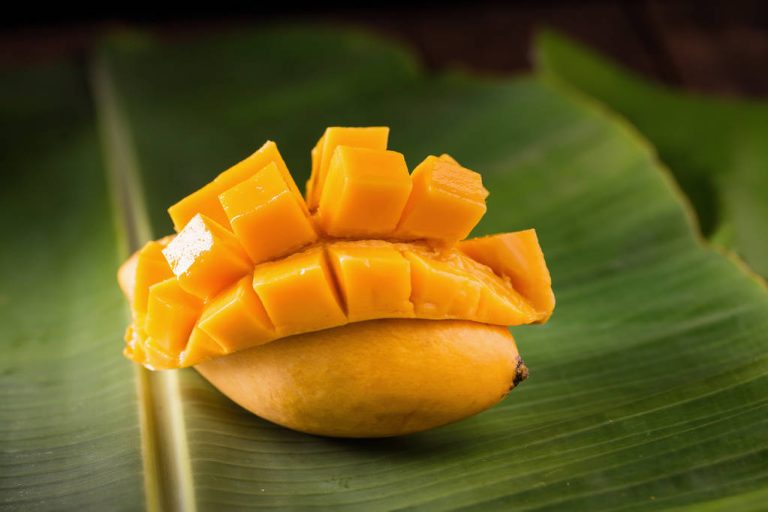
Mangoes can be peeled very easily with a few tricks. We show you three simple variants for different serving or eating options.

1. Peel mangoes with glass

In order for your mango to be easy to peel, it should be really ready to eat. This is especially true for this method of peeling mangoes. If the mango is well ripened, it has a red-yellow skin with a few green spots and can be easily pressed in with a finger.

Since the mango fruit is a tropical plant and usually has to travel long distances before it reaches our stores, you should rarely treat yourself to it. When buying, make sure that the mangoes come from southern Europe if possible and go to a shop near you to avoid additional transport routes.

And this is how you peel mangoes with a water glass:
Cut off both sides of your mango along the pit, which is a narrow disc in the middle. When you get to the core with the knife, just change direction a bit.
Pull the two cut halves over the rim of a glass. Press the rim of the glass between the skin and the flesh to detach the mango half from the skin.
What remains is the narrow core, which you can now simply peel with a vegetable peeler and separate the remaining flesh from the core with a knife.

2. Peel uncut mangoes

You can also easily peel and eat uncut mangoes.
If you leave a small grip area on both sides, mangoes are easy to peel with a good vegetable peeler.
You can then simply use a knife to cut off the parts of the shell that you left out to hold.
With this method, however, it is a bit more difficult to cut the mango into small pieces afterwards, since the mango is very slippery without the skin.

3. Fillet the mangoes

Depending on how you want to serve the mango, you can also fillet it. You proceed in a similar way to an orange:
Cut off a small piece of the mango at the top and bottom so that the mango has a base and you have a starting point for cutting at the top.
Place the mango vertically on a cutting board, with the heavier and larger part at the bottom.
Now carefully separate the skin from the flesh in narrow strips. Then you can cut the pulp from the stone. The standing area is also very helpful here.

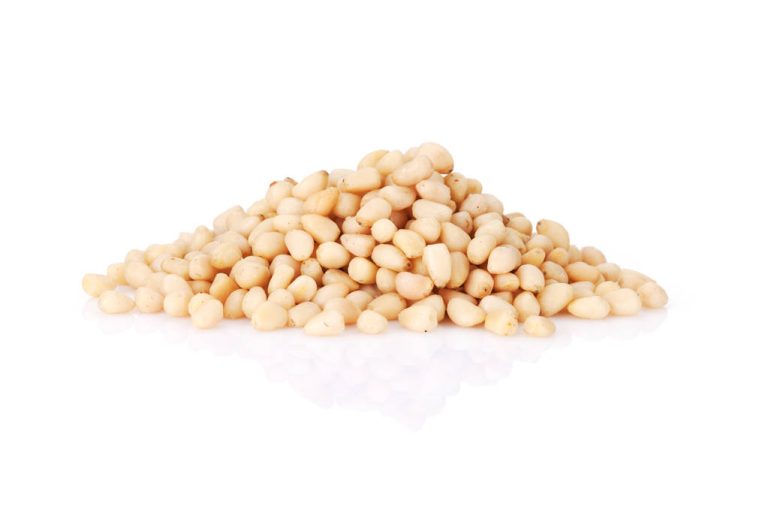
Pine nuts are a popular salad topping and a popular ingredient in pesto and co. Pine nuts become particularly aromatic when you roast them. We’ll show you how it works.

Pine nuts have a very special aroma that gives many dishes a unique touch. Cultivation and harvesting are mostly done by hand. Pine nuts from the European Mediterranean region are often more expensive than products imported from China or Korea.

For the sake of the environment, we still recommend pine nuts from the European Mediterranean region, for example from Spain, Portugal or Turkey. These have a much shorter transport route behind them and often taste more intense. You can recognize pine nuts from Europe by their drop-like shape. Kernels from Asia, on the other hand, are elongated and narrow.

You can toast pine nuts in a pan or in the oven. Here you can find out how it works very easily.

Roasting pine nuts: This is how it works in the pan

Put the pine nuts in a pan without adding fat. Distribute the cores so that they are not on top of each other.
Set the stove to medium-high and turn the pine nuts several times to avoid burning them.
As soon as the pine nuts are slightly brown and smell pleasant, you can remove them from the pan.

How to roast pine nuts in the oven

Scatter the pine nuts on a grease-free baking sheet.
Set the oven to 160 degrees and put in the pine nuts.
After 10 to 15 minutes, you can take out the seeds.
Let the pine nuts cool on the baking sheet.
Roasted pine nuts are a delicious topping for salads and go well with pasta sauce and pesto. Couscous salad and various vegetable dishes are also rounded off with the delicious aroma of pine nuts.

Pine nuts not only taste delicious, but also have a lot of important vitamins and minerals. In addition to vitamin B1 and vitamin B2, they contain large amounts of iron and magnesium. They are also rich in phosphorus and the trace element zinc.

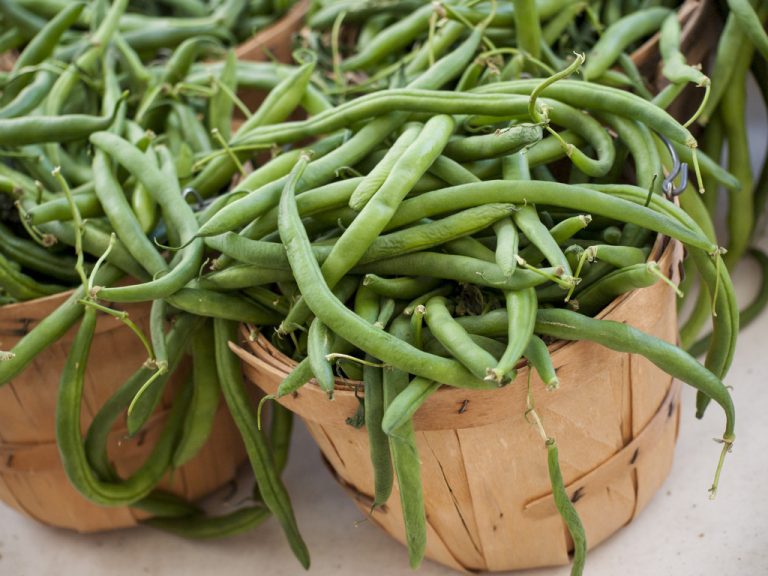
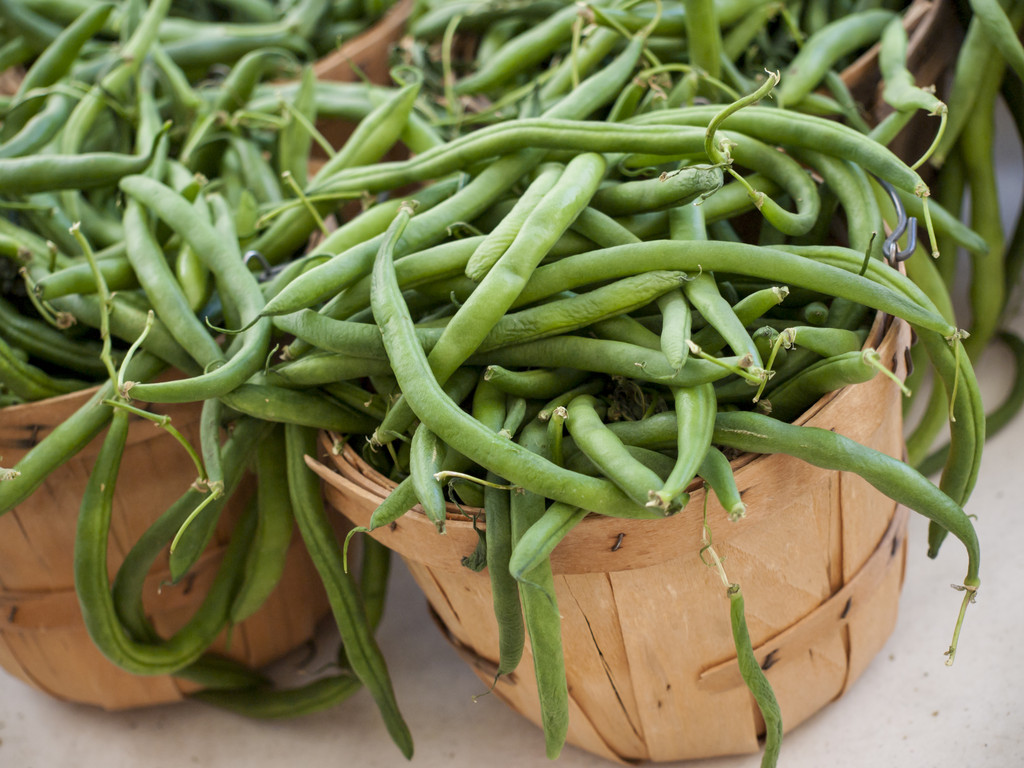
From July to the end of September you can buy fresh beans at the market or harvest them in the garden. We explain how you can blanch the vitamin-rich vegetables.

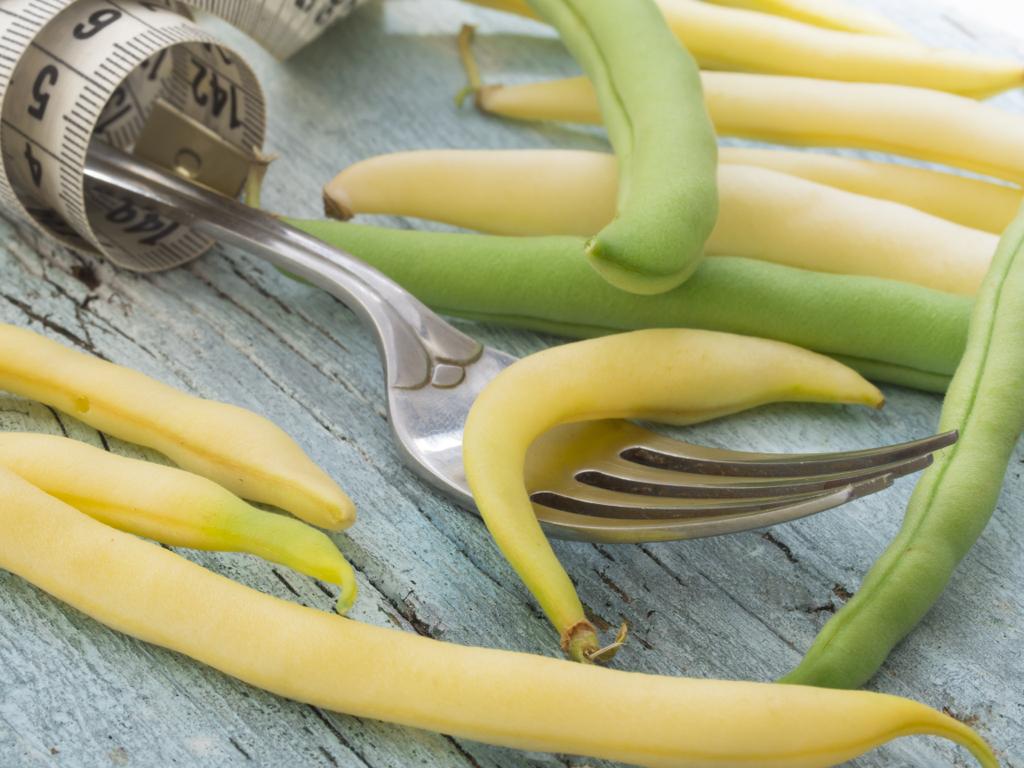
Beans are delicious, versatile and very healthy. In addition to protein, they also contain important vitamins and minerals such as vitamin C, vitamin A, iron and magnesium.

You can harvest beans from July to the end of September or buy them locally at the market. Fresh beans are crisp, firm and intensely green. But what can you do if you have more beans in the garden than you can handle? Fresh beans only keep for three days, even in the fridge. One option is to freeze the beans. This makes them durable and you can also use them out of season. But before you freeze them, you need to blanch the beans.

Blanching beans: the preparations

Wash the beans thoroughly with hot water.
Remove the end and the base of the stem with a knife. If the beans are very long, you can cut them in half. But that is optional. This will make it easier for you to process them afterwards.

Blanching beans: this is how it works

Bring enough water to a boil in a saucepan. The amount of water should not exceed 2/3 of the pot, otherwise there will not be enough space for the beans.
Meanwhile, have a bowl of ice water ready. Add some ice cubes to the water.
Once the water is boiling, add the beans to the pot.
Leave the beans in the boiling water for 3 to 4 minutes. If you prefer something softer, wait about 7 to 10 minutes.
Then scoop the beans out of the water with a slotted spoon.
Now put the beans directly into the ice water. This interrupts the cooking process and the beans stay crisp.
Leave the beans in the ice water until cool. After about three minutes, you can take them out of the water with a sieve and let them drain. If you want, you can also gently pat them dry with a cloth.

Process blanched beans

After you blanch the beans, you can freeze them. They will keep like this for up to a year. The beans taste great as an accompaniment to potatoes, in salads or casseroles. But the beans also make a delicious and healthy meal in a vegetable pan or simply tossed in a little fat.

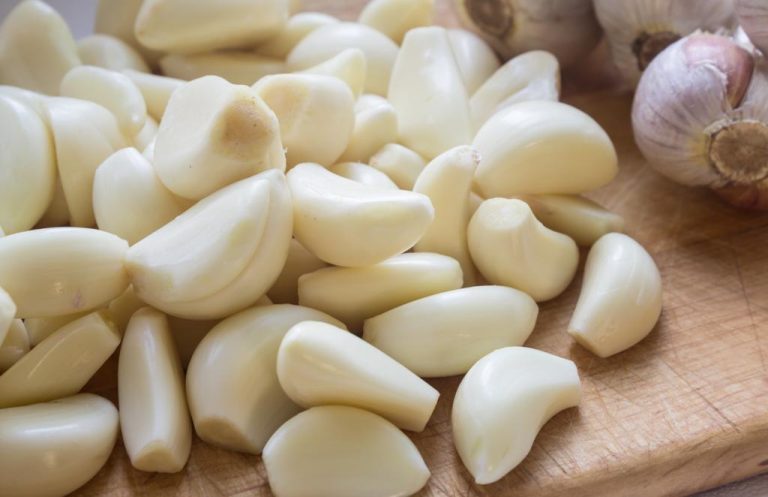
Peeling garlic can be time-consuming and tedious. A few simple tricks will help you to quickly and easily remove toes from their shells.

Trick #1 for peeling garlic: Crush the clove

Garlic refines almost every recipe. These tricks make cooking with the spicy tuber even more fun.

The first trick is simple, but still very useful.

Mash a clove with an object such as a wide knife or spatula.
The shell can now be easily removed.
The advantage of this method is that you hardly have to touch the toe. This will make your hands smell less.

Note, however, that this method crushes the toe quite severely. If you need whole cloves for your recipe, the other methods can help.

Trick #2: The jar trick

For the second trick you need something that you are guaranteed to have at home: a screw-top jar.

It is best to put several cloves or a whole bulb in a screw-top jar. Now screw the lid on.
Shake the jar vigorously for about half a minute. The glass should then look like the picture in the middle.
Throw the peel that has already come off in the organic waste or dispose of it on the compost.
Shake the jar vigorously again and discard the detached peel.
If the skin hasn’t come off all the toes yet, you can easily peel them off now.
For this trick to work, you should

shake really long and hard.
use a jar with a hard lid. (So ​​the tuber has enough resistance when shaken.)
make a vertical shaking motion.
This method is particularly suitable for peeling several cloves or a whole tuber at once. If you don’t need all the cloves right away, you can pickle the garlic. Alternatively, you can use it to make a delicious garlic oil or garlic paste.

Trick #3: Soak garlic before peeling

The last trick you have to prepare a few hours in advance.
Soak the toes in water for about 2-3 hours.
The peel is now soaked and can be easily removed from the toe.
For this trick to work, the garlic needs to be soaked long enough. To check whether the shell is soft enough, you can take out a clove in between. Now test whether it can be peeled easily. If not, you can just let them soak in the water longer.

Have fun trying!

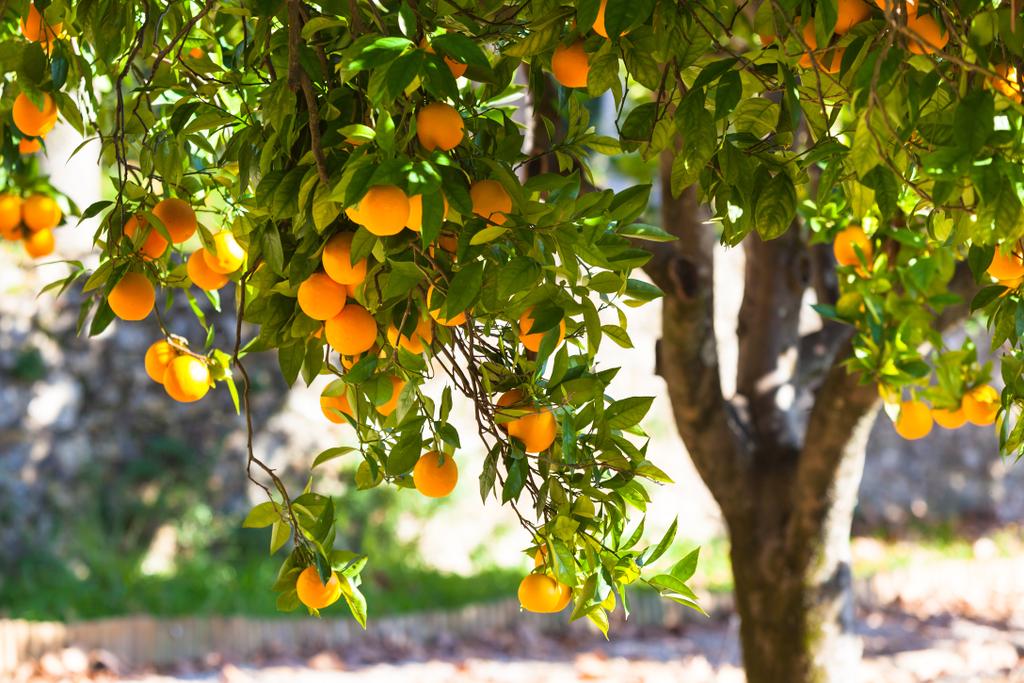
To fillet oranges, all you need is a sharp knife and a little finesse

Filleting oranges: Roughly cut off the peel

Before you start, you should wash the outside of the orange with hot water – this also applies to organic oranges. This prevents you from transferring possible germs and pollutants from the shell to the inside. Then you can fillet the orange. You don’t need a special filleting knife for this – a sharp kitchen knife will do.

1. Cut off the top and bottom of the orange, revealing the flesh.

2. Then remove the entire peel piece by piece by cutting slightly round downwards.

Tip: You don’t have to throw away orange peels. Instead, you can continue to use them in a variety of ways, for example as a rinse aid substitute, for skin impurities or as a tea.

Fillet oranges: remove the remains of the peel

3. Carefully remove the remaining pieces of white shell with the knife.

Tip: It’s best to hold the orange over a bowl while you’re doing this to catch any escaping juice. You can either drink it later or use it for desserts or sauces.

Filleting oranges: Scoop out the flesh

4. Carefully drive the knife into the flesh next to the fine dividing wall. Cut deep enough to be able to separate the piece in the next step. Be careful not to accidentally cut into other pieces, though.

5. Remove individual pieces of orange by cutting along the divider on the other side as well.

6. Repeat steps 4 and 5 for all other pieces.

You can use the tender orange fillets for delicious desserts, for example, or bake them in a fruit tart. You can also fillet other citrus fruits, such as lemons or grapefruits, in this way