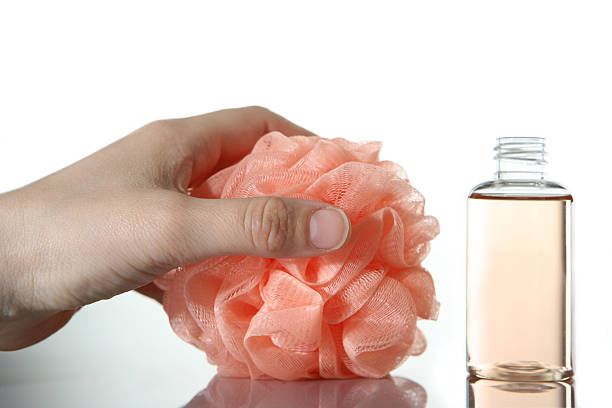
Simply make your own shower gel without plastic. Make a homemade shower gel quickly and easily with natural ingredients and do without chemicals. For more sustainability and softer skin.
We use shower gel for our bodies almost every day. Therefore, you should make sure that your shower gel is mild and environmentally friendly. But not all ingredients in the usual shower gels are good for our skin and the environment.
Benefits of a homemade shower gel
The shower gel is used almost every day. But often we don’t even know what’s inside. And even a look at the ingredients doesn’t make us any smarter. Although the conventional shower gels are mostly tolerable, the Öko-Test shows that not all shower gels are good. Because some contain the substance formaldehyde, which can irritate the skin.
The frequent use of so-called PEG compounds is viewed just as critically. Because these ensure that our skin becomes more permeable to other foreign substances. And besides all that, microplastic is still an issue. If you don’t want all of that in your shower gel, it’s time to make your own shower gel. We have collected recipes without plastic. Because this is a good way to promote environmental protection in the household.
Instructions for making your own shower gel
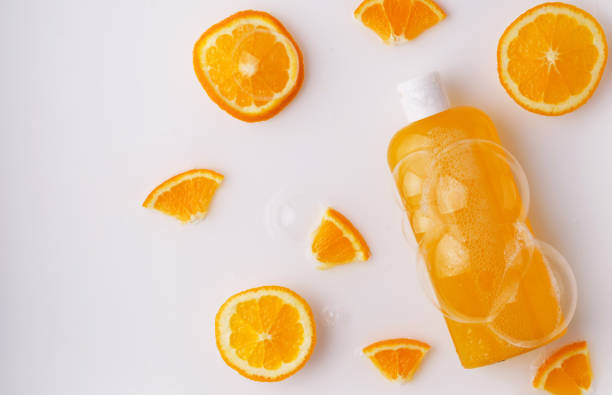
If you now want to make your own shower gel, there are a variety of recipes. The right shower gel is available for every skin type and taste. We have collected the best recipes for you. You can just as easily make homemade shampoo.
1) Easily make shower gel with soap
The classic do-it-yourself shower gel requires only a few ingredients and is free of harmful ingredients. You should have the following ingredients ready:
- 50 g natural or curd soap (without palm oil)
- 400 ml distilled water
- 2 tablespoons vegetable oil (e.g. almond or coconut oil)
- 1-2 tsp thickener (cornstarch or cornstarch)
- a few drops of essential oil
- container
The preparation is very simple: first, rub off 50 g of the soap. Then put the water in a saucepan and heat it up. Then you can slowly add the soap shavings and stir constantly. Then add the vegetable oil and thickener. Finally, if you like, you can add a few drops of essential oil of your choice. Then let everything cool down before pouring the mixture into your container. Old shower gel bottles or glass bottles are suitable for this. In addition, also note our ideas for making deodorant yourself.
2) Homemade shower gel without soap
Since soap can dry out the skin, people with particularly dry skin should make a non-soap shower gel. For this you need the following ingredients:
- 220 ml distilled water
- 40 ml betaine (from the internet)
- 1 tsp cornstarch or cornstarch
- 1 tbsp almond oil
- 15ml aloe vera gel
- container
Once you have all the ingredients, start by slowly mixing the starch into the water. As soon as a creamy mass has formed, you can add betaine and almond oil. Then you have to stir the pure aloe vera gel into it. Alternatively, you can also use the fresh juice of the aloe vera plant. All you have to do is puree them before use.
3) Almond oil and honey shower scrub
You can also prepare your skin with a homemade scrub made from almond oil and healing honey. All you need are these:
- 50 grams of soap
- 90 ml distilled water
- 3 tbsp almond oil
- 20 natural shea butter
- 20 grams of sugar
- 10 grams of honey
First, you have to bring the water to a boil in a saucepan. Then let it cool down a bit before you stir the grated soap into it. Then melt the shea butter and add it to the mixture. You can now also add the almond oil to the mixture. Then mix the whole thing with a hand blender and let it cool down. When everything has cooled you can stir in the sugar and honey. And your homemade peeling for the shower is ready.


