Lovage is also called maggi herb because its taste is reminiscent of the spice of the same name. Here you can find out more about the versatile spice and its cultivation.
The lovage belongs to the umbelliferae family. It originally comes from southern Europe and southwest Asia, but also grows in our gardens. The plant, up to two meters tall, has bare stems that branch out at the top and serrated leaves.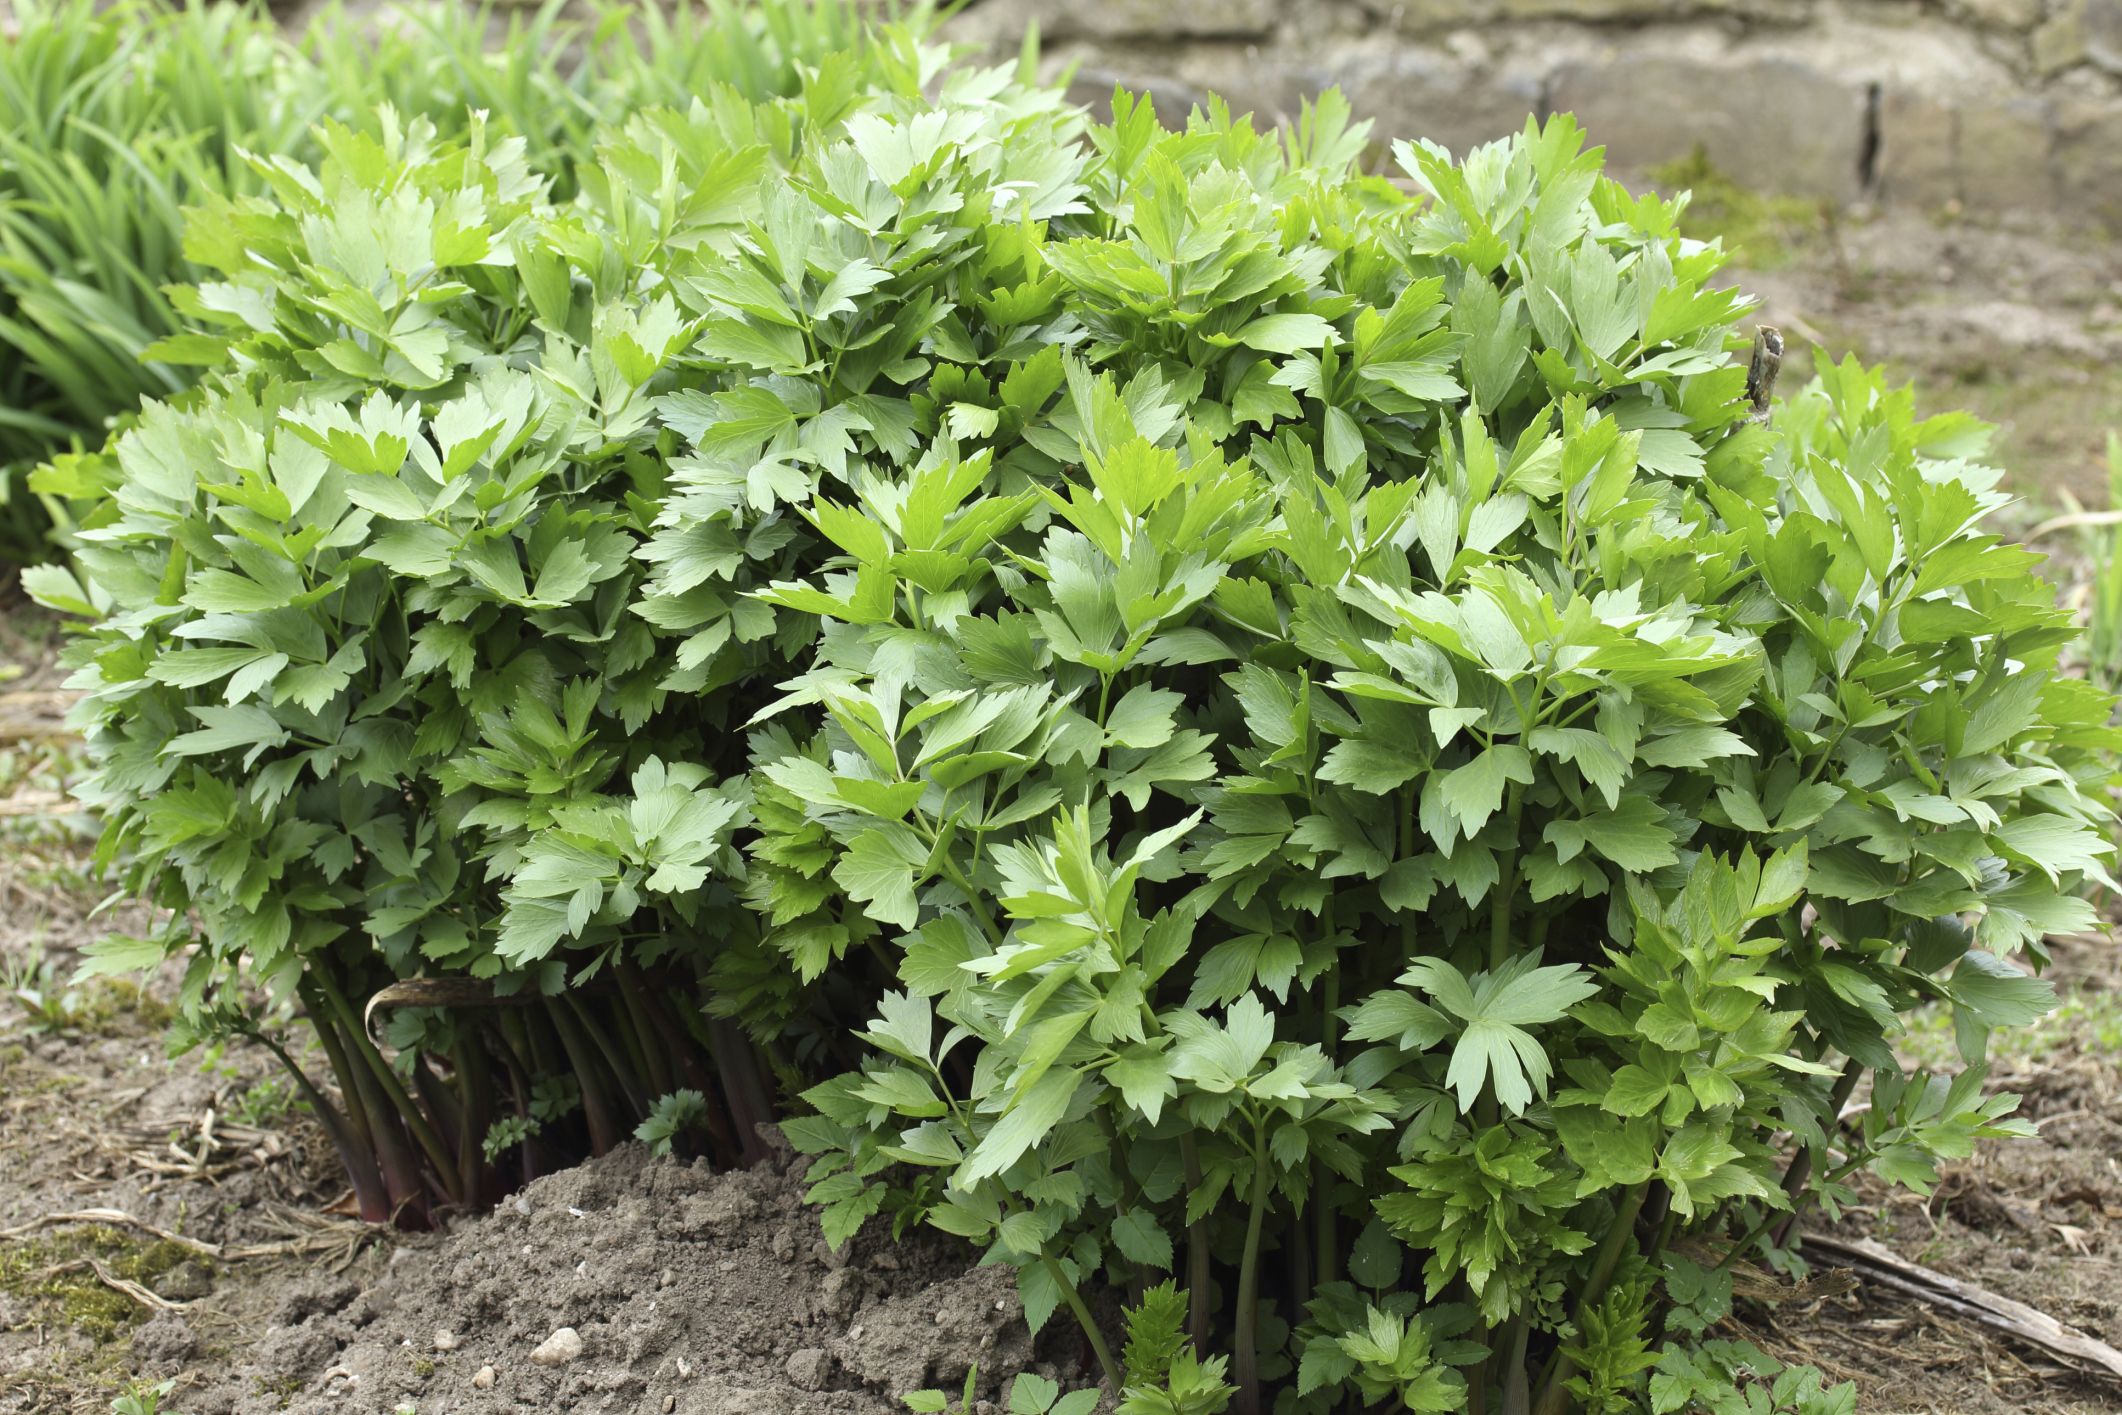
Growing lovage: This is how the Maggi herb thrives
Lovage is a perennial plant that sprout again in spring and can be harvested from April. Here are some tips on how to grow lovage in your home:
Lovage prefers to be in the light semi-shade.
Since the plant has extensive roots, the soil should be deep enough.
You have to water lovage regularly. However, it does not tolerate waterlogging. So the soil should be permeable.
Lovage needs a lot of nutrients to grow. You should therefore plant it in humus-rich soil and possibly fertilize it.
If you don’t have a garden, you can also plant the lovage in a flower pot on the balcony, but then the plant will not reach its full size.
Lovage plants draw many nutrients from the soil. That’s why you shouldn’t plant a piece of ground with lovage permanently, but give the ground several years to recover in between.
Cooking with lovage: spice for soups and sauces
The various components of lovage are mainly used for seasoning. The strong taste of lovage, reminiscent of celery, goes particularly well with hearty dishes. Here’s how you can use each part of the plant:
You can use the young leaves to flavor meat and fish dishes, soups, sauces and dishes with eggs.
You can blanch young shoots and serve as a vegetable side dish.
You can candy the lovage stems.
Lovage seeds can be used to flavor bread or other pastries.
Aside from its use in cooking, lovage has been used in natural medicine for centuries. It contains essential oils, is said to stimulate digestion and help against heartburn, stomach, intestinal and bladder problems. It has been scientifically confirmed that the root of the lovage has a draining effect and can be used to treat inflammatory urinary tract diseases.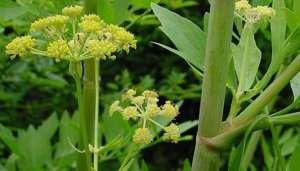
Dry and store lovage
You can dry the various components of lovage without losing much of their aroma. The dried leaves taste a little less spicy than fresh, while the seeds and roots have a stronger taste. Store the dried lovage in a dark container in a dry, cool place.