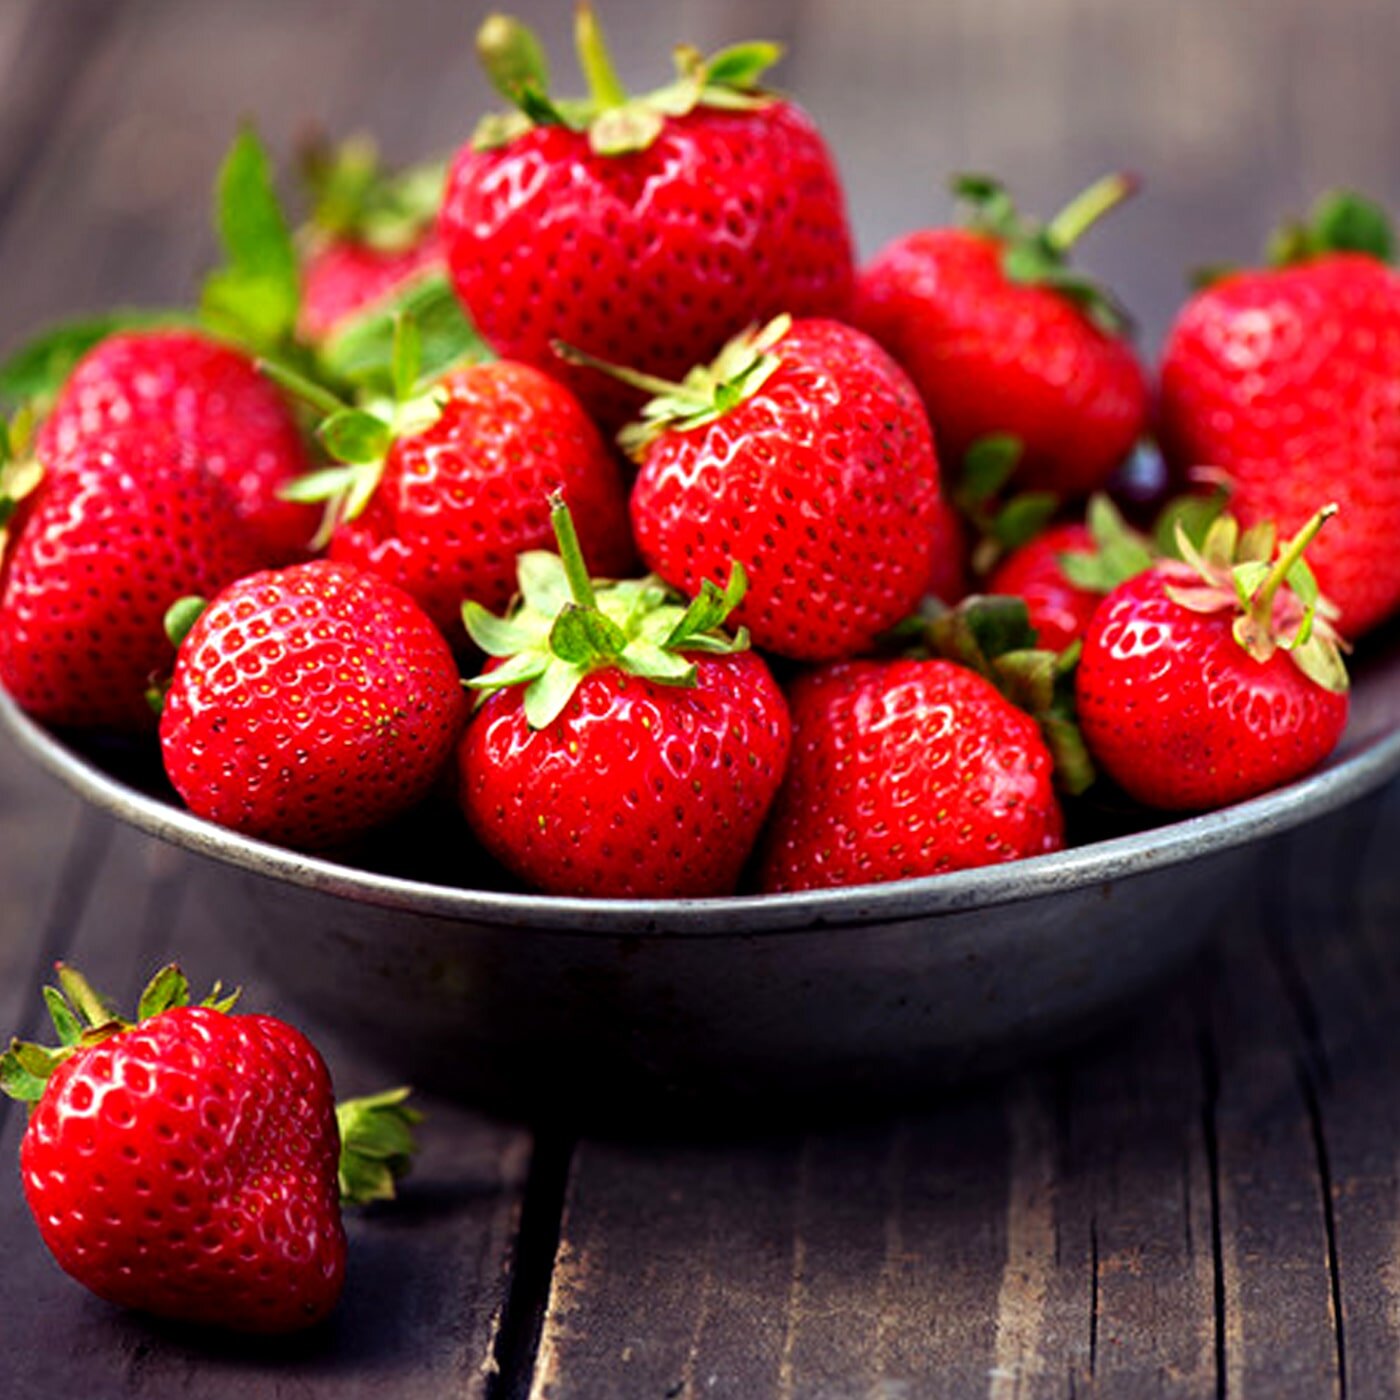
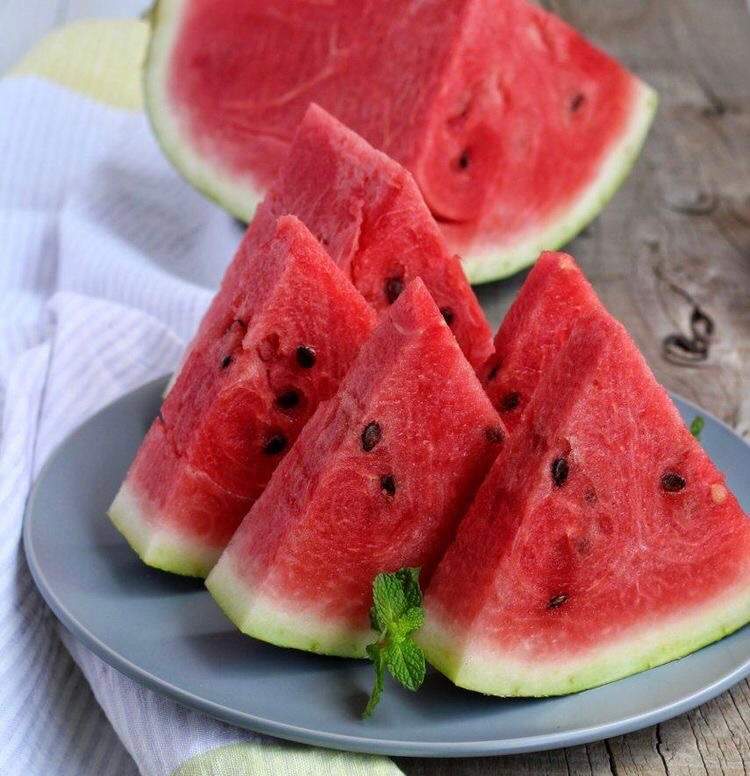
In summer, watermelons are a refreshing dessert. You don’t have to throw away the shell, you can use it. We’ll show you what else you can use watermelon peel for.
Of course, many people think of the fruity-sweet and refreshing watermelon flesh first when they think of watermelons. In fact, all parts of the watermelon are edible, including the seeds and the skin. There are many easy ways you can use watermelon rind in delicious recipes. We introduce them to you below.
Use watermelon peel quickly
Do you have some leftover peel and you are cooking anyway? Then try one of these ideas:
1. Grated watermelon peel
The simplest method: grate the zest and mix into salads. For example, you can spice up a coleslaw with watermelon peel or add it to a cucumber and dill salad. Or you mix the finely grated zest with cold soups.
Tip: Roasted watermelon seeds are a good topping for soups and salads.
2. Smoothie with watermelon peel
The next time you make a watermelon smoothie (or any other fruity blended drink), just throw the watermelon rind into the blender. So you don’t have to throw away the leftovers, but give the smoothie additional fiber.
Tip: How about a breakfast smoothie bowl or summer smoothies with regional ingredients? Both recipes are good for using watermelon peel in an uncomplicated way.
Recipe for pickled watermelon rind
The watermelon peel is also welcome to take the leading role in some recipes. In other countries this is nothing unusual. For example, in the United States, pickled or candied watermelon peels are common. For example, you can pickle the peel of the watermelon in a sweet and sour way.
For about two to three glasses, each with 400 milliliters of pickled watermelon peel, you need the following ingredients:
1 large watermelon
3 tbsp salt
1 organic lemon or 1 organic lime
1/2 l balsamic vinegar
750g brown sugar
1-2 cm fresh ginger
2-3 cinnamon sticks
8 cloves
8 allspice corns
Now follow these steps:
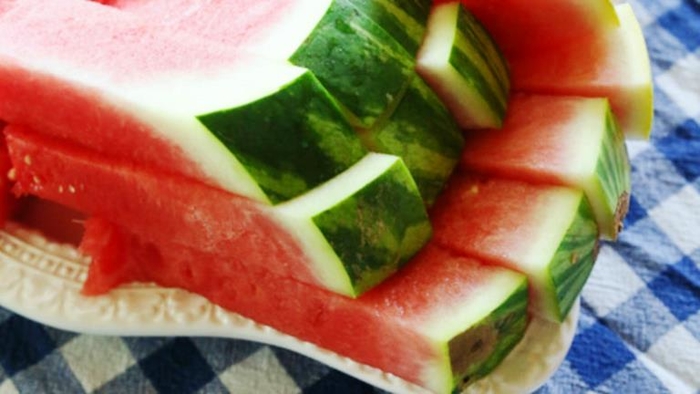
Eighth the watermelon. Remove the red pulp. There should now be about an inch of peel left.
Remove the dark green, bitter outer skin with a sharp knife or vegetable peeler.
Cut the peel into bite-sized pieces.
Mix the zest with the salt and the juice of half a lemon and leave to stand under a kitchen towel overnight.
After the brewing time, wash the bowl off briefly.
Put the bowl in a saucepan. Fill it with water until the bowl is just covered.
Bring everything to the boil and simmer gently for 15 minutes. Strain the peel and catch the water.
Finely slice the ginger and the other half of the lemon. Coarsely grind the cinnamon, cloves, and allspice.
Mix a quarter of the cooking liquid with the balsamic vinegar and sugar, add the spices and bring to the boil.
Add the melon cubes and let the brew simmer over low heat for about 50 minutes. The skins should now be translucent.
Pour the hot mixture into sterilized jars and seal immediately. Let them rest for at least two to three weeks. Serve the pickled watermelon peels as a sweet and sour side dish, for example.
Watermelon rind jam recipe
You can also use the watermelon peel to make jam.
For about six to seven jam jars with a capacity of 250 milliliters you need the following ingredients:
1 kg watermelon peel
2.5 liters of water
200 ml apple cider vinegar
1 lemon
1 kg preserving sugar
1 packet of vanilla sugar
How to make jam from watermelon rind:
Eighth the watermelon. Remove the red pulp. There should now be about an inch of peel left.
Remove the dark green, bitter outer skin with a sharp knife or vegetable peeler.
Cut the peel into bite-sized pieces.
Add two liters of water and 200 milliliters of apple cider vinegar and let everything boil for two hours over medium heat.
After cooking, drain the shells and rinse them in cold water.
Put the peels back in the saucepan, add half a liter of water, the juice of the lemon, a kilo of preserving sugar and a sachet of vanilla sugar. Cook everything until the mass has thickened. You can now puree them completely or partially.
Pour the hot jam into jars. Close the jam jars and turn them upside down for five minutes. Wrap the jars in a kitchen towel and let them sit for half a day.
2 good reasons to use watermelon peel
1. Watermelon rind contains many nutrients
There are many valuable ingredients in the watermelon peel: it contains a lot of fiber that quickly fills you up. It also contains amino acids, which support the body in muscle building, among other things, as well as lots of vitamin A.
There is still a white layer between the green outer skin and the red flesh of the fruit, which is considered to be one of the best sources of the amino acid citrulline. The body converts citrulline into the amino acid arginine, which is said to dilate blood vessels and thereby improve blood flow.
According to US researchers, arginine can increase male potency. Whether you can produce this effect by eating watermelon, however, is considered controversial. According to critics, the concentration of amino acids is too low.
2. Watermelon rind is not food waste
Food waste is a big problem of our time. According to the consumer center, 12 million tons of food end up in the garbage every year in Germany alone. Much of what we throw in the bin is actually still edible.
If we waste food, this also has disadvantages for the environment: Because to produce food you need energy, water and other raw materials. If we consume too much of it, our ecological footprint increases – we use up the resources that should be available to future generations.
The climate is also negatively influenced by food waste. For example, according to the consumer association, the annual food waste in the EU causes the same amount of CO2 as the entire Netherlands.
34 percent of the food waste in households consists of fruit and vegetables. If you start recycling peels and other “waste” items, you too can eliminate waste and reduce litter.
Buy organic watermelons
If you want to use the peel, you should make sure that the melon comes from controlled organic cultivation. Conventional watermelons are usually sprayed with pesticides. In China, for example, forchlorfenuron is used as a growth regulator. (More information: Watermelon: The summer fruit really is that healthy)
Pesticides not only harm pests but also other animals and insects – in this respect they threaten biodiversity. In addition, many of the agents are suspected of being harmful to health – glyphosate is just one of many examples. Even after washing, there could still be residues of pesticides on the bowl. Organic watermelons, on the other hand, are not treated with chemical pesticides.