Brussels sprouts are a very healthy winter vegetable. Here you can find out what you should consider when preparing Brussels sprouts and find suitable recipe ideas.
Brussels sprouts are a classic winter vegetable: they are in season from October to February and provide us with valuable nutrients during the cold season. Brussels sprouts are rich in vitamin A, vitamin C, iron, potassium, calcium and magnesium.
To ensure that the vitamins and minerals are retained during preparation and that the Brussels sprouts remain crisp, you should observe the following instructions.
Cook Brussels sprouts: This is the ideal cooking time
How long Brussels sprouts should cook depends on its size. If the florets are rather large, the cooking time is about fifteen minutes. If they are small, you shouldn’t cook the sprouts for more than 10 minutes.
To keep the Brussels sprouts from overcooking and becoming crunchy, you should follow these steps:
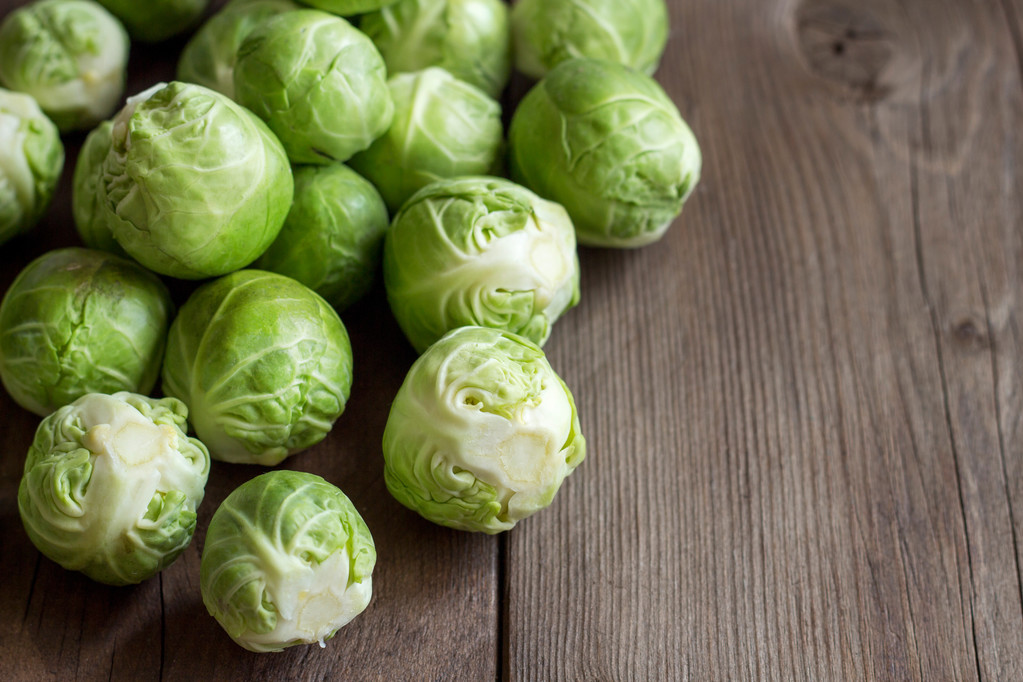
Before cooking, remove any eaten leaves and wash the Brussels sprouts florets thoroughly in cold water. In another article you will find tips for cleaning Brussels sprouts.
Then bring plenty of salted water to the boil in a saucepan and then add the Brussels sprouts. Turn the heat down to medium-low and let the florets simmer in the salted water for 10-15 minutes. Periodically check with a fork to see if the cabbage is done. As soon as the tines sink relatively easily into the rosette without falling apart, it’s done.
Then pour the Brussels sprouts into a sieve and briefly rinse them under cold water. So its green color is preserved.
Steam Brussels sprouts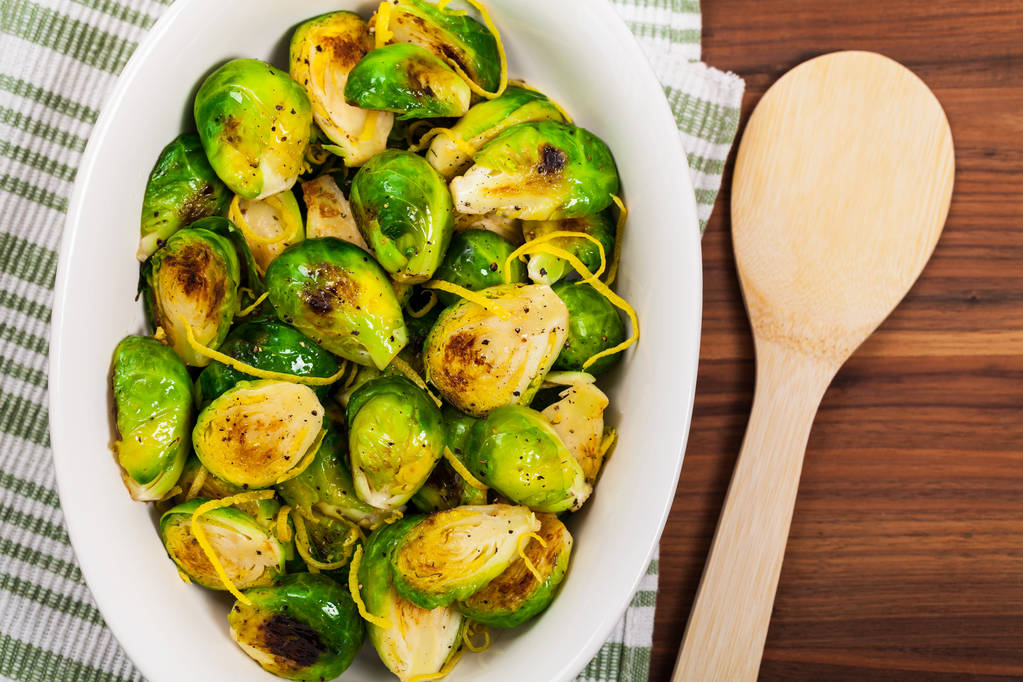
Another preparation method that is gentle on the Brussels sprouts is steaming. How to do it:
Before cooking, remove any eaten leaves and wash the Brussels sprouts florets thoroughly in cold water.
Put water in as wide a pot as possible. The water should only be deep enough for you to put a steamer basket in without it leaking through the holes. Alternatively, you can also hang a large sieve in the pot.
Place the Brussels sprouts in the steamer basket or colander and let the water boil. Then immediately turn the heat down to medium-low and let the Brussels sprouts steam for 10 minutes.
Finally, quench it with cold water to give it its light green color.