Tag

instructions

Browsing

Instructions and recipes for making muesli yourself. Easy as pie homemade muesli. With many delicious recipes for your personal muesli.

Breakfast should be the most important meal of the day. Especially for children, breakfast is the basis before an often long school day. Children should come to school fit and healthy. A healthy breakfast in the morning, with carbohydrates, vitamins, and nutrients that ensure a healthy start to the day, is all the more important. What could be more obvious than freshly preparing tasty muesli yourself?

The basic ingredients for a healthy muesli

Cereals, millet, quinoa, spelled, oats, or millet are the basis for every muesli. They are good suppliers of energy because they contain a lot of important roughage and thus ensure a long-lasting feeling of satiety. Their vitamin B content, as well as minerals, ensure a good immune system.

Nuts

Since nuts are very rich in healthy fats, minerals, and proteins, they are essential for nourishing our nerves. They should not be missing in any homemade muesli. It doesn’t matter whether walnuts, hazelnuts, cashews, or other types of nuts are used. You can freely choose from the range of nuts according to your mood.

Seeds and kernels

Seeds and kernels of all kinds provide important omega-3 fatty acids and thus protect the body from stress. Sunflower seeds, sesame, hemp seeds, chia seeds, and other seeds are suitable for the fresh muesli.

Spices

Spices give the muesli a special touch. Cinnamon and vanilla have an extremely mood-enhancing effect. Since they are able to regulate the blood sugar level, they are particularly valuable and healthy and therefore the perfect addition to our fresh, homemade muesli.

Dairy products

Dairy products such as yogurt, kefir, quark, milk, or cream cheese are excellent sources of protein and are essential for healthy intestinal flora. Use dairy products without sugar or added sugar to mix your muesli healthily. Avoid ready-made, store-bought muesli mixes, as sugar is often added to them.
If you suffer from lactose intolerance, replace the dairy products with plant-based products such as oat milk, soy milk, almond milk, rice milk, or similar.

Fruit

Fresh seasonal fruit, such as strawberries, blueberries, apricots, mangoes, apples, pears…etc. gives your muesli freshness and also provides you with important vitamins. Pay attention to good quality and use unsprayed fruit if possible, or fruit of organic quality for your homemade muesli.

Sweeten the muesli

To avoid refined sugar, choose natural variants such as honey, maple syrup, or coconut blossom sugar. Unlike refined sugar, these contain carbohydrates, minerals, and other nutrients.

Our muesli tip

Now that we have explained the basic ingredients of muesli to you in more detail, we would now like to present a recipe that will certainly get you off to a good start in the day. The ingredients can of course be exchanged or added to as desired; there is no limit to the imagination. Have fun trying!

Muesli Ingredients for 750g about 7-8 portions

  • 500g coarse oat flakes
  • 140g walnuts
  • 50g grated coconut
  • 60g chia seeds
  • 1 tsp coconut powder
  • 2½ tsp ground vanilla
  • 3 teaspoons cinnamon
  • 85 ml olive oil
  • 300 grams of honey

Tips and instructions for making popcorn yourself at home. The best tricks and popcorn recipes for making popcorn yourself in a pot on the stovetop.

Popcorn is popular and delicious when a long evening of TV is imminent or a snack is missing for the party. And this delicious snack can be prepared very quickly and without much effort or fuss.

Tips for making popcorn yourself

Below are the best tips and tricks on how to quickly and cheaply prepare popcorn that is tasty and fresh. Great cooking skills and complicated ingredients are not required for this. You need dried corn kernels, some cooking oil, and, depending on your taste, sweet or savory ingredients. No special machine or device is required other than a regular saucepan with a matching lid and a stovetop. And if you don’t have a cooking pot at hand, you can also prepare the popcorn in a pan with a lid.

How is popcorn actually made?

Popcorn is made from corn kernels. The corn kernels contain water and also some oil. If the corn kernels are now heated in the pot, these components change. From the liquid water and oil version in the grain, the components suddenly become gaseous. The corn husk breaks open due to the heat input. And with this small popping up, each individual kernel of corn automatically expands and the popcorn is ready.

In order to get a good result quickly, a pot temperature of around 180 degrees Celsius is required. Then the corn kernel shell tears open and water vapor escapes from the corn kernel. The corn starch gets out of the grain and offers a well-known popcorn shape.

Easy popcorn recipe for everyone

For the basic popcorn recipe, put some cooking oil in a saucepan. A small amount of cooking oil that wets the bottom of the pot is sufficient. Then put the corn kernels in the oil. Then you should definitely put a suitable lid on the pot. This is necessary so that the finished popcorn does not pop out of the pot when it pops up.

Then turn on the stove and heat the pot until a little over half the corn kernels have popped up. Most of the time, the grains pop up very quickly. For this reason, it is better to stay at the stove. After popping up, you should immediately turn off the heat supply. You must immediately remove the finished popcorn from the stovetop so that it does not burn in the hot pot.

Make sweet or savory popcorn yourself

Depending on your taste, the finished popcorn can now be seasoned. Mostly sweet variants with sugar are chosen. But hearty seasoning, for example with paprika, chili, tomato, or curry, is also possible and popular. It is important that the popcorn is still warm when it is seasoned. This way, the selected ingredients stick better to the popcorn.

A little tip for the slimline

The popcorn can be prepared very low in calories. If, for example, a coated pot is selected for the preparation, then no cooking oil needs to be added. The corn kernels pop up even without the addition of fat. However, the popcorn should also be seasoned heartily. Because all sweet variants with sugar or caramel contain a lot of calories.

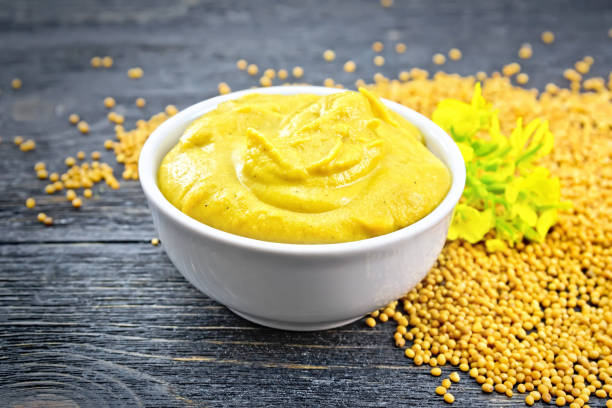
Make your own mustard and simply make it yourself? Simply mix five ingredients together and you have your own mustard to season to taste. You can let your creativity run free in mustard production.

Make delicious mustard

Are you making a salad or breakfast with white sausage but don’t have any mustard to hand? Or would you like to try something new in the kitchen? Then just make your own mustard, because it’s easier than you might think and you only need 5 ingredients.

You can find the ingredients for this in any grocery store. And you can give your mustard a personal touch with simple things like the degree of flour in the mustard seeds or the ratio of black to white mustard seeds. And the best thing is, you can taste it individually, just as you would like it.

What do you need to make mustard yourself?

  • 50 g mustard seeds (white or black)
  • 40ml of water
  • 30 grams of wine vinegar
  • 30 g sugar (alternatively honey)
  • 5 grams of salt

Step-by-step instructions

  1. The mustard seeds must first be washed and dried.
  2. Then they are crushed with the help of a mortar. You can do this finely or coarsely as you like. Alternatively, you can of course mix the grains. (To save yourself this step, you can also use mustard powder.
  3. You can then mix the remaining components together and slowly stir them into the mustard flour that has been created before.
  4. This mixture is left to swell and then you can season it to taste.
  5. Now you can fill your mustard in well-sealable jars so that it keeps for a while.

Make an alternative recipe to the mustard yourself

  1. Blend the mustard seeds with food and water until paste forms.
  2. Then add the remaining components

Tips for making mustard

  • The mustard seeds should not have a temperature above 30°C, otherwise, they will become bitter.
  • If you want to give your mustard that certain something, you can refine it with fresh spices, paprika or curry powder, and many other spices.
  • The mustard is also suitable as a gift. Simply fill the mustard in a nice glass and label it. Everyone is sure to be happy about a gift that you have put so much work into!
  • If you like it spicy, you should use dark mustard seeds, because the darker the seeds, the hotter they are.
    But if you prefer it sweet, you should simply add more sugar or honey.
  • To make medium-hot mustard, you can simply mix white and black mustard seeds in a 50:50 ratio.
  • After opening a jar of mustard, make sure to keep it closed in the fridge, otherwise, it will lose its sharpness
  • Consequently, you can leave the jar at room temperature for a day if the mustard is too hot for you.

A useful guide to planting a hedge in the garden. Our detailed step-by-step instructions will help you with the preparation and implementation of the garden hedge.

Properly plant a hedge

A hedge fulfills several functions in the garden. On the one hand, it offers a natural privacy screen, on the other hand, it serves as a shelter for various animal species – for example, beneficial creatures such as birds and insects. However, there are a few things to consider when planting a hedge.

Step 1: Find a suitable hedge for the garden

You can use many different plants for a hedge. Which ones are most suitable depends not only on your own taste, but also on the soil conditions, the growing season, and the location. Depending on the type of plant, it can take several years for a hedge to reach the desired size.

In addition to the popular boxwood, which only grows about ten centimeters a year, and the false cypress, fast-growing and easy-care hedge plants are enjoying increasing popularity. Most plants thrive in both shade and sun. Examples of fast-growing hedge plants are privet and hornbeam. The latter is a good choice for a hedge up to 3 meters high and is also easy to cut. In autumn, the green leaves turn golden yellow and remain on the shoots for a long time.

Privet is also very suitable as a cut hedge plant. Both the gold privet with yellow-colored foliage and the black-green privet with dark green foliage have an upright, loose habit and are also easy to trim. The common beech is also often used for hedge planting. Its bright green leaves turn reddish-brown in autumn. Other popular hedge plants include thuja, cherry laurel, and the red hedge barberry, which is good both as a natural hedge and as a small cut hedge.

Step 2: Choose the right time to plant

The autumn months are the ideal time for planting a hedge because then you can hardly expect longer dry and hot phases. Furthermore, the plants have enough time until winter to form strong roots. Alternatively, you can also plant your hedge in spring. However, keep in mind that plants need more water at this time of year, especially if there is little rain in the following summer.

Step 3: Trim the hedge regularly

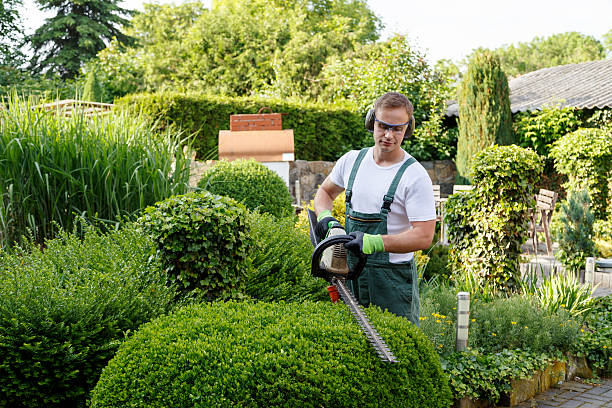
Depending on the type of plant, hedges offer good privacy protection within a short period of time. In order for your hedge to have the appropriate density, the hedge plants must be cut back regularly. A pruning also prevents the hedge from growing too wide, but instead upwards. But you should also use hedge trimmers from time to time in the upper area so that the hedge does not thin out too much there. Be sure to wear suitable work clothing and safety shoes for this work to reduce the risk of injury!

The natural hedge as an alternative to the cut hedge

A dense cut hedge is not suitable for every garden, as it often takes up a lot of space. Interesting effects can also be achieved, for example, by staggering the planting of fast-growing hedges and shrubs. These also offer good privacy protection and make smaller gardens appear larger. Another alternative to the green hedge can be to line up flowering, leafy and fruit-bearing shrubs (e.g. lilac, elderberry, hazelnut, firethorn, viburnum). The so-called natural hedge wraps the garden in beautiful colors and scents and can be put together individually all year round.

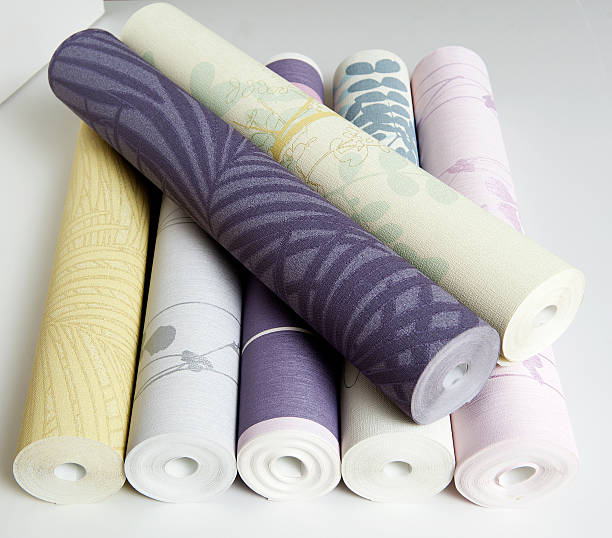
Lots of useful wallpapering tips at a glance. We have put together the most important rules and wallpapering instructions for you so that you can successfully apply wallpaper yourself. With it, you can wallpaper like the pros.

Simply wallpaper yourself and properly

Anyone who has ever installed wallpaper knows that proper wallpapering must be well prepared. Because putting the wallpaper on the wall yourself is not as easy as it looks. But with the right instructions, wallpapering will also work. Then you can do everything on your own. Or even better, ask a few friends who will actively support you. As a result, wallpapering is sure to be a lot of fun. To ensure that everything works, we have collected the most important rules and tips for wallpapering for you. In addition, note tips for removing dust stains from wallpaper.

Ceiling wallpaper tips

Installing the wallpaper on the ceiling is more difficult than on the vertical wall. So use a ladder. It is best to attach the wallpaper lengthwise and away from the window to have an ideal incidence of light. When measuring, make sure there is an overhang of 2-3 cm for the longitudinal wall. The strip of wallpaper that will cover the lamp connection must first be cut out at this point. To do this, take the ceiling sheet and hold it against the ceiling so that you can see the cable connection. Then cut a radial hole in the wallpaper there. Also, note useful tricks for storing paint rollers and brushes after painting

Wallpaper on door frames and windows

Other wallpapering tips relate to door frames and windows. Accordingly, simply press the wallpaper strip to the door frame. It is best to use a wallpaper spatula for this. Then the excess is cut off as usual. Finally, you have to cut the wallpaper that is to be glued over the door frame to size. But with windows, there is also the fact that they have inside and outside corners. Work here in the same way as with the other corners of the room. Finally, you can start painting. Please also note our article on making your own paint and how to remove wallpaper stains from painted wallpaper

Wallpaper behind radiator

If you want to wallpaper behind radiators, it is best to remove them beforehand. Then let the pipes cool down, otherwise, the paste will dry too quickly. Otherwise, attaching works as in the previous steps. You can carefully smooth out freshly formed bubbles towards the edge. However, if these cannot be brushed out, you can use a syringe to inject some glue into the blister. In contrast, very large blisters can be cut with a craft knife and smeared with paste. After the soaking time, simply press the wallpaper to the wall. For more inspiration, watch various step-by-step video instructions and also note the different wallpaper symbols.

Repair cracks when wallpapering

Woodchip is forgiving. Therefore, you can easily repair cracks in the wallpaper when wallpapering. Because they can be glued back together very easily. After the walls have been painted over, the crack can no longer be seen. And even after that, you can hide cracks and other damage in woodchip, e.g. with Tipp-Ex or leftover wallpaper.

Easier to wallpaper with non-woven wallpaper

You can save a lot of time with non-woven wallpaper, as there is no need to soak paper wallpaper. A special fleece paste is applied directly to the wall. In this way, the wallpaper can be pressed directly from the wallpaper roll onto the wall. After sticking on a strip, you can simply cut off the excess with a spatula.

Good potting soil is a prerequisite for beautiful, healthy plants. We will show you how you can easily create good soil for your plants yourself.

There are different types of soil; include garden soil, blind soil, vegetable soil, and potting soil. Appearances are often deceptive because the quality of purchased soil is very important so that the plants can thrive at all. It is best to make your own nutrient-rich soil.

Benefits of homemade potting soil

Unlike commercial soil, you are not dealing with an industrial mass-produced product, but with a carefully selected mass. It goes without saying that your own soil will benefit the plants. They grow better, have less to do with pests, and appear healthier all around. Because the soil contains more nutrients, you naturally need less fertilizer. However, homemade potting soil can be excellently supplemented with home remedies such as plant fertilizer.

What has to go into the ground

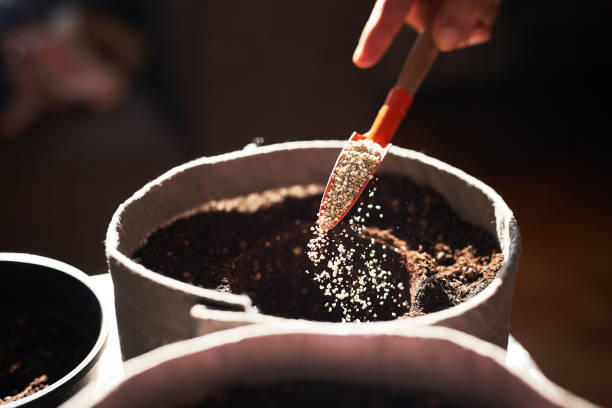
There are many different types of potting soil. In general, compost, sand, and leaf soil are suitable for potting soil. In addition, coconut fibers, humus bricks, garden soil, vermiculite, perlite, horn shavings, or cornmeal can work wonders. In general, it can be said that homemade soil consists of different components. You always need a base. For example, garden soil or coconut fibers. In addition, you always need nutrients, e.g. B. Compost. And possibly something for the water capacity and loosening. Vermiculite or perlite are used for this.

1) The universal soil for almost all plants

The all-around soil is well suited to supply plants with nutrients for a longer period of time. It is versatile and has a good structure and good water drainage. What you need for this earth:

  • 2/9 compost
  • 5/9 garden soil
  • 2/9 sand

In addition to suitable soil, you should also pay attention to the correct watering of your plants. Because there are a few things to keep in mind.

2) Acidic soil is suitable for heather and bog plants

This soil is also called azalea soil and is particularly suitable for heather and bog plants, i.e. for plants that need acidic soil. Also almost all softwoods, as well as z. B. Rhododendrons need such soil. What you need for this:

  • 2/4 compost
  • 1/4 sand
  • 1/4 leaf soil

3) A special herbal soil with many nutrients

This very lean mixture is also known as light soil. It is ideal for plants that hardly tolerate nutrients, as this soil hardly contains any. For this you need:

  • each 2/6 coconut fibers, garden soil, and sand
  • add 1/6 crushed lime if necessary (for Mediterranean herbs).

4) The perfect soil for fresh tomatoes

As with the other soil mixtures, you should pay attention to the required PH value of the plant so that it can grow well. Tomatoes do best in slightly acidic to almost neutral soil. The following components are good for this:

  • 1.5/10 earth
  • 4/10 perlite
  • 1/10 hummus
  • 1/10 sand
  • 2.5/10 compost

5) Production of own rose soil

Roses grow in a neutral to a slightly acidic environment. You should also pay attention to how you then plant the roses correctly. The soil must not be too acidic under any circumstances, so you need the following to make the rose soil:

  • garden soil
  • compost
  • sand
  • Fertilizer mixture made from rotted cattle manure
  • horn shavings
  • bedrock meal

6) The right potting soil for cacti (substrate)

A special potting soil is required for cacti. The same applies to succulents (succulent plants). These plants have adapted to special climate and soil conditions. For this, you need soil with more mineral substances, for example with more sand and clay as components. This also includes the actual place where cacti normally grow, deserts. These are characterized by dryness and sandy soil.

You should therefore pay attention to their natural proportions when producing cactus soil. You only need the following ingredients to make it:

  • coarse sand
  • peat
  • Clay
  • humus soil

7) Make garden soil with Bokashi

Bokashi comes from Japanese and describes a process in which organic material is fermented by adding effective microorganisms. You can then use the resulting compost for your potting soil, as it is great as a liquid fertilizer. Soil mixtures can also work wonders in other areas. The healing earth helps you as an effective home remedy, for example, to eliminate facial blemishes, but also complaints such as flatulence and with a diet.

Here are instructions and tips for making candles. Candle making and candle pouring are the most well-known techniques.

Candlelight for a more feel-good atmosphere

Candles provide a cozy living light and a special atmosphere. They are also nice for decoration and are well suited as small gifts. If you would like to make candles yourself, you don’t actually need much to create something really beautiful and individual. Depending on whether the candles are drawn or poured, different shapes and color patterns can arise.

Materials for making candles yourself

You can buy the wax you need in the form of granules, but you can also use old leftover candles that are then melted down again. White wax granules can be colored with special color pigments that you can get in craft supplies.

You also need candlewick and – if you want to pour candles – heat-resistant containers to fill them with.

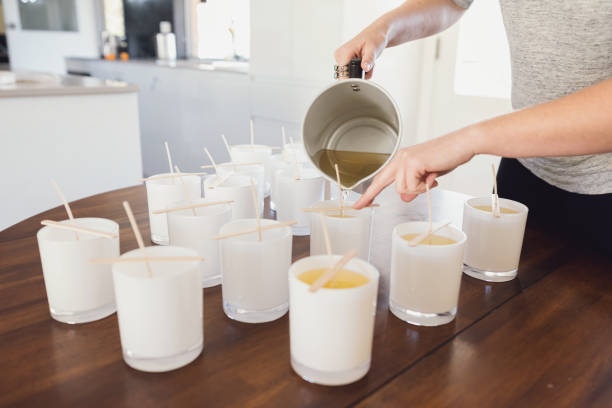
The wax can be heated and liquefied in a tin or bowl in a water bath. You should make sure that the water does not boil and that the wax does not come into contact with the water. It is best not to use grandma’s good crockery for this, the wax residue cannot be removed so easily!

Candle making

A knot is first tied at the lower end of the wick so that it stays straight when it is immersed in the wax. The wick is then repeatedly dipped into a container of liquid wax in several passes. This creates several layers of wax. This technique works especially well for multicolored candles. For this, you need several containers with different colored wax. The length and thickness of the candles can be varied according to taste. The finished candle is hung up to dry by the wick. With thicker candles that are to stand without a candlestick, you can smooth the underside with a knife before the candle has completely hardened.

Candle making

When casting candles, the liquid wax is poured into a heat-resistant mold. For example, small glasses are suitable for this. The wick is first knotted to a skewer or something similar, which is placed over the glass so that the wick hangs down from the center. The liquid wax is then carefully poured into the jar.

Tip: To keep the wick straight, you can attach it to the bottom of the mold with some modeling clay. If you want to have several layers, you only fill the glass partway and let the first layer harden. It is important not to fill in the next layer too early, otherwise, the colors will mix.

You can be creative when choosing the shape. Various glasses or bottles, but also small flower pots, eggshells, paper cups, and other vessels can be used. Containers in different shapes, such as spheres or pyramids, are also available for purchase.
Except for the jewelry glasses, the molds are carefully removed from the candle after it has hardened.

Tips for making candles

If you not only make candles yourself but also want to design them in a very special way and add a highlight, you can add special scented oils to the wax. The finished candles can also be decorated with glitter powder and napkin glue. Here the imagination can run away with you a bit. Also, note ideas for making Christmas candles yourself.

What should you pay attention to?

You can also make candles with children. Since the liquid wax can get quite hot, children should never be left alone with it. When working with granules, it is also important to ensure that they are kept out of the reach of small children.

Do you have a hedgehog in the garden and would you like to help it through the winter? Then the right food and a warm hedgehog house will help.

In winter, the hedgehog can suffer from cold temperatures. If you want to help the animal, you can provide dry cat food in a bowl. The construction of a simple hedgehog house from a few wooden boards and some leaves is an ideal sleeping place for the winter.

Feed the hedgehog

The hedgehog is very useful in the garden. It usually feeds on pests that attack plants in your garden or negatively affect the garden. Therefore, you should be happy about the hedgehog in the garden. The hedgehog eats snails, for example, and other pests are also on its menu.

However, when the temperatures get a little colder, the hedgehog becomes weaker and may no longer be able to find enough food. As an animal-friendly garden owner, you can provide the food yourself. However, the hedgehog is very frugal and not very choosy. If you have a cat in the household, you can provide a bowl of dry cat food. But there is also special hedgehog food that you can buy and provide. The hedgehog also likes to eat wheat bran or some oatmeal. However, you should avoid providing the hedgehog with milk. Hedgehogs cannot tolerate lactose and can even die as a result of diarrhea.

If you want to give the hedgehog a warm place, building a hedgehog house is a simple option. Here you will find instructions on how to build a cozy home for the hedgehog.

1) Find a suitable place

Before you start building a small house, you should find a suitable place for the house. The finished hedgehog house requires a floor space of about 30 x 30 centimeters. In order for the hedgehog to feel comfortable, it needs a lot of rest and some shade. Therefore, a place in the corner of the garden is best for the little house.

In order to protect the house from the weather, it is advisable to place the entrance on the side that is not exposed to the weather. So no rain can penetrate and the hedgehog is a little more protected. In addition, water must not collect in the house when it rains. A small elevation ensures that the water runs off the edge and does not form puddles in the house.

Some sand or gravel can be placed under the house for further protection. This layer provides good insulation against wet and cold.

2) The construction of the house of wood

Once the right location has been found, all you have to do is build the house yourself. No extensive materials are required for this. A few wooden boards, screws, and a roof panel are enough for a cozy house.

The hedgehog feels most comfortable when the house is divided into different areas. An entrance area protects the actual sleeping area. The front door should be large enough that the hedgehog can easily enter the house, but cats or dogs cannot get in. A small flap presents another obstacle for other rodents.

The food for the hedgehog can be stored in a small pantry. Dry cat food or special dry food for hedgehogs can be placed in a bowl. Since the hedgehog could also do its business there, a layer of newspaper helps to clean this room.

A small bedroom gives the hedgehog enough peace and security. There the hedgehogs can overwinter and recover. They like to build their nest out of crumpled newspapers. This can be placed in the sleeping area so that the hedgehog can use this material.

3) Design the lid

Once the basic walls of the hedgehog house are in place, only the flap needs to be attached. A movable roof hatch should be attached so that you can reach inside the house later. This allows you to refill the feed regularly. You can also clean the hedgehog house in this way.

For the roof, you can take a simple wooden panel and attach it with a hinge. So you can open the roof to one side.

To enhance the look of the hedgehog house, you can staple red cardboard to the roof. This makes the hedgehog house not only practical but also looks very nice. You can also paint the house in color for a nicer color scheme. It is important to ensure that the paint is environmentally friendly. A label with the blue angel indicates environmental compatibility.

4) Spread foliage

The hedgehog does not only like to use newspaper as a material to create a cozy home. Leaves are taken by the hedgehog in nature to build the nest. It is therefore helpful if you scatter some leaves around the house. The hedgehog can use this to independently build its nest in the house.

In these simple steps, you can easily make a hedgehog house yourself. In winter, however, you should not disturb the hedgehog. He goes into hibernation and only wakes up in spring. If the hedgehog has cubs, you should keep other animals away from the house and leave the hedgehog alone as well.

Even if the range of available Christmas candles is very large, a completely individual Christmas decoration can be created at home with the candle foundry. And when you make your own Christmas candles, you can create shapes and colors that match the rest of the atmosphere, resulting in a harmonious picture.

Beautiful Christmas candles for home

The Christmas decorations begin in the pre-Christmas period. Then Christmas accents and candlelight create a nice feel-good atmosphere. But candles are often expensive and it is not always possible to find the right candles for your own Christmas decorations. If you are a person with special ideas, then you should make your Christmas candles yourself in the future. So use this guide and perfect your Christmas decorations:

1) Tools for making Christmas candles yourself

No previous knowledge or manual skills are required for candle casting and making Christmas candles yourself. All you need are the following things from the handicraft supply and the hardware store:

  • candle wicks and candle wax,
  • heat-resistant vessels and skewers of metal,
  • two different sized pots,
  • Decorative wax, decorative foils, and candle pens.

2) The preparations for the candle foundry

If you want to make thick Christmas candles yourself, it’s best to save empty tin cans to save on the expense of the prepared candle jars from the craft store. The bottom of the jar needs a small hole in the middle. Pull the wick previously dipped in liquid wax and knot it. Then cover the hole. Then attach the other end of the wick to a skewer placed across the jar. You have to make sure that this knot is also in the middle so that the homemade Christmas candles don’t burn unevenly later.

3) Prepare wax to make Christmas candles yourself

To avoid damaging the wax, do not heat it above ninety degrees Celsius. Consequently, it is best to heat the wax in a water bath. To do this, put water in the larger pot and the stearin used for the candle crafting in the smaller pot. Then put the smaller ones in the larger pot. Before you put the stearin in there, you should line the pot with aluminum foil. So it can still be used as a cooking pot after the candle foundry. Also, note other tips for cleaning pots.

4) Pouring Christmas candles

First put just a few drops of liquid wax in the container so that the hole in the bottom is closed tightly when it cools down. Then you can fill the container with the liquid wax up to the desired height of the Christmas or Advent candle. This is how you can make the perfect candles for your personal Christmas wreath. There should always be some wax leftover because a hollow usually forms around the wick when it cools down. Consequently, you can fill them with the remaining wax. Nice shades are also created when filling wax shavings in different colors into the pouring vessel before the liquid wax is added.

5) Make individual layered candles

Making Christmas candles with multiple layers is also easy. To do this, stearin in different colors is gradually poured into the pouring vessel. To avoid mixing, let the individual layers cool down briefly. If the candles you have poured yourself cannot be removed from the molds straight away, a short stay in the refrigerator will help. Alternatively, you can rinse the outside of the watering vessel with hot water. For a better illustration, watch the following video on how to make candles yourself. You should also know tips for removing wax stains and candle wax.

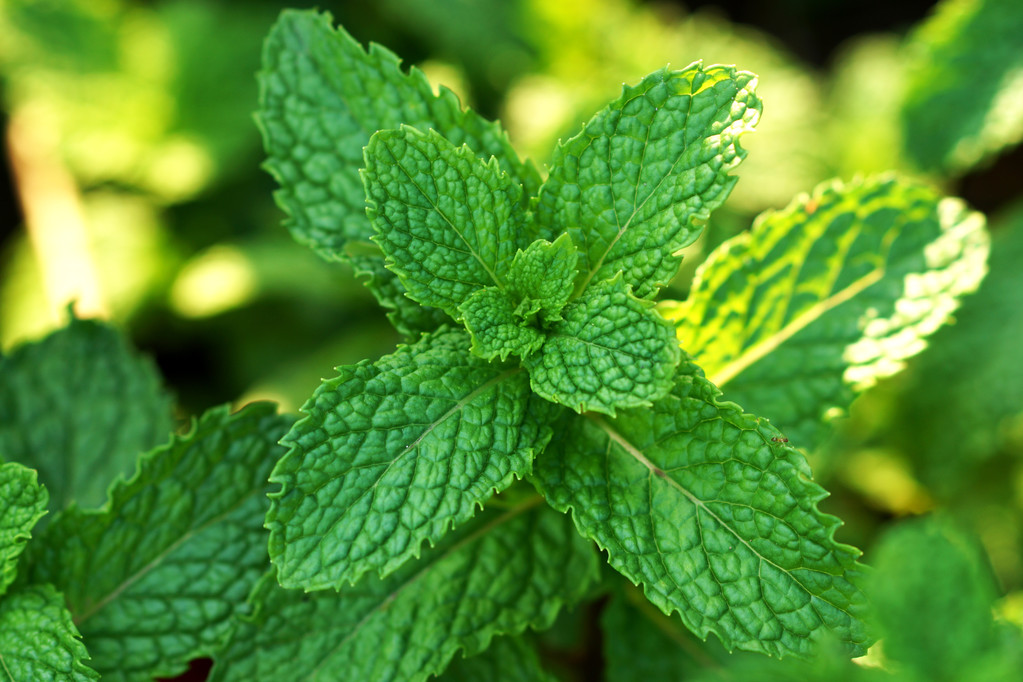
We’ll tell you how to dry peppermint and thus preserve it. We also show you how to use the delicious leaves.

If you want to dry peppermint, you should cut it right before flowering. At this point, the mint contains a very high proportion of aromatic substances, which are retained even after drying. Flowering begins in June.

Dry peppermint: how it works

First cut off the stems. Make the cut above the last pair of leaves above the ground. Use a pair of scissors and place the stalks in a basket or cloth bag.
If possible, avoid washing the peppermint stems. In this way, the aroma is better preserved.
Remove the leaves from the stems.
Place the leaves individually on a grid.
Put the leaves in a breezy, warm place. However, do not expose them to direct sunlight.
Turn the leaves every now and then.
After two weeks at the latest, the mint should be completely dry.
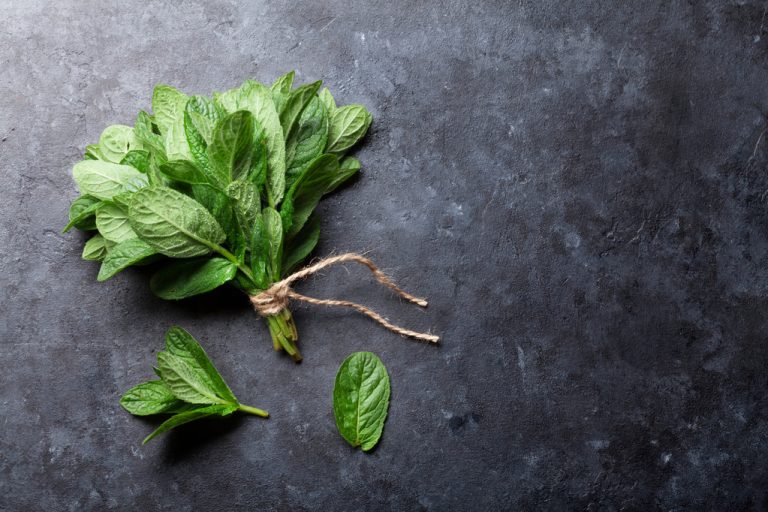
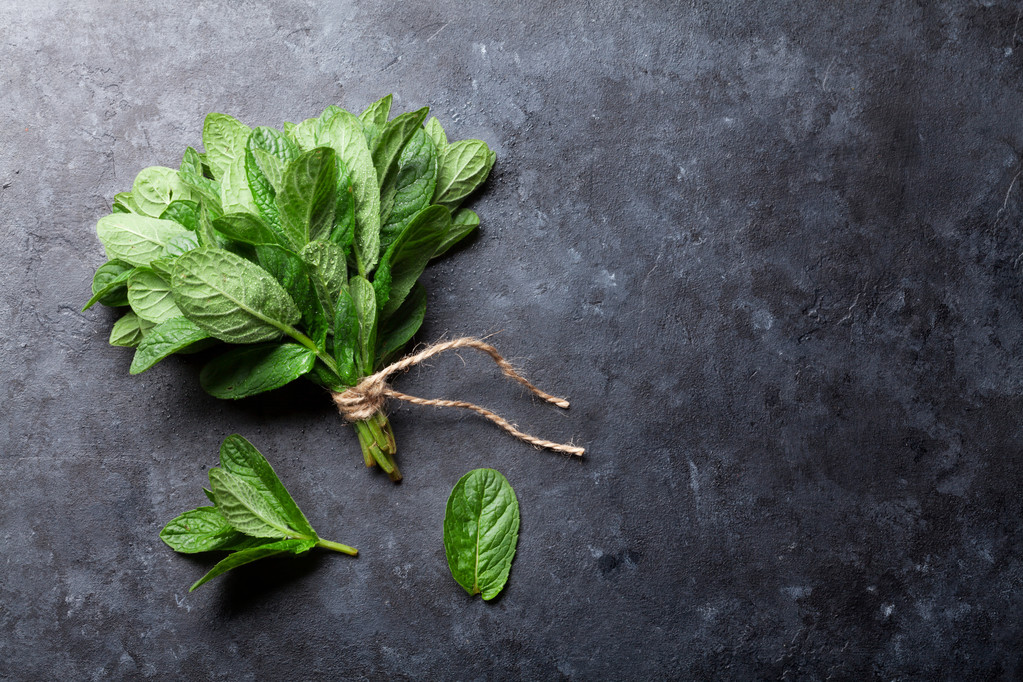
You can also tie the stems into small bundles and hang them upside down to dry:
Tie no more than ten stems together.
It is important that the peppermint bouquets get air from all sides.
After the leaves have dried, you can carefully strip them off the stem. Then pour it into a screw-top jar.
Mint will keep for several months in a dark, dry place.

How to use dried peppermint

You can use dried peppermint in many ways, for example:
as an ingredient in leaf and pasta salads
as a freshly brewed peppermint tea that not only tastes delicious, but also soothes an upset stomach
in sauces and soups
as a spice in oriental dishes and dips, for example couscous salad
as a syrup, boil one kilogram of sugar with one liter of water and add two handfuls of dried mint
as an additive for bath water
in scented sachets