Tag

instructions

Browsing

Chopping onions is one of the most disliked cooking tasks for many. We show you two methods with which you can easily cut onions into small pieces or into rings.

Slicing Onion: Onion rings are the easiest

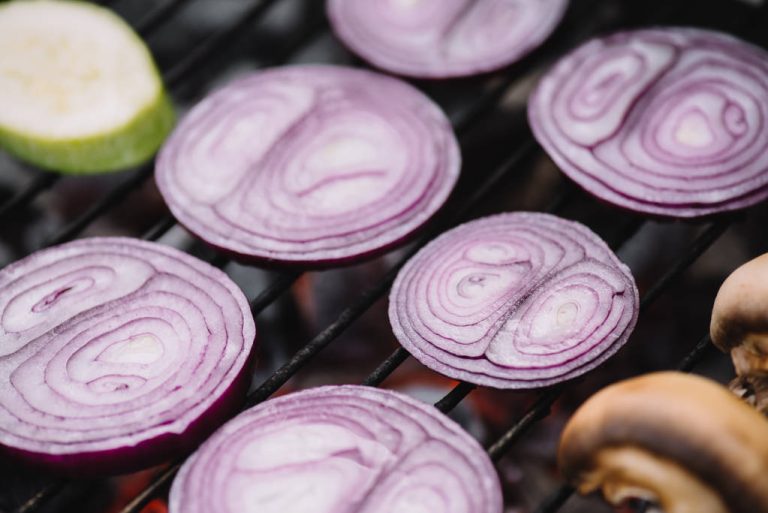
The easiest way is to cut an onion into many (half) onion rings. You take advantage of the structure of the onion:
First, peel and halve the onion. It is important that you cut through the onion on the side where the tuber base is located.
Then place the onion with the flat side on a board and cut narrow strips down the side.
The thinner the strips, the thinner the onion rings.
Tip: If you want whole rings instead of half onion rings, you must not halve the onion beforehand.

Cut the onion into very small pieces

To dice the onion, the following three-step method works best. However, it is not very easy. That’s why you’ll find an easier way to cut onions below.

1. First, peel and halve the onion and place it in front of you with the base of the bulb facing you.
Then use a knife to cut narrow strips into the onion half.
However, you don’t cut all the way to the back end, but stop just before the end. This way the onion doesn’t fall apart.

Cut onion – Step 2

2. Next, you need to rotate the onion 90 degrees and cut horizontal strips into the onion at the open end (see image). You need a sharp knife for this and you have to be careful not to cut yourself.

You should cut about three strips horizontally into the onion.
Again, don’t cut all the way to the end of the onion to keep it from falling apart.

Third cut: Dice the onion

3. Finally, cut the onion into small cubes. To do this, cut straight strips into the onion.

Since you rotated the onion in the previous step, cutting the strips again creates small cubes.
The thinner the strips, the smaller the cubes.
You can finally cut the end piece into small pieces.
This method gives you very fine onion pieces. However, you need to try them on an onion or two first and get some practice. If you don’t get along with this method, we have an easier method for you. The onion pieces don’t get that small.

Alternative method of slicing onions

First you need to peel and halve the onion.
Then you have to cut the onion into thin strips as with the halved onion rings.
Now turn the onion 90 degrees and cut it again into thin strips.
However, please note:
The onion pieces get bigger because the horizontal cut is missing.
Since there is no real end piece, you have to be careful not to slip off with the knife, especially at the end.

Cut onions without tears – 3 tips

The two substances alliinase and alliin are in the onion. When cutting onions, they meet and make our eyes water. This is a natural defense mechanism of the plant to protect itself from mice and other animals. The following tips will help:
Safety goggles or diving goggles ensure that the substances from the onion do not get into your eyes.
If you cut the onion at the window, you cry less. Because the onion vapors can be drawn off directly.
You can also peel the onion under water, for example in a bowl. The water ensures that the vapors cannot rise.

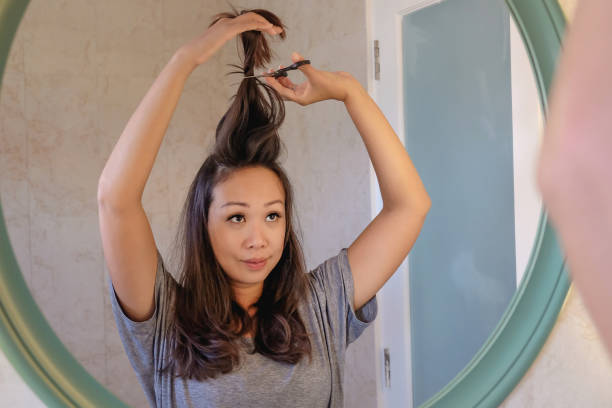
Cutting hair yourself is possible for men and women because with the right tools and a little patience you can create a great hairstyle. Save money and the hairdresser’s visit!

Cut your own hair: how it works!

A hairdresser is expensive, but the magnificent mane must be kept in check. To make your work easier and save money, you can use scissors yourself. Cutting hair yourself is basically not magic and can even be done by beginners. In order to get a good insight, there are certain instructions on how to cut long and short hair yourself on the Internet. This will soon result in a fantastic hairstyle at zero price.

What should you pay attention to when cutting your own hair?

One point is important before attempting any long or short haircut tutorial: goals. You need to know beforehand what you want the end result to look like. For example, you can only trim the ends or trim your current hairstyle. Even a complete type of change is possible on your own. Therefore, be aware beforehand of what you want in the end, so that you don’t start cutting without a plan.

The right scissors for cutting hair

Good equipment is the be-all and end-all when cutting hair. First of all, you need two mirrors, so you can also properly work on the back of your head. In addition, enough hair clips and hair ties are important, especially with longer hair. One of the most important utensils is the scissors. Never use conventional household scissors, as they are quite blunt and will damage your hair when cutting.

It is better if you invest some money in professional hairdressing scissors. This protects your hair and prevents miscuts. You can also read tricks for sharpening blunt scissors. For men who cut their own hair, on the other hand, a suitable machine is recommended. With such a hair cutting machine, short hair can be styled within seconds. The hair-cutting machine is a must, especially for shaving the neck or in narrow areas.

Which hairstyle would you like?

You probably know it from the hairdresser: before it finally starts, the hair is moistened. You should also moisten your hair when you are at home. This is a great help, especially when cutting hair yourself. How you moisturize your mane is up to you. You can wash your hair or just spritz it with a spray bottle. Even pulling through a hair straightener is possible, resulting in a smooth and easy-to-work-on surface.

When cutting, just remember that the hair will contract again after drying. So never cut off too much. If you don’t want to cut your hair step by step, but just trim your bangs, you don’t have to wet your hair.

On the other hand, if you have long hair or only cut the ends, it is best to do it upside down. Simply comb damp hair upside down and trim the ends all the way around to the desired length. Because you cut overhead, light and natural layers are created immediately, which makes the hair look airy and loose.

The so-called twisting method, on the other hand, is the perfect remedy for split ends. Simply twist a few strands into a thick braid and cut off the little hairs that stick out. In general, it makes sense if you keep it fairly simple. It is better to leave complicated or complex cuts to a professional because things can quickly go wrong. It is best if you do not remove more than 2.5 centimeters per cut.

What should you avoid when cutting your hair yourself?

There are some little things that are rather counterproductive. It is important not to cut too much hair at once. It can happen that you then slip away and the result is crooked. It is better if you separate individual strands with the comb. But cutting your hair yourself using the braid method is a good solution. With the hair cutting braid method, you braid your hair in a thick braid or pull it tightly into a ponytail.

Now it doesn’t happen that the hair breaks out when cutting. Another problem is curls. It is almost impossible to set straight cuts with curly hair so that a wild hairstyle is created in the end. For this reason, it is better to leave your curls to a professional. In addition, read tips on maintaining natural curls.

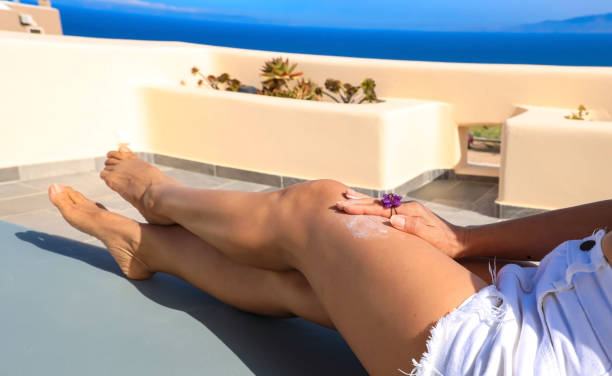
Tips and tricks for tanning faster in summer. The right and quick summer tan is an art. Anyone can tan quickly in summer if they follow a few tricks. We’ll tell you how you can get as beautiful a tan as the models. With instructions and advice, you will quickly get a tan in summer.

Browning from milking fat

If you would like to tan quickly in summer, simply apply some milking fat to your skin before sunbathing. You can get this in the drugstore for as little as 2 euros. But be careful, the skin becomes very warm and blisters can break out more often. Alternatively, you can also use coconut oil or coconut fat. In addition, note how to get the summer tan and stay tanned longer.

Tanning with olive oil

Olive oil not only tastes wonderful in a salad but also gives the skin a bronzy complexion. Olive oil nourishes the skin and at the same time accelerates the tanning process. Unfortunately, there is also a risk here of increased broom tears.

Tan on the water

Since water also reflects the sun’s rays, you should sunbathe in the water. So if you are by the water on a boat or a mattress, you will get more sun. That also explains why many water sports enthusiasts are so brown.

Take beta carotene

Beta carotene is a precursor of vitamin A and helps the skin to process the sun’s rays and is also a suitable diet for sun protection. People who get sunburned quickly should eat a lot of fruit and vegetables, where plenty of betas contains carotene. This is particularly found in carrots, apricots, and red peppers.

Sufficient moisture for the skin

Especially in summer, the skin needs a lot of moisture and care. Skin that is optimally moisturized reacts biochemically better to the sun’s rays and tans faster as a result. Adequate fluid intake is also important for this. That’s why you should drink at least 2 liters of water a day.

Never do without sun protection

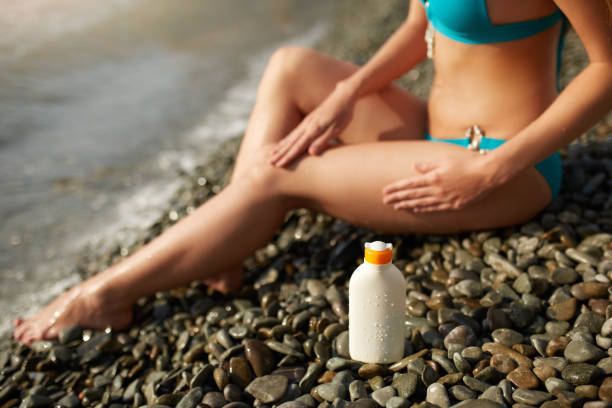
It doesn’t matter how quickly you want to tan – sufficient sun protection for the skin is essential. Sunscreen will make your tan more slowly, but your tan will last longer. In addition, without sunscreen with UV protection, you risk sunburn. And avoiding sunburn is a top priority. If such a thing does occur, you should treat sunburn effectively.

Use self-tanner

Anyone who cannot tolerate the sun or has no opportunity for sunbathing can use special self-tanners. For this, however, your skin must also be supplied with sufficient moisture, otherwise unsightly stains can form. So make sure you spread the cream evenly. Spots can form, especially in rough areas such as elbows. It is best to use a scrub beforehand.

Tanning spray for the body

Many now offer tanning for the entire body. Here the body is sprayed with a so-called tanning spray, which gives the skin a bronzed complexion. The good thing is that tanning and self-tanners are completely harmless to the skin and can be used safely.

Use tanning accelerator

If you want to tan as quickly as possible, you can use a tanning accelerator before sunbathing. You simply apply it like a normal skin cream. If you would like to increase the tanning effect a little, you can cheat and use a little bronze shimmer or bronze powder.

Tanning pills to get a tan

Some manufacturers promise a quick tan with so-called tanning pills. However, these pills usually only contain a high proportion of beta carotene, which you can also add to your body through a conscious diet. So before you decide on tanning pills, you should check how they work.

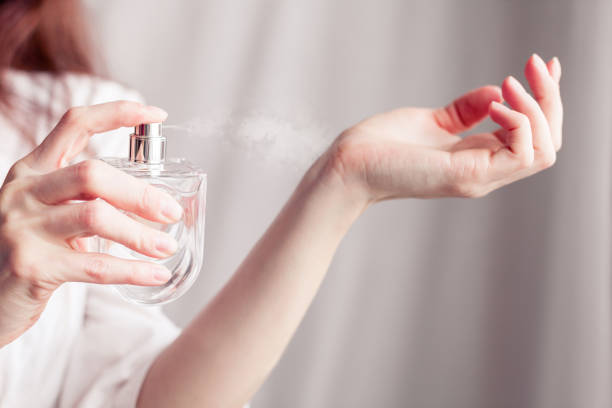
Now simply make an individual perfume yourself and do without harmful fragrances. With natural ingredients, you can conjure up your own scent according to your taste and match your own body odor. Scent test helps to determine your scent type.

Good reasons to make your own perfume

We have found out for you how you can easily make your own individual perfume yourself. Because most perfumes often contain many chemical substances that are not good for the body or the skin. It is also the case that some of the ingredients in perfumes can trigger allergies, which is why fragrances should be increasingly regulated.

That’s why it’s best to create it yourself and avoid harmful substances. Some people also feel disturbed by the many fragrances in perfumes, air fresheners, and detergents. They then complain of breathing problems, migraines, or other health problems. We will show you how you can easily make your own perfume with just a few ingredients and how you can determine your fragrance type beforehand.

Determine the type of scent with a scent test

A good perfume has several advantages: it makes you feel more comfortable in your own skin and the different scents can influence your mood. However, it is not so easy to find a suitable perfume. But a scent test can help you to determine your scent type. The following selection criteria play an important role here:

  • The season. If you buy a perfume in summer, you should choose a light, fresh scent. Because wearing a heavy and warm perfume in the hot summer is not only uncomfortable for your own nose.
  • Lifestyle is a good guide. Because those who do a lot of sport prefer a light scent; elegant and classic women often feel comfortable with a warm fragrance that underlines their personality.
  • Age is another influencing factor. Young women generally prefer light fragrances, while they can get heavier with age. While a mature woman gets a youthful touch with a fresh scent, a warm and woody scent usually has a confusing effect on a teenager.
  • Your own body odor is decisive. Because every person has their own individual body odor, which together with perfume results in a personal composition. What smelled delicious on your best friend can lose its appeal on your own skin.

Basic knowledge about making perfume yourself: The perfume structure

Basically, you can imagine the structure of the perfume as a pyramid. The individual components can be divided into different grades. A distinction is made between three different scents. There is the base note, the heart note, and the top note. In order for the smell to be perceived as fragrant, the three fragrance phases must be harmoniously coordinated. Accordingly, these form a “pyramid” from the base to the top note.

Choosing the right scents for making your own perfume

There are different scents that you can use when making perfume yourself. The variety of scents is often confusing. So that it still works when choosing the right note, we have listed some fragrances and the associated fragrances for you. As a result, you will also be able to neutralize bad smells.

  • Floral scents: rose, jasmine, tuberose, lily of the valley, geranium.
  • Citrus scents: lemons, orange, bergamot.
  • Woody scents: sandalwood, cedar, patchouli.
  • Oriental scents: ambergris, musk.
  • Chypre scents: oakmoss.
  • Smoky scents: tobacco, incense.
  • Lavender forms its own fragrance family.

Make your own perfume with the right accessories

It is recommended to make your perfume from 20% base notes, 50% heart notes, and 30% top notes. It is important that you do not mix too many dominant scents together (maximum 3-4). Since the scents are usually not enough, carrier oil is used. Jojoba, almond, or grapeseed oil are often used for this. Also, note tips for making room fragrances yourself.

Then the oil forms a so-called starting point. The fragrance notes are instilled into it. But since oil does not bind, you have to add another substance. You should choose a substance whose smell dissipates quickly, otherwise, the smell can be affected. Consequently, high-proof alcohol such as vodka (40%-50%) or spirits (80%) is good. For a simple perfume in alcohol solution you will need:

  • at least 3 natural fragrance oils,
  • 20 ml high-proof alcohol (cosmetic alcohol, spirit of wine, or ethanol),
  • a few drops of odorless oil, jojoba oil (online e.g. at **Avocadostore) or avocado oil,
  • dark glass bottle,
  • Perfume funnel made of metal (e.g. at Amazon),
  • Perfume atomizer for using the perfume.

Meditation works easier than you think

Meditative thinking is still. Not the stillness of a quiet evening. It is the stillness when the thoughts completely stop with all their images, their work, and their imaginations. Meditation means letting go, sitting still, breathing, letting go, relaxing, going, and letting it happen. Try it! Meditating is easier than autogenic training. Religion is not necessarily a requirement when meditating. Nevertheless, it is important to open up and keep both feet firmly on the ground.

A simple guide to meditating

  • When meditating, I sit down in a normal chair.
  • I put both feet firmly on the floor.
  • The back is straight, the head too as if a cord were pulling it up a little at the crown.
    At first, I fix my eyes on a point in space. It can also be candlelight, which I look at for a while to calm down.
  • Then I usually close my eyes and let my weight sink completely into the chair without buckling in the back.
  • From that moment on I only pay attention to my breathing. How the breath comes and my torso and stomach expand and how the breath goes again and I let the air flow out until the process repeats itself automatically.
  • With each breath, I breathe in calm and peace, and on the exhale I release what I want to get rid of.
  • When thoughts come, I allow them but don’t hold onto them.
  • I then slowly relax all parts of my body.

  • Start at the head and then slowly work your way down to your legs.
  • I also don’t forget small details like relaxing the tongue and jaw.
  • When I’m completely relaxed and not disturbed by external sources of noise, I enter a state of relaxation that is indescribably beautiful.
  • Inner images come to light, which appears in the form of colors and states and can no longer be grasped mentally.

Pine nuts are a popular salad topping and a popular ingredient in pesto and co. Pine nuts become particularly aromatic when you roast them. We’ll show you how it works.

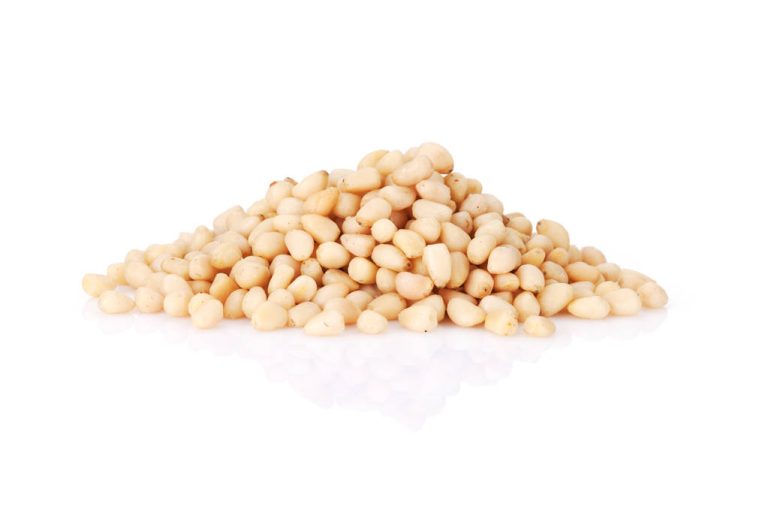
Pine nuts have a very special aroma that gives many dishes a unique touch. Cultivation and harvesting are mostly done by hand. Pine nuts from the European Mediterranean region are often more expensive than products imported from China or Korea.

For the sake of the environment, we still recommend pine nuts from the European Mediterranean region, for example from Spain, Portugal or Turkey. These have a much shorter transport route behind them and often taste more intense. You can recognize pine nuts from Europe by their drop-like shape. Kernels from Asia, on the other hand, are elongated and narrow.

You can toast pine nuts in a pan or in the oven. Here you can find out how it works very easily.

Roasting pine nuts: This is how it works in the pan

Put the pine nuts in a pan without adding fat. Distribute the cores so that they are not on top of each other.
Set the stove to medium-high and turn the pine nuts several times to avoid burning them.
As soon as the pine nuts are slightly brown and smell pleasant, you can remove them from the pan.

How to roast pine nuts in the oven

Scatter the pine nuts on a grease-free baking sheet.
Set the oven to 160 degrees and put in the pine nuts.
After 10 to 15 minutes, you can take out the seeds.
Let the pine nuts cool on the baking sheet.
Roasted pine nuts are a delicious topping for salads and go well with pasta sauce and pesto. Couscous salad and various vegetable dishes are also rounded off with the delicious aroma of pine nuts.

Pine nuts not only taste delicious, but also have a lot of important vitamins and minerals. In addition to vitamin B1 and vitamin B2, they contain large amounts of iron and magnesium. They are also rich in phosphorus and the trace element zinc.

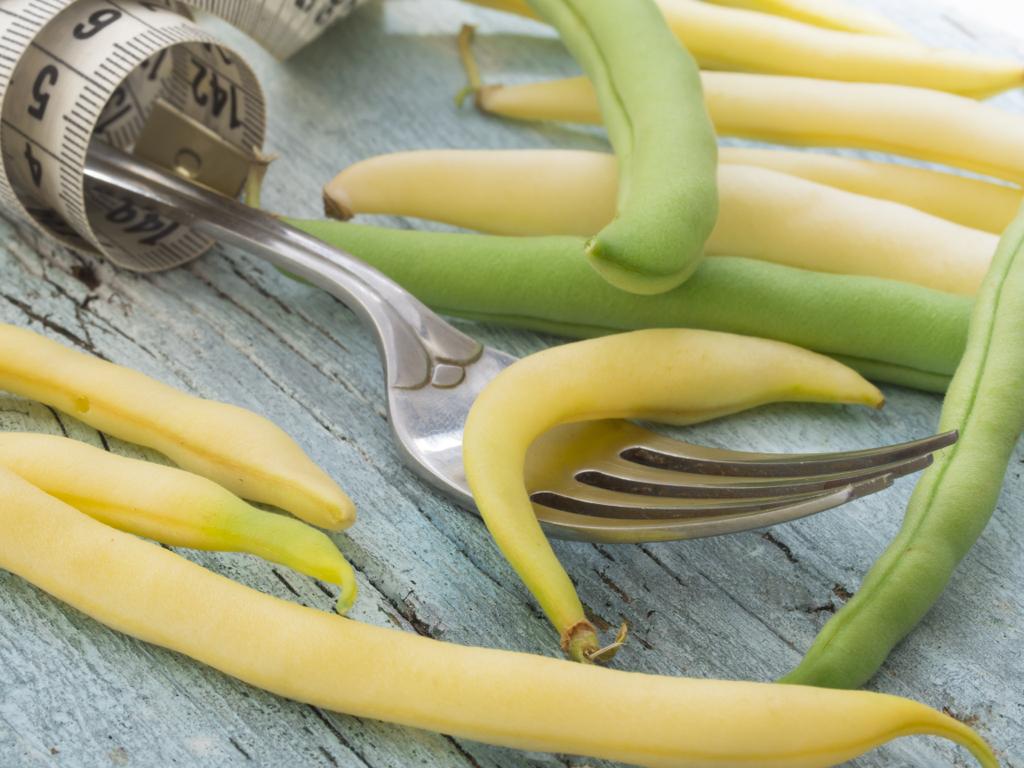
From July to the end of September you can buy fresh beans at the market or harvest them in the garden. We explain how you can blanch the vitamin-rich vegetables.

Beans are delicious, versatile and very healthy. In addition to protein, they also contain important vitamins and minerals such as vitamin C, vitamin A, iron and magnesium.

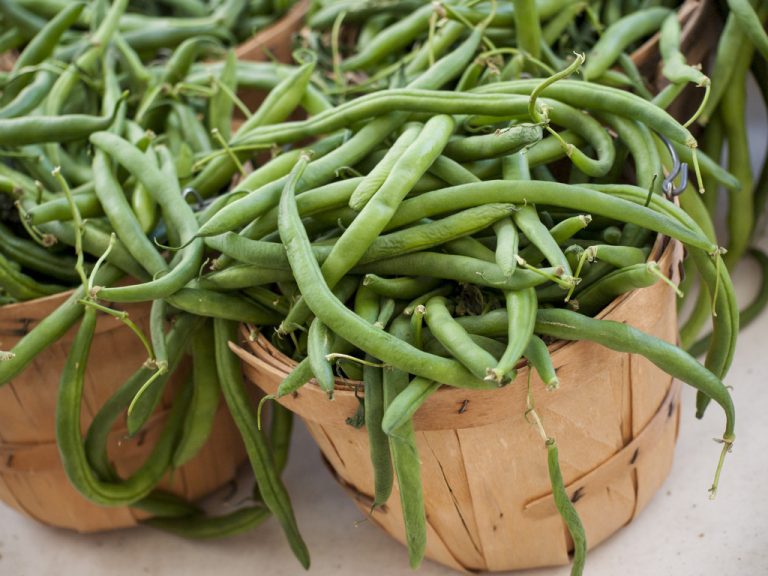
You can harvest beans from July to the end of September or buy them locally at the market. Fresh beans are crisp, firm and intensely green. But what can you do if you have more beans in the garden than you can handle? Fresh beans only keep for three days, even in the fridge. One option is to freeze the beans. This makes them durable and you can also use them out of season. But before you freeze them, you need to blanch the beans.

Blanching beans: the preparations

Wash the beans thoroughly with hot water.
Remove the end and the base of the stem with a knife. If the beans are very long, you can cut them in half. But that is optional. This will make it easier for you to process them afterwards.

Blanching beans: this is how it works

Bring enough water to a boil in a saucepan. The amount of water should not exceed 2/3 of the pot, otherwise there will not be enough space for the beans.
Meanwhile, have a bowl of ice water ready. Add some ice cubes to the water.
Once the water is boiling, add the beans to the pot.
Leave the beans in the boiling water for 3 to 4 minutes. If you prefer something softer, wait about 7 to 10 minutes.
Then scoop the beans out of the water with a slotted spoon.
Now put the beans directly into the ice water. This interrupts the cooking process and the beans stay crisp.
Leave the beans in the ice water until cool. After about three minutes, you can take them out of the water with a sieve and let them drain. If you want, you can also gently pat them dry with a cloth.

Process blanched beans

After you blanch the beans, you can freeze them. They will keep like this for up to a year. The beans taste great as an accompaniment to potatoes, in salads or casseroles. But the beans also make a delicious and healthy meal in a vegetable pan or simply tossed in a little fat.

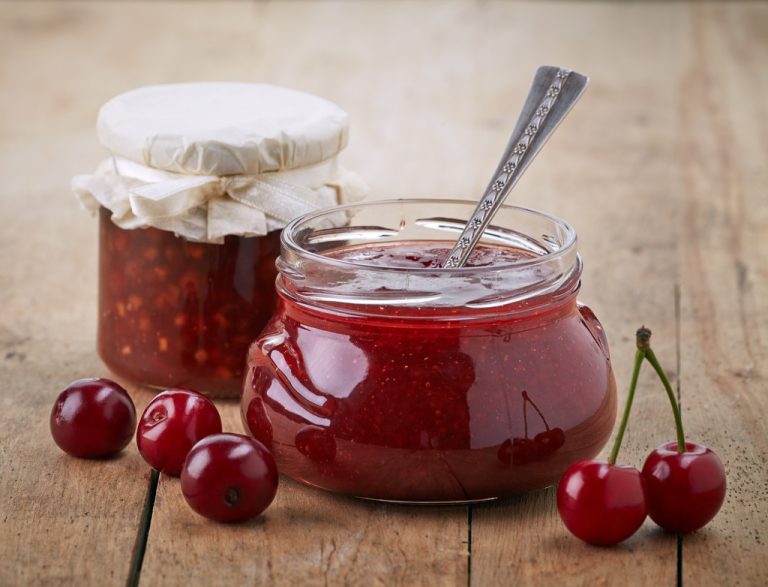
If you want to make jam or preserve fruit yourself, you should definitely sterilize your jars beforehand. We’ll show you three easy ways to get them germ-free fast.

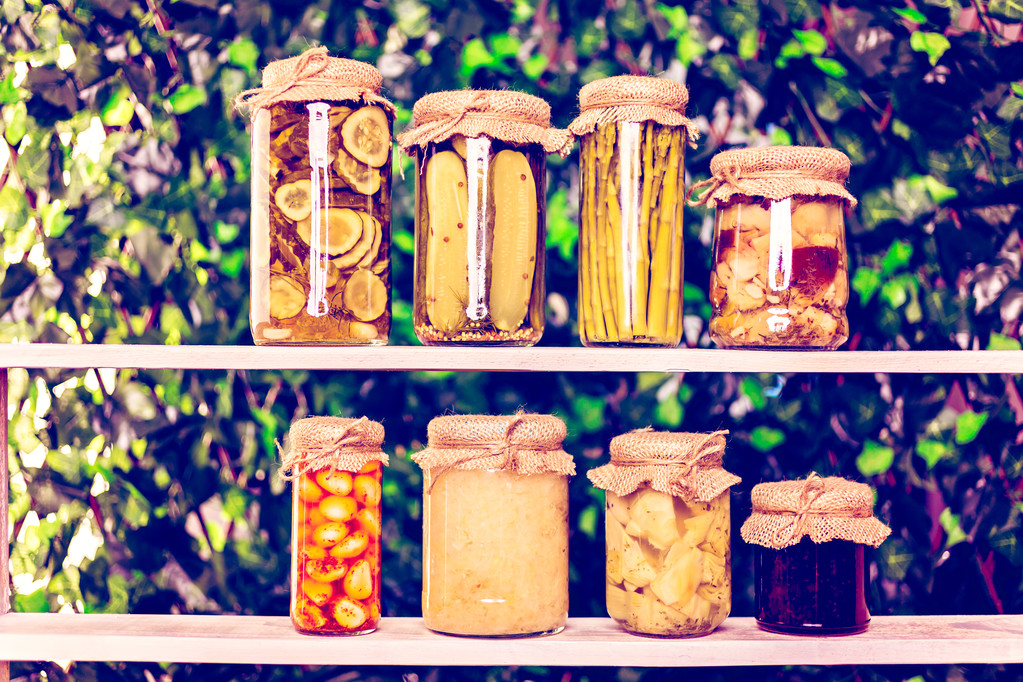
If you want to try your hand at making jam or preserving fruit and vegetables, you can’t avoid using mason jars. You don’t have to buy these again – just collect your old jam jars, vegetable jars and other screw-top jars.

Before you reuse these jars, it’s important to rid them of any germs. Otherwise you risk that your filled compote etc. will become moldy or go bad. Glasses are sterilized with the help of heat, i.e. germs and bacteria are killed. Below we present three simple methods of how this works.

Sterilize jars in boiling water

The first variant is also the most well-known method of sterilizing glasses. All you need is a large pot.
Pour water into a large pot.
Place the open jars and lids inside. The glasses must be completely covered by water.
Bring the water to a boil and let the glasses boil in it for ten minutes.

Sterilize jars in the oven

You can also sterilize glasses in the oven. This is useful if you want to clean a lot of or large glasses. You do this as follows:
Rinse the glasses with hot water first. For example, pour water from the kettle over them.
Then place the jars in the oven. Caution: You should not put the lid down with you. These are only sterilized with hot water (step 1).
Then set your oven to around 130 degrees Celsius and put the jars in for 15 minutes.
Then let it cool down first or take it out of the oven with gloves on.

Sterilize glasses in the dishwasher

The third and last variant is also suitable for a larger number of preserving jars. What do you need for this? Just your dishwasher!

Put the glasses in your dishwasher like normal dishes. You put the lids in individually.
Choose the hottest level of the machine and start the program. You don’t have to add dishwashing detergent or dishwasher tabs.
Remove the glasses after the round and fill them up as quickly as possible.

Important: The preserving jars must be alone in the dishwasher. You should not put other dirty dishes in it.

Also: No matter which variant you choose – you should always clean the glasses immediately before filling them. This guarantees sterility.

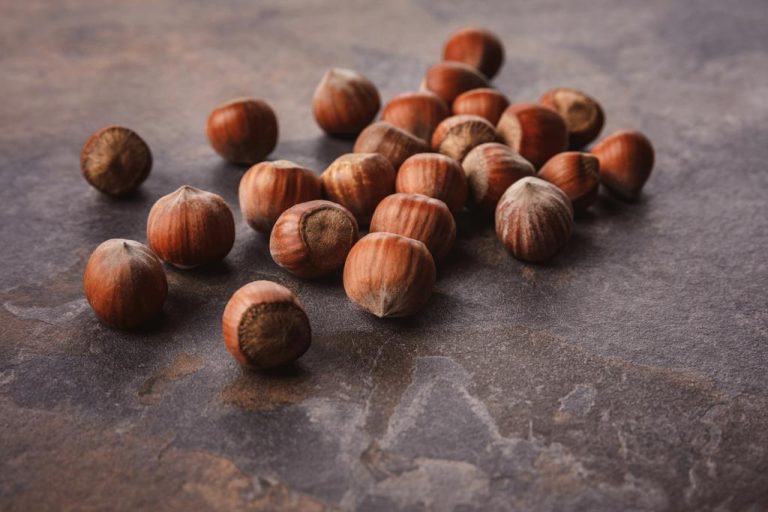
We’ll show you how to easily roast hazelnuts in the pan and in the oven. This is how the nuts unfold their full flavor – and become a delicious snack.

Hazelnuts are in season from September to December. They are a healthy supplier of energy, contain many B vitamins and unsaturated fatty acids. They also contain important trace elements such as iron, zinc and calcium.

This also applies to roasted hazelnuts: when you heat them, the healthy ingredients are only slightly changed and are not completely lost.

Roasted hazelnuts can be found in many autumn and Christmas recipes – from cookies to chocolate to liqueur or hazelnut butter. You can buy them pre-roasted at the supermarket. However, we recommend that you simply roast the delicious nuts yourself – this way you save on plastic packaging and sometimes also CO2, which is emitted on long transport routes.

Maybe you have a hazelnut bush in your garden or you can buy hazelnuts in an organic shop or get them from a farm near you. It is best to use a jute bag to transport them.

How to roast hazelnuts in the pan

To roast hazelnuts at home, you can use a simple frying pan. Proceed as follows:
Crack the shells of the hazelnuts, for example with a nutcracker.
Put the hazelnuts in a pan without fat. Portion them so that they are not on top of each other.
Place the pan on the stove over medium-high heat.
Roast the hazelnuts for about 7 to 10 minutes. Stir regularly so that nothing burns.
Take the hazelnuts out of the pan.
Tip: If you want, you can now easily skin the nuts by wrapping them in a cloth. If you rub the nuts together in the cloth, the skin will almost come off by itself.

If you don’t want to use the nuts right away, you should let them cool down and put them in a sealable container. Store them in a dark, cool place. This keeps the roasted hazelnuts for several months.

Roasting hazelnuts in the oven: this is how it works

Alternatively, you can roast the hazelnuts in the oven.
Crack the hazelnuts.
Spread the hazelnuts on a baking sheet. Again, they should not be on top of each other.
Place the hazelnuts in the oven at 180 degrees top/bottom heat for eight to twelve minutes. (Tip: If you want to save energy, don’t preheat the oven. Put the nuts in the oven right away and just let them toast a few minutes longer.)
Check regularly to see if the nuts are ready – this will prevent them from burning. They should be brown in color and smell nutty.
Remove the hazelnuts from the oven and then from the baking sheet. Let them cool down and then put them in a sealable container.

Cleaning mushrooms requires a little finesse. We’ll tell you how you can get rid of the dirt particles on the popular mushrooms and what you should look out for when buying them.

Clean mushrooms carefully!

Mushrooms are an all-round ingredient. For example, they can be used to conjure up delicious mushroom pans and soups. But bought or collected mushrooms sometimes show slight soiling and soil residue. That’s why you should clean your mushrooms before you use them in the kitchen. You should keep these tips in mind:
Mushrooms are very delicate mushrooms. Store-bought mushrooms are not always dirty. So it is enough to clean them with a brush or cloth.

Do the following:
Hold the mushrooms by their stems so you can gently brush the dirt off the head from top to bottom.
Then use a brush to remove coarse dirt from the underside of the head and the handle itself. Tip: If the dirt cannot be removed, you can sprinkle the brush with a few drops of water.
At the end you can rub the fungus again with a cloth. This is how you clean the mushroom from finer dirt residues or dry it.