Tag

instructions

Browsing

To fillet oranges, all you need is a sharp knife and a little finesse

Filleting oranges: Roughly cut off the peel

Before you start, you should wash the outside of the orange with hot water – this also applies to organic oranges. This prevents you from transferring possible germs and pollutants from the shell to the inside. Then you can fillet the orange. You don’t need a special filleting knife for this – a sharp kitchen knife will do.

1. Cut off the top and bottom of the orange, revealing the flesh.

2. Then remove the entire peel piece by piece by cutting slightly round downwards.

Tip: You don’t have to throw away orange peels. Instead, you can continue to use them in a variety of ways, for example as a rinse aid substitute, for skin impurities or as a tea.

Fillet oranges: remove the remains of the peel

3. Carefully remove the remaining pieces of white shell with the knife.

Tip: It’s best to hold the orange over a bowl while you’re doing this to catch any escaping juice. You can either drink it later or use it for desserts or sauces.

Filleting oranges: Scoop out the flesh

4. Carefully drive the knife into the flesh next to the fine dividing wall. Cut deep enough to be able to separate the piece in the next step. Be careful not to accidentally cut into other pieces, though.

5. Remove individual pieces of orange by cutting along the divider on the other side as well.

6. Repeat steps 4 and 5 for all other pieces.

You can use the tender orange fillets for delicious desserts, for example, or bake them in a fruit tart. You can also fillet other citrus fruits, such as lemons or grapefruits, in this way

A base bath helps you to detoxify and release excess acids through your skin. So why not take an alkaline bath more often? Unfortunately, finished alkaline baths are much more expensive than the conventional bath additives on the market. But you don’t have to do without the health-promoting effect of such a bath.

Because there is an inexpensive alternative way to enjoy an alkaline bath. You can make your own bath from sea salt and baking soda at home with our instructions for making a base bath yourself. A great beauty idea for all health-conscious and frugal people.

The soothing alkaline bath

The alkaline bath is a blessing for everyone and promotes our health, as it gently influences the acid-base balance of the human body. On the one hand, it can strengthen your skin’s protective acid mantle and, thanks to the anti-inflammatory effect of the sea salt, soothe inflamed or reddened areas of the skin. On the other hand, baking soda as a natural household remedy as a bath additive leads to a high pH value in the bathwater.

In addition, after about half an hour of bathing, the elimination process of your skin is stimulated and your body easily deacidifies excess and harmful acids while you are bathing. The baking soda also stimulates the skin’s sebum production. After the bath, your body gets rid of harmful acids and your skin feels nice and soft thanks to the alkaline skincare. If you are prone to dry skin, we recommend the alkaline bath as it is something you can do with dry skin. Such a bath is also good as a home remedy for cellulite. Have fun with our instructions on how to make your own alkaline bath!

How does an alkaline bath work?

An alkaline bath works through the so-called bathing osmosis. Bathing osmosis means the following: Osmosis is the law of balance. If two sides have different stats and there is a permeable wall in the middle, then the sides will exchange through the wall until the stats on both sides are balanced. In this case, the pH value inside your body is different than the pH value in the bathwater.

The wall between is your skin, which is permeable. Excess acids from your body are released into the bathwater through your skin since the pH value of bath water with baking soda is in the alkaline range of eight to nine. On the aguaris.com page, you will find a pH value table and explanations why the more minerals the water has, the higher the pH value, and why minerals are good and important for the human body. Then you can start with the instructions for making the alkaline bath yourself! The use of Schuessler salts can also help you to detoxify your body.

Alkaline bath diet

You can take an alkaline bath at home in your bathtub. Alternatively, you can also take an alkaline foot bath in a bowl, as the acids are also excreted through the soles of the feet. It is recommended to rub the skin with a massage glove or a massage brush every 15 minutes in order to stimulate the metabolism and thus promote bathing osmosis.

In addition, the connective tissue is better supplied with blood and stimulated. Accordingly, an alkaline bath is well suited to accompany weight loss. The baths, stimulate the metabolism, promote weight loss, and strengthen weak connective tissue. Losing weight is always about getting your metabolism going and feeling better and lighter. And that works very well with alkaline baths.

Application areas

The areas of application of the soothing bath are diverse. Such a bath is well suited both for regular body relaxation with bath additives in everyday life and for switching off after work. In addition, the alkaline bath is an excellent skincare product that makes your skin silky soft and stabilizes its protective acid mantle. Likewise, an alkaline bath is a true beauty bath.

It invigorates the skin by neutralizing the acids on the skin. It also stimulates your skin’s sebum production. Your skin is well supplied with blood and gets a rosy complexion. As a foot bath, the alkaline bath is easy to prepare, and used regularly will balance your acid-base balance. In addition, alkaline bathing of the feet is not only a remedy for foot odor but also a home remedy for athlete’s foot. The full baths generally help with unpleasant body odor, for which acidification of the body is often responsible.

Beware of the following ailments

If you have a heart condition, diabetes, or high blood pressure, talk to your doctor before you swim. To prevent circulatory problems, slowly increase your bathing time and start with half an hour once a week. Once you’re used to the baths, you can extend the bath time to several hours and take two to three baths a week. Foot baths are possible daily as a cure.

Conventional bath additives or washing substances should not be used, as they can penetrate the wide-open pores of the skin with all their chemical additives and cause damage there. In addition, only deodorant without aluminum should be used after the bath for the same reason. The alkaline bath is not dried off but dries on the skin in order to achieve its full effect. In order to be able to enjoy deep relaxation at home after a bath, stress after a bath is taboo.

Instructions and useful tips for cooking asparagus properly. The asparagus season has begun and with it the preparation of the most delicious dishes. But who does not know that the popular delicacy is too woody after preparation or simply not tender enough? Even if the preparation of asparagus seems very easy at first glance, you should pay attention to a few things. With the right knowledge, the preparation of the delicious vegetables is very easy.

Peel asparagus like the pros

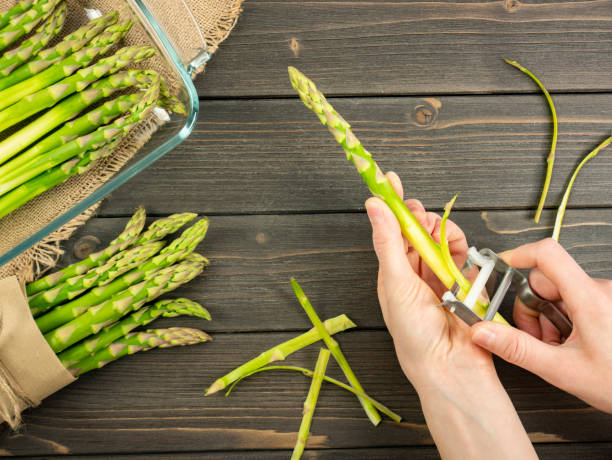
Of course, asparagus should be peeled before cooking, unless you opt for the slightly more expensive option, namely the tender asparagus tips. First of all, the asparagus is washed and placed on a dry cloth. This makes it easier to peel during further processing.

Now the asparagus is carefully peeled with a paring knife. You should make sure that the shell has been removed all around. If the asparagus is not peeled cleanly, it can taste woody very quickly.

When buying, you should make sure that the interface at the lower end of the asparagus has not dried out. Nevertheless, the lower piece is cut off about one centimeter during processing, because this is usually a bit woody.

  1. Wash the asparagus spears.
  2. peel carefully with a paring knife.
  3. Cut off the ends of the asparagus about a centimeter.

Cooking and preparation of asparagus

If you don’t have a special asparagus pot, a simple saucepan that is closed with a lid when cooking will do. To get the asparagus out of the saucepan later without any problems, you can hold the spears together with a piece of string before cooking, which can be easily removed later. This in no way affects the cooking process. Only a little water is needed for cooking so that the asparagus is just covered with it. Now add a pinch of salt. Add a little knob of butter if you like. This once again underlines the delicate taste of the asparagus.

With white asparagus, it is advisable to add some lemon juice to the vegetables. In this way, the light color of the asparagus is preserved. To bring out the flavor, even more, you can add a pinch of sugar during cooking.

  1. Bundle asparagus
  2. Cook in salted water
  3. Season with butter and a pinch of sugar

Ideal cooking time for asparagus

After about fifteen minutes, the vegetables are done. If you are not sure about this, take an asparagus spear out of the top and check if the asparagus bends. In this case, it is done or you simply taste a piece of it. Hollandaise sauce is particularly popular with asparagus dishes. Green asparagus can also be refined with a little garlic. The asparagus water can still be used, for example in aromatic vegetable soups.

You can roast sunflower seeds in the pan or in the oven for a delicious and healthy snack. We will show you what options there are and what you should pay attention to when preparing them.

Roast sunflower seeds: The seeds go particularly well with this

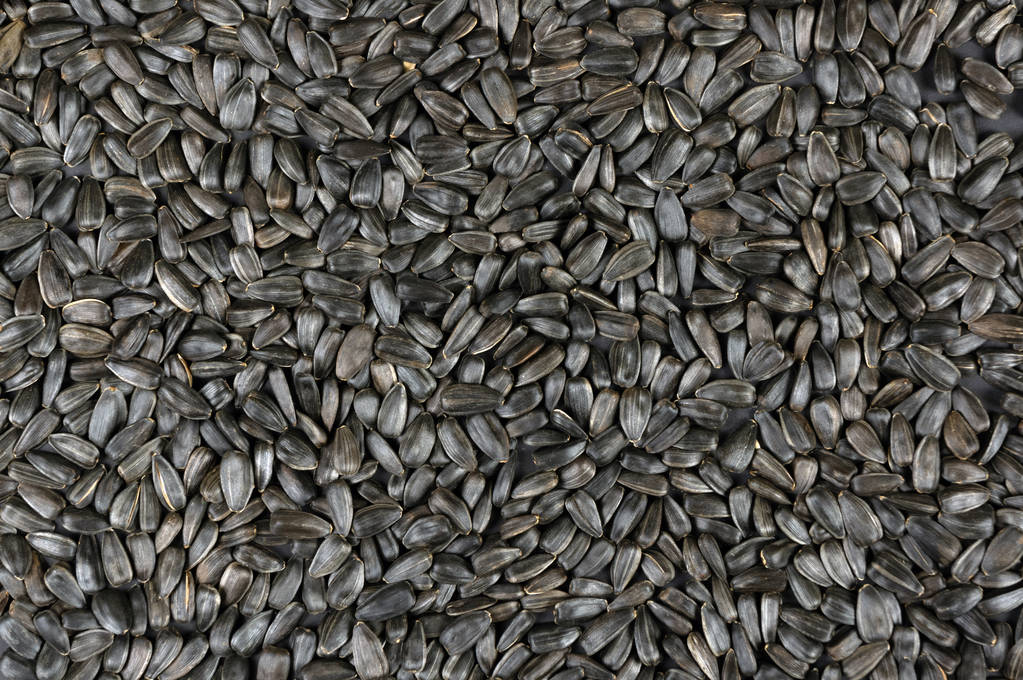
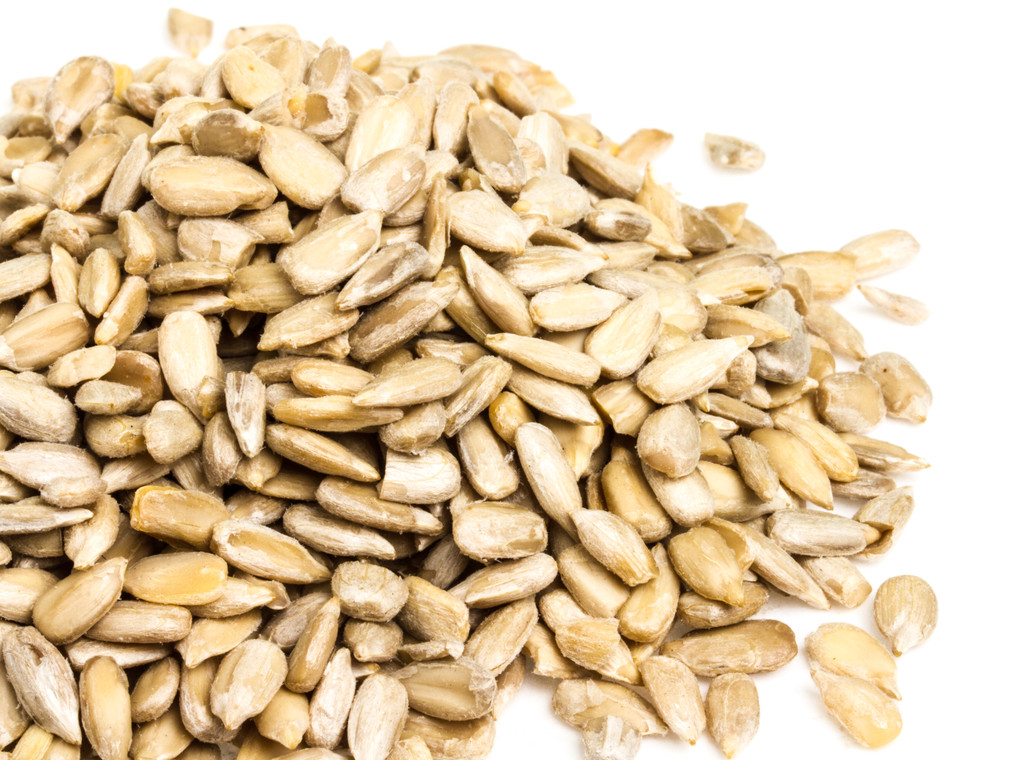
Sunflower seeds are known to contain a lot of unsaturated fatty acids. They are also rich in vitamins and provide valuable fiber. This makes them a healthy snack that you can eat raw or roasted. If you roast the sunflower seeds beforehand, their nutty taste will develop even better.

The roasted sunflower seeds taste particularly good in salads, as a topping in soups or in muesli in the morning. They are also suitable as an ingredient in bread and biscuits or as a basis for homemade pesto. Roasting the seeds not only develops a stronger aroma, they also have more bite.

Roast sunflower seeds: Fat-free in the pan

The quickest way to roast sunflower seeds is to heat them up in a pan. A coated pan works best for this. This means that the sunflower seeds are less likely to burn during roasting.

Place the pan on the stove and heat it on high.
Add the sunflower seeds to the heated pan and turn the heat down to the lowest setting. The kernels only need a few minutes to finish roasting.
Swirl the sunflower seeds around as you toast them, being careful not to burn them.
The kernels are ready as soon as they are slightly brown in color and smell aromatic.

Roast sunflower seeds with oil

If you don’t have a non-stick pan or want to add spices, you should also use some oil to roast the sunflower seeds.

Put a tablespoon of oil in a pan and heat it on high. Use sunflower oil, for example: it has a high smoke point.
Add the sunflower seeds and toast them over low to medium heat for a few minutes until golden brown.
Swirl the sunflower seeds regularly while toasting or spread them out with a spatula.
Finally, you can season the roasted sunflower seeds with a little salt and spices.

Roasting sunflower seeds: This is how it works in the oven

If you want to roast a larger amount of sunflower seeds, it is best to use the oven. This method works like this:

Preheat the oven to 175° C top/bottom heat. Tip: If you want to save energy, you can also do without preheating. Simply roast the sunflower seeds a little longer.
Spread the nuts out on a baking sheet lined with parchment paper. Make sure that the cores are not on top of each other.
Put the tray in the oven and roast the sunflower seeds for a few minutes. Turn them occasionally so they can brown evenly.
Tip: You can store roasted sunflower seeds in an airtight container for a few days, but they lose their aroma very quickly. They taste best freshly roasted.

Roasting sunflower seeds: delicious variations

For a special touch, you can season the roasted kernels with spices and other ingredients. Here you can find some ideas:
Sweet and hot sunflower seeds: When roasting the sunflower seeds, add one or two teaspoons of sugar and add some chili or cayenne pepper at the end. If you only want to add spices, it is best to heat the kernels in some oil.
Caramelized Sunflower Seeds: For this sweet twist, add 1-2 teaspoons of sugar or honey to the pan and let the seeds caramelize in it. A pinch of salt completes the aroma.
Add other nuts and seeds: If you’re toasting sunflower seeds, you can add other seeds like pumpkin and pine nuts if you like. Different types of nuts are also suitable.

Tips and instructions for making popcorn yourself at home. The best tricks and popcorn recipes for making popcorn yourself in a pot on the stovetop.

Popcorn is popular and delicious when a long evening of TV is imminent or a snack is missing for the party. And without much effort and fuss, this delicious treat can be prepared very quickly at home.

Tips for making popcorn yourself

Below are the best tips and tricks on how to quickly and inexpensively prepare popcorn that is tasty and fresh. Great cooking skills and complicated ingredients are not required for this. You need dried corn kernels, some cooking oil, and, depending on your taste, sweet or savory ingredients. No special machine or device is required other than a regular saucepan with a matching lid and a stovetop. And if you don’t have a cooking pot at hand, you can also prepare the popcorn in a pan with a lid.

How is popcorn actually made?

Popcorn is made from corn kernels. The corn kernels contain water and also some oil. If the corn kernels are now heated in the pot, these components change. From the liquid water and oil version in the grain, the components suddenly become gaseous. The corn husk breaks open due to the heat input. And with this small popping up, each individual kernel of corn automatically expands and the popcorn is ready.

In order to get a good result quickly, a pot temperature of around 180 degrees Celsius is required. Then the corn kernel shell tears open and water vapor escapes from the corn kernel. The corn starch gets out of the grain and offers a well-known popcorn shape.

Easy popcorn recipe for everyone

For the basic popcorn recipe, put some cooking oil in a saucepan. A small amount of cooking oil that wets the bottom of the pot is sufficient. Then put the corn kernels in the oil. Then you should definitely put a suitable lid on the pot. This is necessary so that the finished popcorn does not pop out of the pot when it pops up.

Then turn on the stove and heat the pot until a little over half the corn kernels have popped up. Most of the time, the grains pop up very quickly. For this reason, it is better to stay at the stove. After popping up, you should immediately turn off the heat supply. You must immediately remove the finished popcorn from the stovetop so that it does not burn in the hot pot.

Make sweet or savory popcorn yourself

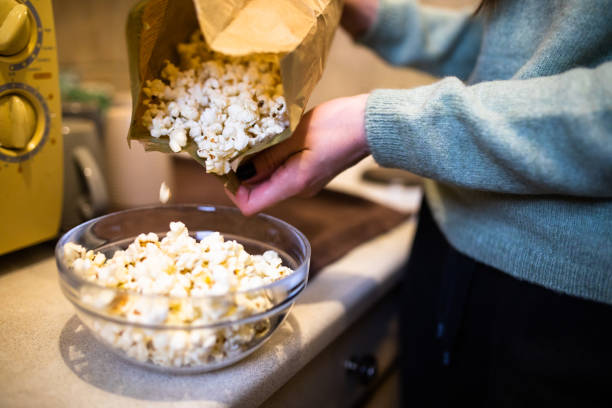
Depending on your taste, the finished popcorn can now be seasoned. Mostly sweet variants with sugar are chosen. But hearty seasoning, for example with paprika, chili, tomato, or curry, is also possible and popular. It is important that the popcorn is still warm when it is seasoned. This way, the selected ingredients stick better to the popcorn.

A little tip for the slimline

The popcorn can be prepared very low in calories. If, for example, a coated pot is selected for the preparation, then no cooking oil needs to be added. The corn kernels pop up even without the addition of fat. However, the popcorn should also be seasoned heartily. Because all sweet variants with sugar or caramel contain a lot of calories.

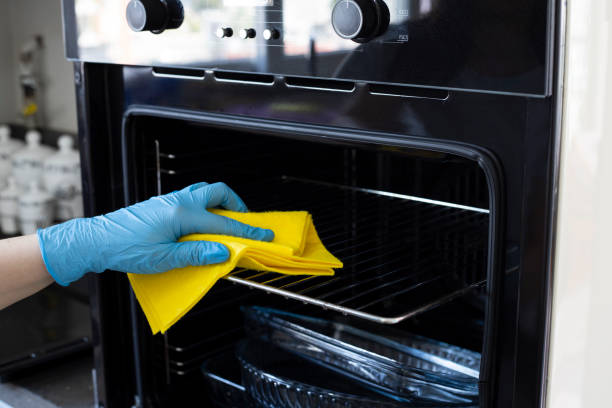
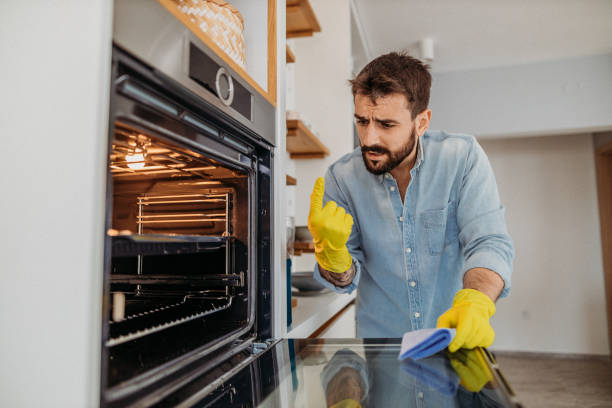
A clean oven not only ensures more hygiene but can also significantly increase performance. A dirty oven is not able to show its full heating capacity. Cleaning the oven is, therefore, a very sensitive matter, which can also save electricity.

Cleaning the oven is not only important for hygiene but can also help to save electricity. For this reason, it makes sense to thoroughly clean the oven once every 2 to 3 months. It’s worth taking a little time to clean the oven, as you can loosen even the most stubborn dirt so that bacteria and germs don’t stand a chance.

You need this to clean the oven

Cleaning the kitchen also includes the proper cleaning of the oven. In order to be able to clean the oven, you can consult a whole handful of tools. The best way to do this is with oven spray. This cleaner has been specially developed to make oven cleaning quick and effective.

The spray can even loosen stubborn dirt and encrustations, which prevents bacteria from accumulating any further. This enables significantly better hygiene. It is advisable to clean the oven regularly. How often you have to clean the oven naturally depends primarily on how it is used. However, it is recommended to clean the oven at least once every 3 months.

1) Clean the preparation in the oven

As everywhere, preparation is half the battle. In order to be able to effectively remove dirt from the oven, you should first remove all the trays. This is the only way you can really reach every part of the oven if you want to clean the oven. It is recommended that you clean the sheets at the same time at this point. In addition, note important criteria for buying an oven, because ovens with a self-cleaning function help you with your work.

2) The application of the oven spray

Before you can use the oven spray, you have to shake it well first. Next, you can easily distribute this to the areas in the oven that need to be cleaned. It is important that you distribute the oven spray evenly. This is the only way it can develop its full power. In the case of heavily soiled ovens, it makes sense to apply the layer a little thicker. Next, let the spray sit for a few minutes.

There are products that only work effectively at a certain temperature. For this reason, it may be necessary to heat the oven to around 50 degrees. However, this depends on the spray used. Therefore, one must study the application instructions carefully before use. Over time, the cleaner should discolor slightly. Here you have to pay attention to a slight brown coloration. If this is the case, you can be sure that the oven cleaner works. In addition, the oven can also be cleaned with household products such as baking powder. Home remedies help to remove bad smells in the oven.

3) Remove Oven Spray

If you have given the oven cleaner enough time to take effect when cleaning the oven, you must free the oven from the foam again. A rag or damp cloth is best for this. It is important that you really remove the foam from all places in the oven, as this should under no circumstances come into contact with food. In addition, unpleasant odors can occur the next time the oven is heated up if all the residue of the oven cleaner has not been removed. It is advisable to rinse the rag several times with water during wiping.

4) The conclusion

Finally, you take another look into the oven to check whether all the dirt has really been removed. If there are still impurities, you can easily repeat the cleaning process several times if you want to effectively clean the oven. If the oven is clean, you can push all the racks and baking trays back in and the oven shines in new splendor.

Important tips for cleaning the oven

  • The exposure time of the oven cleaner must be taken into account. It is therefore advisable to take some time to clean the oven. As a rule, you should plan for about an hour.
  • The more regularly you clean the oven, the less dirt there is. It is therefore advisable to clean the oven once every few months, as this way it keeps the amount of work to a minimum.
  • The oven cleaner can be used not only for the oven itself but also directly for the inserts and trays. It is advisable to clean them at the same time.
  • Thoroughly rinsing the oven after cleaning is important so that the food does not come into contact with the cleaner and unpleasant odors can be prevented.

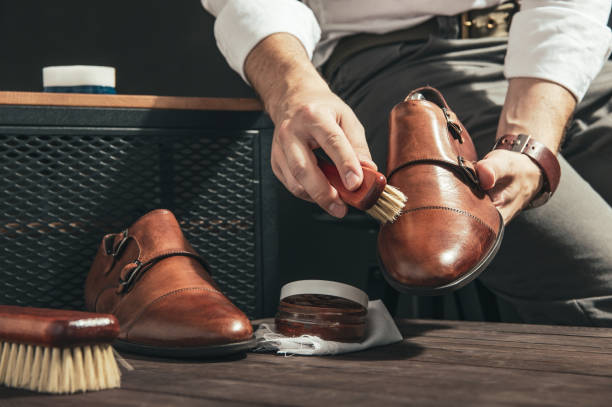
Finally, clean, well-groomed, and durable shoes can be shined in simple steps explained here with a few Learn guide tips and home remedies.

Clean shoes are part of a well-groomed appearance and make a significant contribution to the first impression, for example at a job interview. Unfortunately, very few people know what to look out for when cleaning and caring for shoes.

Clean shoes properly

In this article, you will get tips and step-by-step instructions for beautiful shoes. First of all: the right shoe care set In order to properly clean and care for your shoes, you need the right products. Then you can not only clean the shoes but also widen your tight shoes if necessary.

1) Remove coarse dirt with the dirt brush

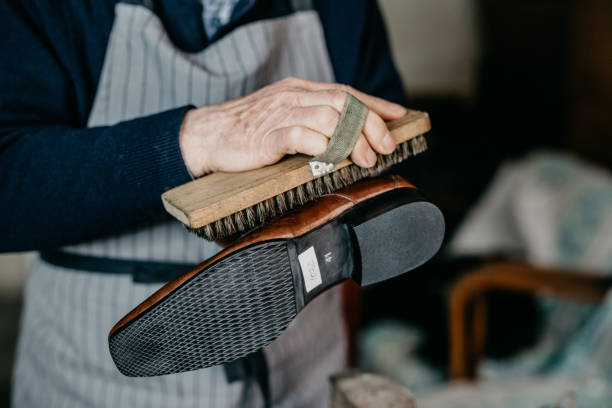
At least one dirt brush should not be missing in any shoe care set. If possible, the bristles should be made of pig bristles or cattle or ponytail hair. Agave fiber brushes are also popular. These are resilient, flexible leaf fibers from an agave species from South America.

2) Shoe polish for shine and care

For long-lasting, well-preserved shoes, the application of shoe polish is essential. Depending on personal preferences, you can use a colorless cream or one that matches the color of your shoe. If you don’t have any shoe polish to hand, baby wipes or greasy creams such as Nivea are just as good.

3) Brushes, sponges, or soft cloths to apply shoe polish

Depending on how many coloring shoes polishes you have, you need a separate application product for each shoe polish. This makes sense so that color irregularities cannot occur.

4) Shine brush or soft cloth to polish

For a nice shine after cleaning, we recommend using a horsehair shine brush for suede leather and a soft cloth for polishing smooth shoes.

Care and cleaning of leather shoes

Good leather shoes are usually not cheap. It is, therefore, all the more important to properly care for and clean them. A detailed YouTube video on this can be found below. In addition, the proper cleaning of patent leather should be observed.

We show how easy it is to make your own fabric softener. Let yourself be inspired by the easy production.

It’s not only interesting to make your own fabric softener, but it’s also often healthier. There are no hidden ingredients, the content is always known. We want to show you how you can make your own fabric softener.

The best for the senses

Homemade fabric softener is the best thing you can do for your senses. The laundry smells good, invigorates the senses, and also feels good. You do without harmful chemicals and can be even happier about your own fabric softener.

But it’s also good that you don’t just get the best out of your own senses in terms of feeling, smelling, and seeing. No, you also think about the environment. Because the chemical detergent pollutes the wastewater and thus also the environment. Allergic reactions can also be avoided, in adults and children. Not to forget that the homemade fabric softener is also much cheaper.

Make your own fabric softener

There are many home remedies that are not only inexpensive but also suitable for fabric softeners. Very simple and without having to do anything, the home remedy would be vinegar. Please no vinegar essence, this smells too strong and will not be easily removed from the laundry.

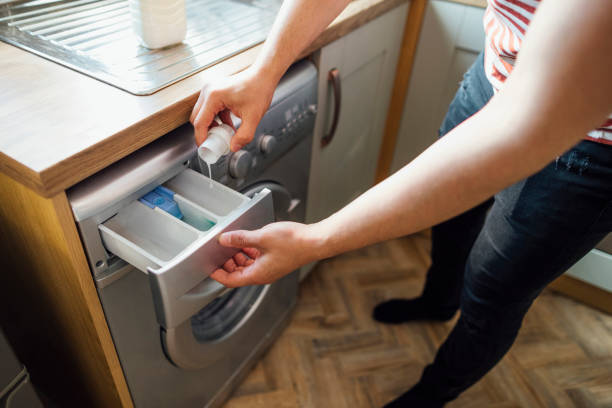
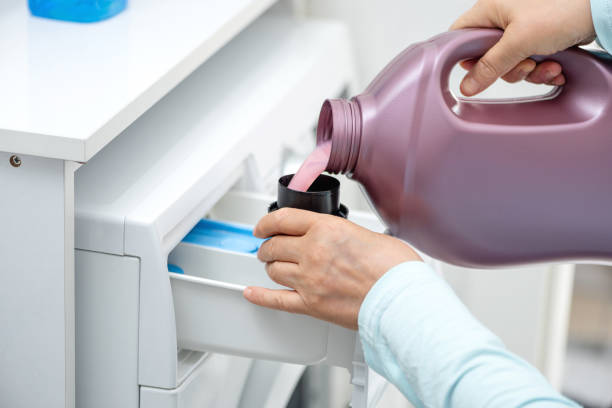
You simply use 30 ml of vinegar with a full washing machine. Put this in the fabric softener compartment and you will be amazed at how soft the laundry becomes. At the same time, you have found a good descaler for the washing machine. The laundry shines like never before, there is no longer a veil to be seen. The small amount of vinegar evaporates when drying, so this special fabric softener cannot be smelled.

Another fabric softener could be lemon. Lemon is especially good for light-colored laundry that you want to keep its color. Just squeeze a lemon and put 1-2 teaspoons in the fabric softener compartment. The bleaching effect is good for turning yellowed laundry white again and the laundry always smells nice like summer.

Another interesting fabric softener would be orange and lemon peels in a cloth sack. This is added to the laundry and simply washed with it. This softens the water, which is a good way to prevent limescale in the washing machine. The laundry smells very fresh and is much softer.

Essential oils as fabric softeners

So far it has been seen that a natural rinse can be used quickly, even if it’s domestic. It was also cheap. If you want to know another trick, you should know that essential oils are perfect as fabric softeners with a great scent. But be careful, if you have an allergic reaction, you should better avoid these oils. It is important that the essential oils are natural. They are simply added drop by drop to the washing powder. Homemade detergent alternatives can also be used.

Make chocolates yourself? Simple, tasty, with heart and soul. That’s how you spoil your loved ones. That’s how you spoil yourself. Clever chocolate recipes to imitate and try out.

In the following, you will learn everything that is important and useful for making chocolates. Why do they taste so good? How to make them yourself easily and simply. Which tips and tricks make the result even more satisfying and numerous tasty praline recipes.

Chocolates to indulge in

Making chocolates is already one of the supreme disciplines of hobby bakers and kitchen heroes. But it is also your pleasure. But it is not that difficult to want to make chocolates yourself. The nice thing about it is that pralines, in contrast to cookies, biscuits, cakes, and tarts, have a much longer shelf life and are edible. So you can let off steam in the kitchen for a whole weekend and always have small and romantic gifts for your loved ones and friends for the next few weeks. Have the courage to try. The tasty, delicious results come all by themselves. It is also a great idea for homemade gifts for Christmas.

Tools, materials, and basic equipment

If you want to make your pralines clean and tidy, you can’t avoid a praline grid and a praline fork. For the first attempts, a wire rack and fork will certainly suffice… but honestly? They are just stopgap measures that unnecessarily complicate work and make it less clean. With a praline fork and praline lattice, on the other hand, you can easily “ignite” any homemade praline. A pot for heating the couverture is also essential.

What’s inside?

If you talk about wanting to produce pralines, you are primarily talking about different fillings that are filled into hollow praline balls. At least these are the classic chocolates. This filling is called can ache and usually consists of lots of cream and couverture as the basic ingredients.

Then it depends on the respective taste. Because the ganache can be upgraded with any alcohol such as rum, whiskey, or Marc de Champagne, refined with special flavors such as pistachios, coconut flakes, coffee, chili, vanilla, or spiced up with fruit components made from raspberries or apricots. Depending on the flavor additive, the required amount of butter also varies. Because this determines the respective fat content of the praline.

Making chocolates – the mass makes the difference

In order for the praline production to be successful, you need a good base: the can ache. To ensure that this is correct, we have put together some important tips and tricks.

  • The mass hardens very quickly. We, therefore, recommend using an electric mixer to mix the individual ingredients. If you want to try it analogously with your own physical strength, you will quickly reach your limits. In addition, the result is not as creamy and smooth.
  • The color of the chocolate mass determines the intensity of the taste. The best indication of this is the dried chocolate on the edge. If it is very dark, the cocoa content is very high. The lighter the chocolate, the higher the milk content.
  • Sometimes the mass just doesn’t have the desired consistency. If you want to let your praline mass harden a bit, you can put the mass in the fridge. We recommend a minimum of 3 hours, but you can also stay overnight. Then whip the mass up again. This provides additional suppleness.

Shelf life of homemade chocolates

We often ask ourselves how long a praline can keep for so long. You can’t really say that with any certainty. First and foremost, the respective ingredients decide how long the praline can be enjoyed.

Keep in mind that most ganache contains cream. This limits the shelf life of the praline to a good two weeks. In order to guarantee this period, however, the praline must be stored at 15 to 18 degrees … preferably in the dark. In terms of taste, a reduction in the aromas can definitely be determined after two weeks.

Of course, it is also crucial that flawless ingredients are used and that work is carried out as hygienically as possible. The shelf life can also be extended in this way. Sterilization of the ingredients also increases shelf life. It is advisable to heat the cream just before its boiling point, instead of just heating it to 70°C, as many praline recipes recommend. But be careful: If you heat your cream to over 70°C, you lose taste … at least the flavor is changed. In return, you have less to worry about mold growth.

The alcohol content also determines the shelf life. The more alcohol the chocolates contain, the longer they will keep. Classic liqueur pralines can have a shelf life of up to 6 weeks. But here again: the taste diminishes over time. The best thing to do is to produce less and always ensure fresh supplies, then you don’t have to worry about shelf life … and you can try out many more new praline recipes.

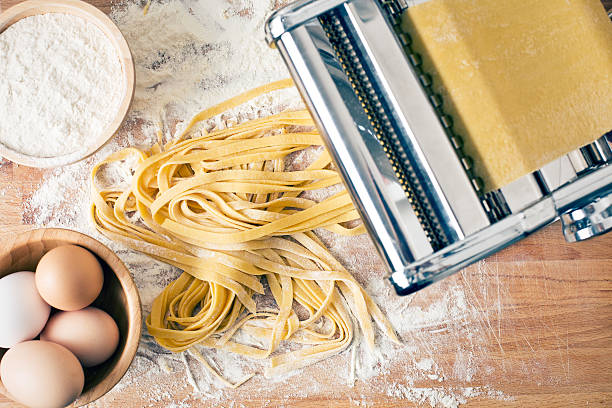
Lots of useful tips for making pasta dough and making pasta yourself. With instructions on how to make your own pasta. Now conjure up your own pasta with your own homemade pasta dough.

Just make your own noodles

They are on everyone’s lips and almost everyone knows them: pasta. They are among the most popular side dishes and simply make connoisseurs happy. Noodles can be prepared quickly and are a taste experience in salty and sweet forms. We usually enjoy industrially produced pasta. Fresh pasta that tastes like it was made by mom or grandma is rare. Freshly made noodles are sold commercially as a delicacy. The price is correspondingly high. But making pasta yourself is not rocket science. With a little patience and practice, anyone can make their own delicious pasta dough.

The ingredients for the pasta dough

For a good pasta dough weighing approx. 550 g, the following ingredients should be ready.

  • 300gr wheat flour type 405
  • 200gr durum wheat semolina
  • 6 egg yolks
  • 1 egg
  • 2 teaspoons oil
  • 3 tablespoons of water
  • and a pinch of salt

This amount makes about four servings when cooked.

The tool for making pasta yourself:

For kitchen tools we need:

  • a cooking spoon
  • a large mixing bowl
  • a teaspoon
  • and a tablespoon

The steps of the DIY pasta

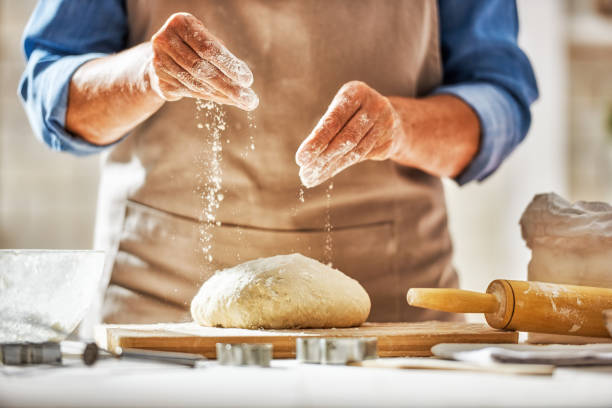
Place the flour and semolina in a mixing bowl. Make a small well in the middle of the mixture with your hands and pour in the yolks and the whole egg.

Now add the oil and salt. If you are not afraid of raw eggs in the dough and thus of salmonella poisoning, you can try the raw dough and possibly spice it up a little to taste. Since the noodles will later be cooked in saltwater, the seasoning should not be overdone. Finally, add the water to the dough. Muscle strength is required now. The dough must be kneaded for at least a quarter of an hour. The dough is good when it rolls smoothly into a ball and doesn’t crumble.

If despite all caution, it crumbles, a tablespoon of water and a few drops of cooking oil can quickly restore the elasticity of the dough.

When the dough is well wrapped in cling film and has been flattened with muscle power, it can be placed in the fridge and left to rest for about half an hour. The break should really be observed. If the dough is not really cool, it can become sticky and processing with a great result is not possible.

The processing of the pasta dough

After the dough has rested in the refrigerator and is now back on the work surface, further processing depends on which pasta is to be made.

Cannelloni: For cannelloni, the dough must be rolled out extremely thinly on a floured work surface. If you want to save flour, you can try rolling it out on baking paper or a silicone mat. Then cut the thin dough into squares and shape it into small rolls. There are various ideas for tasty fillings on the Internet.
Ribbon noodles: For ribbon noodles, roll out the dough wafer-thin and then cut into thin strips with a sharp knife. It is important: Dust the dough well with flour and not place the cut noodles on top of each other.
The dough should be wafer-thin because the eggs it contains give the dough a powerful lift. Even if the batter is so thin that we can almost see through it, it can still be too thick for certain pasta dishes.

No matter which pasta dish you choose, the basic pasta dough mentioned above is suitable for all pasta shapes.

The preparation of the noodles

Last but not least, tips for cooking pasta should be observed. So let the noodles cook in a pot of boiling water for about three to four minutes. Add a teaspoon of salt to the cooking water. Please no oil in the water. The oil in the cooking water closes the pores of the pasta. You can therefore no longer absorb sauces on the plate.