Making ACE juice yourself has many advantages. The juice is freshly squeezed, rich in vitamins and without artificial additives. We’ll tell you how you can press the juice yourself – with and without a juicer.
If you make your own ACE juice, you can do without the juice from the supermarket in the future. This has many advantages. Oko-Test has shown that many packaged vegetable juices are often full of sugar. With homemade ACE juice, you can avoid adding sugar and avoid the sugar traps.
The juices from the supermarket also usually run through a mechanized process. Secondary plant substances are often lost during the pressing. If you make your own ACE juice, however, these are retained. You can also pay attention to organic quality when buying the ingredients and thus avoid chemical-synthetic pesticides in your juice.
We recommend buying the necessary fruit and vegetables seasonally. You can find out when you can buy certain types of fruit and vegetables from German cultivation in our seasonal calendar. So you can replace summer fruit in winter, for example, with fruit or vegetables that have a similar amount of vitamins or taste similar. Depending on what you feel like, you can vary the taste and color of the juice, and at the same time it remains a regional-seasonal juice with the A, C, and E vitamins.
Things to know about ACE juice
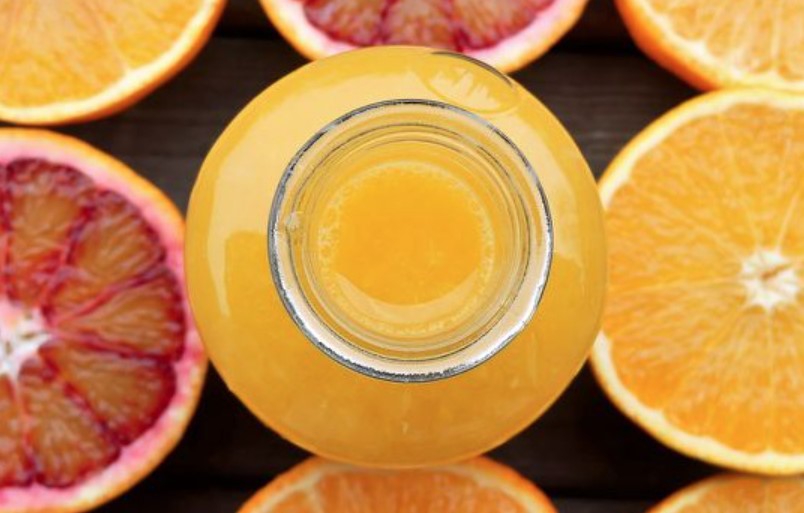
ACE Juice is a healthy soft drink made from juiced vegetables and fruits. The classic ingredients are oranges, carrots and water. In addition, vitamins and sugar are usually added to ready-made juice.
ACE juice owes its name to the vitamins it contains. So the juice should be rich in:
Beta carotene (provitamin A)
vitamin C
vitamin E
Carrots mainly contain beta-carotene, which the body converts into vitamin A. Oranges are rich in vitamin C. Vitamin E is found in vegetable oils, among other things. That’s why you should always mix some vegetable oil into your own juice. This also ensures that your body can absorb the fat-soluble beta-carotene. Other ingredients that are suitable for the juice are, for example, apples, ginger or beetroot.
Tip: Mix some lemon juice into your ACE juice. This will prevent the juice from discoloring due to oxidation.
Make ACE juice yourself: In the juicer
Ingredients:
2carrots
2apples
2oranges
2 tbsp lemon juice
1 tbsp vegetable oil (e.g. rapeseed, sunflower or linseed oil)
some mineral water
Directions:
Wash apples and carrots. Remove the core from the carrots and the core from the apple. Cut both into small pieces.
Peel the orange and cut into wedges.
Put apples, carrots and orange in the juicer.
Mix the fresh ACE juice with lemon juice and oil.
Dilute the ACE juice with a dash of water if you like.
Make ACE juice yourself: without a juicer

If you don’t have a juicer, use a blender and cheesecloth to make the ACE juice. This is how you can do it in just a few steps:
Wash the ingredients, peel them if necessary and cut them into the smallest possible pieces.
Put everything in a powerful blender. Puree fruits and vegetables to a fine pulp.
If your blender isn’t powerful enough, mix some lukewarm water into the ingredients.
Pour the puree through a fine sieve or cheesecloth and collect the juice in a container. Squeeze out the mass thoroughly.
Then add oil and water to your ACE juice as needed.
Tip: Store the fresh juice in sterile jars or bottles. The juice will keep in the fridge for a few days.