Tag

maker

Browsing

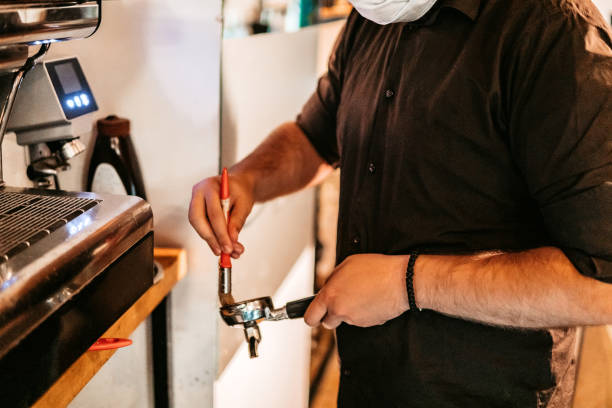
Have you often been annoyed that your coffee machine looks dingy and wondered how you could get rid of it? We have collected tips for you on how to properly clean the coffee machine.

A clean coffee maker

Of course, you should be careful when pouring coffee, but a drop of coffee often gets caught on the “snout”. This is very annoying, especially on festive occasions, since the housewife really wants to shine here. The stains are particularly noticeable on porcelain pots, which are also available with some coffee services. Unfortunately, they can also be seen clearly in the jug there. And different types of coffee machines also have to be cleaned regularly.

Clean and rinse the coffee machine properly

You need a clean coffee machine to enjoy absolutely delicious coffee. But this needs to be cleaned. But cleaning the coffee machine properly is very simple: add some washing-up liquid to the water and then brush it off with a washing-up brush or sponge. But be careful with the insulating insert: You should only clean it with a bottle brush or a soft cloth.

Just clean the coffee pot

To clean the coffee pot, simply take any brand of washing-up liquid – commercially available – into the water and gently brush the pot with a brush, sponge, and bottle brush. The insulating insert of a thermos flask can also be cleaned with detergent and a bottle brush or a soft cloth. However, please do not place the jug in the rinsing water, otherwise, it can fill with water at the bottom – if the insert is not screwed on completely tightly.

This can lead to rust spots and later to the bursting of the insulating insert. It is best to clean your coffee machine beforehand using a water-vinegar solution or a commercially available cleaning powder for coffee machines and then the coffee pot or thermos flask so that the coffee tastes perfect again. You should descale the coffee machine at least once a month, especially if the water is hard.

Alternatively, you can simply take a dishwashing tab for the coffee pot, but especially for a thermal pot with a coating inside, and let it soak in with hot water in the till. It’s easy, quick, and thorough.

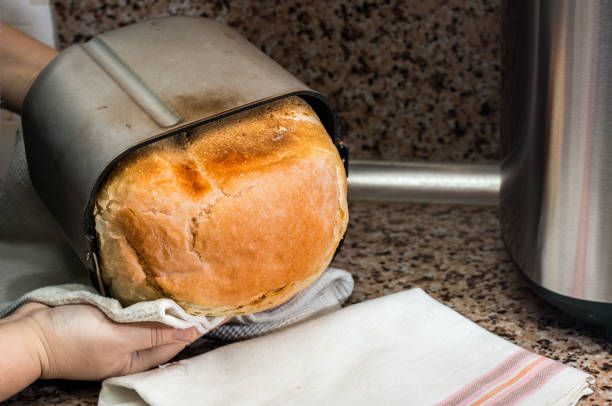
What could be more delicious than a nice piece of fresh bread? We Germans can call ourselves quite spoiled in this respect: where else can you find so much choice of different types of bread? But baking your own bread with a bread maker is also becoming increasingly popular.

It doesn’t matter whether it’s wheat or mixed wheat, grain, spelled or pure rye bread. There is the right bread for every taste. And if you want to bake your own bread, that’s no problem either. Because now baking with a bread maker has become very easy. But which model is really good?

Bake your own bread with lots of options

The first people to bake bread were the Egyptians. And even today, the number of people who now bake their own bread is increasing. Interested people exchange tips and recipes on social networks. The trend towards baking bread yourself is becoming increasingly popular. There are also more and more shops and online providers that offer a wide range of accessories for baking bread. Consequently, we will show you three variants of how you can make your own bread. You will also learn about the advantages of a bread maker.

1) Simply bake bread in the oven

If you want to make your own bread, you can easily get a baking mix from the supermarket. Then you can bake them in the oven according to the instructions and in a loaf pan. But if you’d like to have it customized and don’t want to use ready mixes, you can now find many different recipes for bread on the internet. Like the following video. In addition, also note our tips for storing bread and rolls correctly.

2) Delicious bread from the stone oven

Some even go so far as to buy a special stone oven (usually outside for the garden or terrace) in order to be able to prepare their bread or pizza in a particularly stylish way. In the long run, you not only have tasty and fresh bread, but it is often cheaper to make it yourself than at the bakery. And if you sometimes wonder where to put all the bread, read our tips on freezing and baking bread.

3) Bake your own bread with the bread maker

The bread maker, also known as the bread maker, does a good job. Because with it you can easily bake your own bread. In addition, you know what is in your bread and it is always fresh. For many who regularly bake their own bread, the bread maker has become an integral part of the kitchen. And there are good reasons for that, for example, it can reduce energy consumption and consequently you can save electricity.

How does baking work with a bread maker?

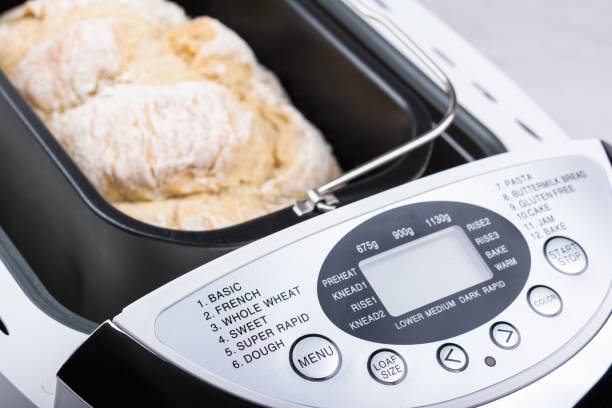
Since making your own bread with a bread maker is much easier and faster, the modern models are very popular in the home. The desired ingredients are filled into the integrated baking mold of the machines. In the middle of this baking pan is a dough hook, which then mixes the ingredients into a dough. The necessary resting time for the dough is also regulated automatically. Then the required baking process takes place. Depending on the quality of the device, you can adjust the degree of browning differently. Some appliances even have a timer function that you can use to program the start of baking. Also, note our basic recipe for gluten-free bread.

The best bread makers from the internet

The advantages show that purchasing a bread maker is worthwhile. But which one is right for you? We have the following a selection of the three best baking machines:

The all-rounder Panasonic bread maker

This bread maker comes with several useful components. These include measuring cups, measuring spoons, baking pans, and much more. You can use this to bake bread of different sizes and set any degree of browning. In addition, this device has a timer function and is easy to use.

Price-performance winner Unold bread maker

This model is not only convincing with its design. With this machine for baking bread yourself, you can use many different programs and sometimes make jam or pasta dough. You can also set the degree of browning and pre-program the baking time. It is also a device with a viewing window and is suitable for gluten-free bread. And last but not least, this bread maker is reasonably priced.

WMF Kult X bread maker for lovers

Anyone who knows WMF appreciates the quality. It’s the same with this bread maker. Because it has 12 different programs and a timer function for fresh bread in the morning. You can also use this to set three degrees of browning and keep your bread warm for 60 minutes. In addition, it convinces with its low wattage of 450 and is, therefore, a little more environmentally friendly than the other models.

Advantages of the bread maker for the home

Many wonders if a bread maker is even necessary. Because it is another device that takes up space in the kitchen. And yet the purchase of a baking machine can be worthwhile. Consequently, we have collected the most important advantages over baking bread yourself in the oven and bought bread for you. In addition, note our tips for healthy baking.

  • The bread is always fresh, unlike store-bought bread. And if you love your breakfast bread, you can taste the difference between homemade and ready-made bread.
  • Homemade bread contains no unknown ingredients and additives. Bread often contains additives that are supposed to make it last longer.
  • The production takes place according to individual taste. Consequently, you can add your favorite spices or delicious pumpkin seeds.
  • Making bread is faster and easier with a bread maker. This means less effort is required and you save time.
  • Baking with a bread maker is cheaper. The purchase is a bit expensive, but the long service life of the devices ensures that baking yourself is worth the price.
  • The bread-making does not need to be supervised. This means you can do other important things without having to constantly check the baking process.
  • The bread maker is environmentally friendly and economical to use. Because it requires less energy than your oven and you save energy costs.
  • Used to make different types of dough. So you can also use it to make your pizza dough or dough for cakes.
  • The baking temperature can be optimally regulated. As a result, you don’t run the risk of the bread drying out.

Are you looking for a cheap alternative that you can use to make strong coffee at home without a portafilter machine or fully automatic coffee machine? We have a handy answer: the espresso maker!

What is an espresso maker?

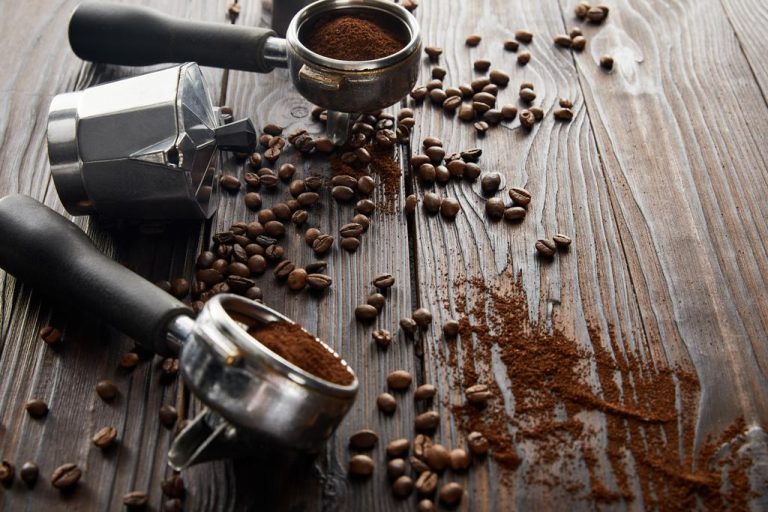
The espresso maker is a small pot that is traditionally made of aluminum but is now increasingly made of stainless steel. With it, you can easily prepare fresh coffee on the kitchen stove or a hob. The most famous model was developed in 1945 by the Italian Alfonso Bialetti. A device for making coffee from France, which was already on the market in 1819, is considered to be the forerunner.

How is an espresso maker constructed?

A typical espresso maker consists of three parts:
The upper part is the collection container for the finished coffee. With the help of the integrated riser pipe, the coffee flows upwards. Below the riser is the first filter.
Below that is a funnel insert with a sieve, into which the ground coffee is placed.
The lower part is a kettle with a valve, into which water is filled.

How does an espresso maker work?

About the process of making coffee in the espresso maker: When the water is heated on the hob, the boiling water escapes through the metal tube and hits the ground powder. The coffee then flows through a fine sieve and rises in the tube to the upper part of the cooker. Here it is caught in a kind of jug. Admittedly, it sounds a bit complicated in theory, but in practice it’s incredibly easy. Done it once and you can hardly make mistakes afterwards.

Step 1: Fill with water

Unscrew the espresso pot and remove the funnel. Fill the kettle with preheated water. This step is intended to prevent the coffee from taking on the taste of aluminum or metal. Depending on how much coffee you want to drink, you should also choose the appropriate pot size. For a good result, the pot should always correspond to the amount to be prepared. That said, it doesn’t make sense to cook only two in a six-cup cooker. It is important during preparation that the safety valve is not covered with water.

Step 2: Fill in the ground coffee

Reinsert the funnel and fill it completely with ground coffee. It shouldn’t be squeezed. You will get the best results if you freshly grind the beans. Make sure that the grinding degree is set between fine and medium so that the coffee does not taste burnt or bitter later.

Step 3: Heat the espresso maker

Screw the top of the jug back onto the bottom. Then place the espresso maker on your hob and heat it up. Note that the stove should only be heated at medium heat. As soon as the water starts to boil, the top of the pot fills with the finished coffee. Don’t be surprised if you hear a “gurgling” or “whistling” sound coming from the device. Then you know that the coffee is being brewed. The noise is due to the pressure inside the cooker. The espresso is initially quite dark, but becomes lighter as the process progresses. You should remove the espresso maker from the stovetop as soon as steam comes out of the spout in the lid. From here the residual pressure in the pot is sufficient to complete the extraction. At this point, however, you can also cool the pot with a damp cloth and thus end the extraction.

Select coffee beans and degree of grinding

In general, you can use any coffee bean in an espresso maker. Depending on how strong you want your coffee to be or how much you want it to resemble an espresso, you should also choose the beans. For a full-bodied aroma, we would recommend a blend of Arabica and Robusta beans. These are also used to prepare a classic espresso and add a powerful flavor to your drink. For this, the beans get an extra espresso roast.

Your coffee from the espresso maker will be particularly good if you freshly grind the beans beforehand. The degree of grinding should be finer than for filter coffee preparation, but not as fine as for the portafilter machine. If you’re not quite sure, just give it a try:

If the coffee then tastes too watery, the grind was too coarse. If your drink is rather bitter or tastes almost burnt, the degree of grinding was probably too fine. During preparation, the funnel should be completely filled with ground coffee.

Which hotplates can I use with an espresso maker?

Basically, you can use an espresso maker on all hotplates, it depends on the material and the stove. Don’t be surprised if an espresso maker from the company’s stock doesn’t work in your kitchen: espresso pots made of aluminum cannot get hot on induction hobs. This is similar to old pots, which also do not work on induction stoves. You should therefore pay attention to the material your device is made of.

Good to know: In an emergency, the espresso maker can also work without electricity. You could even enjoy a delicious cup of coffee while camping with the help of a gas cooker. The practical coffee machine “To Go” can accompany you everywhere.

How to clean the espresso maker

In order for the espresso maker to have a long service life, it should be cleaned after each use:

After making coffee, let the device cool down first.
Then unscrew it.
It is best to clean the espresso maker by hand. Wash each part individually with lukewarm water without adding detergent until all residue is removed. For example, you could use a sponge to help.
Then dry the individual parts and reassemble the espresso maker.
There should also be a general cleaning every few weeks. To do this, first repeat the normal cleaning steps. Next, prepare a bowl of lukewarm water to which you add either citric acid, vinegar, salt, baking soda, or baking soda. It is also important not to use detergent or artificial cleaning agents. Place all parts (except for the rubber seal) in the prepared water for 15 minutes. This is how stubborn deposits and limescale are dissolved. Then wash everything under neutral water and dry thoroughly again. Finally, the espresso maker can be reassembled.