Coffee is popular with young and old. If you are not satisfied with ordinary beans from the department store, you can also try your hand at roasting coffee.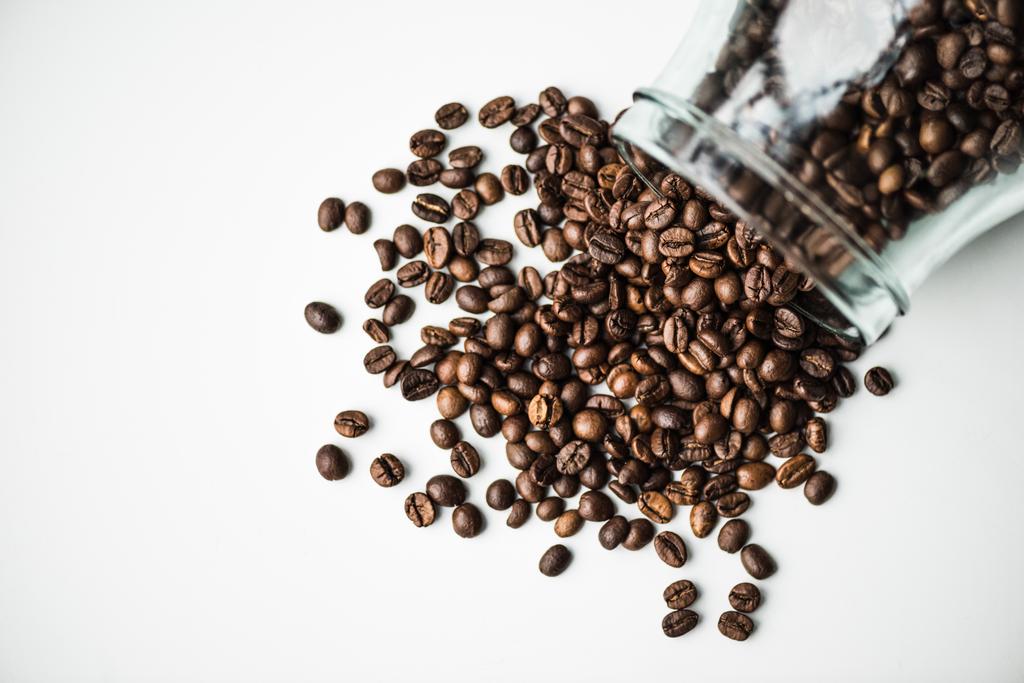
If you want to drink fresh coffee with a full aroma, you can also roast the coffee beans yourself. But how does that work in your own four walls?
Coffee is very popular around the world. The coffee drink has now become a highly coveted drink and is available as standard in every bakery, café and restaurant. According to a study by the 2016 coffee report, roasted or bean coffee is one of the most popular coffee and tea drinks in Germany.
Through many inventions over the decades and even centuries, the coffee drinks have been further developed and optimized. They all want to achieve one thing: get the right aromas out of the coffee and optimize the taste. But coffee drinkers can also do something to give their coffee a better taste. This includes the use of freshly roasted coffee beans. This is due to the fact that after the coffee bean has been roasted, the bean quickly loses its aroma and changes in taste. It would therefore be best to roast the coffee shortly before preparation. But is it also possible to roast coffee at home? What methods are there for this and which ones really work?
Coffee bean roasting process
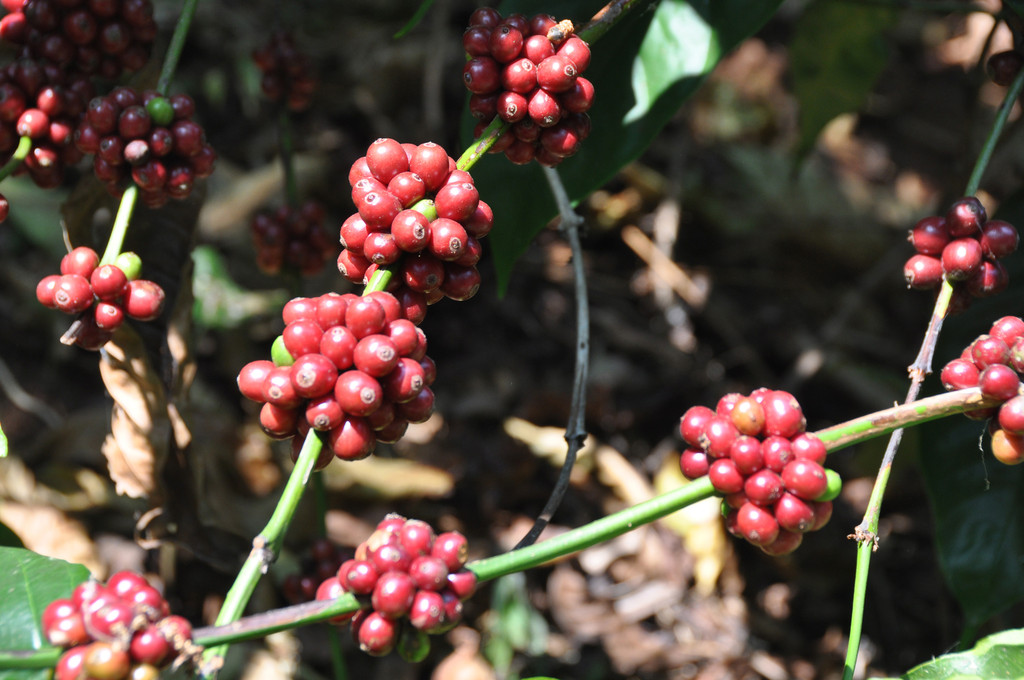
The coffee roasting process takes just 10 to 20 minutes. The ideal internal bean temperature is between 180 and 230 degrees Celsius. While the beans are heated to this temperature and then held, their color changes during the roasting process: from an initial light green to a more intense shade of green, yellow, yellow-brown and brown to dark brown or black. Now it depends on many variables such as the duration of the roasting process of the coffee beans that determine the final taste. The chemical Maillard reaction is one of the most important reactions in the roasting of green coffee. When a sufficiently high temperature is reached – between 145 and 200 degrees – various sugars and proteins, more precisely their amino acids, combine to form new compounds. This creates so-called roasting substances. This connection can also be found when baking bread, for example, when the crispy crust is created. There are also many other reactions that take place in the coffee bean. However, not all of them have been elucidated to this day. Roast coffee contains quite a lot of aromatic compounds, somewhere between 800 and 1,200. However, they are all intertwined, so no flavoring can be isolated from the others. Rather, they all together in different concentrations make up the coffee aroma that we are familiar with.
However, it is possible to divide the coffee roasting process into a few phases. These phases differ according to the appearance and volume of the beans. During the roasting process, coffee beans lose weight and become more voluminous. This reduces the density of the roasted coffee bean to 1/3 of the original, raw bean.
Depending on the degree of roasting, the bean can lose between 12 and 18% in weight.
However, they are most clearly distinguishable by the sounds of the first and second cracks of the raw beans. With the help of the degree of roasting of the coffee bean, aromas, acidity, taste and body of the later coffee beverage can be identified. During the first roasting phase, for example, a strong and sparkling acidity develops. However, it decreases again during the further roasting of the coffee beans. If the coffee beans are removed from the heat source, the roasting reaction continues for at least 12 hours. This process usually takes even longer: it takes up to 72 hours for the roasting reactions to subside completely and for the roasted coffee beans to achieve their final taste. During the internal after-reactions, carbon dioxide is released for a while.
Coffee roasting using pan and oven
There are quite a few ways to roast coffee in your own four walls. One of the most common methods you can find online is to roast coffee in a pan or in the oven. If you decide to roast the coffee beans in a pan, you will need an infrared thermometer in addition to the pan in order to be able to monitor the temperature constantly. It is important that the coffee beans are continuously stirred during the roasting process. However, this method roasts the beans very unevenly, if at all, as many remain completely unroasted, while others may already be burnt. In some cases, individual beans can be unroasted in some places and roasted in others. So if you don’t have strong taste buds, you shouldn’t use this method. In addition, it can be quite dangerous if the beans “crack”. The so-called crack is the bursting of the coffee bean, as the new gases in the bean create high pressure. This causes the cell walls of the bean to become more porous. If the coffee bean, which is up to 200 degrees hot, jumps into the air with the first or second crack, it can quickly catch your eye.
Another method is to roast the coffee beans in the oven. If you decide to do this, first preheat the oven to 200 degrees circulating air. Next, the green coffee is spread out on a baking sheet and placed in the preheated oven. This method is definitely safer than roasting the coffee beans in the pan, since the oven door can be used as a protective wall. In addition, the coffee beans are roasted more evenly. However, a disadvantage arises from the fact that the roasting coffee beans cannot be stirred without interrupting the roasting process at a constant temperature. After about 10 to 20 minutes, the roasted coffee is put into a sieve and quickly cooled. If you make sure that the beans are washed before roasting in order to remove as many skins as possible, you will prevent the skins from flying through the oven when roasting the coffee beans. Coffee roasting in the oven is therefore ideal for a more pleasant and even roast.