Mushrooms are healthy and tasty all-rounders that can be prepared in a variety of ways. We will show you which method has which advantages.
Mushrooms are a very popular type of mushroom used in many cultures in different dishes and prepared in different ways. As they are easy to grow in the dark, mushrooms are available from us all year round. In nature, however, they are only in season in late summer.
Mushrooms are healthy: They consist of about 91 percent water and are therefore extremely low in calories. They’re high in the healthy electrolyte potassium — about the same as bananas, which are famous for it. Among other things, potassium is responsible for keeping your nerve cells and their conductivity healthy.
Mushrooms also contain minerals such as:
iron
magnesium
zinc
Vitamins such as B1, B2 and folic acid
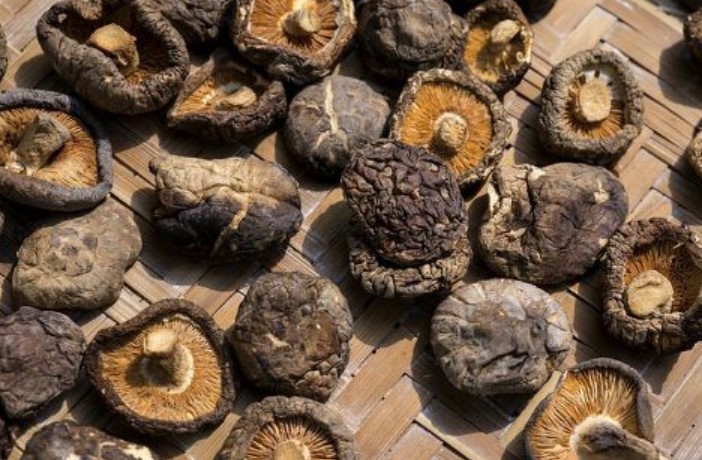
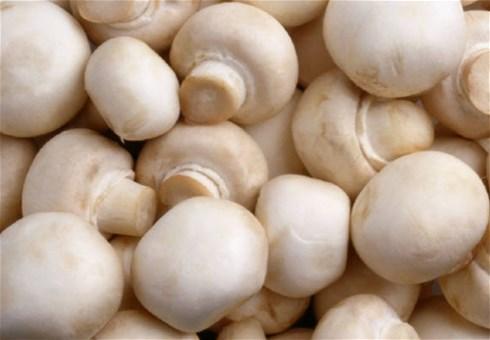
There are white and brown mushrooms that hardly differ from each other in terms of their ingredients. The white ones just taste a little nuttier and the brown ones a little stronger.
Cook mushrooms

If you want to prepare mushrooms, you should consider a few points beforehand. This includes buying quality produce and cleaning the mushrooms.
What you should consider when buying:
Make sure the mushrooms are fresh. Canned or jarred mushrooms don’t have nearly as many nutrients as fresh mushrooms, and they taste completely different.
Mushrooms can be bought all year round, but these “cultured” mushrooms are often treated with pesticides. So make sure to buy them organic.
The wild mushrooms are in season here in late summer. However, you should only collect them yourself if you are an experienced mushroom picker, as they can easily be confused with the dangerous death cap mushroom.
To clean mushrooms, you can use a brush or clean kitchen towel to gently rub them. Bought mushrooms usually have little soiling. More about this here:
Cook mushrooms raw
Like other vegetables, mushrooms can also be eaten raw. Not only does this have the benefit of making them quick to prepare, they also retain all of their nutrients.
If you have never eaten raw mushrooms, you should not overdo it: some people do not tolerate raw mushrooms very well, which can lead to flatulence. They are best eaten raw in a salad.
What you need to prepare a vegan mushroom salad:
250 g mushrooms of your choice
5 tbsp olive oil
4 tablespoons lemon juice (from a fresh lemon)
1 tbsp grated lemon zest
2 garlic cloves (chopped or pressed)
Salt and pepper to taste
1 half bunch parsley (chopped)
(optional, not vegan: 3 tablespoons grated parmesan)
Recipe:
Clean the mushrooms and cut them vertically into very thin slices.
For the dressing, combine the olive oil, lemon juice, lemon zest, and garlic in a bowl.
Season to taste with salt and pepper.
Now add the dressing and the roughly chopped parsley to the mushrooms.
Gently fold them in to avoid breaking the mushrooms.
A simple salad for a summer barbecue is ready!
Fry mushrooms
If you fry mushrooms, they lose some of their nutrients due to the high heat. On the other hand, they unfold their full, strong and nutty aroma.
To fry the mushrooms, you need a large pan so that they are well heated on all sides.
What you need for fried mushrooms:
250 g mushrooms of your choice
2 tbsp butter
3 garlic cloves (chopped or pressed)
2 shallots (chopped small)
Salt and pepper to taste
a handful of freshly chopped parsley
Recipe:
Clean the mushrooms and quarter them.
Heat the butter in a pan until it starts to sizzle.
Now add the mushrooms and spread them out in the pan so that they don’t pile up.
After about four minutes, add the onions and garlic.
Fry the whole thing for about three more minutes.
Season the fried mushrooms with salt and pepper to taste and fold in the parsley.
Steam mushrooms
Mushrooms are often prepared and served steamed: due to the relatively low heat, they retain more nutrients than when fried. Here they also develop their aromatic taste strongly and absorb spices and herbal aromas well. If you leave out the oil and fat, the mushrooms are also far lower in calories. Steamed mushrooms can be served both with meat and vegetarian, for example, with pasta.
Ingredients for stewed mushrooms:
250 g mushrooms of your choice
1/2 cup your choice of chicken, beef, or vegetable broth
3 garlic cloves (chopped or pressed)
2 spring onions
fresh or dried oregano
Salt and pepper to taste
Recipe:
Clean the mushrooms and roughly cut them into thin slices (Different slices will steam different degrees and make your dish taste more rustic.)
Cut the spring onions into small rings and set the green part aside for the time being.
Peel the garlic and briefly fry it and the white end of the spring onions over medium heat.
Add the broth to the pan and heat until it begins to simmer.
Now add the mushrooms and turn the heat to low.
Season with salt, pepper and oregano.
Toss the mushrooms well in the pan until they have completely absorbed the liquid.
Finally, mix in the green of the spring onion. Now you can serve them with your favorite dish!
Grill mushrooms
Whether with meat or completely vegetarian, the grilled mushrooms with herb butter are the star on the grill. They are particularly easy to make and spice up every barbecue party. Another advantage of this preparation is that you can always put a new portion on the grill. So you can always serve hot and fresh mushrooms to guests.
What you need to prepare the grilled mushrooms:
particularly large mushrooms
homemade herb butter
garlic (pressed)
How to prepare grilled mushrooms:
Clean the mushrooms and remove the stems.
Use a spoon to spoon the herb butter and crushed garlic into the well.
Put the mushrooms in e.g. a grill board, grill paper or a grill grid so that they don’t fall over and the butter runs out. Avoid aluminum foil or an aluminum tray. Aluminum is not only harmful to the environment, it also ends up in your food when heated. We will show you various grill alternatives to aluminum foil:
After about ten minutes, the mushrooms should be ready.