Some say potatoes should be peeled, others advise against it. We reveal what’s really true and show a trick you can use to peel potatoes in a flash.
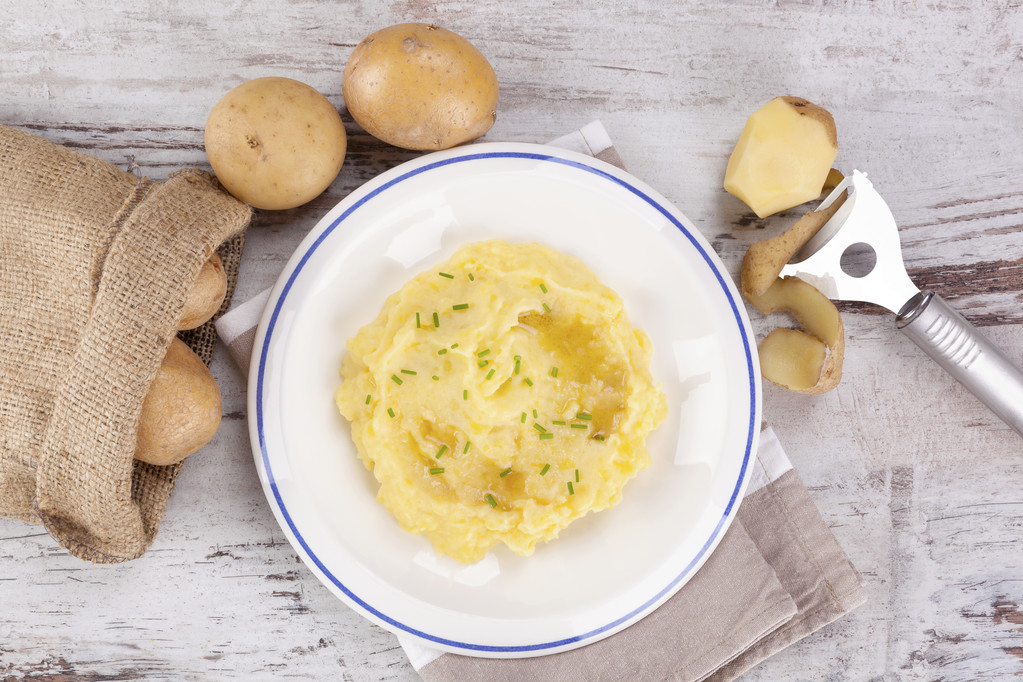
You can conjure up many delicious dishes from potatoes: baked potatoes, potato gratin or simple boiled potatoes. The tuber is versatile, tasty and healthy. When preparing the potatoes, many people ask themselves: should I rather peel the potatoes or can I eat them with the skin on?
Toxins in the potato peel
In addition to nutrients and roughage, the potato peel also contains toxic glycoalkaloids: a-solanine and a-chaconine. These toxins occur naturally in the potato. They are mainly concentrated in the skin and in the germ. Inside the potato, on the other hand, there are significantly fewer toxins.
Glycoalkaloids are heat stable but water soluble. This means: High temperatures do not affect the toxins. If, on the other hand, you cook the potatoes in boiling water, the substances are removed from the skin.
Our commercially available potato varieties naturally do not contain any concentrations of these toxic substances that are harmful to health. The actual content of these substances is additionally influenced by several factors:
Unripe potatoes contain more toxins than ripe potatoes
Damage (e.g. during transport) and light favor the formation of toxins
If potatoes are stored too warm or too cold, more toxins are also formed
So if your potatoes are ripe, undamaged and stored properly, you don’t have to worry about the glycoalkaloids.
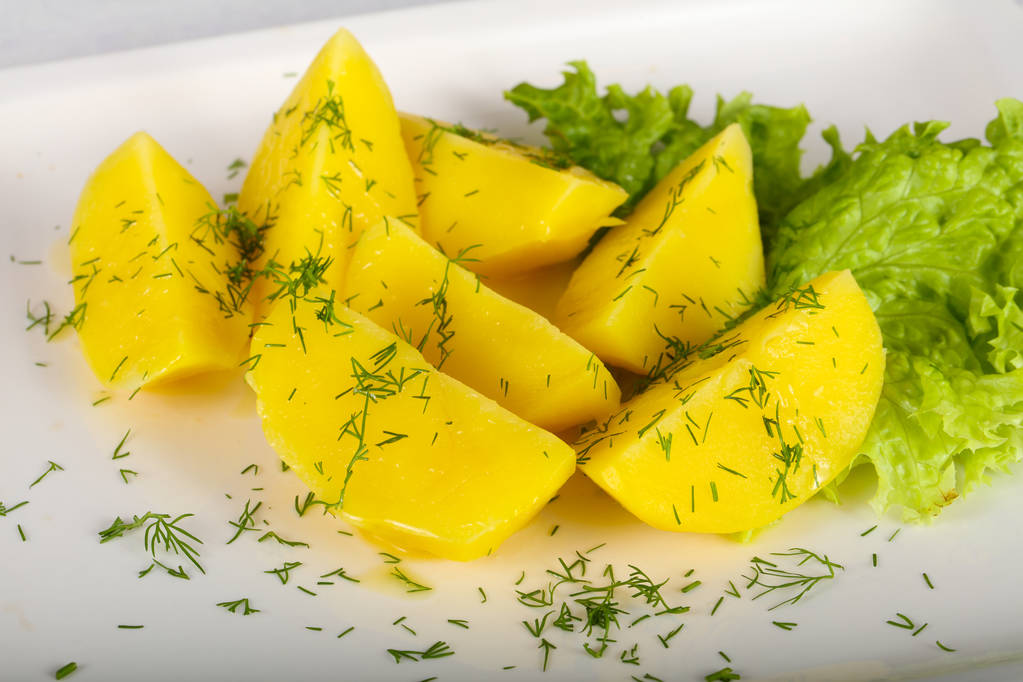
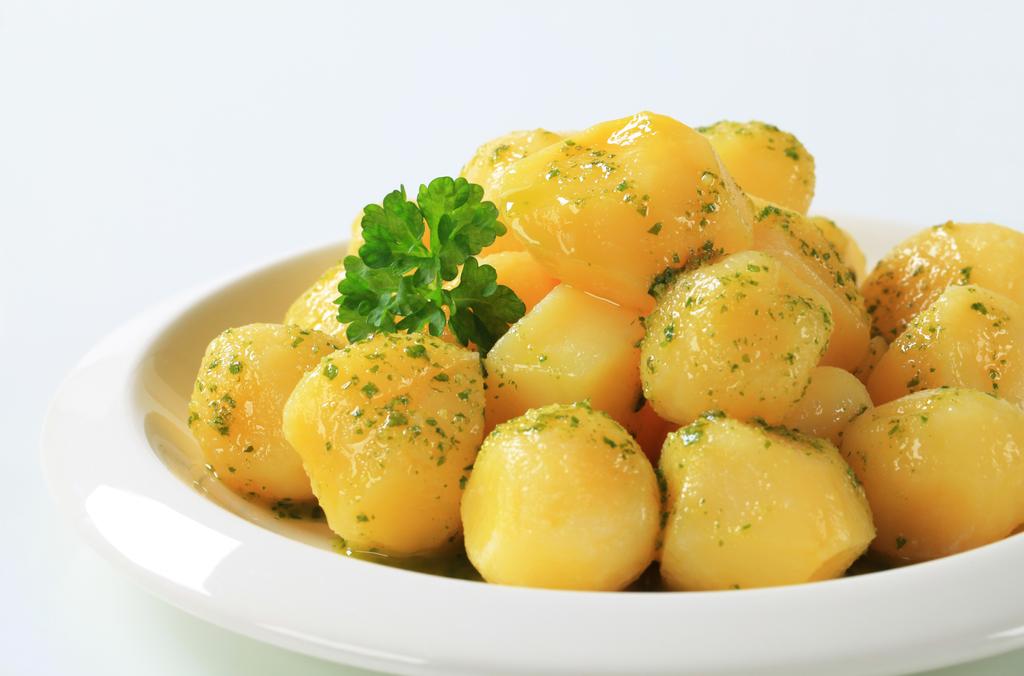
Potato peel protects the nutrients and flavors
Potatoes contain a lot of vitamins B and C. However, some of these vitamins are lost during cooking. The potato skin acts as a barrier when cooking: If you cook your potatoes with the skin, fewer flavors and nutrients are released into the water. This means that more of these valuable substances remain in the potato.
To peel or not to peel potatoes?
Although there is a significant amount of glycoalkaloids in the skin, you don’t necessarily have to peel potatoes. The Bavarian State Ministry for the Environment and Consumer Protection confirms that potatoes can be eaten with their skins without hesitation as long as they are of “normal quality”.
If you still want to peel the potatoes, we recommend that you only peel them after cooking. In this way, the potatoes retain as many nutrients and flavors as possible. Make sure, however, that you use the potatoes soon after cooking so that you don’t lose any more flavor and nutrients unnecessarily.
Green spots are an indication of increased levels of toxins. Therefore, cut out the green areas generously. Very green potatoes should be discarded entirely.
Trick: peeling potatoes made easy
You can easily peel potatoes with the following instructions:
Wash the potatoes and score the skin all over with a sharp knife.
Boil the potatoes until they are done. Make sure that the potatoes are not overcooked, otherwise they may fall apart when you peel them.
Place the cooked potatoes in ice water and chill for at least 10 seconds.
You can then simply peel off the peel either with your fingers or with a knife.
You can actually peel potatoes quite easily using this method. However, this isn’t magic either, and the peel won’t always come off “in one go”. Especially if the potato is a bit misshapen or has small “spots”, you will definitely have to touch up some areas.