Tag

prepare

Browsing

Introduction: The Importance of Tea in Mongolian Culture

Tea is an essential part of Mongolian culture and hospitality. Known as suutei tsai, Mongolian tea is a hot beverage that is served throughout the day, especially during meal times. It is believed that drinking tea helps to warm the body and aids digestion, making it a staple in the Mongolian diet. Mongolians also consider tea as a symbol of hospitality and friendship, where it is customary to offer guests a cup of tea as a sign of respect and affection.

The Ingredients: What Goes into Mongolian Tea?

Mongolian tea is made from a combination of tea leaves, water, salt, and milk. The tea leaves used in Mongolian tea are typically a blend of green and black tea leaves, which are boiled in water for several minutes. Salt is added to bring out the flavor of the tea and to balance the sweetness of the milk. Milk is also added to the tea, giving it a creamy texture and a unique flavor. Mongolians sometimes add other ingredients to their tea, such as butter, barley, or even animal fat, depending on the region and the household’s preferences.

The Equipment: Traditional Tea Preparation Tools

Mongolian tea is traditionally prepared using a set of special tools. The first tool is a small pot called a suudal, which is used to boil the water and tea leaves. The second tool is a wooden spoon called a shugar, which is used to stir the tea and to add the salt and milk. The third tool is a small bowl called a zagaa, which is used to serve the tea. The zagaa is typically made of wood, metal, or ceramic and is decorated with intricate designs and patterns.

Step-by-Step: How to Prepare Mongolian Tea

To prepare Mongolian tea, fill the suudal with water and bring it to a boil. Add the tea leaves and let it simmer for several minutes until the water turns a dark brown color. Using the shugar, stir the tea and add the salt and milk. Continue to stir until the ingredients are well combined. Once the tea is ready, pour it into the zagaa and serve. Mongolians typically drink their tea hot, but it can also be enjoyed cold during the summer months.

The Art of Pouring and Serving Mongolian Tea

Pouring and serving Mongolian tea is an important part of the tea-drinking experience. The person serving the tea usually holds the zagaa with both hands and offers it to the guest as a sign of respect. The guest then takes the bowl with both hands and takes a sip of the tea. Mongolians usually drink their tea slowly, savoring the flavor and enjoying the company of their guests. Once the tea is finished, the guest returns the zagaa to the server as a sign of gratitude.

Conclusion: Drinking Tea as a Symbol of Hospitality and Friendship

Mongolians take pride in their tea culture, where drinking tea is seen as a symbol of hospitality and friendship. Mongolian tea is a unique and flavorful beverage that is enjoyed by people of all ages. The traditional tools and techniques used to prepare and serve Mongolian tea have been passed down from generation to generation, making it an integral part of Mongolian heritage. Whether you are visiting a Mongolian household or dining in a local restaurant, be sure to try a cup of suutei tsai and experience the warmth and hospitality that Mongolians are known for.

Introduction: Emu Burger Recipe

If you’re looking for a unique and flavorful twist on a classic burger, then look no further than the emu burger! Emu meat is lean, high in protein, and has a rich, beef-like flavor that pairs perfectly with a variety of toppings. With a little bit of preparation, you can create a delicious emu burger patty that will impress your family and friends.

Ingredients and Preparation Steps

To make emu burger patties, you will need:

  • 1 pound ground emu meat
  • 1 tablespoon Worcestershire sauce
  • 1 tablespoon Dijon mustard
  • 1 teaspoon garlic powder
  • 1 teaspoon salt
  • 1/2 teaspoon black pepper

To prepare the emu burgers, follow these steps:

  1. In a large mixing bowl, combine the ground emu meat with Worcestershire sauce, Dijon mustard, garlic powder, salt, and black pepper. Mix well with your hands until all the ingredients are evenly distributed throughout the meat.
  2. Form the meat mixture into 4 to 6 equal-sized patties, depending on how large you want your burgers.
  3. Heat a grill or skillet over medium-high heat and lightly grease with cooking spray or oil.
  4. Cook the emu burgers for 4 to 5 minutes per side, or until the internal temperature reaches 160°F. The burgers should be browned and slightly crispy on the outside, but still juicy and tender on the inside.

Serving Suggestions for Juicy Emu Burgers

Once your emu burger patties are cooked to perfection, it’s time to assemble your burgers! Here are some tasty topping suggestions to try:

  • Grilled onions and mushrooms
  • Avocado or guacamole
  • Crispy bacon
  • Cheddar, Swiss, or blue cheese
  • Lettuce, tomato, and pickles
  • BBQ sauce or aioli

To serve, place your cooked emu burger on a toasted bun and add your favorite toppings. You can also serve with sweet potato fries or a side salad for a complete meal. Enjoy your juicy, flavorful emu burger!

Introduction: What are Lamingtons?

Lamingtons are a popular dessert that originated in Australia, made with sponge cake squares coated in chocolate icing and shredded coconut. They are typically served at afternoon tea and other gatherings and are beloved for their light and fluffy texture and rich, sweet flavor. While the exact origins of the Lamington are unclear, it is believed to have been invented in the early 1900s and named after Lord Lamington, who was Governor of Queensland at the time. Lamingtons have since become a staple of Australian cuisine and are enjoyed around the world.

Ingredients and Preparation: How to Make Lamingtons

To make Lamingtons, you will need a sponge cake, chocolate icing, and shredded coconut. Start by making the sponge cake, which can be done from scratch or using a store-bought mix. Once the cake has cooled, cut it into square pieces. To make the icing, mix together cocoa powder, powdered sugar, and milk until smooth. Dip each cake square into the icing, making sure to coat all sides, and then roll it in shredded coconut. Allow the Lamingtons to set for at least 30 minutes before serving.

Serving and Storage: Tips for Enjoying Lamingtons at Their Best

Lamingtons are best enjoyed fresh, but they can be stored for up to 2-3 days in an airtight container at room temperature. To serve, simply place the Lamingtons on a platter and enjoy with a cup of tea or coffee. For a twist on the traditional recipe, try adding a layer of jam or cream between the cake layers before coating in icing and coconut. Lamingtons can also be made with different flavors of sponge cake, such as chocolate or lemon, for a unique twist on this classic treat.

Dandelion is not only beautiful to look at, but also edible. It’s healthy and even tasty. We explain what the plant has to offer and how you can eat it.

In order to find dandelions, it is often enough to go into your own garden. It is known for its yellow flowers and sticky, white sap that often turns fingers brown when touched. But have you ever thought about eating the plant?

How does dandelion affect the body?

Dandelion grows in many places: Whether in gardens, at the edge of the forest or on the street – you can find the plant almost everywhere. At the end of April/beginning of May the lion’s number blooms, but you can see it until autumn.

The plant not only looks beautiful, you can also eat the dandelion. It is even particularly healthy and can be a tasty addition to many dishes. There are many different uses for the plant.

The bitter substances it contains also stimulate the metabolism and promote digestion as well as kidney and bladder activity. The dandelion is also used because of its digestive properties, as the plant reaches the large intestine undigested.

How healthy are dandelions?

The dandelion is not poisonous, you can eat leaves, flowers and roots
The milky sap contained in the flower stalk is also non-toxic. However, the juice can leave unsightly stains on clothing that are difficult to remove.

The root of the plant in particular contains many healthy ingredients such as inulin, vitamins B, C and E and many carotenoids. The flowers and leaves are very rich in minerals such as potassium, zinc and copper. This makes dandelion a valuable dietary supplement.

How to cook dandelion

The bitter substances contained in dandelion ensure that the leaves have a slightly bitter taste. The flowers, on the other hand, are even slightly sweet.

The leaves can be cooked or used raw. They are particularly suitable as an addition to a green salad, but they also enrich a pesto. If the leaves are to be cooked, they must first be washed. Then you can put them in boiling water for ten minutes.

If you roast the roots in a pan, they can be ground up well. Then you can even make a kind of coffee out of it.

Conclusion

Dandelion is healthy and can be used in a variety of ways in the kitchen. The next time you see the plant, pluck it off and try one of the preparation methods.

You can prepare chicory quickly and deliciously. We will explain to you which types of preparation there are for the winter salad and how it tastes the least bitter.

Preparing chicory: This is how you recognize good chicory

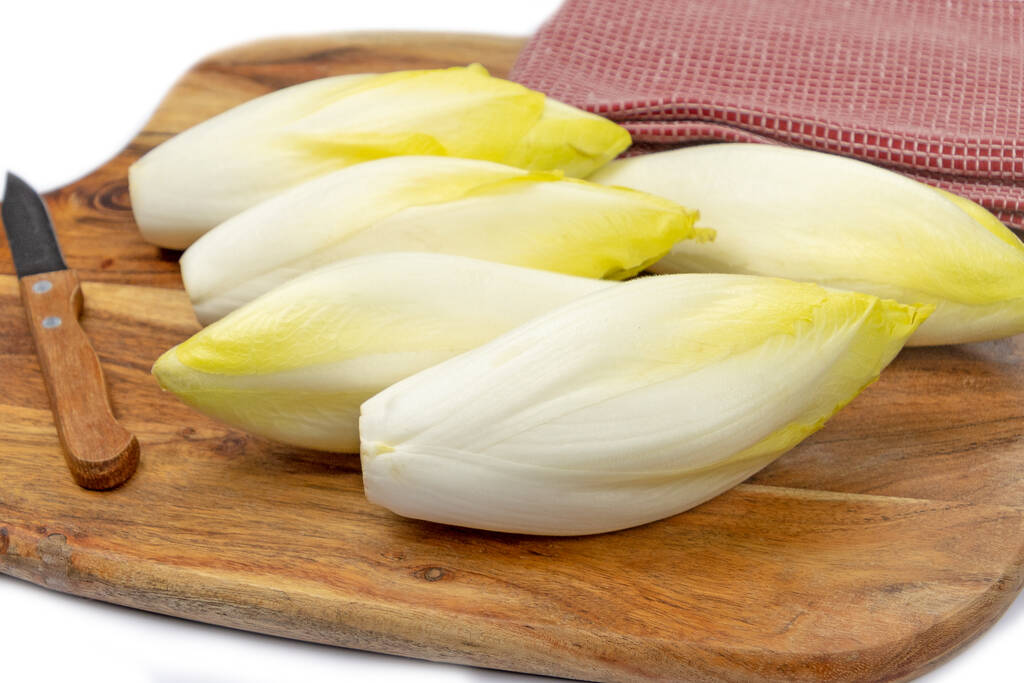
You can buy chicory particularly well at the weekly market from local farmers. It is best to choose organic chicory, as it is not contaminated with pesticides. Mostly you get white chicory. But there is also a red variant that was created by crossing chicory with radicchio. Red chicory tastes a little milder than white. Here are more tips for your chicory purchase:
You can recognize good chicory by the fact that it is relatively firm and has no brown or wilted spots.
Small chicory bulbs are less bitter than large ones.
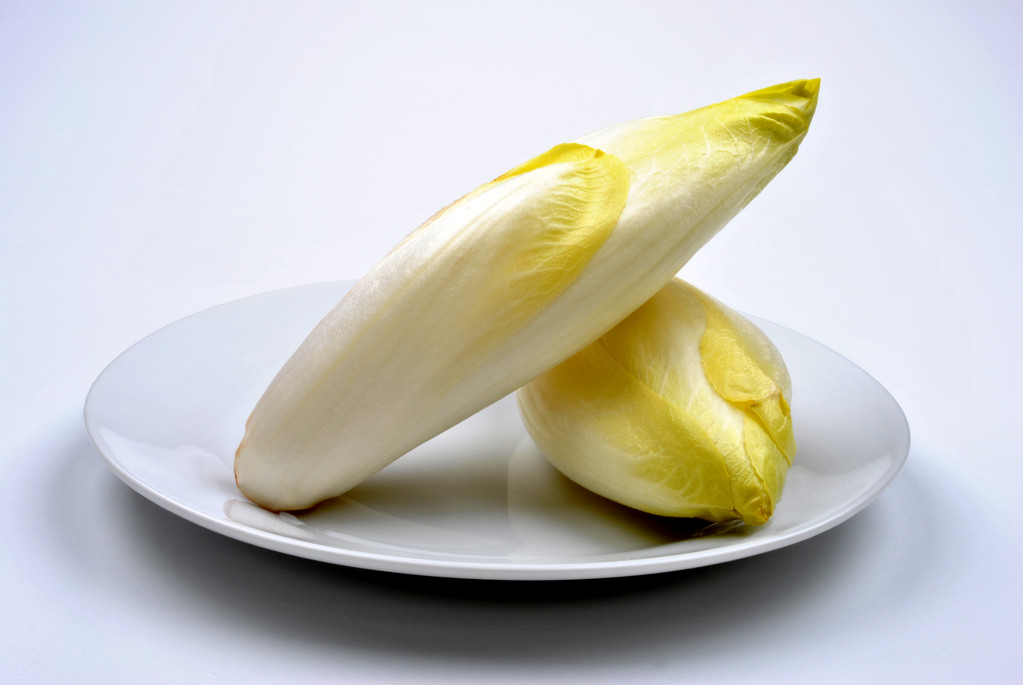
The greener the leaves are, the more bitter they are. It is best to buy chicory whose leaves are white and only yellow at the tips.
You can store fresh chicory in the vegetable compartment of your refrigerator for a few days. If you want to prepare it, you should wash it (cleaning the outermost leaves is usually enough) and cut out the stalk – this is particularly bitter and woody.

Prepare raw chicory in refreshing salads

In a delicious winter salad, chicory provides you with a particularly large number of vitamins. Since raw chicory tastes the bitterest, you should use small, mild bulbs when preparing it in a salad. If you then cut the leaves into fine strips, they mix particularly well with the other flavors of the salad.

What goes particularly well with chicory?

Salads with citrus fruits, apples or pears are classic. In fact, the fruity sweetness is a good balance to the slightly bitter chicory.
Strong cheeses such as Gorgonzola are particularly suitable as hearty counterparts.
You can then mix the whole thing with a spicy-sweet salad dressing and sprinkle with roasted nuts.

Prepare chicory in the pan: fry or steam

When you cook chicory, it loses most of its bitterness and takes on a slightly sweet, nutty flavor. Chicory tastes particularly delicious if you roast it in oil or butter for a few minutes until golden brown:
To do this, cut the tubers into small pieces or just halve them and cut out the stalk.
All you have to do is season the finished chicory with salt and pepper and sprinkle with a little lemon juice if you like.
Then put it in the pan for a few minutes.
It also tastes delicious if you serve the fried chicory with a white wine sauce.
You can prepare chicory particularly gently if you steam it.

It’s enough if you cut the chicory in half.
Place the halves in a pan and cover halfway with water.
If you add a little more lemon juice, you prevent the chicory from turning gray.
Bring the water to a boil, put a lid on the pan and let the chicory simmer over low heat for about 15 minutes.
Then lift it out of the pan or let the remaining water evaporate. Season the chicory to taste.
Tip: If you add a little sugar to the water when steaming, the chicory will be particularly mild.

Prepare the chicory in the pot

You can prepare chicory particularly quickly and easily if you blanch it.

To do this, bring a large amount of salted water to a boil in a saucepan and add the whole chicory bulbs.
Blanch the vegetables for about five minutes, then rinse them in cold water to keep them crisp.

Prepare chicory in the oven

Chicory takes a little longer to prepare in the oven, but it is also particularly mild. Since the tender vegetables disintegrate quickly, you should not cut them into small pieces, just halve them or separate the individual leaves. Otherwise, all that’s left is chicory slush.

Tip: Roast the chicory in a pan, season with salt, pepper, lemon juice and fresh herbs, place in a casserole dish coated with olive oil and bake in the oven with a strong cheese.

Edamame are unripe green soybeans and originally come from Japan. We reveal what you should pay attention to when buying, growing and preparing.

Edamame means “bean on a branch”. The soybean, also known under the name “lucky bean”, is often referred to as a superfood in this country because of its high protein and fiber content. However, the eco-balance is not good due to the long transport routes, among other things.

Nutritional Values ​​of Edamame: Lots of proteins and amino acids

Edamame not only contains many proteins, but also nine important amino acids: histidine, isoleucine, leucine, lysine, methionine, phenylalanine, threonine, tryptophan and valine.

Nutritional values ​​of 100 g edamame:
125 calories
12 grams of protein
13 grams of carbohydrates
4 grams of fat
This makes edamame particularly suitable as a filling supplement and for a low-carb diet.

Growing Edamame: Also possible in your own garden

Even if the soybean is mainly cultivated in Asia, it also grows in the Central European climate. That’s exactly what the Taifun project “1,000 Gardens” found out. As soon as it is above 10 degrees overnight (from around April) and the weather forecast predicts this for at least another week, you can start sowing your soybeans.

According to the project description, you should consider the following when growing:
Make a furrow about 3-4 cm deep.
Put a soybean every 2 cm.
Cover the beans with soil and gently press down.
Water the beans when it doesn’t rain.
It is also recommended to install a protection against birds and rabbits.
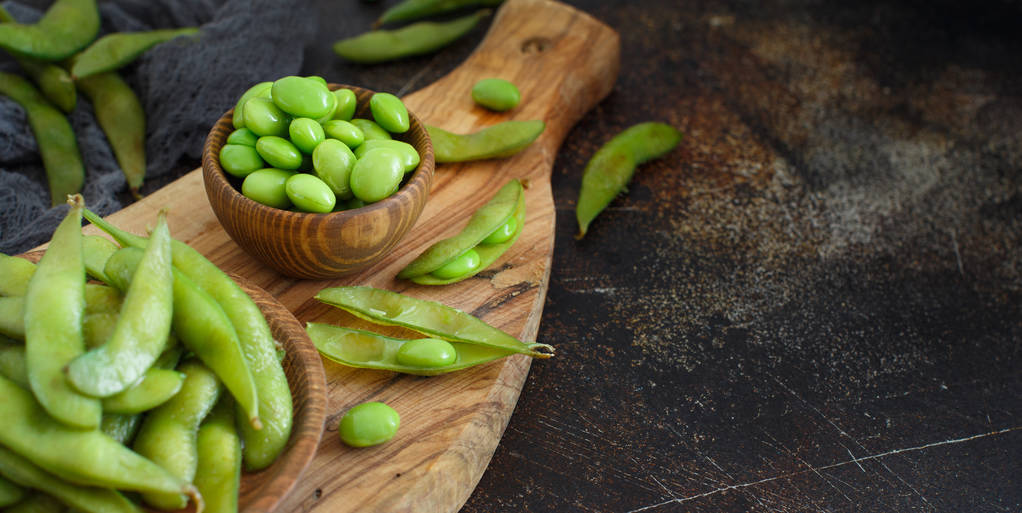
Soybeans can be sown until June. You can usually harvest about two months after sowing. Since edamame are immature soybeans, you should take care to harvest them when they are still green and have fine hairs.

Prepare Edamame: As a snack recipe or side dish

Edamame is traditionally eaten as a starter, snack or as a side dish. The preparation is very simple:
The unripe green beans, including the pod, are boiled in salted water for five minutes so that they are still nice and crunchy.
The still moist pods are then sprinkled with coarse sea salt. The pod should still be wet so the salt can stick and form a salt crust.
You can refine edamame by drizzling it with chili and lime juice or with sesame oil and Tabasco. A combination of sesame oil, lime juice and soy sauce also tastes delicious.
The pods are not eaten. Although the whole pod is cooked, only the beans in the pod are edible. At this point, manual work is required and you have to free the beans from the pod by puffing them up. Many also “suck” them out of the pod – one more reason to pay attention to organic quality.

Autumn time is pumpkin time. The leaves are falling, the wind is blowing through the streets and slowly but surely summer is coming to an end. Pumpkins are finally back on the menu. Hot soups, delicious cakes, and wonderful pumpkin bread not only herald the new season, but they also taste fantastic. But the preparation often fails because of the ability to crack the pumpkin in the truest sense of the word. A hard shell and the question of what is edible on it is a real mystery for many cooks.

Hard to crack

The very large specimens in particular, such as the nutmeg pumpkin, are very difficult to cut up with a kitchen knife. Unfortunately, only the somewhat rough-sounding method can help – falling from a height of one meter. But don’t worry, no tiles will be damaged, nor will the pumpkin be broken down into all its individual parts. As a result of the impact, it only gets a crack and can now be taken apart without any problems.

Also a treat with the shell

Some varieties, such as the popular Hokkaido pumpkin, can be eaten with the skin on. This becomes soft during cooking, cooking, or baking and does not have to be laboriously peeled first. However, the core housing inside should still be removed. These varieties are particularly good for pumpkin soups.

Remove shells safely

With some varieties, removing the tough shell proves to be particularly tricky and can quickly lead to serious injuries if careless. Butternut squash, a particularly savory variety with a slightly nutty flavor, would be an example. Easily recognizable by its pear shape, this squash doesn’t need to be removed from the menu. Before you start peeling, it is enough to put the whole pumpkin in the oven for 30-40 minutes.

At around 100°C, the skin and flesh become beautifully soft and supple. When the time is up, it should cool down for a while before further processing. The peel can then be easily and above all safely removed with a vegetable peeler.

Pumpkins come in many colors and almost every imaginable shape, they are an all-around talent in the kitchen and taste both sweet and savory. Even the seeds can easily be dried and used, for example, for pumpkin rolls or to spice up pumpkin cream soup. In particular, the American Halloween festival in October is driving the awareness of various recipes and possible uses in this country. With the right tips, delicious dishes, crispy pastries, and smart jams can be prepared very easily.

For a creamy tsatsiki you have to remove the water from the yoghurt. After a few hours, hung up in a linen cloth to drain, the yoghurt loses some of the water and gains firmness and taste.

Have you ever wondered why tsatsiki on holiday in Greece always tastes different than the homemade version at home? You may have used a little less garlic than is usual in Mediterranean countries, but that still doesn’t explain the creamy consistency and the intense, fine taste, which just won’t work at home. The secret of a creamy tsatsiki is that you reduce the amount of water that you stir into the dip, especially over the yoghurt, as much as possible.

Squeeze the yoghurt in the linen cloth

The basic substance of tsatsiki is yoghurt. In Greek supermarkets, you can buy a yoghurt specially prepared for the preparation of tsatsiki. This yoghurt has been “squeezed out”, i.e. the whey it contains has been removed as much as possible. A simple trick can help you to make a Greek tsatsiki with German yoghurt:

Buy regular, high-fat yoghurt. Greek housewives use at least 10 per cent yoghurt. Alternatively, you can also mix in quark. You must then wrap the yoghurt in a linen cloth or small tablecloth for several hours so that the water contained can drain off. Depending on the quantity, it is best to hang the yoghurt over the sink or the bathtub. To do this, knot the outer corners of the linen cloth and attach it to the water tap together with the yoghurt dripping inside. Caution: the amount of yoghurt will be significantly reduced by this procedure. So if you are expecting guests, you should plan to double the amount of yoghurt accordingly.

Buy firm, slender cucumbers and drain them

A real tsatsiki contains one or two grated cucumbers. When choosing cucumbers, you can also pay attention to low water content and a more intense taste. Large, thick cucumbers mainly contain water and little taste. Slender, firm cucumbers, on the other hand, will give your tsatsiki a pleasant, fruity note.

To prepare a creamy tsatsiki, it is important that you extract as much water as possible from the cucumbers. Grate the peeled cucumbers on a kitchen grater and put the cucumber mixture in a sieve. Leave the sieve over a container for a while so that the cucumber juice can drain off. Also, press down on the grated cucumbers with your hand until hardly any water runs out of the cucumber mixture. When the cucumber and yoghurt mixture has drained, you can prepare your “holiday tsatsiki”.

Season with garlic – refine with olive oil

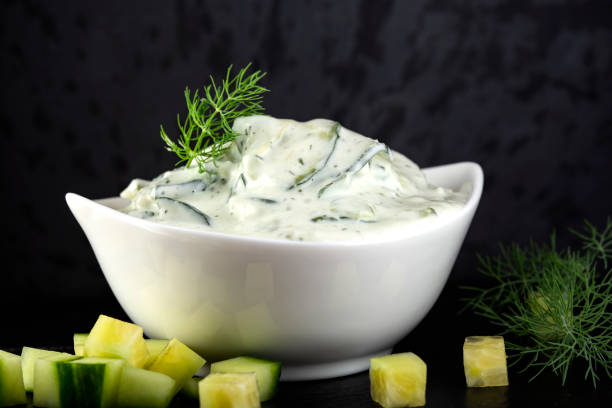
Mix yoghurt and cucumber with some salt. Depending on how spicy you want it, add 2-3 or more cloves of garlic. Then refine your tsatsiki with a dash of olive oil and the popular garlic dip is ready. Tsatsiki tastes particularly spicy if you leave it in the fridge for a few hours.

Grandma’s tips and tricks for preparing omelettes and refining scrambled eggs. Useful tips for a better-scrambled egg and to refine scrambled eggs deliciously and unusual.

Mix the scrambled eggs before the pan

If you like to prepare scrambled eggs or omelettes from eggs in the pan, there is a simple trick that will make scrambled eggs much better. It is always important that you do not stir your scrambled eggs in the pan, but prepare them outside in a bowl or mug and only mix them into the frying pan with the other ingredients at the very end.

Scrambled Egg Instructions

And this is how it works: In the pan, you can safely put all the ingredients that have to fry before the eggs. For example onions, shallots, diced tomatoes, vegetable slices, diced potatoes etc. At the same time, put your eggs in a small bowl.

Season the eggs (salt, pepper, nutmeg) and add a little milk so that the scrambled eggs do not become so dry and taste a little milder overall. Mix all the eggs well with a fork or whisk and mix well. Only when you have a homogeneous egg mixture can you put it in the pan. But only at the very end, when all the other ingredients are sufficiently fried and/or cooked.

Refine scrambled eggs deliciously

Scrambled eggs and omelettes are delicious and nutritious meals that can be expanded to suit individual tastes by adding vegetables or seafood such as shrimp. These dishes get a special kick if you add a few spoonfuls of sour cream, soft cheese such as Philadelphia or whipped cream while stirring.

Turmeric water is considered the new trend drink and also a panacea for various diseases. We’ll tell you which symptoms it actually helps against and how you prepare it.

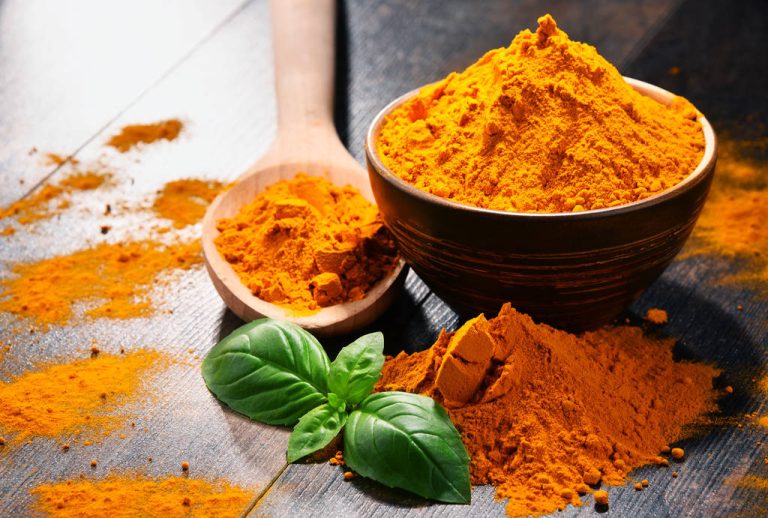
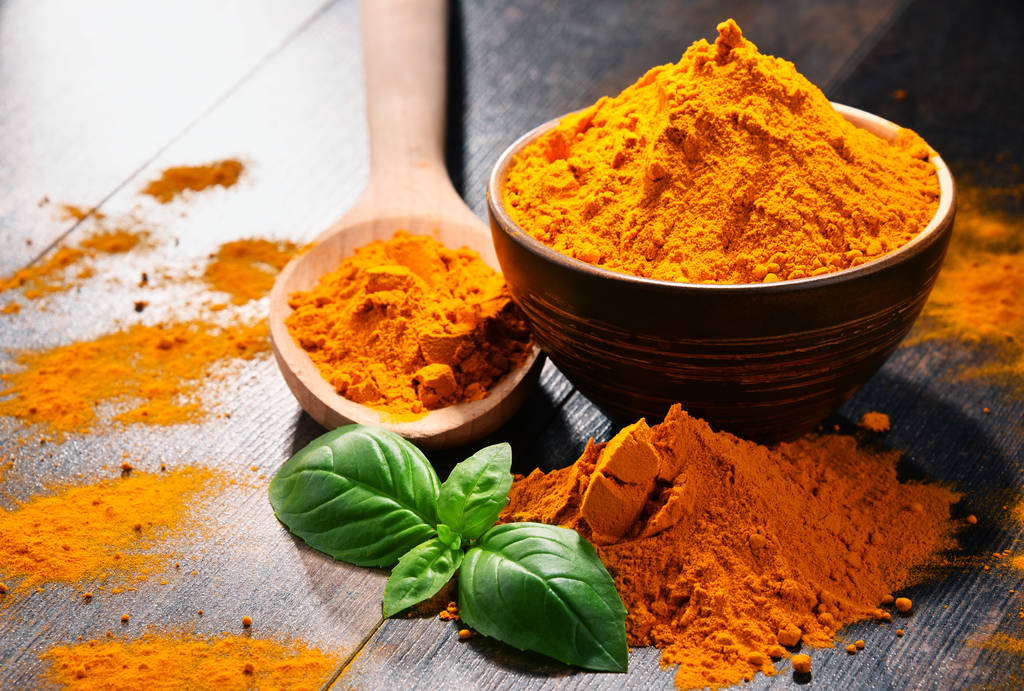
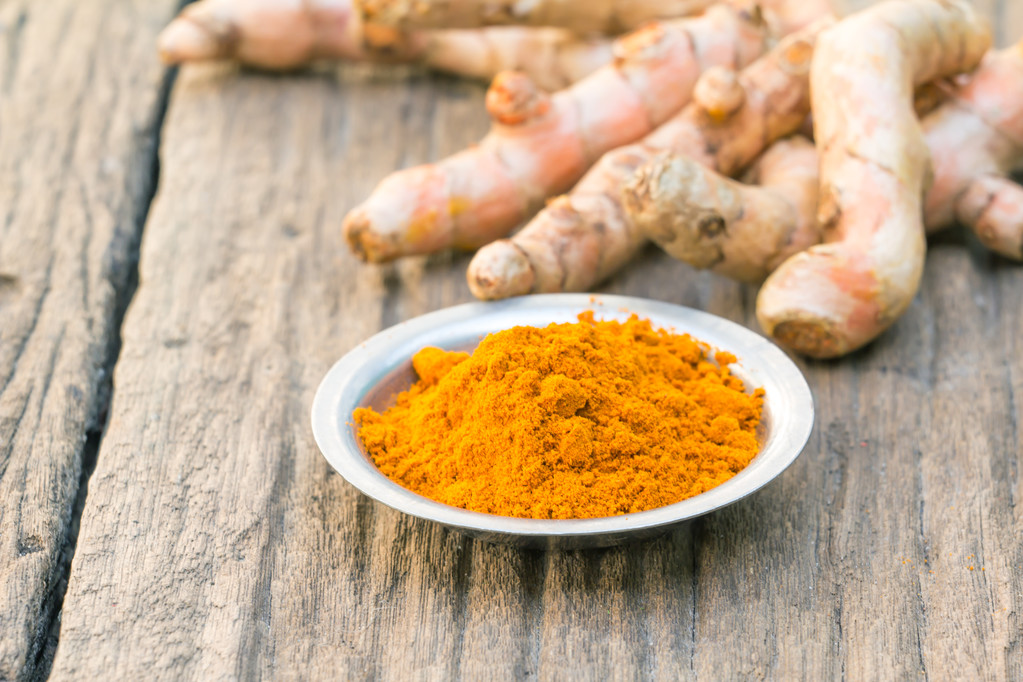
The yellow turmeric powder has long been used not only in the spice cupboard. A medicinal effect is also increasingly being ascribed to the Indian spice.

That’s why it’s not just bloggers who swear by turmeric water. But what about the healing properties of the drink and how do you dose it correctly?

Prepare turmeric water: Here’s how

In Ayurvedic medicine, turmeric water is drunk to counteract inflammation, among other things. The warm water is supposed to extract the active ingredients from the root and ensure that the body can absorb them quickly.

How to prepare turmeric water:
Pour about four cups of lukewarm water into a carafe.
Now add a teaspoon of turmeric to the water. Stir the mixture until the powder is completely dissolved.
Since curcumin is fat-soluble, add a few drops of your favorite cooking oil to your turmeric water.
To make the drink taste better, you can now add some lemon juice to the carafe. This also gives your turmeric water some vitamin C. If you don’t like it quite sour, you can sweeten the drink with a teaspoon of honey.

Turmeric water: curcumin as a miracle cure?

Turmeric water gets its bright yellow color from the natural dye curcumin, which is found in the turmeric root. The food industry has long used curcumin. For example, mustard gives its color to E100 as a coloring agent. Turmeric and its active ingredient are also becoming increasingly popular in Ayurvedic nutrition and medicine.

Boost digestion with turmeric water

Especially when a cold or a gastrointestinal infection is imminent, reaching for turmeric water is said to work wonders. In fact, a study by the University of Saarbrücken shows that the curcumin it contains has anti-inflammatory properties and is similar to medicinal cortisone in its mode of action.

The anti-inflammatory curcumin has proven particularly useful for digestive problems. Among other things, it stimulates the production of bile. The bile acid then helps your body bind and digest fats better. In this way, you can promote your digestion with small amounts of turmeric and counteract flatulence and the feeling of fullness after greasy meals.