Tag

prepare

Browsing

Maybe you’ve seen them before: green and yellow bananas that are very similar to conventional bananas, but look a bit larger and more angular. We explain what plantains are, what is important when it comes to storage and present two suitable recipes.

What makes plantains different from regular bananas?

Plantains are also known as plantains or vegetable bananas. The counterpart to this are fruit bananas – yellow, sweet bananas that most of us are familiar with. The two varieties are similar in shape, but the plantain is usually slightly larger and thicker. But there are other differences:

In terms of taste, fruit and vegetable bananas hardly resemble each other. Depending on the degree of ripeness, plantains have a floury consistency and a neutral taste. That is why they are often compared to potatoes. They are also used in the green-yellow state in a similar way to potatoes, for example in soups or as a puree. After a while, the bananas turn from green to yellow before finally turning black. Black plantains are mild and sweet and are best used in desserts and sweet dishes.
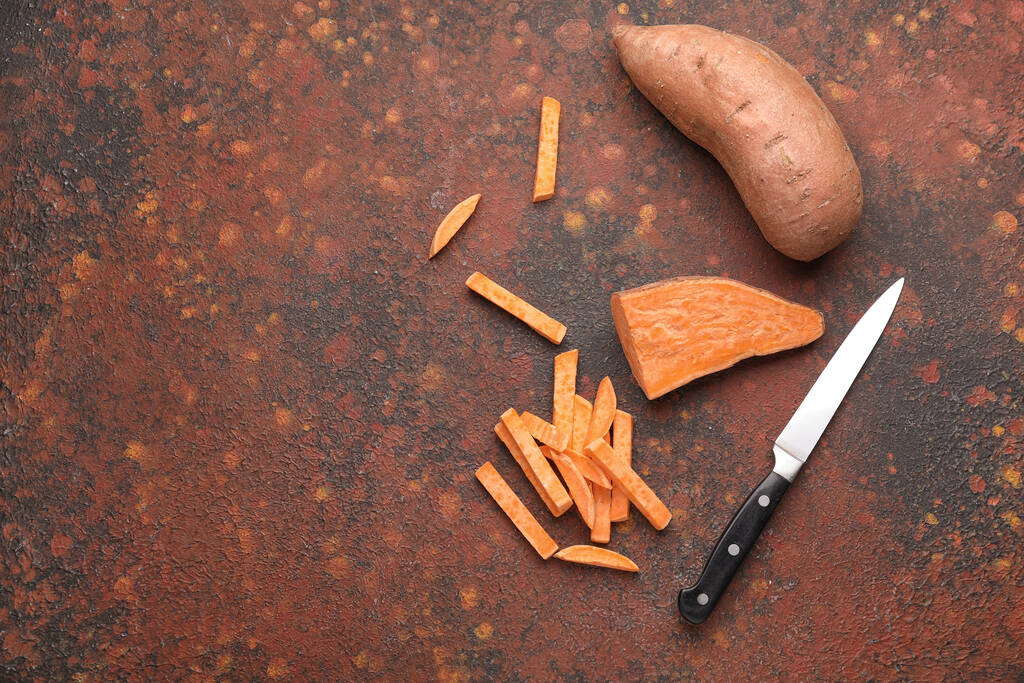
Plantains are more difficult to peel than conventional bananas, especially at first, due to their firm skin. You should always use a knife to peel green and yellow plantains. To do this, first remove the ends and then cut the banana lengthwise before peeling off the skin.
Unlike fruit bananas, you should only eat this variety raw when it is fully ripe.
Unripe plantains can be processed into flour, which is a gluten-free alternative to regular flour.

Fried Plantains: A Recipe

For this recipe you need:
2 plantains (the riper they are, the sweeter they taste)
Olive oil, sunflower oil or vegan butter
1 pinch of salt
optionally:
2 tbsp sugar
vanilla sugar
Cinammon
How to prepare fried plantains:
Peel the plantain and cut it into slices. The cut can run slightly diagonally.
Heat the oil or vegan butter in a pan.
Fry the banana slices on both sides until they turn golden brown. Sprinkle some salt over the plantains.
If you want to sweeten the bananas additionally, sprinkle some sugar on top. If you like, mix the sugar with some cinnamon and vanilla sugar as well. After about 30 seconds, the sugar should caramelize.
Take the finished fried plantains out of the pan and let the oil drip off a little.
The fried plantain goes well as a side dish with rice or black beans, but also tastes great on its own as a snack or dessert. For a savory version, use green plantains and then season them with salt, pepper, chilli powder or paprika powder.

This is how you prepare plantain puree

For two servings of plantain puree you need:
2 green plantains
2-3 onions
3 tablespoons vegetable margarine
2 tablespoons oil
salt and pepper
The preparation:
Peel the plantains and cut them into chunks.
Boil them in salted water for 20-30 minutes until tender.
Meanwhile, peel the onions and cut them into rings.
Blend the plantains with the margarine to a creamy puree. Alternatively, you can use a potato masher for this. If the consistency of the puree is too thick for you, add some water or plant drink. Season the puree with salt and pepper.
Heat the oil in a pan and sauté the onion rings for a few minutes.
Finally, garnish the finished plantain puree with the onion rings.

Plantains: where to buy them and how sustainable they are

Plantains are mainly grown in South America, for example in Colombia, and in African countries such as Uganda or Ghana. But Malaysia and India are also cultivation areas. The vegetable banana therefore has to travel long distances before you can buy it here in the Asian shop or in well-stocked supermarkets. The plantain does not have a good ecological balance.

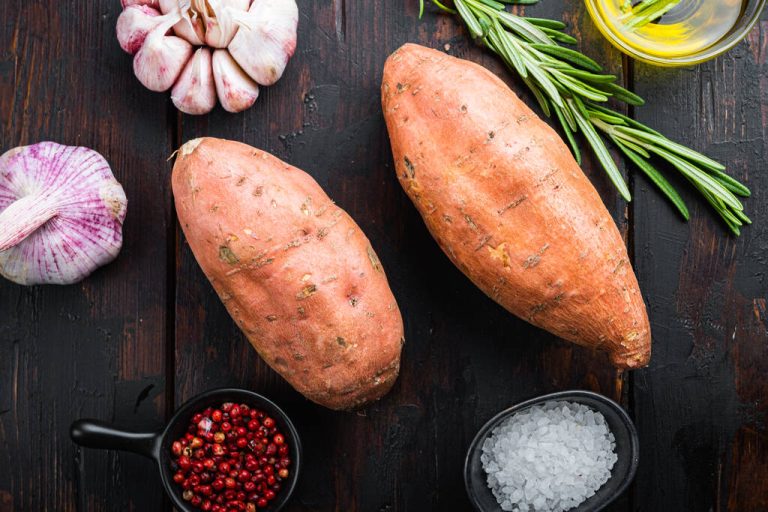
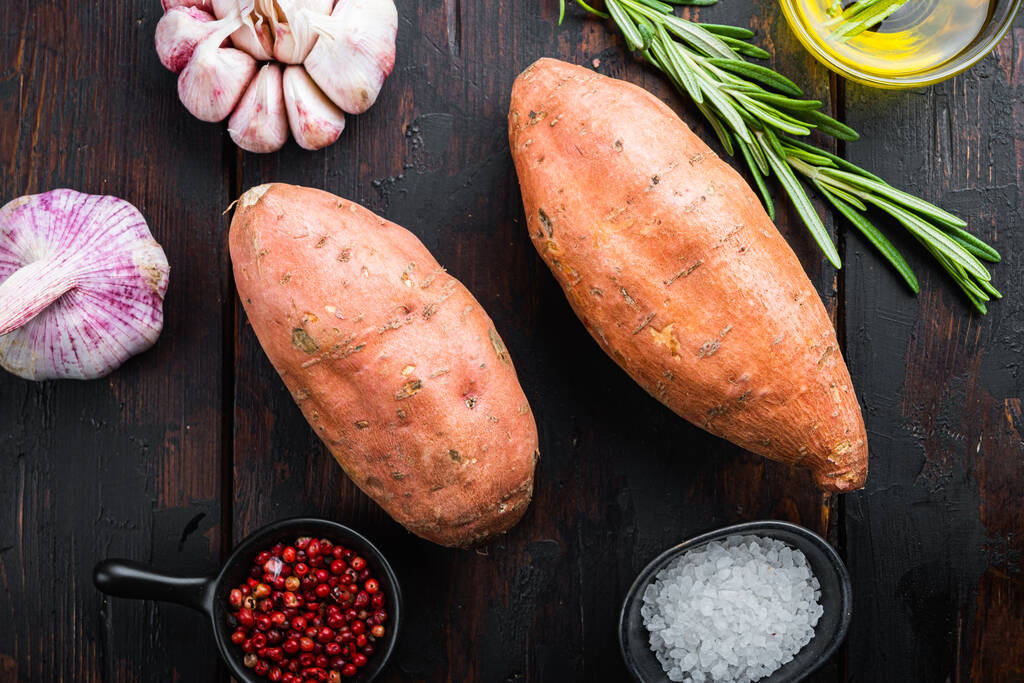
Similar to fruit bananas, working conditions on the plantations for plantains are often poor. We therefore recommend, if you have the opportunity, to buy the ingredient in organic quality and with a fair trade seal. You can also prepare some recipes with sweet potatoes instead of plantains. But this is only a more sustainable alternative if you get the sweet potatoes from regional cultivation.

Plantains ripen faster at higher temperatures. You should never store them in the refrigerator; a place protected from light at room temperature is better.

Correct cleaning and preparation is very important, especially with self-collected porcini mushrooms. We show you what you should consider.

Clean porcini mushrooms: This is how it works

Before you can process and prepare porcini mushrooms, you should first clean them. To do this, first wash them carefully under running water. It is best to use your hands and not a vegetable brush, as this will damage the mushroom too much.

Then cut off the wooden end. It doesn’t taste particularly good and is also uncomfortable to chew. If you are using very large porcini mushrooms, you should also remove the spongy tissue under the mushroom head as a precaution, as bugs and dirt can collect in it.

Peel the butternut or just leave the peel on? Here you can find out when you should peel butternut and how you can still use the peels.

Butternut squash, also known as butternut squash, is a popular type of squash that you can use in a variety of ways. Nevertheless, the preparation always raises questions: Do you have to peel butternut? There is no general answer to this and it depends, among other things, on the respective court. We’ll show you what’s important.

Shell the butternut or leave the shell on?

The skin of the butternut doesn’t get really soft, like the Hokkaido pumpkin, for example. You can eat them, but some dishes turn out better if you peel the pumpkin first. You should peel the pumpkin, especially for recipes in which you only cook it for a short time. In principle, you can leave the bowl on for soups and purees. You can avoid pieces in the finished meal by thorough pureeing. You can also leave the peel on for dishes like pumpkin wedges that take a long time to cook or bake.

Especially if you want to eat the skin, we recommend that you buy an organic pumpkin. This is how you avoid residues of chemical-synthetic pesticides on the shell. It is best to buy regionally grown pumpkins during the season to support local producers and avoid long transport routes.

Peeling the butternut: Here’s how

If you’ve decided to peel the butternut, here’s how to do it:

Remove the ends of the butternut and slice lengthways.
Remove the core with a spoon.
Stand the squash upright and use a sharp knife or vegetable peeler to cut off the skin.
By the way, you don’t have to throw away the pumpkin skins: you can use them for a snack instead. Cut the peels into small pieces and fry them in hot oil together with finely diced onion. Finally, you can season the bowls with pepper and salt and add other spices as you like.

You don’t have to throw away the seeds either. Dried and roasted, it also becomes a delicious snack.

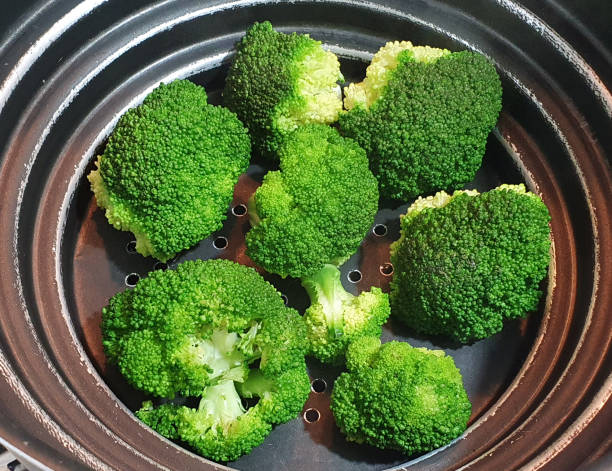
Steamer for very healthy, nutrient-friendly, and energy-efficient cooking. The food can be prepared gently by steam cooking. In addition, you can better preserve the color and taste. We’ll tell you why a device for steaming is worthwhile.

Steaming has been used in cooking for centuries. So it is by no means a newfangled invention. Rather, this way of cooking has been rediscovered. Because it allows you to serve healthy food that saves on fat.

The healthy way to prepare food

We are familiar with the dim sum dumplings from Chinese cuisine. These are steamed buns with a filling. A special bamboo basket is used for steaming. The steam envelops the food from all sides. This makes everything very even without drying out or watering down. And extra fat is not required for the preparation. And steaming food is also known in Indian and Japanese cuisine.

Steam cooking German dishes

Even far away from the eastern countries, our grandmothers already knew the principle. For example, a bowl or pot of water was also placed in the oven to cook roasts or bake bread. This should keep the roast nice and juicy. Sometimes vegetables or dumplings were also reheated using steam. Also, note our tips for cooking potatoes with instructions and cooking tests.

How does steam cooking work?

There are different types of cooking and cooking methods with water. There are two different methods of cooking with steam. On the one hand, there is steam cooking and on the other hand, the so-called pressure cooking. There are simple basic rules for steam cooking: Up to 95% is cooked at 100 degrees Celsius. A few exceptions would be, for example:

  • Fish for which a cooking temperature of 75 to 85 degrees Celsius is sufficient to prevent the protein from flocculating.
  • For sausages (Bockwurst, Wiener, etc.), a temperature of 90 degrees Celsius is enough to prevent them from bursting.
  • A soufflé should be prepared at 90 to 100 degrees Celsius.
  • Chocolate melts perfectly at 60 degrees Celsius

Difference between steam cooking and pressure cooking

In contrast, with pressure cooking, the cooking temperature rises to 20 degrees. You also need a pressure cooker that generates overpressure. Thus, the preparation with the pressure cooking is faster. Consequently, we have summarized both methods in an overview. Also, note good ideas for a quick dinner.

The advantages of the steam cooker

The steamer has many uses. So it’s a clever helper in the kitchen that you should have. Here are the advantages at a glance:

  • Almost all foods can be prepared with it. Whether vegetables, potatoes, fish, or meat, everything can be cooked gently and deliciously.
  • Glasses can be sterilized in the steamer. Accordingly, its various possible uses make a purchase worthwhile.
  • Important nutrients such as vitamins and minerals are retained. Cooking with steam is very gentle and water-soluble nutrients are not lost.
  • Nothing can burn or overcook in the steam cooker. Most of the time you can set the required time. This makes cooking easier.
  • The steam cooker saves energy. This works because you can steam different foods at the same time. Because no taste or smell is transferred.
  • Steamed food is also an eye-catcher. Flavour, color, and consistency are retained better because water cannot wash out the food.
  • Thaw frozen food again. If you want to defrost faster, you can use the steamer for this. This is also very uncomplicated.
  • You can use this to juice fruit. If you already have a steamer, you don’t need an extra juicer for your fruit. Because you can just as easily juice your fruit with the steamer.
  • Sweet and salty can cook at the same time. Because the aromas are not transferred during steam cooking in the appliance. As a result, you save time in preparation.
  • You can use it to prepare terrines and desserts just as well. Because you can not only prepare the usual dishes, such as vegetables or meat with it.
  • Keeps food warm very well. Not only the warming up of food but also keeping it warm works effortlessly with a steam cooker.

Buy a steamer

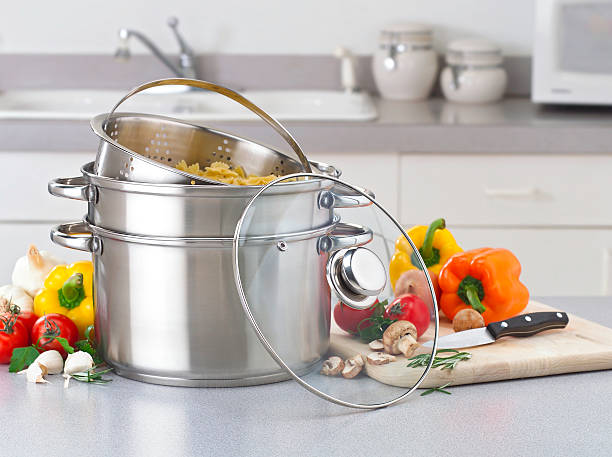
Of course, steaming also works in a pot with a sieve. There are now many different pots and accessories for cooking with steam. But a special steam cooker can also be worthwhile. This allows you to prepare many different dishes at the same time. So you can cook effortlessly and healthily.

Wholemeal rice contains a particularly large number of vitamins, dietary fibers and trace elements. In this article you will find out exactly what nutritional values ​​are in whole grain rice and what you should consider when preparing it.

Parboiled rice, white rice, basmati rice, wild rice: there are many different types and varieties of rice, some of which differ greatly from one another. In this article, we take a closer look at whole grain rice, also known as brown rice or brown rice. Utopia tells you what you should know about nutritional values ​​and cultivation and what you need to look out for when shopping and preparing.

Brown Rice: These nutritional values ​​make it so healthy

The nutritional value of rice largely depends on how far the rice grain has been processed. For white rice, for example, the silver skin and the germ are removed. However, these parts of the grain of rice contain a particularly large number of nutrients. Wholemeal rice, on the other hand, is largely untreated: it only lacks the inedible husk. That is why brown rice is also considered to be the healthiest rice.

Since rice is a natural product and the exact nutrient content depends on the rice variety and the growing conditions, the nutritional values ​​of whole grain rice also differ depending on the product.

In terms of calories, carbohydrates and protein, whole grain rice hardly differs from white rice. However, whole grain rice contains significantly more minerals such as potassium, magnesium and iron as well as more vitamin B1 and vitamin B3.

The carbohydrates are primarily long-chain carbohydrates, which are considered to be the healthier carbohydrates. With almost eight percent protein, brown rice is also a good source of vegetable protein.

However, there is one major shortcoming with whole grain rice: the arsenic content. The harmful semi-metal is mainly found in the husk of the rice grain, which is why whole grain rice contains significantly more arsenic than white rice. To reduce the arsenic content, you should therefore rinse and soak rice well. Reading tip: In our special article we explain everything you need to know about rice and arsenic.

Prepare whole grain rice: tips for the kitchen

As mentioned in the first section, you should wash whole grain rice thoroughly before preparing it and ideally soak it for several hours. This allows you to significantly reduce the arsenic content. You can find out the background and what you should pay attention to in our article Washing or soaking rice – does that make sense? If you want it to be extra quick, you can skip the soaking. In any case, you should wash the brown rice until the water runs clear.

You can then cook the whole grain rice in two different ways:

Add five times as much water as rice to the saucepan. With this cooking method, the arsenic content in the rice is further reduced. Due to the high water and energy consumption, this is also less environmentally friendly.
With the quick swelling method, you only add twice the amount of water to the pot.
In any case, you put the whole grain rice in the cold water, then bring it to a boil and simmer the covered rice for about twenty minutes over a low heat. Then let the brown rice soak in the saucepan for another ten minutes.

It was already considered outdated and old-fashioned, but now it’s back! We’ll tell you why filter coffee is making a comeback and what different methods of preparation there are.

The filter coffee as a cult

Filter coffee has increasingly become a trend drink in recent years. It’s no longer just about the taste, but as with whiskey or chocolate, new questions arise here too: What are the working conditions like in the countries where the coffee is grown? Are the cultivation and harvest environmentally friendly? The bad reputation of filter coffee was pushed aside and the methods of preparation rediscovered. A single coffee bean has over 800 flavors. This is what makes filter coffee so exciting, because here it is important to get the right aromas out of the bean and to adjust the roasting profile of the bean. Because unlike latte macchiato or cappuccino, the drink is not covered by milk here, so that the special aromas can better come into their own.

The advantages of filter coffee

Even if filter coffee was perceived as outdated and bad coffee for a long time, the method of preparation has continuously evolved and thus helped the “new” filter coffee to achieve a renaissance. Forgotten is the outdated, stale stereotype of filter coffee. Now it tastes better than ever – and as a comparatively sustainable production method, it also embodies the spirit of the times:
Larger bottom opening in the filter holder: The coffee flows through more evenly and unwanted bitter substances and sediments stay outside. The taste of the coffee is not clouded. Some filters also have spiral ribs on their inner wall. The ribs are there so that the filter paper does not stick to the filter, the finished coffee can run off nicely and does not accumulate.
Tasteless filter paper: Fine-pored and tasteless filter paper gives the coffee an authentic, clear taste. If the coffee tastes too mild, you can use a cotton filter. This allows more oils to get into the coffee and the intensity of the aroma increases.
Environmentally friendly: The environment benefits greatly from the fact that filter coffee is on the rise again. Pad or capsule machines are faster than a filter machine, but leave a lot of waste. An additional capsule is required for each new coffee drink. And a capsule consists of two-thirds coffee and one-third packaging material. In addition, the capsules are a major cost factor in the long run.

This is to be considered with a filter coffee

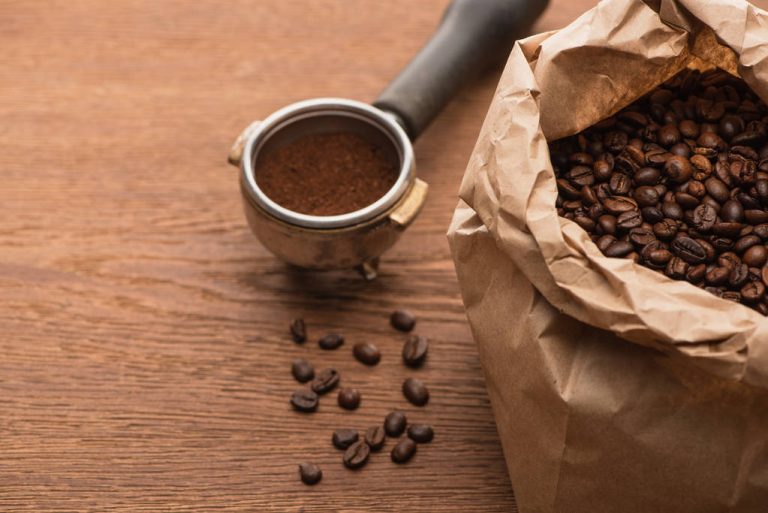
The coffee beans: For filter coffee, it is important that the coffee beans are gently roasted slowly and only at low heat. This will prevent a bitter taste as the bean will not burn. Classically, the Arabica bean is used because, like the Canephora bean, it can be roasted very well. Of course, decaffeinated beans can also be used for filter coffee.
The degree of grinding: For filter coffee, the beans are best freshly ground. A wide berth should be avoided around ready-made coffee powder. The longer the coffee was roasted and ground, the more aromas the ground coffee loses due to oxidation. Accordingly, the grind should be as fresh as possible. A medium grind of the bean is ideal for this. According to the trend, the beans must be lightly roasted. With a dark roast, more acids are broken down and the coffee gets more bitter notes. The lighter beans, on the other hand, emphasize the fruity acids.
The water: As already described in the ingredients, the water should ideally be 86 to 96 degrees hot. It is at this temperature that the oils in the coffee beans combine best.

What are the options for preparing filter coffee?

Filter coffee from the coffee machine: Everyone has probably had the typical, conventional coffee machine at home. The principle is simple and learned: bend the paper filter, insert it into the holder, add the desired amount of coffee powder, fill in the right amount of water, press a button and off you go.
Hand filter coffee: The hand filter method is a bit more complex than the preparation in the coffee machine. It takes several steps to create the perfect coffee experience. But it is the most original way of making coffee.
Chemex: The Chemex is a not so well-known device for preparing filter coffee. It is a glass filter coffee maker invented by a German chemist. During preparation, particularly thick filter paper is used, resulting in a very pure coffee.
Moccamaster: The Moccamaster is comparable to an ordinary coffee machine. However, it has far more technical subtleties, which, according to its Dutch inventor, should create the perfect coffee experience.

Do you like to order cappuccino in the café and would you like to prepare this coffee variation at home? No problem: we will show you step by step how to prepare a cappuccino.

Chocolate cake with a cup of hot cappuccino on the table with Shell.

Where does the cappuccino come from?

Anyone who thinks that cappuccino is a purely Italian coffee specialty is wrong. The origins of the drink are in Austria. The cappuccino as we know it today came from a Viennese coffee speciality, the so-called “Kapuziner”. This consists of mocha and liquid whipped cream. The “Capuchin” owes its name to the typical light brown colour, which is reminiscent of the habit of the Capuchin monks. In German, the related word “cappuccio” means hood or haupe, which can be associated with the monk’s habit. During World War I, Austrian soldiers brought their specialty to Italy. Here the “Capuchin” was further developed and refined into the “Cappuccino”. The name “Cappuccino” is derived from the name of the original drink “Kapuziner”. Today, the Italian version of the cappuccino is usually served in cafés around the world.

When is cappuccino drunk?

In Italy, cappuccino is usually drunk at breakfast. Italians like to dip hard pastries such as rusks or cantuccini into their drink. In this country, the coffee specialty is drunk throughout the day. For example, at the start of the day, but also in the afternoon with coffee and cake.

How is a cappuccino prepared?

Like a latte macchiato, cappuccino only needs two ingredients, but in comparison it is a little more skilful when it comes to the figures in the foam. But read more here.

Ingredients needed for a cappuccino:

An espresso
150 ml milk (alternative)

Step 1:

Prepare an espresso and pour it into a thick-walled cup with a capacity of around 200 ml. You will get the best result if the cup is preheated.

Step 2:

Froth about 150ml of milk with a milk frother and warm it up. Be careful with the temperature: it must not exceed 60 degrees. Otherwise the foam falls apart and the creamy consistency is lost. The milk froth is ready when the volume has roughly doubled. The number of calories in a cappuccino depends on the fat content of the milk used. Therefore, a cappuccino can have anywhere from 70 to 150 calories.

Step 3:

Pour the milk into the cup with the espresso shortly after frothing. With the right speed and technique when pouring, artistic images can be conjured up in the rising crema of the espresso. Find out more about this in the text.

More and more people appreciate the original coffee taste of filter coffee. In particular, the hand filter method is more popular than ever. You can read everything about the preparation and its advantages here.

What is hand filter coffee?

If you want to prepare a coffee with the hand filter, you only need two utensils: the filter holder and a filter. In addition, of course, the appropriately ground coffee powder and hot water are required for the preparation. Hand filter coffee is characterized by a clear aroma and full-bodied taste. The difference between filter coffee and hand filter coffee is already evident in the name. While normal filter coffee is usually prepared in a machine and the brewing process runs automatically, with hand filter coffee the water is poured over the ground coffee by hand.

This is how you prepare the perfect hand filter coffee

The hand filter method is a little more complex than the automated brewing process with the coffee machine. It takes several manual steps and of course your time. But it’s worth it. We explain how to brew hand filter coffee correctly.

Ingredients needed for one liter:

60 grams of ground coffee with a medium degree of grinding
1 L of water with a temperature between 93 and 96 degrees

Step 1: grind beans

For the preparation with the hand filter, the beans should be ground to a medium degree of grinding. The coffee powder is perfect when it is a little finer than for the French Press, but not as fine as for an espresso. The ground coffee should be as fresh as possible so that the extraction process works optimally. In addition, the ground coffee loses more and more aromas the longer it has been roasted and ground. The reason for this is oxidation.

Step 2: Fold filter paper, insert and rinse

First fold the filter paper at the lower end. Why? It’s very simple: the filter fits exactly into the filter holder due to the buckling. So there is no slipping that could cause coffee powder to get into the drink. Then insert the paper filter into the hand filter. Before brewing, the filter should be rinsed once with boiling water to remove any flavors.

Step 3: Add ground coffee

Put the ground coffee into the filter. Pay attention to the crowd. For one liter of coffee you need about 60 grams of powder. For a cup with 250 ml you calculate with about 15 grams of coffee powder. How many spoons that is depends on the size of your spoon. Just weigh the amount and you have the perfect dosage of coffee spoon to ground coffee.

Step 4: Boil water and let coffee swell

Boil the water, ideally it should be between 93 and 96 degrees. There is a reason for this: the coffee beans contain oils. At the specified water temperature, these combine best and ensure an aromatic taste. In the first step, pour enough water onto the coffee powder until it is completely covered. Now the coffee begins to swell, which is also called “blooming”. This “pre-brewing,” where small bubbles appear, should last about 30 seconds.

Step 5: Top up with water

After about 30 seconds, slowly pour the remaining water into the filter in a circular motion. Gradually add more water to the filter until you have the desired amount in the jug. When pouring the water, make sure that the ground coffee is wetted and not the edge of the filter. This prevents the water from running past the powder. It should take a total of two to four minutes – depending on the amount of water – until you have poured the liquid completely over the ground coffee.

Baked oats have become popular as a breakfast trend on TikTok. And rightly so, because the baked oatmeal tastes like cake for breakfast. We’ll show you how to make baked oats yourself.

Baked oats have been arguably the most popular breakfast trend on social media for a while. Although they are very similar to baked oatmeal, i.e. baked porridge, they do have their own reason for being. Because thanks to the finely ground oat flakes, baked oats have a finer and juicier consistency.

For the Baked Oats you need a blender in addition to a few basic ingredients. With this you have prepared the dough in a few minutes. The basis for the baked oats is oat flakes, plant milk, banana, dates or maple syrup for sweetness.

It is best to buy the ingredients in organic quality. In this way you support organic agriculture that does not use chemical-synthetic pesticides, which could end up in your food and in the environment. Recommended organic seals are, for example, Demeter, Naturland and Bioland. For products such as chocolate, cocoa or vanilla, you should also pay attention to Fairtrade certification. The seal shows you that the product was manufactured and traded under acceptable social conditions.

We will show you a basic recipe for vegan baked oats with light and dark variants. Of course, you can change the recipe as you like.

Vegan Baked Oats: Basic recipe for two servings

Ingredients:

80 goat flakes
240 ml plant-based milk
1ripe banana
3dates
1 tablespoon peanut butter
1 teaspoon Baking powder
0.25 tsp salt
vanilla (optional)
1 ELFairtrade cocoa powder
fair trade dark chocolate

Directions:

Add oatmeal, plant-based milk, ripe banana, pitted dates, peanut butter, baking powder, salt and optionally some vanilla or other spices such as cinnamon to the blender and blend the ingredients into a viscous paste.
For the light variant, fill half of the dough into a small ovenproof dish. You can also use an ovenproof cereal bowl or a screw-top jar here.
For the chocolate version, stir the Fairtrade cocoa into the rest of the batter and fill the second mold with it. The chocolate version tastes particularly delicious with a teaspoon of peanut butter as the core.
Top the cakes with chopped dark Fairtrade chocolate, nuts or other ingredients of your choice and bake them in a preheated oven at 180 degrees for about 20 minutes.
The baked oats taste warm or cold and keep in the fridge for several days.

Baked Oats: Tips and variations for a healthy breakfast

You can change the ingredients according to your own taste. Instead of peanut butter, almond butter or hazelnut butter go well with it and you can replace the dates with a sweetener of your choice, for example: maple syrup, apple syrup, date syrup or sugar alternatives such as stevia or birch sugar.

You are in control of the length of the baking time. If you prefer a mushy, porridge-like consistency, remove the cakes from the oven after about 20 minutes. For a firmer, cake-like texture, bake them for 25 to 30 minutes. You can do the chopstick test as a test. The baking time also depends heavily on the shape and size of your molds.

Ideas for variations on vegan baked oats:

Baked oats without banana: For a more neutral taste, you can mix the banana with 100 grams of apple pulp or with 1.5 tablespoons of ground flaxseed and 5 tablespoons of plant-based milk (leave to soak before use). Alternatively, the baked oats also work well if you simply leave out the banana and add a little more milk or plant-based yoghurt instead. However, since the banana brings a lot of sweetness with it, you may have to sweeten it here.
Baked oats with a liquid core: Put a teaspoon of nut butter, jam, some chocolate, chocolate cream or a dollop of vegan yoghurt or vegan cream cheese mixed with maple syrup in the middle of the mold.
Additional toppings and ingredients: In addition to chocolate and nuts, grated coconut, cocoa nibs, dried fruit, blueberries or finely chopped fresh fruit also go very well with the recipe. You can also refine the cakes with poppy seeds and grated lemon zest, for example, or make a carrot cake variant with grated carrots, raisins and walnuts.


We’ve prepared tips for you to make the most delicious pizza base! This recipe is for one rectangular pizza (25 x 35 cm) or two round pizzas with a diameter of 30 cm.

  1. In a small bowl, stir in warm water (40-46 ° C) 1 tsp. Sahara. Pour in 1 tsp. dry yeast and stir. Cover loosely and let stand for about 5 minutes, until foam forms.
  2. In a food processor with a dough attachment, mix 2 cups wheat flour with 1 tbsp. l. olive oil and 1/2 tsp. salt. Combine the ingredients in a pulse mode. Add diluted yeast and 1/2 cup lukewarm water (not as warm as for yeast fermentation). Mix until a soft dough is obtained and continue kneading for 1 minute.
  3. Powder your hands lightly with flour and remove the dough. Knead with your hands for another minute. Place in a bowl dipped in olive oil. Turn the dough over so that the top is also covered with butter. Cover loosely with plastic wrap and place the bowl in a larger bowl, half full of warm water.
  4. Let it rise for 1-1.5 hours until the dough has doubled in volume. Do not crush. Lightly dust the work surface with flour. Place the dough on top of it carefully. Quickly knead and stretch the dough with your hands into a 25 x 35 cm rectangular slab. Sprinkle cornmeal on a large wooden pizza spade or baking sheet without a rim.
  5. Place the dough on a spade or baking sheet near the edge. Cover with plastic wrap and let rise for 30 minutes. Meanwhile, heat a flat baking stone or baking sheet on the lowest rack in the oven at 250 ° C for 30 minutes.
  6. Remove the foil from the dough and place the filling on the crust. Bring a shovel or baking sheet to the edge of a heated pizza stone or baking sheet. Briskly shake the pizza onto a stone or baking sheet. Bake 10 minutes until light brown and bubbles form on the filling.