Tag

process

Browsing

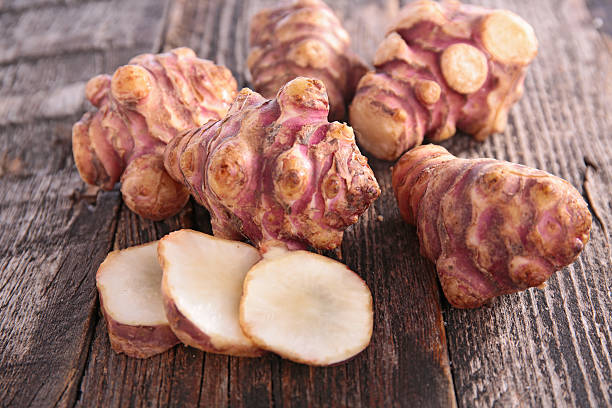
Tuber vegetables have been making a big comeback for a while now! The Jerusalem artichoke is at the forefront. Whether raw in salads, as the basis of a warming soup, or as a puree: the vegetable can be used in many different ways. However, you should process the Jerusalem artichoke quickly, because its shelf life is short.

Process Jerusalem artichokes quickly

Jerusalem artichoke should not be stored long after purchase but processed quickly. Vegetables are highly perishable and only last a few days, even in the refrigerator. In addition, it quickly loses its taste and valuable ingredients there.

Shopping tip

When buying Jerusalem artichokes, you should make sure that the tubers have an intact, evenly smooth, and shiny shell.

Topinambur is so healthy

Jerusalem artichoke contains about 16 percent of the dietary fiber inulin. This hardly affects the blood sugar level, which is why the tuber is particularly popular with diabetics. In addition, inulin has a positive effect on the intestinal flora, thus strengthening the body’s defenses and satiating for a long time.

In addition, Jerusalem artichoke is rich in potassium, calcium, phosphorus, and iron as well as vitamins C and D. The tuber is low in calories, which makes it perfect for figure-conscious eaters.

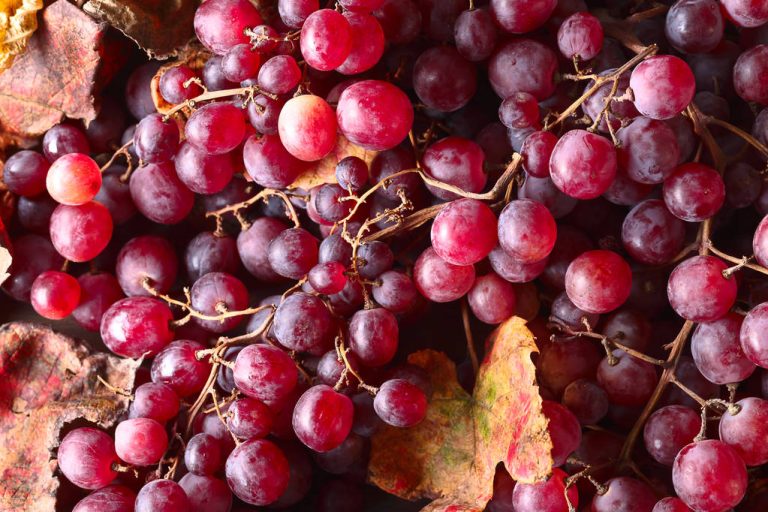
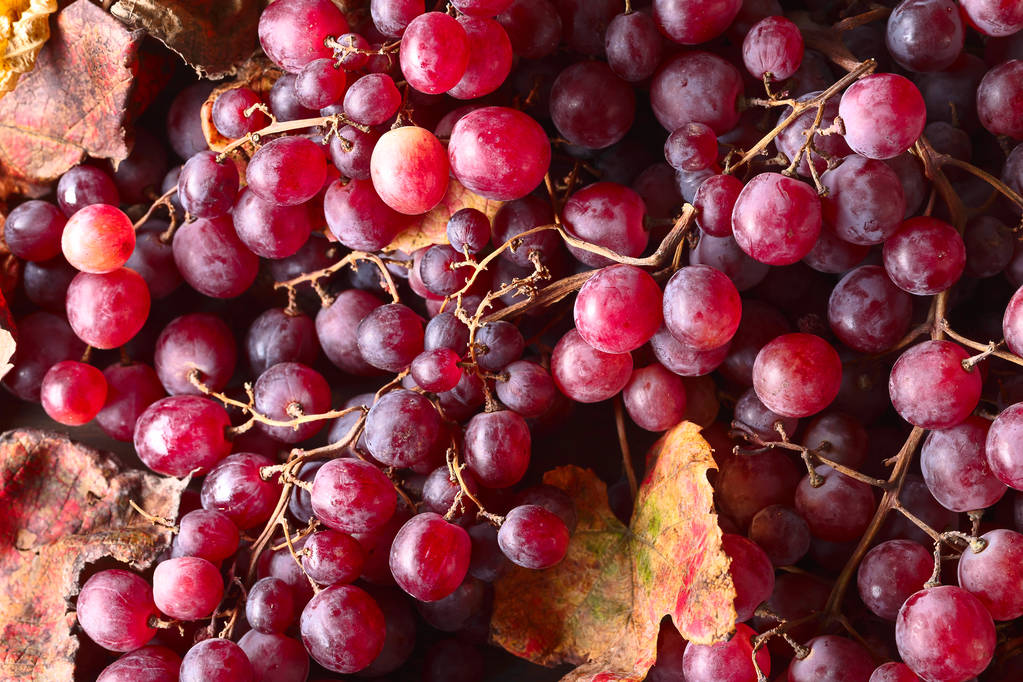
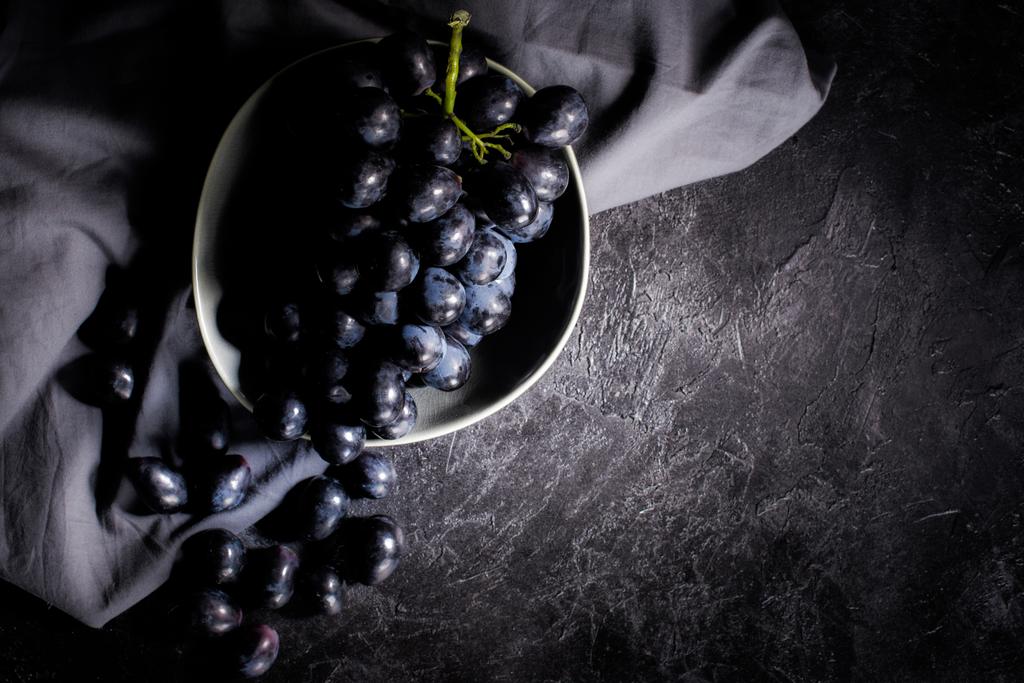
Grapes are in season in midsummer. 3 delicious recipes to process grapes.

Our grape season begins in July. Maybe you are lucky enough to have vines in the garden or on the balcony yourself, which will give you a rich harvest. Perhaps you have also received grapes as a gift and do not want to eat them all pure. The sweet fruits can be processed in many different ways and can be preserved for a long time – for example as grape juice. But there are other delicious recipes:

1. Process grapes into jam

Another classic is grape jam. It tastes so much better when you make it yourself than from the supermarket. You can make grape jam in large quantities without hesitation – if stored airtight and protected from light, it will keep for several months. Grape jam is also suitable as a gift for friends and family.

For three to four jars of grape jam you will need:
800 g grapes, with or without seeds
1 vanilla bean
2 tsp cinnamon
1 packet of preserving sugar – alternatively you can also use agar agar. Then you should always store the jam in a cool place. It also has a slightly shorter shelf life.
Clean, sterile jam jars.
That’s how it’s done:
Wash and hull your grapes and place them in a large enough pot.
Mash them gently with a large spoon and then let them boil in their own juice for about five to ten minutes.
Then pass the crushed grapes through a sieve, catching any seeds and coarse scraps of skin.
Then return the grapes to the pot and warm them up. Then add the pulp of the vanilla and the cinnamon.
Then stir in jam sugar or agar agar and let everything simmer for a few minutes.
Depending on the type of gelling sugar or agar agar, it takes a different amount of time for the mass to set. Test the firmness by putting some of the jam on a plate and waiting a moment. If it is nice and firm, your jam is ready and you can take it off the stove.
Pour equal parts of the mixture into your jam jars, screw them on tightly and turn them upside down. After 5 minutes, turn them right side up.
Tip: You can refine grape jam with other fruits of your choice. Plums or apples, for example, go particularly well with it. Chop these into small pieces before adding them to the grapes and then proceed as described.

2. Process grapes into jelly

If you like it a bit lighter, you can also process your fruit into grape jelly. It goes well on bread or as a delicious dip, for example with a hearty cheese board.

For three to four glasses of jelly you will need:
1 kg of grapes
500 grams of jam sugar or agar agar
fresh ginger (to taste)
freshly squeezed lemon juice
a clean cotton cloth
Jelly or jam jars (sterile)
That’s how it’s done:
Wash the grapes and put them in a large pot.
Pour in enough water to just barely cover the grapes.
Let everything simmer for about 30 minutes.
Then put everything in a permeable cotton cloth and place this in a large sieve over a collecting bowl.
Allow the grape pulp to strain through the cloth for at least 12 hours.
Finally, press the remaining fruit pulp out of the cloth by twisting it.
Now put the juice with the preserving sugar and a few dashes of lemon juice in a saucepan. If you like, you can also add some finely grated ginger. Let everything simmer for about five minutes.
Finally, pour the still warm jelly into jars that have been rinsed hot, screw them tightly and place them on the lid. After five minutes you can turn them over.
Tip: If you like it exotic, you can refine your jelly with tart spices. Cardamom, for example, tastes great as a spicy contrast in sweet jelly. Add about half a teaspoon of cardamom powder to the grape juice for boiling, or let some dried cardamom seeds boil with the jelly.

3. Process grapes into compote

A savory and sweet compote can also be made from grapes. For example, you can serve grape compote with whole grapes as an alternative to cranberries with hearty autumn dishes.

You need:
1 kg of grapes
500ml white wine
400ml of water
150 grams of sugar
1 vanilla bean
4-5 cloves
coarse peppercorns
mustard seeds
That’s how it’s done:
For your grape compote, put all the ingredients except the grapes in a large saucepan and let them cook for about 15 minutes.
You can add vanilla pods to the brew for a vanilla taste. You should scrape them out first though.
Meanwhile, wash the grapes, stir them into the boiling quantity and let everything boil down for another five to ten minutes.
Then remove the vanilla bean and cloves from the broth and let the compote cool down.
If you don’t have any grapes in your garden, make sure you only buy local fruit. Grapes grow in large quantities here in summer. It is therefore unnecessary to buy grapes from abroad that have been transported long distances.

No more fear of gelatin! Gelatine is often required to make cakes, slices, and roulades firm. Processing these is not as tricky as some might think. With our tips & tricks, nothing can go wrong.

Correct dosage of gelatine

The amount of gelatin needed depends on the amount and desired consistency of the mass you want to gel. As a guideline: For 500 ml of liquid, either 1 pack of ground gelatine or 6 sheets of gelatine are used.

Soaking is part of it

Leaf gelatin needs to be soaked in cold water in a wide bowl for about 5 minutes. So that the leaves do not stick together and can swell sufficiently, they should be placed individually in the water. Mix the powdered gelatine with a few tablespoons of the cold mass, juice, cold water, or liqueur (depending on the recipe) in a small saucepan and leave to swell for about 5 minutes.

Cold masses gel

Remove the swollen gelatine leaves from the water, squeeze them out well and dissolve them in a small saucepan over low heat. Here you can also add a few tablespoons of the mass to be gelled or some juice. You can also slowly dissolve swollen powdered gelatine over low heat.

Before you add the gelatine to the rest of the mass, it should be leveled. To do this, stir a few tablespoons of the cold mass into the dissolved gelatine and then mix the gelatine mass with the cold mass.

Hot masses gel

If you want to gel hot masses, you can immediately add the gelatine undissolved to the hot, no longer boiling liquid and stir until it has completely dissolved.

The liquid should not be boiled after the gelatin has been added, otherwise, the gelatin will lose its gelling power.

Tips and tricks

Gelatine is not suitable for creams or jellies with fresh kiwi, pineapple, papaya, and figs, as these contain an enzyme that reduces the gelling power.

A plant-based alternative to gelatin is agar-agar. The difference is that agar-agar has to be boiled for 2 minutes in order to develop its gelling power. It is therefore very suitable for fruit jellies.

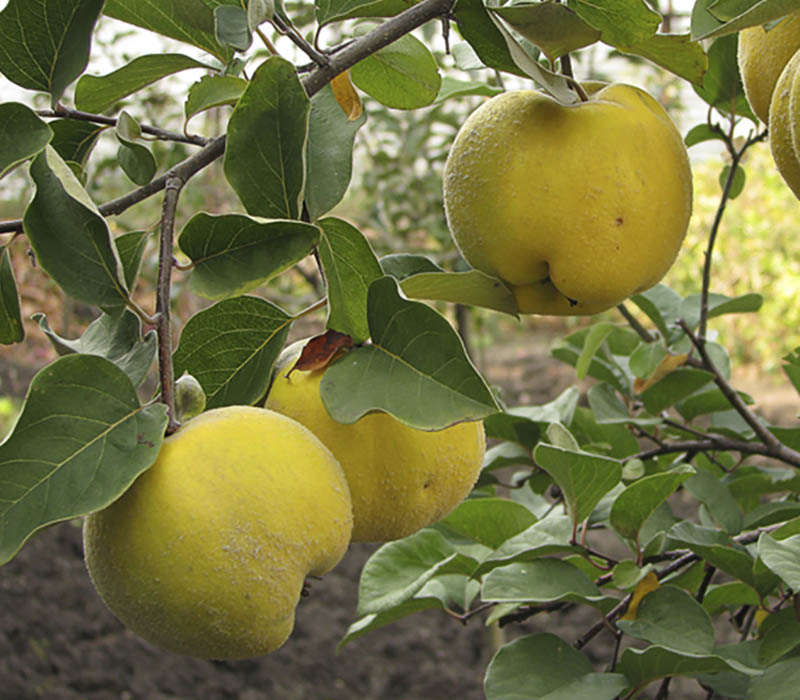
There are many ways to process quinces. Here you will find inspiration on how to prepare the stone fruit in a variety of ways – be it as quince jelly, syrup or jam.

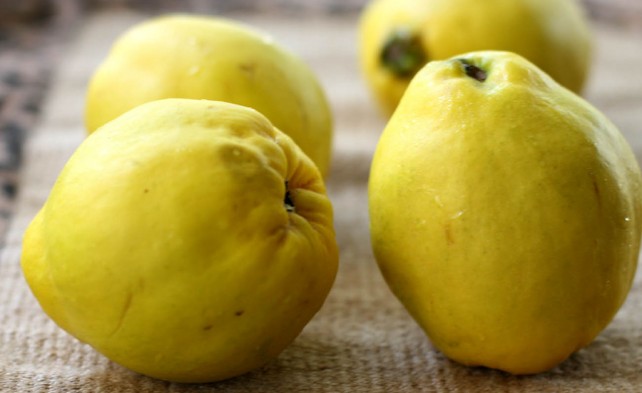
You can classify quinces visually and tastefully between pears and apples. They are a pome fruit that has almost been forgotten – unfortunately, because the sun-yellow fruits are not only healthy, but also versatile. In Germany they are in season from October to November. After harvesting, you can store them refrigerated for up to eight weeks. We recommend that you buy the fruit in organic quality – this way you support environmentally friendly agriculture without chemical-synthetic pesticides.

Uncooked, the fruit tastes bitter, so you shouldn’t eat quince raw. You can process them in many ways and thus preserve the fruits beyond the autumn and winter.

Here are some inspirations on how to use quince:

Quince compote
quince syrup
quince juice
quince bread
Quittengelee
quince jam

Process quinces into quince compote

You can process quinces into a delicious compote that goes well with all kinds of desserts – for example waffles, ice cream or pudding. The basic quince compote recipe only requires three ingredients—quince, water, and sugar—but you can vary it to taste, like adding spices. Quince compote can be preserved in mason jars for a long time. You can also use the quinces to make a fresh dessert compote without boiling them down.

Process quinces into quince syrup

With quince syrup you can not only mix a refreshing drink, but also refine desserts. Try quince syrup as a topping for ice cream or Christmas cookies, for example. To process quinces into syrup, you only need a few ingredients. However, this requires a few more steps than, for example, quince compote: After you have cooked the quinces, you must first pass the mass through a sieve before you can boil it again and then bottle it. The quince syrup will keep for up to several months.

Process quinces into quince juice

You can enjoy quince juice pure, add water or use it as a base for a Christmas punch. If you want to process quinces into juice, the pulp will remain after you have strained the cooked quince mass. But you don’t have to throw away this fruit puree. You can use it further and process it into quince jelly, for example (see recipe below). This way you avoid unnecessary food waste. The quince juice will keep for up to a year.

Process quinces into quince bread

Contrary to its name, quince bread is not actually bread, but a type of confection. Especially around Christmas time, the fruit is often used to make sweet quince bread, but the fruit jelly is also a delicious delicacy throughout the rest of the year. If you want to do without white industrial sugar, you can also prepare the quince bread with honey. But you have to be patient if you want to enjoy quince bread: After preparation, the confectionery has to dry for a few days.

Process quinces into quince jelly

Quince jelly tastes wonderful with home-baked bread or rolls. But you have to invest some time before you can taste the honey-colored jelly. The quince jelly has to simmer for about five hours. After that you have to strain it before you boil it again. After that, pieces of quince remain, but you can use them. Simply process the pieces of quince with a few soaked dates and cinnamon into a fruity quince purée.

Process quinces into quince jam

In contrast to quince jelly, quince jam is a faster and therefore more energy-saving way of processing quince. Because while the latter has to simmer for five hours and consumes a lot of energy, quince jam is ready after about 20 minutes. By the way, you don’t have to throw away the seeds that you haven’t cooked: you can use them to make a tea that’s good for your digestion. To do this, simply pour hot water over one or two teaspoons of the seeds and let them steep for about ten minutes.

Introduction: Exploring the Traditional Dominican Dish

Sancocho is a hearty and flavorful stew that has been enjoyed by Dominicans for generations. This traditional dish is a staple in Dominican cuisine and is often served during special occasions and family gatherings. The dish is known for its rich and savory taste, and it is made using a variety of ingredients such as meats, vegetables, and spices.

Sancocho has a long history that dates back to the indigenous Taíno people of the Dominican Republic. The stew evolved over time, incorporating ingredients from the Spanish and African cultures that have influenced Dominican cuisine. Today, there are many variations of sancocho, each with its own unique blend of ingredients and flavors.

Ingredients: What You Need to Make Sancocho

To make sancocho, you will need a variety of meats, vegetables, and spices. The most common meats used in sancocho are beef, pork, and chicken. You will also need a variety of root vegetables such as yucca, malanga, plantains, and potatoes. Other vegetables that are commonly used include onions, bell peppers, tomatoes, and garlic.

In terms of spices, sancocho typically includes oregano, cilantro, salt, and pepper. Some variations of the dish may also include other spices such as cumin, annatto, and bay leaves. It is important to have all of the ingredients prepped and ready to go before starting the cooking process.

Step 1: Preparing the Meat

To start making sancocho, you will need to prepare the meat. Cut the meat into bite-sized pieces and season with salt and pepper. Heat some oil in a large pot and brown the meat on all sides. Once the meat is browned, remove it from the pot and set it aside.

Step 2: Boiling the Ingredients

Next, you will need to boil the ingredients. Add water to the pot, along with the yucca, malanga, plantains, and potatoes. Bring the water to a boil and then reduce the heat to a simmer.

Step 3: Adding the Vegetables

Once the root vegetables have started to soften, add the onions, bell peppers, tomatoes, and garlic to the pot. Return the meat to the pot as well.

Step 4: Letting it Simmer

Allow the sancocho to simmer for about 30 minutes until all of the ingredients are tender and the flavors have melded together.

Step 5: Serving and Enjoying

Once the sancocho is done cooking, it is ready to be served. It is often served with white rice and a side of avocado.

Conclusion: A Flavorful and Satisfying Dish

Sancocho is a flavorful and satisfying dish that has been enjoyed by Dominican families for generations. The process of making sancocho involves a variety of meats, vegetables, and spices, all cooked together to create a rich and savory stew. Whether you are looking to try a new dish or want to experience traditional Dominican cuisine, sancocho is a must-try dish that will surely impress your taste buds.

Introduction: What is Basbousa?

Basbousa is a traditional Egyptian dessert that is loved by many in the Middle East and around the world. This dessert is made from semolina, a coarse wheat flour, and sweetened with sugar syrup. Basbousa has a deliciously crumbly texture and is often served with Arabic coffee or tea. The dessert is a staple at festive occasions such as Ramadan, Eid, and weddings.

Ingredients used in making Basbousa

The ingredients used in making Basbousa are simple and can be found in most grocery stores. The main ingredient is semolina, which gives the dessert its signature texture. Other ingredients include sugar, butter, baking powder, yogurt, and milk. Some variations of Basbousa may also include coconut flakes or ground nuts for added texture and flavor.

Preparing the semolina mixture

To prepare the semolina mixture, the dry ingredients (semolina, sugar, and baking powder) are combined and mixed well. Softened butter is then added to the mixture and worked in until it resembles coarse sand. Next, yogurt and milk are added to the mixture and stirred until a thick batter is formed.

Making the sugar syrup

Sugar syrup is a crucial component of Basbousa and is made by dissolving sugar in water and boiling until a thick syrup is formed. The syrup is then flavored with lemon juice or rose water, depending on preference.

Baking the Basbousa

Once the semolina mixture and sugar syrup are prepared, the batter is poured into a baking dish and spread evenly. The dish is then baked in a preheated oven until the Basbousa is golden brown and cooked through.

Soaking the Basbousa in syrup

Once the Basbousa is baked, it is removed from the oven and immediately soaked in the prepared sugar syrup. The syrup is absorbed by the cake, giving it a sweet and moist texture.

Serving and storing Basbousa

Basbousa is traditionally served at room temperature or slightly warmed, with a drizzle of extra sugar syrup on top. Leftovers can be stored in an airtight container at room temperature for up to two days or refrigerated for up to a week.

Conclusion: Tips for making perfect Basbousa

To make the perfect Basbousa, it is important to use fresh and high-quality ingredients. The semolina mixture should be well-mixed and evenly spread in the baking dish. The sugar syrup should be boiled until it reaches a thick consistency and should be poured over the Basbousa immediately after baking. Over-soaking the cake can result in a mushy texture, so it’s essential to monitor the soaking time carefully. With the right ingredients and techniques, making delicious Basbousa at home is easy and enjoyable.

Introduction to Molokhia

Molokhia is a famous Egyptian dish that is made from jute leaves. The dish is known for its unique flavor and is a favorite among locals and tourists alike. It is a nutritious meal that is rich in iron, calcium, and vitamins, making it a popular choice among health-conscious individuals. The dish can be served with rice or bread and is often enjoyed with family and friends.

The History of Molokhia

The history of molokhia dates back to ancient Egypt, where it was considered a delicacy by the pharaohs. The dish was often served to guests at royal banquets and was believed to have medicinal properties. The word “molokhia” is derived from the Arabic word for “king,” highlighting its regal status in Egyptian cuisine. Over time, the dish gained popularity among the common people and became a staple in Egyptian households.

Ingredients Required for Making Molokhia

To make molokhia, you will need fresh jute leaves, garlic, coriander, chicken or meat broth, and salt. Some prefer to add onions or tomatoes for additional flavor. You can also use vegetable broth instead of chicken or meat broth to make a vegetarian version of the dish. It is essential to use fresh jute leaves as dried leaves can affect the taste and texture of the dish.

Preparation of Jute Leaves

To prepare jute leaves for cooking, you will need to wash them thoroughly with water and remove any dirt or debris. Then, separate the leaves from the stems and chop them into small pieces. Some people prefer to blanch the leaves in boiling water for a few minutes before cooking to reduce the slimy texture of the dish.

How to Cook Molokhia

To cook molokhia, start by sautéing garlic and coriander in a pot with some oil. Add the jute leaves and broth and let it simmer for about 30 minutes. Add salt to taste and continue cooking until the leaves have softened and the soup has thickened. You can also add meat or chicken to the dish for added flavor and protein.

Serving Molokhia

Molokhia is traditionally served with rice or bread. It is often garnished with lemon juice or a side of pickled vegetables. The dish is usually served hot and is perfect for cold winter nights.

Molokhia Variations

There are many variations of molokhia, depending on the region and personal preference. Some people prefer to add okra or spinach to the dish, while others like to add tomato paste or cumin for added flavor. In some regions, molokhia is served as a soup, while in others, it is a thick stew.

Conclusion: Molokhia, a Traditional Dish with Modern Twist

Molokhia is a traditional Egyptian dish that has stood the test of time. Its unique flavor and health benefits have made it a popular choice among locals and tourists alike. With its versatile ingredients and cooking methods, molokhia is a dish that can be customized to suit individual tastes. Whether served as a soup or stew, with meat or vegetables, molokhia is a dish that is sure to satisfy and impress.

Introduction: Locro de Papa, a Traditional Ecuadorian Delicacy

Locro de papa is a hearty potato soup that is a staple of Ecuadorian cuisine. This delicious and nutritious dish is made with a variety of ingredients, including potatoes, corn, cheese, and a variety of spices. Locro de papa is typically served as a main course or as a starter dish and is enjoyed by people of all ages.

The roots of locro de papa can be traced back to the indigenous people of the Andean region of South America. The dish has been passed down from generation to generation and has become a symbol of Ecuadorian culture. Today, locro de papa is enjoyed throughout the country and is a beloved dish that represents the rich history and traditions of Ecuador.

Ingredients: The Key Components of Locro de Papa

The key ingredients in locro de papa are potatoes, corn, and cheese. Other important ingredients include onion, garlic, cumin, and achiote, which give the soup its distinctive flavor. The type of potato used in the soup can vary depending on personal preference, but yellow potatoes are typically used.

To make locro de papa, you will also need milk, heavy cream, salt, and pepper. The cheese used in the soup can also vary, but queso fresco, a type of fresh cheese, is commonly used in Ecuadorian cuisine. The final touch is the toppings, which can include avocado slices, popcorn, and cilantro.

Preparing the Potatoes: First Step to Making Locro de Papa

The first step in making locro de papa is to prepare the potatoes. Peel and cut the potatoes into small cubes and rinse them in cold water. Then, place the potatoes in a pot with salted water and bring them to a boil. Cook the potatoes until they are tender, but not mushy. Drain the water and set aside the potatoes.

Sautéing the Onion and Garlic: Adding Flavor to the Soup

The next step is to sauté the onion and garlic in a pot with oil until they are soft and fragrant. Add cumin and achiote to the pot and cook for a few minutes to release their flavors. Then, add the cooked potatoes to the pot and sauté them with the onion and garlic mixture for a few minutes.

Adding the Potatoes, Corn, and Cheese: Building the Soup Base

After sautéing the potatoes, add corn to the pot and stir well. Then, add milk and heavy cream to the pot and bring the mixture to a simmer. Add the cheese to the pot and stir well until the cheese has melted and the soup is smooth. Season with salt and pepper to taste.

Simmering and Mixing: Creating the Perfect Consistency

Once the soup is seasoned, reduce the heat to low and simmer for about 15 minutes. Stir occasionally to prevent the soup from sticking to the bottom of the pot. During this time, the flavors will meld together and the soup will thicken slightly.

Adding the Final Touches: Toppings and Serving Suggestions

Once the soup is done, it’s time to add the final touches. Serve the soup in bowls and top with avocado slices, popcorn, and cilantro. Additional toppings can include fried pork rinds, sliced hard-boiled eggs, and sliced scallions. Locro de papa is typically served with a side of white rice and can be enjoyed with a refreshing glass of chicha, a traditional Ecuadorian drink made from fermented corn.

Conclusion: Enjoying Locro de Papa, a Symbol of Ecuadorian Culture

Locro de papa is a delicious and nutritious dish that is a symbol of Ecuadorian culture. This hearty potato soup is easy to make and can be customized to suit personal tastes. Whether you’re a fan of spicy or mild flavors, locro de papa is sure to satisfy your appetite and provide a taste of Ecuadorian cuisine. So why not give it a try and experience the flavors of Ecuador for yourself?

Introduction: What is Tsebhi?

Tsebhi is a traditional meat stew that originates from Eritrea, a country located in the Horn of Africa. It is a staple dish that is widely enjoyed by the Eritrean people and is typically served during special occasions and festivities. The dish is characterized by its rich, flavorful and aromatic sauce that is made with a blend of spices and herbs.

The word “Tsebhi” is derived from the Tigrinya language, which is one of the official languages of Eritrea. The dish is usually made with beef, lamb or goat meat, but sometimes fish or chicken can be used as well. The meat is slowly cooked in a richly flavored sauce that is made with a blend of spices, herbs, and vegetables.

Ingredients for Tsebhi

To make Tsebhi, you will need meat, preferably beef, goat or lamb. You will also need onions, garlic, tomatoes, tomato paste, and vegetable oil. Other ingredients include a variety of spices and herbs, such as cumin, coriander, turmeric, ginger, and cinnamon. Vegetables like carrots, potatoes, and peppers are also often added to the stew.

Preparation of the Meat for Tsebhi

The first step in making Tsebhi is to prepare the meat. It is usually cut into small bite-sized pieces and then marinated with salt, garlic, and ginger for a few hours. This helps to tenderize the meat and infuse it with flavor.

Making the Tsebhi Sauce

To make the Tsebhi sauce, start by sautéing onions in vegetable oil until they are translucent. Then add the marinated meat and brown it on all sides. Next, add chopped tomatoes, tomato paste, and water to the pot and let it simmer for at least an hour. This allows the flavors to meld together and the meat to become tender.

Cooking Tsebhi with Vegetables

Once the meat has simmered for an hour, add in the vegetables. Carrots, potatoes, and peppers are typically used, but you can add in any vegetables you like. The stew is then cooked until the vegetables are tender.

Adding Spices and Flavors to Tsebhi

In order to give the Tsebhi its unique flavor, a blend of spices and herbs are added to the sauce. This can include cumin, coriander, turmeric, ginger, and cinnamon. The spices are usually toasted in a dry pan before being added to the stew, which helps to bring out their flavors.

Serving Tsebhi with Injera or Bread

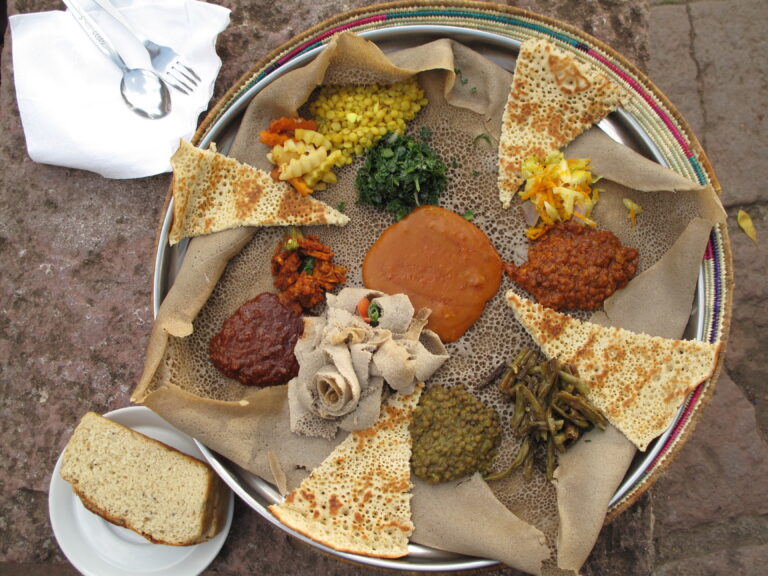
Tsebhi is traditionally served with injera, a type of sourdough flatbread that is made from teff flour. Injera is used to scoop up the stew and is also used as a plate. If injera is not available, bread or rice can also be served with the stew.

Summary of Tsebhi-making Process

Tsebhi is a traditional Eritrean meat stew that is made with a blend of spices, herbs, and vegetables. The meat is marinated with salt, garlic, and ginger, then cooked in a richly flavored sauce that is made with a blend of spices, herbs, and vegetables. The stew is typically served with injera, a type of sourdough flatbread, but can also be served with bread or rice. Tsebhi is a delicious and hearty dish that is perfect for any occasion.

Introduction: What is “kama” and Its Significance

“Kama” is a traditional Estonian powdered grain mixture that has been a staple food in the country for centuries. The term “kama” is derived from the Livonian word “kama,” which means “flour mixture.” The mixture is a combination of several different grains that are roasted, ground, and mixed together to produce a nutritious and tasty powder that can be used in a variety of dishes.

Kama has a special place in Estonian cuisine, and it is often consumed as a snack, dessert, or even a breakfast food. It is also used to make porridges, pancakes, and other sweet treats like pies and cakes. Besides its culinary significance, kama is also an important cultural symbol that represents Estonian identity and traditions.

The Ingredients Used in Making “Kama”

The ingredients used to make kama vary slightly depending on the region and the recipe used. However, the main components are always grains, such as wheat, rye, barley, and oats. Some recipes also include buckwheat or peas. The grains are usually roasted before being ground to give the kama a distinct flavor and aroma. Sugar or salt may also be added to taste.

The Process of Preparing the Ingredients

To make kama, the grains are first cleaned and then roasted in a hot oven. The roasting process not only enhances the flavor but also makes the grains easier to grind. After roasting, the grains are left to cool before being ground in a mill or a food processor. The ground grains are passed through a sieve to remove any large pieces.

Mixing the Ingredients Together

Once the grains have been ground and sieved, they are mixed together in the desired proportion. Sugar or salt may also be added at this stage, depending on the recipe. The mixture is usually stirred well to ensure that the sugar or salt is evenly distributed.

Cooking the Mixture

To make kama, the mixture is usually not cooked. However, some recipes call for the addition of milk or yogurt to make a porridge or a drink. In this case, the kama is mixed with the liquid and heated until it thickens to the desired consistency.

Turning the Mixture Into Powder

After the mixing and cooking process, the kama may still be in a coarse form. To turn it into a fine powder, it is usually ground again in a mill or a food processor. The powder is then passed through a sieve to remove any large pieces, giving it a smooth and silky texture.

Storing and Using “Kama”

Kama can be stored in an airtight container at room temperature for several months. Once opened, it should be consumed within a few weeks to ensure freshness. Kama can be used in a variety of dishes, including porridges, pancakes, and cakes. It can also be mixed with milk, yogurt, or water to make a refreshing drink.

A Few Popular Recipes that Use “Kama”

There are many recipes that use kama as the main ingredient. One popular dish is “kamavaht,” which is a sweet and light dessert made by mixing kama with whipped cream and sugar. Another popular recipe is “kamapannkoogid,” which are pancakes made with kama, flour, milk, and eggs. Kama can also be used to make a healthy smoothie by blending it with yogurt, berries, and honey.