Tag

sprouting

Browsing

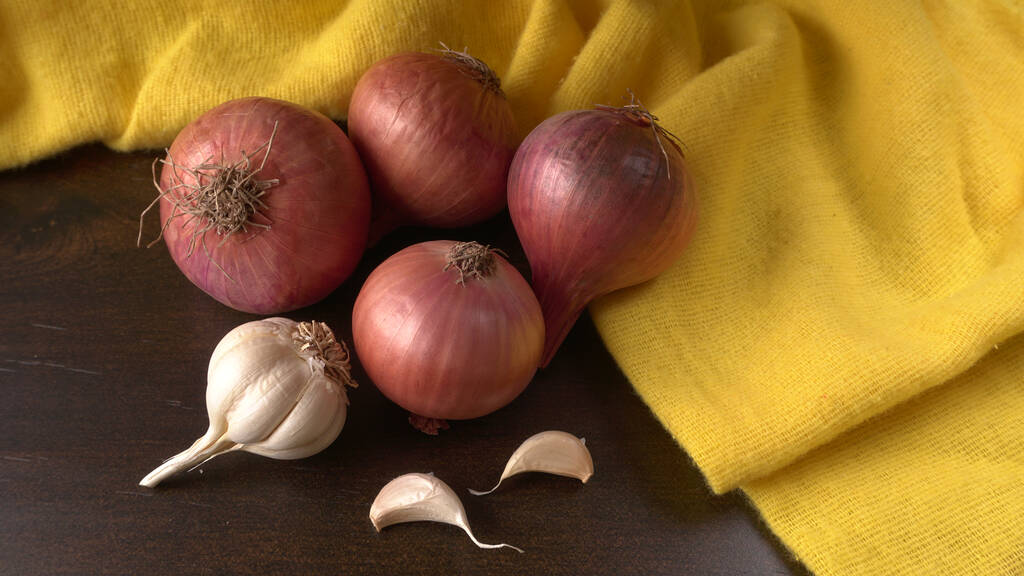
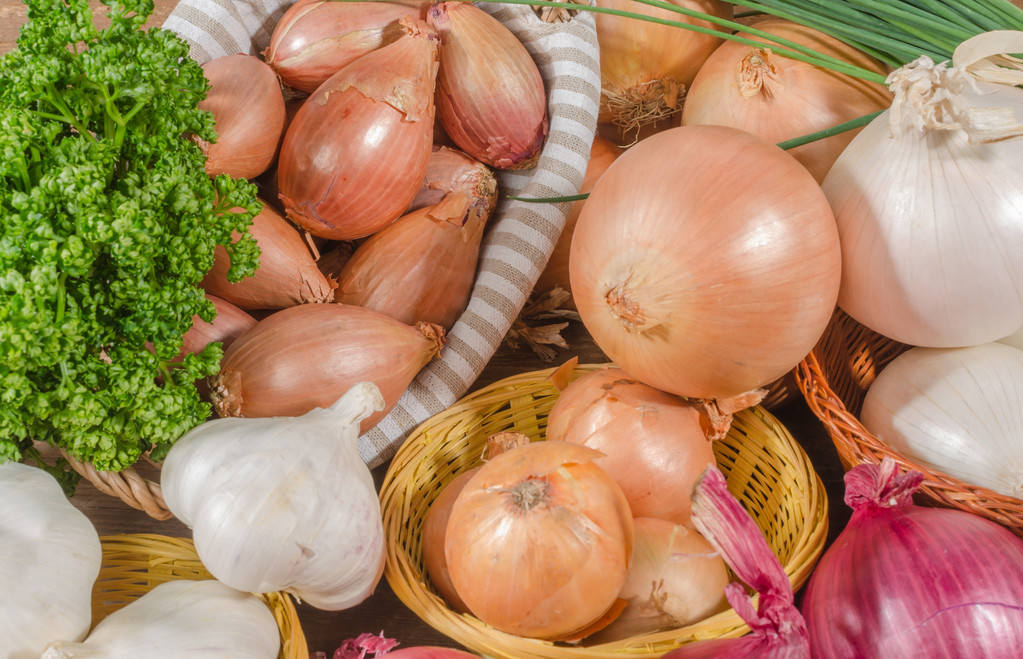
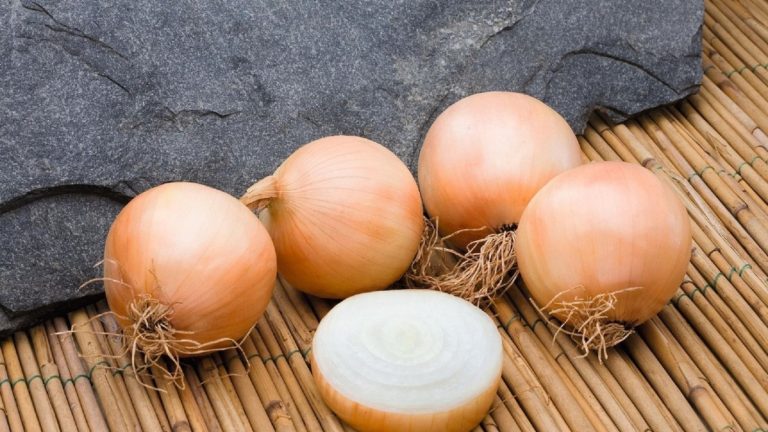
Sprouting onions are difficult to avoid—even if you store them properly. After some time, the onion develops green shoots. In this article, you will learn what you can do with sprouting onions.

Sprouted foods are dangerous – many of us learned that at one point. But is that also true for onions? The myth that germinating foods are inedible probably stems from potatoes. Potatoes can be poisonous in certain stages of ripeness and are then no longer suitable for consumption.

However, germinating onions, like germinating garlic, do not produce any harmful substances. You can therefore eat sprouting onions without hesitation.

Germinating onions: you should pay attention to this

Germinating onions do not develop any toxic substances. So you can use them in the kitchen without hesitation. But you should keep this in mind when the onions sprout:

Consume them as soon as possible.
Germinating onions soften over time as the shoots eat away at their substance.
Older soft onions will begin to smell musty. This gives dishes an unpleasant aftertaste. Tip: Be sure to smell the onion before using it. Only overcook onions that smell fresh and pungent as usual.
For older germinating onions with little substance, you should only use the green onion shoots.

Here’s how you can use sprouting onions

Use sprouted onions preferably for cooking and frying. Since the onions are no longer so crisp, they taste better cooked than raw.

Sprouting onions should be consumed as soon as possible. Therefore, cook dishes that require a particularly large number of onions:

  • Potato goulash
  • French onion soup
  • Roasted onions
  • Onioncake

Tip: The young sprouts of the onions taste spicy and hot. Like the green of spring onions, you can use them in dips, herbal quark, or in salads.

Regrowing: Allowing germinating onions to grow

If you have a garden or balcony, you can also plant sprouted bulbs. The green shoots of the onions continue to grow back. This is called regrowing. You can harvest it continuously and cook it into delicious dishes.

Growing onions on the windowsill:

Place the sprouting onions in a small bowl filled with water.
Change the water daily.
Cut off the green shoots regularly and use them in the kitchen.
How to grow onions in a flowerpot:

Fill a flower pot loosely with soil.
Make a small well in the middle of the pot with your fingers.
Place the onion in the well, roots first.
Add some additional soil to the pot until the bulb is almost completely covered with soil. The tip of the shoot must look out of the ground.
Water the soil of the freshly planted onion.
Water the onion with a little water every two to three days.
Cut off the green shoots regularly and use them in the kitchen.

Potatoes develop sprouts after a few days of storage. These increase the amount of solanine in the tuber. Many are therefore wondering whether sprouted potatoes should be eaten at all – because solanine is poisonous.
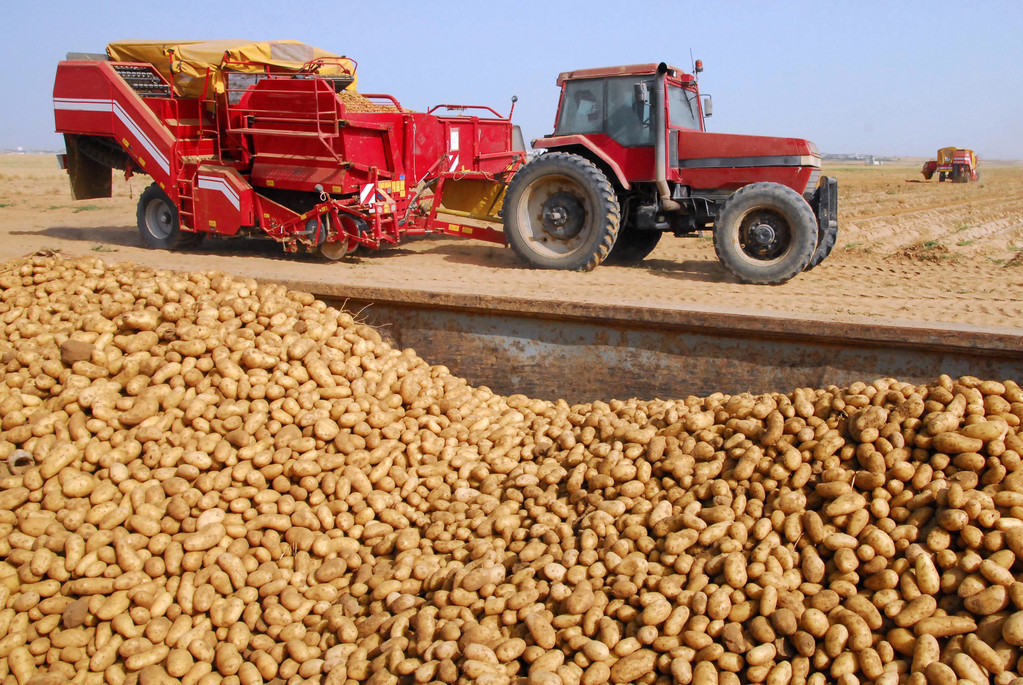
Potatoes have natural toxin in skin and sprouts

Basically, potatoes are one of the staple foods. Rich in vitamins, minerals, fiber and phytochemicals. Their fat content is also low. The “German Society for Nutrition e.V.” therefore recommends “eating plenty of potatoes”.

However, potatoes are also rich in solanine – a toxic glycoalkaloid. It is a natural toxin that builds up just under the skin and especially in the sprouts. Solanine is also found under the skin of the potato, which is why you should peel potatoes in the future. The Bavarian consumer advice center therefore warns that the solanine content in “wrongly stored” potatoes in particular can rise to levels that are harmful to health.

If potatoes are stored at more than twelve degrees Celsius, the potato tubers often sprout prematurely. Like the green spots that appear when exposed to light, the shoots also contain poisonous solanine and other bitter substances.

Too much toxic solanine in sprouting potatoes

The more buds the potato has already formed, the more poison there is in the tuber. If potatoes are shriveled and soft due to incorrect storage, we should no longer eat them. The consequences are otherwise noticeable in irritated mucous membranes, vomiting, diarrhea and abdominal pain. These unpleasant symptoms can occur even after consuming as little as one milligram of solanine per body weight.

“Cutting away” the buds and liberally peeling the potatoes is often not enough, experts warn. Large areas of green or heavily sprouted potatoes should no longer be eaten. Eating unpeeled potatoes also increases the risk of consuming too much solanine.

Important: The cooking water from potatoes should not be used for anything else either. Because some of the solanine goes into the water.
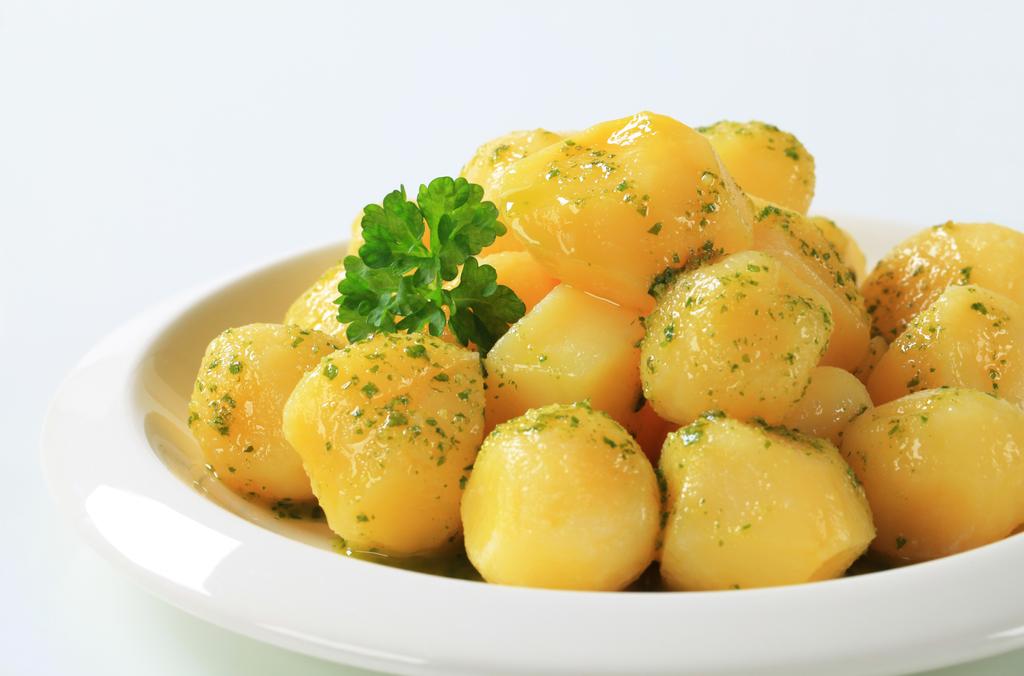
Solanine is heat-resistant – it is better to cut off sprouts generously

Also treacherous: solanine is heat-resistant and remains largely intact even when cooking, roasting or deep-frying. Consumer advocates therefore advise buying potatoes in opaque packaging, such as paper bags, if possible. They should then be stored in a cool, dark place, for example in a cellar or pantry. If this is not possible, it is better to buy only small quantities and use them up quickly.

The rule of thumb is: If the germs are no more than one centimeter long, the solanine concentration is still low. If you cut off the sprouts generously, nothing stands in the way of consumption. If the sprouts are already very long – the tuber is densely covered with sprouts – it is better for the potato to go in the garbage. Potatoes with very green spots also contain a lot of solanine and should better be sorted out. It is often not enough to cut generously.

By the way: Solanine is also contained in other nightshade plants such as tomatoes. The bitter-tasting glycoalkaloid protects plants from predators.

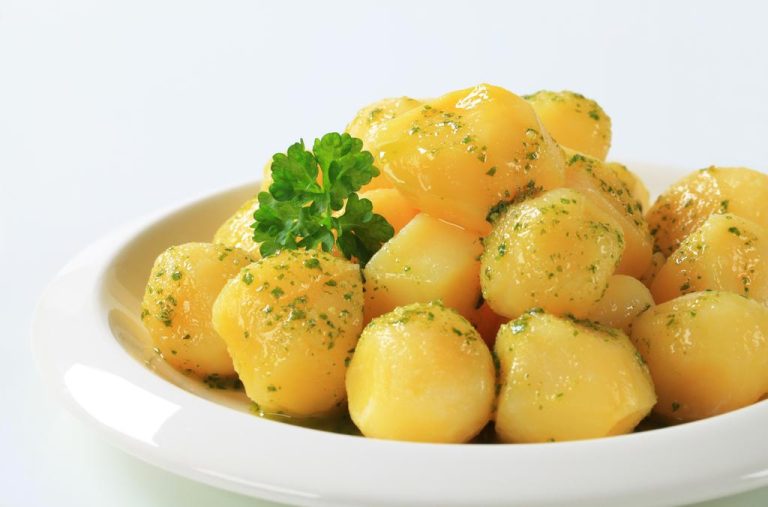
Are sprouting onions and garlic bulbs safe to eat, or do they become toxic like potatoes? We have the answer.

Germs Despite Proper Storage: But Are They Toxic?

Despite correct storage, it is unavoidable that onions will start to germinate over time. For a long time it was disputed whether one should still eat sprouting onions. In the meantime, there are no longer two opinions on this – onions do not develop any toxic substances and can be eaten without hesitation, according to the Federal Center for Nutrition

It also doesn’t matter under what circumstances and after how long the sprouts sprout from the vegetables: It doesn’t matter whether the onion or garlic was stored in the dark, in the refrigerator or in the cellar for several months during the winter, the sprouts are always harmless .

Nevertheless, one should make sure that the vegetables are consumed as soon as they have budded. As a result, the tuber loses its firmness and becomes softer. That doesn’t mean an onion will go moldy. The softening only shows that the onion is gradually losing its fleshy nutrient reservoir as it sprout. They also become drier because the germs use their water reserves.

Onions and garlic with sprouts become soft and dry: the result is a reduced nutrient content

Onions and garlic are also dried out and still edible when soft, but in this state they are significantly poorer in valuable ingredients. Garlic, in particular, is a wonderful home remedy when fresh to naturally lower blood pressure, and eating both types of vegetables can also prevent heart attacks and strokes.

Cooking tip: The green of the onion and garlic can also be integrated into many recipes, similar to spring onions or wild garlic: to refine soups, herbal quark or salads. Therefore, it is even a good idea not to eat one or more onions or garlic bulbs immediately and let them germinate. You can always harvest fresh shoots and save yourself a trip to the supermarket to get spring onions.

If an onion goes moldy, you can tell immediately. An onion then develops clear signs of mold and feels mushy and soft. There is also a noticeable smell. These onions should definitely be thrown away – the same applies to garlic.

Eating them quickly is advised: This is how the vegetables taste best

Basically, the bulb of onion or garlic should be consumed as soon as possible. Before the vegetables are used, they should definitely be smelled. You should only overcook vegetables that smell fresh and pungent as usual. For older germinating onions or garlic bulbs with little substance, it is better to use only the green onion shoots. Dishes that use a lot of onions are potato goulash, French onion soup, roasted onions or onion tart.

If you still don’t like the germinating onion for consumption, you might have a place for it on the balcony or in the garden. The sprouted onion can also be planted. However, it takes a while for new onions to sprout from a kitchen onion. The germinated bulb will grow first and produce a beautiful flower. These are an absolute eye-catcher in the bed or on the balcony. When the flower then forms seeds, new bulbs can be grown from them later.

Conclusion: Even germinating onions and garlic bulbs can be consumed without hesitation and are not poisonous under any circumstances. Although the germ dries out the vegetables, which can cause them to become soft and lose nutrients, there is no risk to health. A sprouting onion or potato tuber can even be helpful when cooking, because you can refine many dishes with the sprouts.

Potatoes are different from onions. The poisonous substance solanine collects in their shoots. This leads to intestinal problems. Potatoes with large sprouts are therefore best discarded.

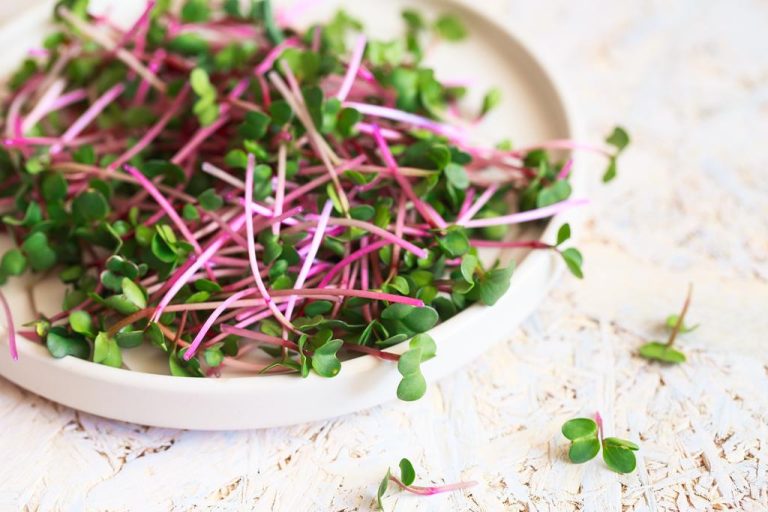
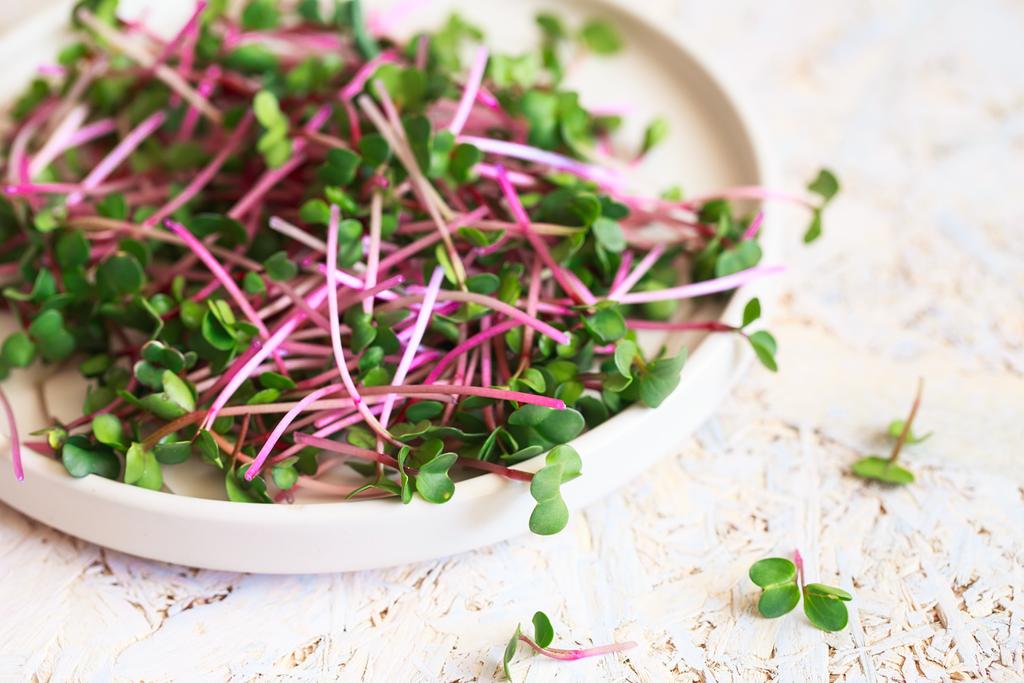
Making a sprout glass yourself is not difficult and also much cheaper than buying one. You can easily make the sprout jar from an old pickle or jam jar.

Make sprout glass yourself: you should know that

Many online shops and supermarkets offer sprouting glasses. But why spend money on it when you can easily make the glass yourself? We will show you a method without plastic or special equipment.

You need this:

a glass
a felt-tip pen to mark holes
a small drill or a can prick
sandpaper or a file
sprout seeds of your choice
possibly a thick piece of cardboard as a holder
By the way: Many instructions use tulle or fly screen fabric for DIY seed jars. Our method is more sustainable for three reasons: firstly, tulle is often made of plastic, secondly, you can use the lid of the jar with our method, and thirdly, you don’t have to buy any new materials.

Make your own seed jar: Here’s how

The first thing you should do is sterilize the jar. For example, put it in boiling water for ten minutes.
On one side of the lid, mark out holes about ½ to 1 inch apart. You don’t have to work on the other side, as the sprout glass will be crooked later.
Then get your pick or a small drill. Poke or drill small holes in one half of the lid. The water later drains off this. Make sure that the holes are not too big, otherwise the sprouts can slip out of the sprouting jar.
Now use some sandpaper or a file to smooth out sharp edges on the holes.
Note: Readers have reported that the cut edges can rust at the holes. So sand them down very carefully. Alternatively, you could use a piece of plastic mosquito net or a piece of loosely woven cotton cloth that you can then wash out.

Fill the sprout glass and set it up

Thoroughly wash the sprout seeds and put them in the jar. If you have something you can use to set the jar up at a 45 degree angle, skip the following step.
Now build a holder for the sprout glass:
To do this, place the bottom of the glass on a thick piece of cardboard. Place it so that it is only halfway up the box. Now trace the outline of the floor with the felt-tip pen.
Cut out the resulting semicircle.
Now draw an elongated rectangle on the cardboard with the hole. The semicircle should form one of the short sides. You will later place the glass in this semicircular bulge.
Cut out the rectangle.
If you fold the resulting strip in the middle, you can use it as a support for the glass. This standing aid ensures that all water drains from the glass and that no mold forms.
Place the sprouting glass in a can or in the sink for the first few hours. This allows the water that is still clinging to the rungs after washing to drain off. Later it is sufficient to place a kitchen towel under the can.

Now place your homemade sprout glass in a bright and warm place. After just a few days, your sprouts should have grown enough for you to harvest them. You can use the glass over and over again.

Sprouting buckwheat is very easy and takes a maximum of two days. We explain step by step how you can grow your own buckwheat seedlings.

Even if the name suggests otherwise, buckwheat has nothing to do with conventional wheat. In fact, buckwheat belongs to a different plant family and is therefore also referred to as a pseudocereal.

Buckwheat is healthy, suitable for celiac disease (gluten intolerance) and versatile. You can also germinate the pyramid-shaped grains so you can even eat them raw. In our guide we will show you exactly how to do this.

Sprouting buckwheat: step-by-step instructions

To germinate buckwheat, you only need the following utensils:

a sprouting jar with a boiled lid
alternatively: make a sprout glass yourself or use a fine sieve
a handful of buckwheat, preferably organic and raw food quality
Sprouting buckwheat – instructions:

Rinse the buckwheat kernels thoroughly.Place the buckwheat in the sprouting jar. Be careful not to fill the jar more than a third full, as the buckwheat grains will increase in volume considerably as they germinate.
Fill the glass at least halfway with water so that the buckwheat is well covered. Let the kernels soak for about 2 hours.
After about two hours, drain the water and wash the buckwheat again. Don’t be surprised by the slimy consistency of the water. This is perfectly normal and will subside with each flush.
Now place the sprouting jar upside down so that the excess water can drip off. Leave the jar of buckwheat in a warm place away from direct sunlight.
From now on, rinse the buckwheat three times a day with clear water and then let the water drain thoroughly.
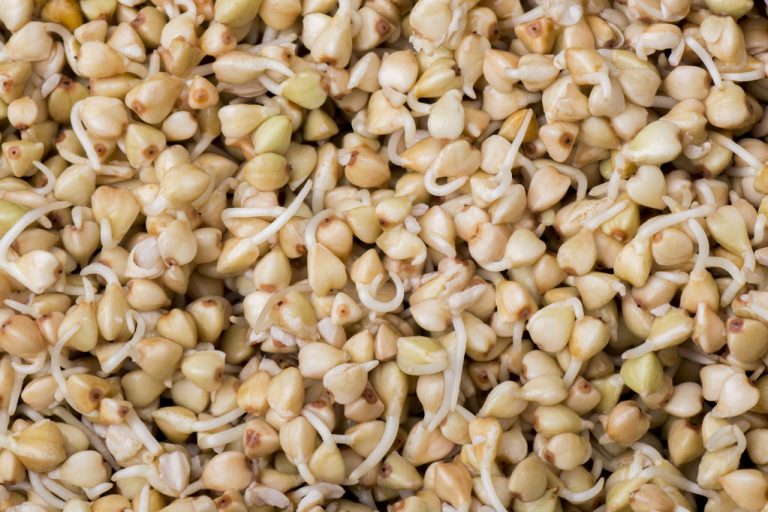
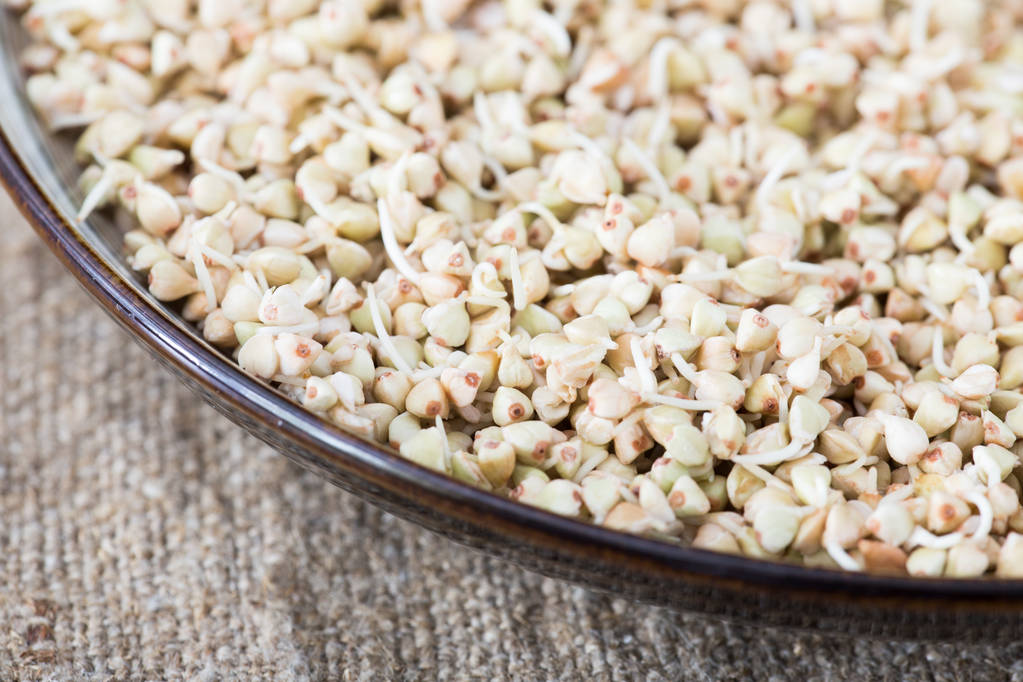
Depending on the ambient temperature, the buckwheat will start to germinate after 12 to 24 hours. After two days at the latest, the buckwheat grains should have sprouted half a centimeter to a whole centimetre. Then at the latest you should use the sprouted buckwheat. You should not wait longer, otherwise the grains could become musty.
By the way: If you don’t have a germination jar and use a normal sieve, the buckwheat grains may dry out faster. In this case, you’ll need to rinse them more often to keep them slightly damp. You can also cover the grains with a cup or bowl to keep them from losing moisture as quickly.

Using buckwheat sprouts: ideas for the kitchen

You can use the buckwheat sprouts in many ways. For example, try the following ideas and recipes:

Bake a buckwheat bread with whole or broken buckwheat sprouts. Of course, you can also add the sprouts to other breads and baked goods.
Add sprouted buckwheat to salads or sprinkle over soups.
Supplement muesli, porridge or yoghurt with buckwheat sprouts.
Use the sprouted buckwheat as an ingredient in the smoothie.
Blend the buckwheat with other ingredients like oil, garlic, and spices to make a pesto or spread.
Dry the buckwheat sprouts in a dehydrator or in the sun on hot summer days. The dried germs have a much longer shelf life.
Shelf life: You should use the sprouted buckwheat as soon as possible. The sprouts will keep for a maximum of three days in the refrigerator.