Tag

step-by-step

Browsing

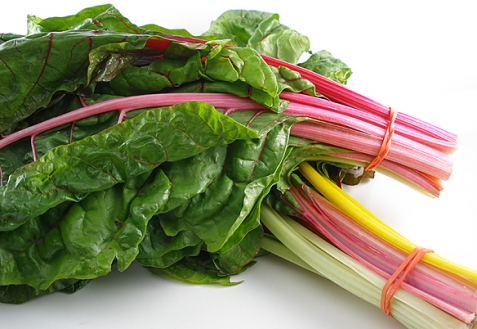
Freezing chard is the best way to preserve the leafy greens. But how does one do it? We’ll explain how to do it best.

Chard is a seasonal vegetable. If you grow it in the garden, you often have more at once than you can use. In this case, you can give away excess harvest or freeze for self-sufficiency. That is how it goes.

Freezing chard: the preparation

Before you can freeze the chard, you need to prepare it well:

Cut off dried stem ends.
Wash the chard thoroughly, preferably several times, as there are often a lot of earth residues attached.
For varieties with thick stems, you should remove them and cut them into pieces.
Cut the chard into small pieces. You can cut it a little coarser or finer according to your taste.

Blanch chard before freezing

Before freezing, you should blanch your chard. This means it keeps its color and can also be frozen to save space. Leaves and thicker stems should be blanched separately:

Put a large pot of water on and bring it to a boil. Lightly salt the cooking water.
While the water is getting hot, prepare a large bowl of ice water.
As soon as the water boils, first blanch the chopped chard stalks for one to three minutes.
Remove the stems from the water with a slotted spoon and shock them in ice water.
Blanch the leaves as well, but only for a minute.

Freeze chard

You can now freeze the prepared chard:

Drain the blanched chard thoroughly. You can also pat it dry with a cloth. It is important that it is completely dry.
Put the chard in portions in freezer containers, preferably made of glass or stainless steel. How to avoid plastic when freezing.
Place the containers in the freezer or freezer.
The chard can be frozen for around eight to twelve months.

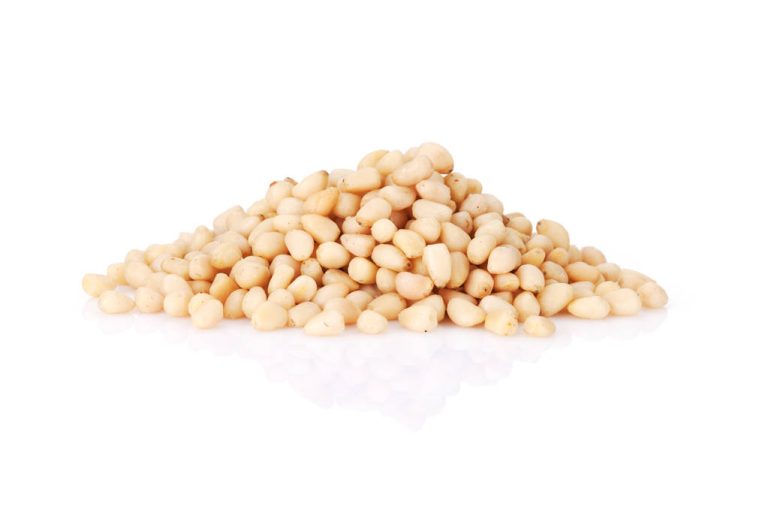
Pine nuts are a popular salad topping and a popular ingredient in pesto and co. Pine nuts become particularly aromatic when you roast them. We’ll show you how it works.

Pine nuts have a very special aroma that gives many dishes a unique touch. Cultivation and harvesting are mostly done by hand. Pine nuts from the European Mediterranean region are often more expensive than products imported from China or Korea.

For the sake of the environment, we still recommend pine nuts from the European Mediterranean region, for example from Spain, Portugal or Turkey. These have a much shorter transport route behind them and often taste more intense. You can recognize pine nuts from Europe by their drop-like shape. Kernels from Asia, on the other hand, are elongated and narrow.

You can toast pine nuts in a pan or in the oven. Here you can find out how it works very easily.

Roasting pine nuts: This is how it works in the pan

Put the pine nuts in a pan without adding fat. Distribute the cores so that they are not on top of each other.
Set the stove to medium-high and turn the pine nuts several times to avoid burning them.
As soon as the pine nuts are slightly brown and smell pleasant, you can remove them from the pan.

How to roast pine nuts in the oven

Scatter the pine nuts on a grease-free baking sheet.
Set the oven to 160 degrees and put in the pine nuts.
After 10 to 15 minutes, you can take out the seeds.
Let the pine nuts cool on the baking sheet.
Roasted pine nuts are a delicious topping for salads and go well with pasta sauce and pesto. Couscous salad and various vegetable dishes are also rounded off with the delicious aroma of pine nuts.

Pine nuts not only taste delicious, but also have a lot of important vitamins and minerals. In addition to vitamin B1 and vitamin B2, they contain large amounts of iron and magnesium. They are also rich in phosphorus and the trace element zinc.

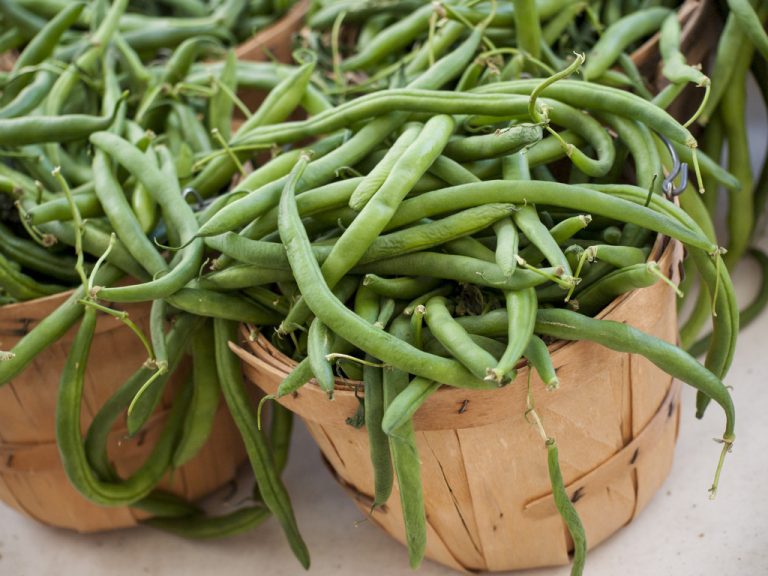
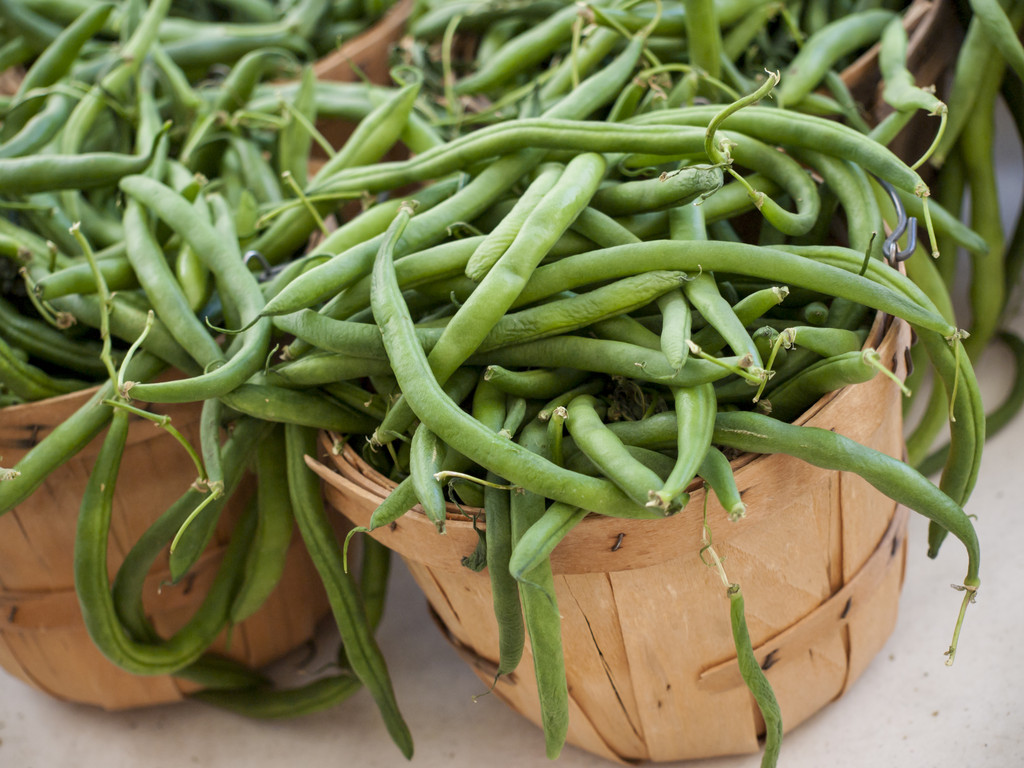
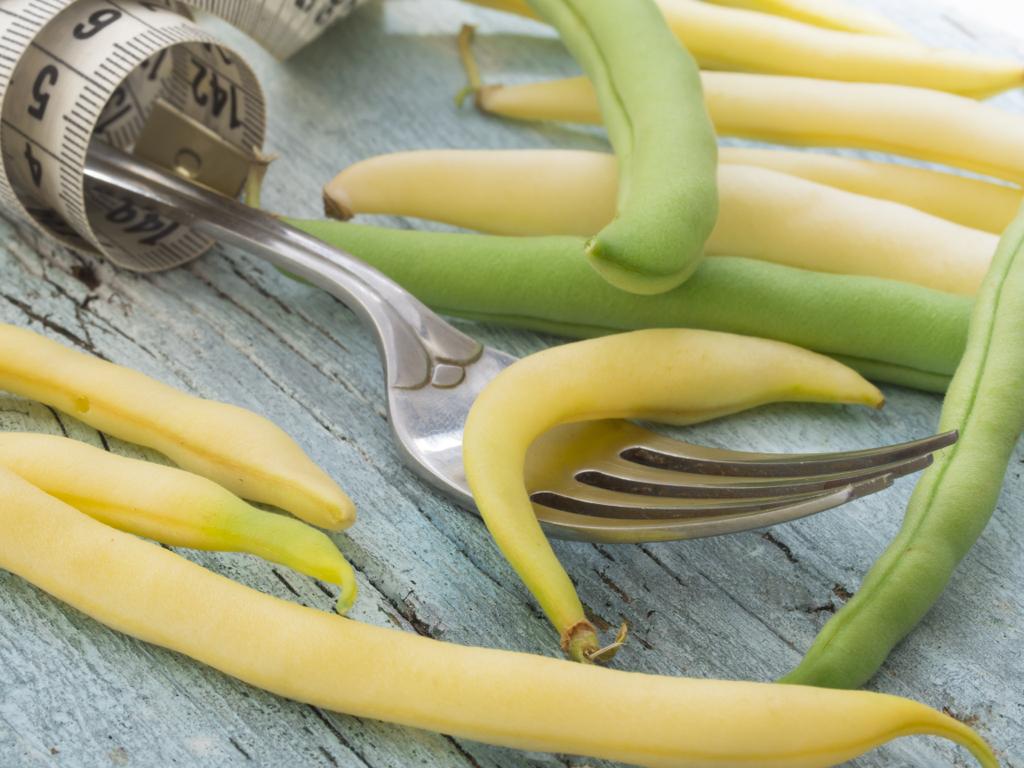
From July to the end of September you can buy fresh beans at the market or harvest them in the garden. We explain how you can blanch the vitamin-rich vegetables.

Beans are delicious, versatile and very healthy. In addition to protein, they also contain important vitamins and minerals such as vitamin C, vitamin A, iron and magnesium.

You can harvest beans from July to the end of September or buy them locally at the market. Fresh beans are crisp, firm and intensely green. But what can you do if you have more beans in the garden than you can handle? Fresh beans only keep for three days, even in the fridge. One option is to freeze the beans. This makes them durable and you can also use them out of season. But before you freeze them, you need to blanch the beans.

Blanching beans: the preparations

Wash the beans thoroughly with hot water.
Remove the end and the base of the stem with a knife. If the beans are very long, you can cut them in half. But that is optional. This will make it easier for you to process them afterwards.

Blanching beans: this is how it works

Bring enough water to a boil in a saucepan. The amount of water should not exceed 2/3 of the pot, otherwise there will not be enough space for the beans.
Meanwhile, have a bowl of ice water ready. Add some ice cubes to the water.
Once the water is boiling, add the beans to the pot.
Leave the beans in the boiling water for 3 to 4 minutes. If you prefer something softer, wait about 7 to 10 minutes.
Then scoop the beans out of the water with a slotted spoon.
Now put the beans directly into the ice water. This interrupts the cooking process and the beans stay crisp.
Leave the beans in the ice water until cool. After about three minutes, you can take them out of the water with a sieve and let them drain. If you want, you can also gently pat them dry with a cloth.

Process blanched beans

After you blanch the beans, you can freeze them. They will keep like this for up to a year. The beans taste great as an accompaniment to potatoes, in salads or casseroles. But the beans also make a delicious and healthy meal in a vegetable pan or simply tossed in a little fat.

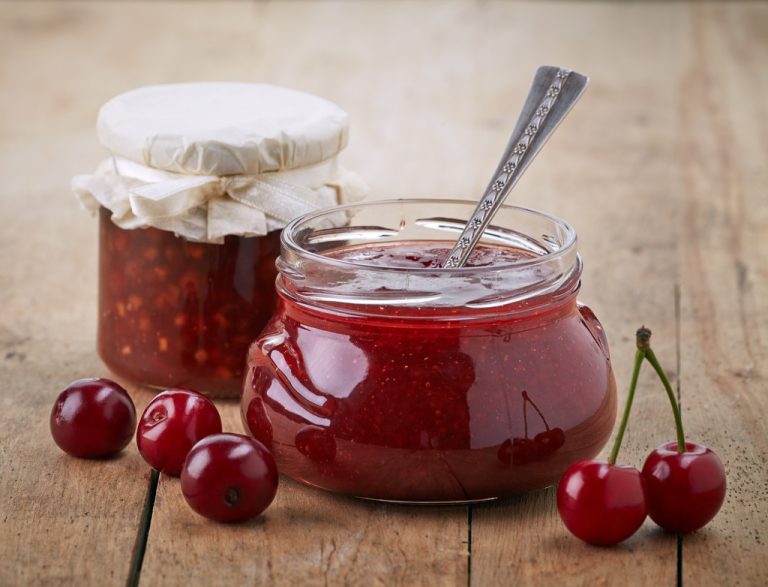
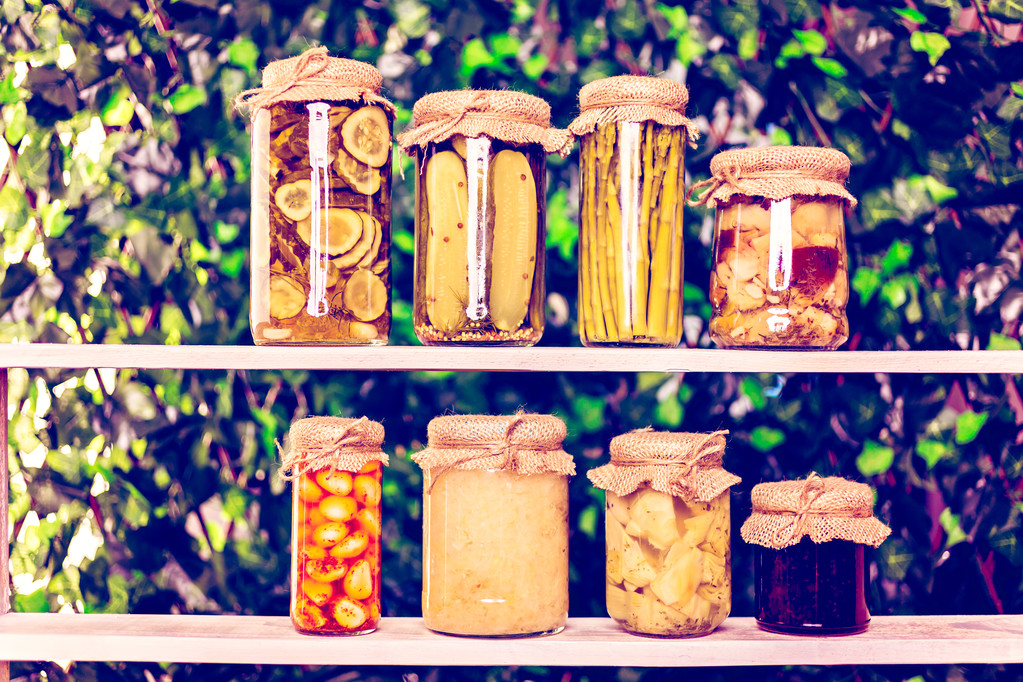
If you want to make jam or preserve fruit yourself, you should definitely sterilize your jars beforehand. We’ll show you three easy ways to get them germ-free fast.

If you want to try your hand at making jam or preserving fruit and vegetables, you can’t avoid using mason jars. You don’t have to buy these again – just collect your old jam jars, vegetable jars and other screw-top jars.

Before you reuse these jars, it’s important to rid them of any germs. Otherwise you risk that your filled compote etc. will become moldy or go bad. Glasses are sterilized with the help of heat, i.e. germs and bacteria are killed. Below we present three simple methods of how this works.

Sterilize jars in boiling water

The first variant is also the most well-known method of sterilizing glasses. All you need is a large pot.
Pour water into a large pot.
Place the open jars and lids inside. The glasses must be completely covered by water.
Bring the water to a boil and let the glasses boil in it for ten minutes.

Sterilize jars in the oven

You can also sterilize glasses in the oven. This is useful if you want to clean a lot of or large glasses. You do this as follows:
Rinse the glasses with hot water first. For example, pour water from the kettle over them.
Then place the jars in the oven. Caution: You should not put the lid down with you. These are only sterilized with hot water (step 1).
Then set your oven to around 130 degrees Celsius and put the jars in for 15 minutes.
Then let it cool down first or take it out of the oven with gloves on.

Sterilize glasses in the dishwasher

The third and last variant is also suitable for a larger number of preserving jars. What do you need for this? Just your dishwasher!

Put the glasses in your dishwasher like normal dishes. You put the lids in individually.
Choose the hottest level of the machine and start the program. You don’t have to add dishwashing detergent or dishwasher tabs.
Remove the glasses after the round and fill them up as quickly as possible.

Important: The preserving jars must be alone in the dishwasher. You should not put other dirty dishes in it.

Also: No matter which variant you choose – you should always clean the glasses immediately before filling them. This guarantees sterility.

Cleaning mushrooms requires a little finesse. We’ll tell you how you can get rid of the dirt particles on the popular mushrooms and what you should look out for when buying them.

Clean mushrooms carefully!

Mushrooms are an all-round ingredient. For example, they can be used to conjure up delicious mushroom pans and soups. But bought or collected mushrooms sometimes show slight soiling and soil residue. That’s why you should clean your mushrooms before you use them in the kitchen. You should keep these tips in mind:
Mushrooms are very delicate mushrooms. Store-bought mushrooms are not always dirty. So it is enough to clean them with a brush or cloth.

Do the following:
Hold the mushrooms by their stems so you can gently brush the dirt off the head from top to bottom.
Then use a brush to remove coarse dirt from the underside of the head and the handle itself. Tip: If the dirt cannot be removed, you can sprinkle the brush with a few drops of water.
At the end you can rub the fungus again with a cloth. This is how you clean the mushroom from finer dirt residues or dry it.