Tag

this

Browsing

You can prepare horseradish in the form of dips, sauces and soups, for example. If you bought too much or had a particularly rich harvest, horseradish can also be easily preserved.

Horseradish is a particularly hot type of radish that is in season in Germany between October and January. The horseradish root is considered healthy because it is rich in vitamin C and is said to have an antibacterial effect due to its mustard oils. At the same time, the mustard oils ensure the characteristic spiciness of horseradish, which gives various dishes their special flavor.

In this article, we will show you how you can prepare horseradish and how best to store it.

Cook horseradish: This is how you use the root

Due to its sharpness, horseradish is hardly edible on its own. In the kitchen, it is therefore used in small amounts to flavor sauces and similar dishes – often in combination with cream or other ingredients that reduce the heat somewhat.

The classic horseradish sauce is traditionally often served with meat or fish, but it also goes well with potatoes, dumplings, vegetables or vegetarian patties. You can also prepare salad dressings, dips or soups with horseradish.

If you are particularly fond of horseradish, you can plant it in your own garden and harvest the roots yourself. You can find detailed instructions on how to do this in our guides on harvesting and planting horseradish. If you buy the horseradish at the weekly market or in the shop, you should do so in season if possible and pay attention to organic quality. In this way you avoid unnecessarily long transport routes and residues of harmful pesticides.

When cooking, you often only need small amounts of horseradish root. Because of this, it’s easy to end up buying or harvesting more horseradish than you can cook. So that you don’t have to throw away the excess horseradish, you can make it last longer. We’ll show you a simple method to do this.

Preserve horseradish: Simple method with salt and vinegar

Ingredients:

200 g fresh horseradish
1 tsp salt
1 squirt vinegar (plus more for topping if needed)

Directions:

Wash the horseradish, peel it and grate it finely.
Mix the grated horseradish with a teaspoon of salt and a dash of vinegar. Important: Make sure that the vinegar is evenly distributed so that the entire horseradish mixture can be preserved. Otherwise it will quickly turn gray later.
Pour the mixture into a sterilized jar, covering the surface with a little extra vinegar if necessary. Then close the jar tightly.
It is best to keep the pickled horseradish in the fridge. Unopened, it will keep for at least four weeks. Just like with fresh horseradish, you can use it to prepare various horseradish dishes. Once opened, you should use the jar within a few days if possible.

By the way: As an alternative to this method, you can also preserve horseradish by freezing it. This is possible with both the unpeeled whole root and with grated horseradish, which you should mix with a little vinegar or lemon juice before freezing. The horseradish will keep in the freezer for about half a year. However, it may lose some of its flavor when frozen.


A cup of macchiato promises coffee enjoyment like in Bella Italia. But what is the difference between an espresso macchiato and a latte macchiato – and how can the specialties be perfectly prepared?

The fine difference between espresso macchiato and latte macchiato

Espresso macchiato and latte macchiato sound similar in name, but they are two different drinks. The espresso macchiato (also known as macchiato for short) is a genuine Italian specialty. With this type of coffee, the espresso is “stained” with milk (macchiato). It is characteristic of the drink that the barista only adds a little milk froth to the espresso.

The latte macchiato, on the other hand, consists of espresso and significantly more milk. Conversely, with this variant, the milk is “stained” by the espresso.

How do you make latte macchiato?

The perfect latte macchiato is served in a glass, because this is how the color nuances of the espresso and the milk can be seen. The hot drink consists of a total of three layers: the milk is at the bottom of the glass, then the espresso follows in the middle and the relatively firm and creamy milk foam is enthroned at the top.

How can the layers be separated? Quite simply: When pouring espresso and milk froth, caution and the right order is required.

First pour the milk into the glass.
Now add the milk froth.
Finally, carefully pour the espresso through the milk froth.

Prepare espresso macchiato: Here’s how

The preparation of an espresso macchiato does not require quite as much skill as the latte. To serve the perfect espresso macchiato, first froth the milk. Tip: The froth is particularly firm and retains its consistency longer if you use milk with a high fat content.

Prepare the espresso separately. First pour the espresso into the cup and garnish it with the milk froth.
The delicious hot drink is available in different versions:

● Italians like to drink a doppio macchiato, which consists of twice the amount of espresso. This variation is also often served in a glass. Incidentally, an espresso macchiato tastes particularly good when the cup is warm.
● Cold macchiato is a pleasure, especially on warm summer days. This is prepared without foam. Instead, the espresso is simply mixed with some cold milk and called espresso macchiato freddo.


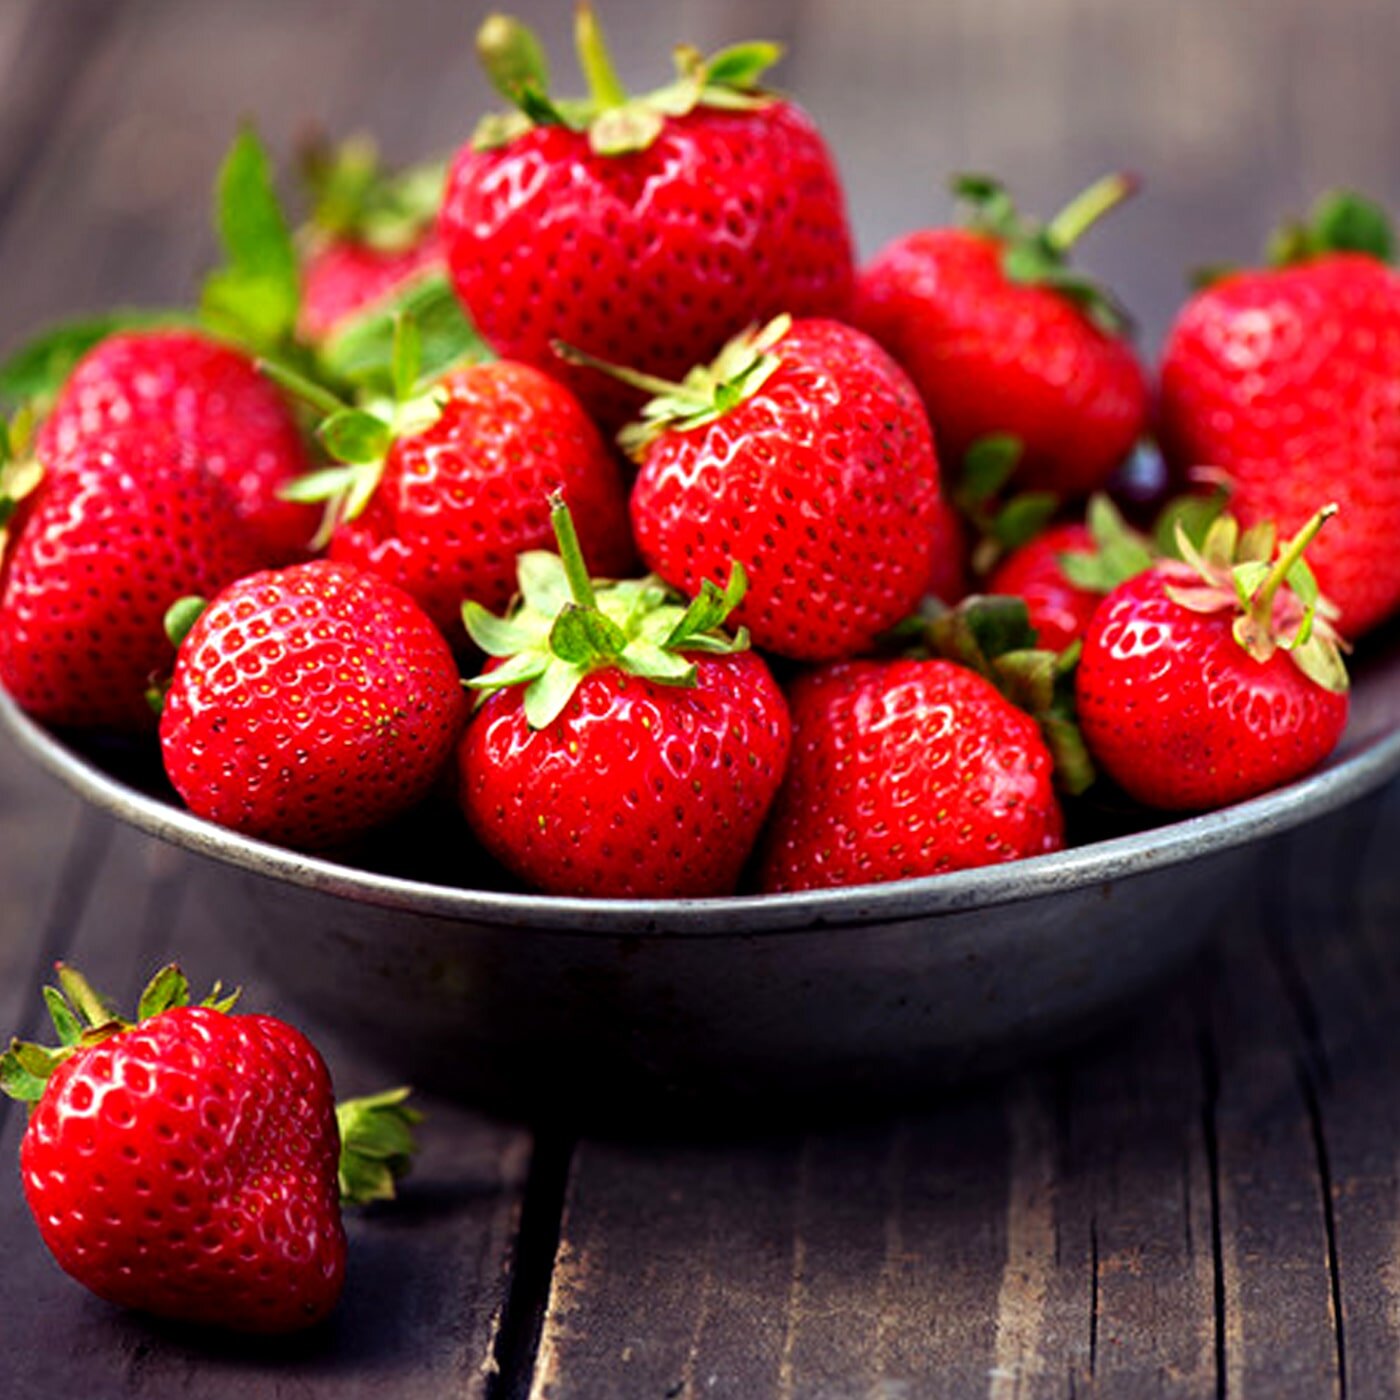
You can easily freeze strawberries without losing much of their flavor. Not only whole fruits are suitable for freezing, you can also preserve strawberry puree in this way. You can find out more about the various options here.

You can freeze strawberries after the strawberry season and thus preserve them. Depending on the weather, the strawberry season varies slightly from year to year. However, the bright red fruits can usually be harvested between May and July. Then they also have high season in supermarkets and organic shops. In order to have delicious strawberries for the rest of the summer and even in winter, we show you different ways to freeze them.

Freeze strawberries: instructions for whole fruits

You can easily freeze fresh strawberries – whether from the organic market or harvested yourself – as whole fruits:

It is important that you wash the strawberries thoroughly before freezing. It is best to clean them in cold, standing water, for example in a large bowl or in the sink, so that you do not damage the fruit.
Now remove all stems and remaining foliage.
Then pat the berries dry with some kitchen paper or a towel. They must not be wet when freezing, so that a layer of ice does not form.
To prevent the fruit from sticking together later when defrosting, freeze them first: place berry by berry next to each other on a flat plate or tray. The berries should not touch each other. Then place everything in the freezer for an hour or two.
To make room again, you can then fill the strawberries into their final freezer container. Place the pre-frozen berries in a stainless steel freezer box and store in the freezer. Frozen fresh strawberries will keep for about eight months.

Tip: Only use freshly harvested soil without dents or holes for freezing. Damaged fruit spoils faster even in the freezer – better eat it now.

Freeze strawberries as a puree

You can also puree the strawberries before freezing them. After defrosting, you have fresh strawberry puree at hand that is perfect for pancakes, with homemade Bircher muesli or to be enjoyed on its own. You can also cook strawberry jam or combine it with rhubarb to make strawberry rhubarb jam.

Wash the undamaged, fresh fruit in standing, cold water (as described above).
Remove the stems and foliage, then gently pat the strawberries dry with a towel.
Place the strawberries in a tall container and puree them into a smooth cream.
If you want the puree to be even creamier and finer, spoon it through a fine sieve before freezing. So you can easily catch the small seeds.
Pour the strawberry puree into a freezer bowl or glass.
Tip: You can also pour your pureed strawberry puree into ice cube molds. Frozen strawberry ice cubes taste wonderful in sparkling wine, mineral water or homemade cocktails.

If you freeze fresh chanterelles, you can keep them for a few months. In this article you will learn how this works.

Chanterelles are in season from the end of June to September: If you know what you’re doing, you can pick lots of delicious mushrooms on a walk in the forest. You’ll often find more than you can eat in one meal. You can freeze the chanterelles to keep them from going bad. With just a few moves, the mushrooms stay fresh and you can extend the chanterelle season.

Tip: Often chanterelles from the region are offered at the weekly market. Worth buying here and freezing them for fall and winter.

Freezing chanterelles: How to prepare the mushrooms

To prepare the chanterelles for freezing:

Thoroughly brush the chanterelles with a small brush.
Wash them off very gently.
Cut out bad spots with a small knife.
Blanch the chanterelles in salted water for a few minutes. This way they don’t taste bitter after defrosting.
Scoop the mushrooms out of the water with a spoon and gently dry them with a towel.
Let them dry a bit before you freeze them.

How to freeze chanterelles

You can easily freeze chanterelles in just a few steps:

Arrange the mushrooms on a board or tray.
Then place this in the freezer.
Take the board out again after about half an hour. Now the chanterelles are “pre-frozen” – so they won’t stick together when you freeze them afterwards.
Now fill the mushrooms in a freezer container and store them in the freezer.
Tip: Don’t use plastic bags to freeze the chanterelles. Instead, you can use, for example, freezer-proof glasses, cans or cotton bags.

Mushrooms that you collect yourself can stay in the freezer for up to ten months and still taste good. Mushrooms from the supermarket, on the other hand, lose their taste more quickly.

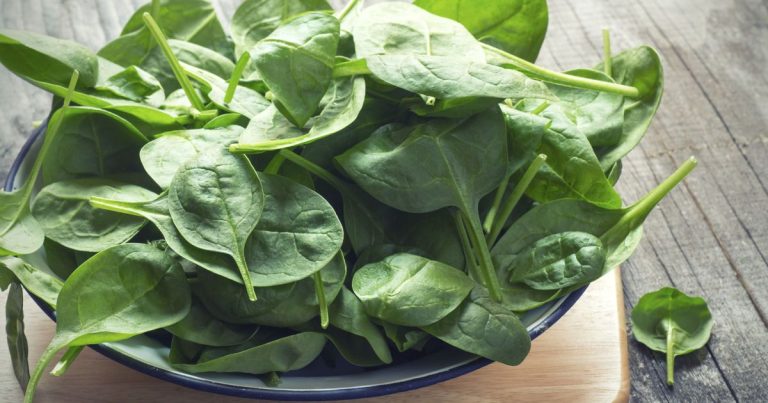
You want to freeze spinach because you had a good harvest? Or do you have leftover fresh spinach and want to preserve it? Find out here how it works and what you should consider when freezing.

Freeze spinach: Here’s how

Spinach is a healthy, regional vegetable. So it’s no wonder he’s so popular. Fresh spinach is especially delicious. If you have bought too much of it or your harvest has been very rich, you can freeze it without any problems.

How to freeze spinach correctly:

Wash the spinach and remove the stalks. These taste mainly bitter and are also not very pleasant when you bite them.
Briefly blanch the spinach. Blanched it is easier to freeze, and because you only heat it briefly, most of the nutrients are preserved.
To do this, add the spinach in portions to boiling water and let it cook for a few seconds.
Immediately afterward, place in a bowl of ice water to pause the cooking process.
Spin it dry in a salad spinner. It is important that the spinach is completely dry, otherwise too much liquid will collect due to the ice crystals when defrosting. You can also press the spinach dry between tea towels. Make sure, however, that it is not exposed to room temperature for too long. Because then nitrite can form in the spinach.
If the spinach is dry, you can freeze it in glass or stainless steel containers.
Tip: Depending on how you want to use the spinach, you can also cut it up or finely chop it before freezing.

You can also freeze spinach raw. However, the spinach should be as fresh as possible and you should clean it well so that no dirt or bacteria are thawed again later.

Need ice cubes but don’t have an ice cube mold? No problem! We have put together various ways for you to make ice cubes yourself at any time.

If you want to prepare ice cubes, the only option is usually to use molds made of plastic or silicone. You can also buy plastic ice cube bags everywhere, which end up in the garbage after one use. Both plastic and silicone are harmful to the environment and to your own health. Over time, for example, a silicone mold can release plasticizers into the ice cubes. Make sure that your ice cube mold is free of plasticizers such as BPA.

But if you don’t have such a shape or you want to produce ice cubes in an environmentally friendly way, you have to improvise. We have several ways for you to make ice cubes without an ice cube mold.

Make ice cubes without an ice cube mold

Use the shape of a box of chocolates. You can use any type of chocolate. We recommend buying chocolates made from fair trade chocolate. There are some seals for Fairtrade chocolate such as the Fairtrade seal. So keep the shape of a box of chocolates or you transfer the chocolates. You don’t have to throw these away, of course, but put them in a lockable box. The good thing about this variant is that you do not produce any additional garbage. Another plus is that you get ice cubes in special shapes. After all, chocolates often come in a wide variety of shapes. BTW: You can use other forms of candy as long as they are stored in a plastic mold.

Another option is to prepare glasses in advance that you want to drink from later or that you want to serve. To do this, fill in some water (a few centimeters high) and place it in the freezer compartment. But make sure that the glasses are freezer-safe. So don’t use glasses that are too thin. You can then simply pour the drink onto the thin layer of ice.

Crushed ice is also possible. You can use any type of container that is freezer-safe.

Cool drinks with alternative ice cubes

There are other ways you can cool drinks:

You can use frozen fruit as ice cubes: for example, put grapes in the freezer for about two hours and then put them in the glass. Alternatively, you can buy already frozen organic fruit. If the frozen fruit is no longer needed, you can simply eat it – it tastes delicious and you haven’t wasted anything.

You can also slice and freeze lemons or limes. It is best to use organic ones. Then you can be sure that they are free of chemical-synthetic pesticides.

Another option is to pre-chill the empty glasses or just the drinks yourself in the fridge. These are then cool from the start and remain so for a little longer thanks to the cool glasses.

Since the main problem is the material of conventional ice cube molds, you can use stainless steel molds, which can be bought online. There are also so-called whiskey stones made of stainless steel that you can freeze and use again and again.

Try making ice cubes out of liquids other than water. For example, freeze organic juices, yoghurt or fair trade coffee as cubes.

Spaghetti Cacio e Pepe is a simple and classic Italian recipe that doesn’t require many ingredients or time. We will show you a basic recipe and a vegan version.

Spaghetti Cacio e Pepe means spaghetti with pecorino and pepper. Cacio is a special Roman pecorino made from sheep’s milk. You can get it in Italian specialty shops or, for example, at a cheese counter. Pay attention to organic quality in order to guarantee species-appropriate animal husbandry.

Spaghetti Cacio e Pepe: basic recipe

For Cacio e Pepe for three people you need about:

400 grams of spaghetti
200 g Pecorino
Salt
black pepper (freshly ground)
Note: Note that pecorino is usually made with animal rennet. These are enzymes that are taken from the stomach of calves. Accordingly, Pecorino is not vegetarian.

How to prepare Cacio e Pepe

Place the spaghetti in boiling salted water. Don’t use too much salt in the pasta water, as the pecorino is already very salty.
Grate the pecorino.
Put the grated cheese in a cold pan. Now add a few tablespoons of the hot pasta water and stir the cheese into a creamy paste. Caution: In a coated pan, you should use a wooden spoon to stir, otherwise the coating could break.
Generously grind the black pepper, add it to the pan and stir the mixture well again.
About 2-3 minutes before the spaghetti is al dente, drain and reserve the pasta water.
Add the pasta to the pan with the pecorino mixture. Now add enough pasta water by the spoonful so that the spaghetti Cacio e Pepe can simmer gently for the remaining minutes.
At the end, the noodles should have soaked up the water and there should be almost no liquid left in the pan.
To serve, you can grate some fresh Pecorino over the portions of your fresh Cacio e Pepe.

Vegan variation of the spaghetti Cacio e Pepe

If you want to make spaghetti cacio e pepe entirely without animal products, you can make a vegan nut-based cheese sauce.

For 300 to 400 grams of spaghetti you need:

25 grams of almonds
25 g cashew nuts
1/2 tbsp sesame seeds
4-5 tbsp yeast flakes
1/4 tsp salt
60 g sauerkraut brine
120 g unsweetened plant drink
1 tbsp olive oil
freshly ground pepper

This is how the vegan version of Cacio e Pepe works:

Roast the almonds, cashews and sesame seeds in a pan without fat until lightly brown and fragrant.
Put the nuts, yeast flakes, salt, sauerkraut brine and plant-based drink with about 250 milliliters of pasta water in a blender and puree the ingredients into a creamy sauce. If the sauce is still too thick, you can add more pasta water in between.
Heat the oil in a pan and grind in some pepper.
Let the pepper roast briefly and then add the cheese sauce.
As described above, add the almost-cooked spaghetti and pasta water and let the pasta simmer in the pan until done.

Tip: Although almonds, cashews and sesame provide the creamy cheese note of the vegan Cacio e Pepe, they are problematic from an ecological perspective: They have to travel long distances to Germany and therefore have a bad ecological balance. Alternatively, you can replace them with the same amount of walnuts and sunflower seeds from German cultivation. When buying the products, also pay attention to organic goods if possible in order to avoid chemical-synthetic pesticides.


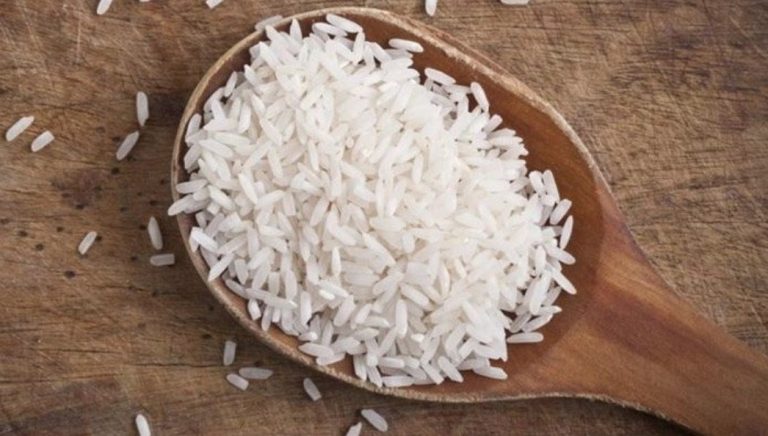
If you freeze leftover cooked rice, you don’t have to throw anything away. So that it still tastes delicious after surfacing, we explain how to freeze rice properly.

With rice, it can quickly happen that you misjudge the amount and there is a lot left over. You can keep cooked rice in the fridge for a few days for the next meal. Or you can freeze it and thaw it later when needed.

Rice freezes easily. We’ll show you what you should pay attention to so that the grains still taste good after surfacing and don’t become soft and mushy.

Freezing rice: These varieties are suitable

Perfectly cooked rice grains still have a slight bite. When you thaw frozen rice, the texture changes and the grains become a little too soft. Some types of rice are better for freezing than others because they retain their texture better. These varieties include:

jasmine rice
basmati rice
Patnareis
If you want to cook rice ahead of time, you can intentionally undercook it a little. When reheated, it reaches its perfect consistency.

How to properly freeze and thaw rice

Freeze rice properly

Do not cook the rice too soft, but so that it is still al dente.
Let the rice cool down.
When portioning the rice you have two options:
You freeze everything together. If your rice was still grainy enough after cooking, it will create a frozen clump that you can always break off pieces and thaw.
You’re already freezing it in portions equal to one meal. This is useful if your rice is not quite as grainy and would not be as easy to portion when frozen.
Freezer containers made of glass or stainless steel are suitable for freezing.

Properly defrost rice

It is best to let the rice thaw at room temperature.
Then heat it up with steam. If you boiled it again, possibly with additional water, it would quickly become too soft and gooey.
Instead, place it in a fine-mesh strainer that you hang over a saucepan of boiling water. The rice is heated by the rising steam. Stir the rice once during this time so that it warms up evenly.
You can also just add it directly to the sauce you made for your dish to thaw and let it simmer over low heat.

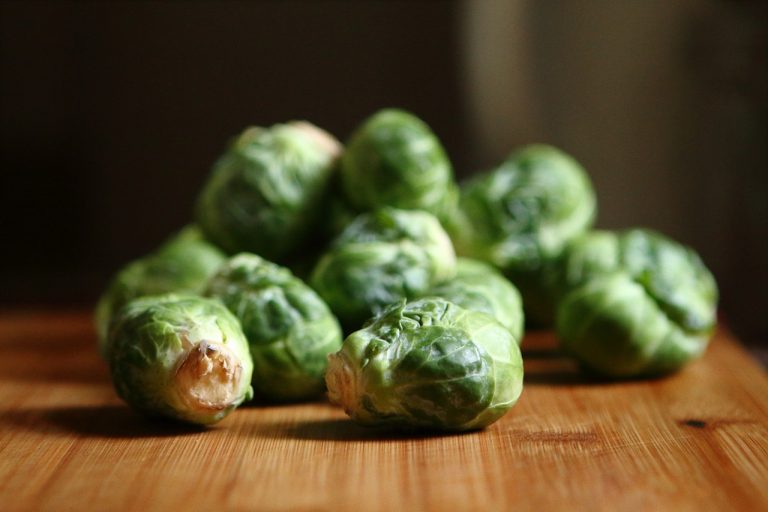
Eating Brussels sprouts raw is possible in principle, but can put your digestion to the test. Here you can find out how to prepare the small cabbage florets as easily digestible as raw food.

Brussels sprouts are in season in Germany between September and March. It is therefore a popular ingredient, especially in autumn and winter cuisine. It is usually served boiled, fried or gratinated – for example as a Brussels sprouts casserole, Brussels sprouts in a pan or Brussels sprouts stew. Recipes with uncooked Brussels sprouts are rarer.

In principle, it is possible to eat brussels sprouts raw – the uncooked kale florets are not poisonous or otherwise harmful. However, they can be difficult to digest. You can prevent this by preparing them as gently as possible on the stomach.

Eat brussels sprouts raw – this is the most digestible way

Brussels sprouts have a slight bitter note both cooked and uncooked. For this reason, the prejudice persists that the raw leaves are poisonous. In fact, a bitter taste in some types of vegetables is a warning signal: in zucchini or pumpkins, for example, it can indicate that the toxic substance cucurbitacin has formed. With Brussels sprouts, on the other hand, the slightly bitter aroma is normal and therefore not a cause for concern.

Cooked Brussels sprouts are one of the more digestible types of cabbage. However, it is harder to digest raw and can lead to flatulence and other digestive problems. This is mainly due to its high fiber content. If raw cabbage always causes problems for your stomach, you should also be careful with Brussels sprouts. Then try a smaller amount first to see how your body reacts to the uncooked Brussels sprouts.

Eating Brussels sprouts raw: Preparation and recipe ideas

The florets harvested from November are best suited for recipes with raw Brussels sprouts. They have usually been exposed to freezing temperatures and taste milder and sweeter as a result. When cleaning Brussels sprouts, it is also best to remove the outer, dark green leaves. They are usually dry, fibrous and taste less pleasant than the light green inner leaves, especially when raw.

You can eat Brussels sprouts raw, for example, by preparing them as a salad. Some recipes for Brussels sprouts salad use pre-steamed Brussels sprouts—the florets are usually cut in half. If you use raw Brussels sprouts for salad, you should chop them up as finely as possible. This makes it easier to digest and easier to digest. For example, cut the florets into thin slices, grate them or pluck off the leaves individually.

You can dress the raw Brussels sprouts salad with a classic vinaigrette, a honey-mustard dressing or a lemon dressing, for example. Walnuts are particularly suitable as a topping because they harmonize with the slightly bitter note of the cabbage. You can add other ingredients to taste. A few Brussels sprouts also add an interesting touch to a classic mixed salad.

Tip: It is best to buy your groceries seasonally and regionally and, if possible, pay attention to organic quality. We can recommend the organic seals from Demeter, Bioland and Naturland, as they follow stricter criteria than the EU organic seal. In this way you contribute to biodiversity and soil protection.

Maceration means “soaking in liquid”. You can read in this article how this works and for which foods it makes sense to macerate.

Maceration is a term from the kitchen. It was borrowed from the French “macérer” – “to soak/soak something” and goes back to the Latin “machrare” – “to soak”. It sounds fancy, but chances are you’ve already macerated while cooking or baking.

Why is maceration useful?

Preservation: Maceration makes fresh food last longer. Another side effect is that fruit does not turn brown.
Flavoring: You can add another flavor note to macerated foods.
Change consistency: Depending on the type of food being macerated, the consistency can remain the same, become softer or juicier.

You need this

Maceration is very easy. You need two components; it is up to you how much and what combinations it will be. Maceration is usually understood as meaning when fruit is marinated in alcohol with a little sugar, but there are many variations.

Ingredient One: Foods You Want to Macerate:

Fruit like strawberries or apricots
vegetables like onions
Pastry like biscuit
When macerating, you put the food in or sprinkle it over it in order to then process it further. For example, you dip ladyfingers in coffee to use for (vegan) tiramisu; or you macerate fruit in sugar to make jam. You can also macerate meat.

Ingredient Two: Liquid

Depending on the flavor you want and the purpose, you have different liquids to choose from in which to put the food:

Alcoholic beverages such as liqueur or sparkling wine
Oils such as olive oil or garlic oil (tip: make your own garlic oil)
Vinegar like balsamic
Juices (fruit or vegetable) such as orange juice or tomato juice
Broths like vegetable broth (tip: make your own vegetable broth)
Fairtrade coffee or tea such as black tea
Note: We recommend buying organic food. Then you can be sure that they are free of chemical-synthetic pesticides and come from environmentally friendly cultivation. If you use seasonal and regional fruit and vegetables, you can save CO2 emissions due to the shorter transport routes. Our seasonal calendar shows you when which fruit and vegetables are in season in Germany.

Maceration tips

Use a liquid of your choice for maceration. You can add extra flavor with spices. For example, when macerating fruit, add some cinnamon to the liquid. Herbs, on the other hand, often go well with savory pickles. You can try different flavors. How about a dash of lemon juice and some sugar in a fruit-juice maceration?

It is crucial that the flavors of the liquid harmonize well with those of the food. For example, drinks such as rum, wine or fruit juice go well with fruit, coffee or sweet liqueurs go well with baked goods and spice-oil mixtures, vinegar or broth go with vegetables.

Basically, you should macerate food cold (or at least lukewarm). Pre-heating only makes sense in some cases, for example to boil off residual alcohol or to obtain roasted aromas.

To macerate, simply place the food in the liquid and let it steep for a bit. How long that is varies. For example, soaking strawberries in sugar for 15 minutes may be enough. Others you leave for 24 hours, such as a punch. For pastries such as cake bases, it is sufficient to drizzle or dip them briefly. The aroma usually intensifies with a longer soaking time.

Incidentally, macerating works in a similar way to marinating. However, a marinade contains many spices, and marinated foods are often boiled, simmered, or fried afterwards. Food is often macerated longer than marinated. As a rule, the food’s own liquid and aroma are included in the maceration liquid, which is usually not the case with marinating. Therefore you can continue to use the maceration liquid.

It is not possible to generalize how long a food can be preserved through maceration. That depends on the liquid used and the preparation method. For example, olive oil preserves for up to six months and canola oil for up to a year, while sugar alone doesn’t really extend shelf life. However, if you further process fruit pickled in sugar by heating it to make jam or compote, the food can even last for several years. Also alcohol preserved for several months (for example Rumtopf). However, it is always important that the macerated food does not come into contact with dirt and bacteria and that you store it in a cool and dark place – otherwise the product will spoil.

Recipes: Macerate strawberries with balsamic vinegar

Ingredients:

500 g strawberries
3 tablespoons balsamic vinegar
3 tablespoons sugar or agave syrup
some leaves of fresh mint

Directions:

Wash the strawberries and pat them dry.
Cut the strawberries into small pieces – preferably in halves or quarters, depending on their size. Then place the strawberries in a sealable container.
Pour in the vinegar and sprinkle over the sugar (or agave nectar or other sweetener). You can either add the mint at the end when serving or add it to the bowl in small pieces.
Cover the bowl and place in the refrigerator for at least 3 hours. Get the strawberries out of the fridge in time so that they return to (almost) room temperature.
You can eat balsamic strawberries just like that, serve as an appetizer or dessert. You can also combine the macerated strawberries as a sweet and sour ingredient or side dish, for example in a salad or in a bowl.