Tag

trick

Browsing

Yeast from beer is an easy secret recipe for when you don’t have yeast at home. Be it for pizza, yeast braid or cake – we’ll show you how you can make yeast from beer yourself.

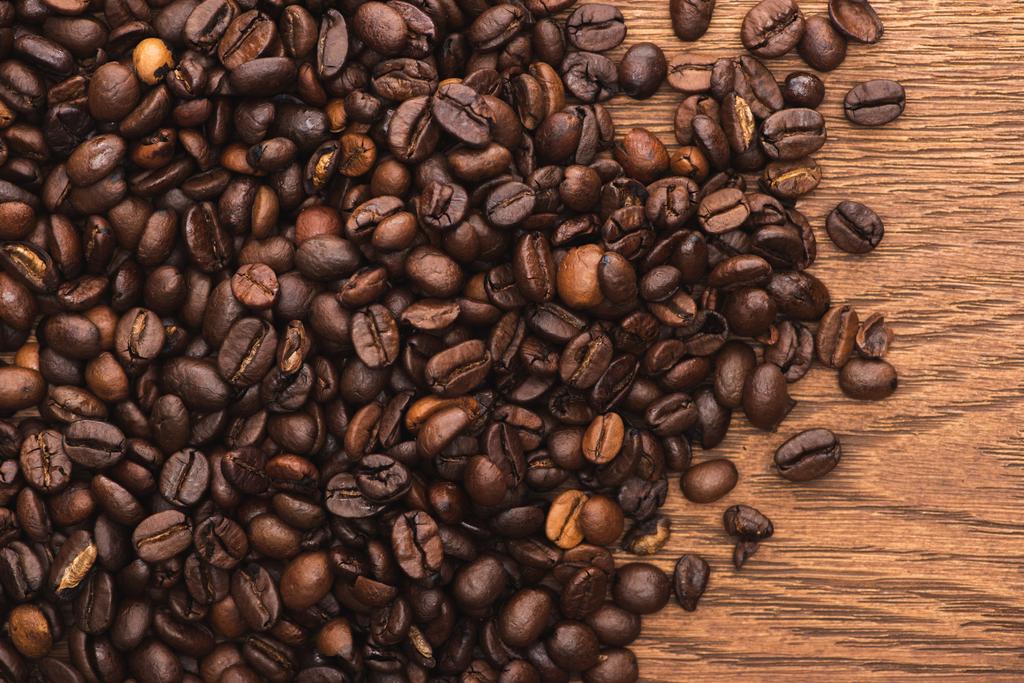
Yeast consists of microscopic organisms that make dough rise. Yeast is also an essential ingredient in beer – here it ensures that beer ferments. You can take advantage of this if you don’t have any yeast in the house and still want to bake something.

Note: Even though yeast consists of small organisms, yeast is vegan: they are unicellular fungi.

You only need three ingredients to make yeast from beer

The following ingredients replace about one cube of yeast. This amount is therefore suitable for about 500 to 1000 grams of flour.

What you need:
100 ml beer: Here you can use a beer of your choice, preferably naturally cloudy.
1 tbsp flour
1 tsp sugar
Recommended kitchen utensils:
1 small bowl
1 fork or 1 small whisk for mixing
1 kitchen scale or 1 measuring cup
1 jar or other container that you can seal

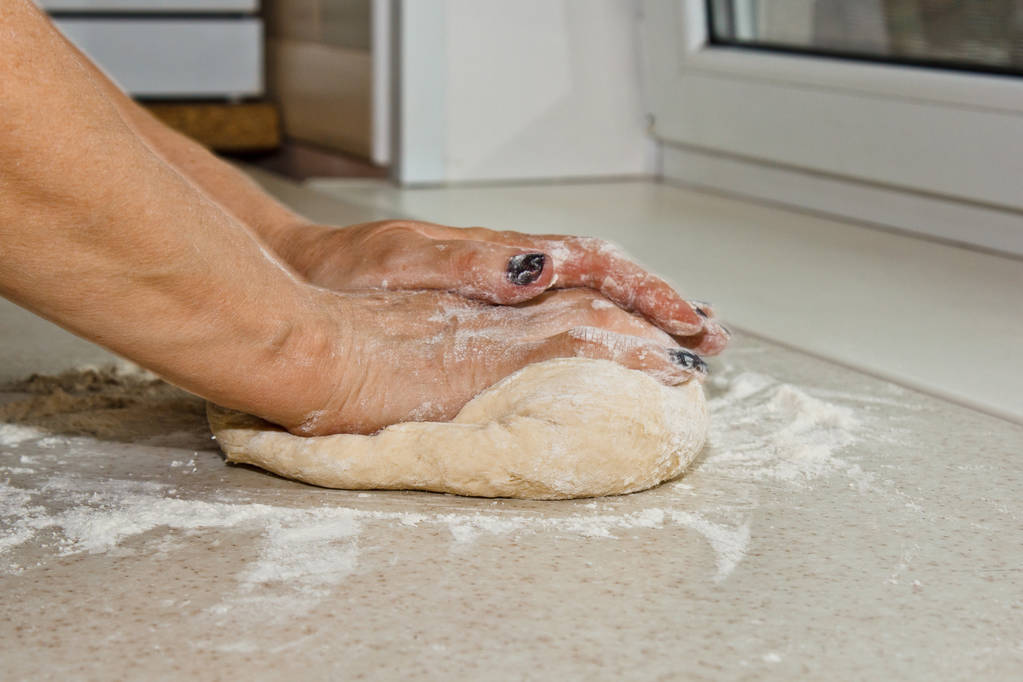
Make yeast from beer yourself: It’s that easy

Pour 100 milliliters of beer into a small bowl.
Slowly pour in the flour and sugar while whisking constantly. This will prevent lumps from forming.
If there are small lumps, try to crush them with a small fork and stir to break them up.
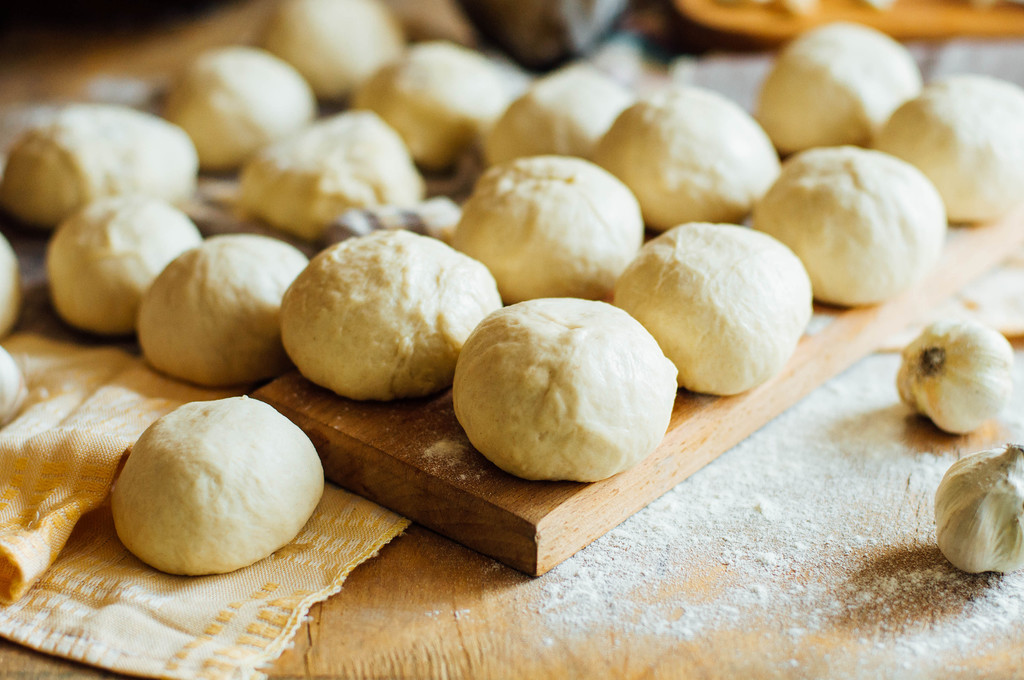
Pour the whole thing into a screw-top jar and seal it tightly. If you don’t have a screw-top jar handy, you can use another container like a food storage box or a bowl covered with a plate.
Set the beer-flour-sugar mixture aside and let it sit for several hours, preferably overnight.
Note: Use 100 milliliters less liquid for the recipe you want to use the yeast for.

Tip: You can use the rest of the beer to prepare a dish with beer batter, or you can mix up a tincture for your skin or hair – because brewer’s yeast is also good for this thanks to its healthy effects. Or you simply enjoy the rest on the balcony or by the window.

Yeast from beer or “normal” yeast?

Yeast that you can buy at the grocery store is a type of pressed yeast, and there are about ten billion yeast cells in a gram. In beer, yeast converts sugar contained in the beer ingredient malt into alcohol and carbonic acid. Yeast also contributes to the flavor of beer.

It doesn’t matter whether you use “normal” yeast from the supermarket or make yeast from beer yourself, there is no difference in taste. But the difference between the two types is the driving force: that of brewer’s yeast is somewhat weaker. So your dough will need a little more time to rise. Optionally, you can prepare a pre-dough that you let rise several times over several hours or freeze.

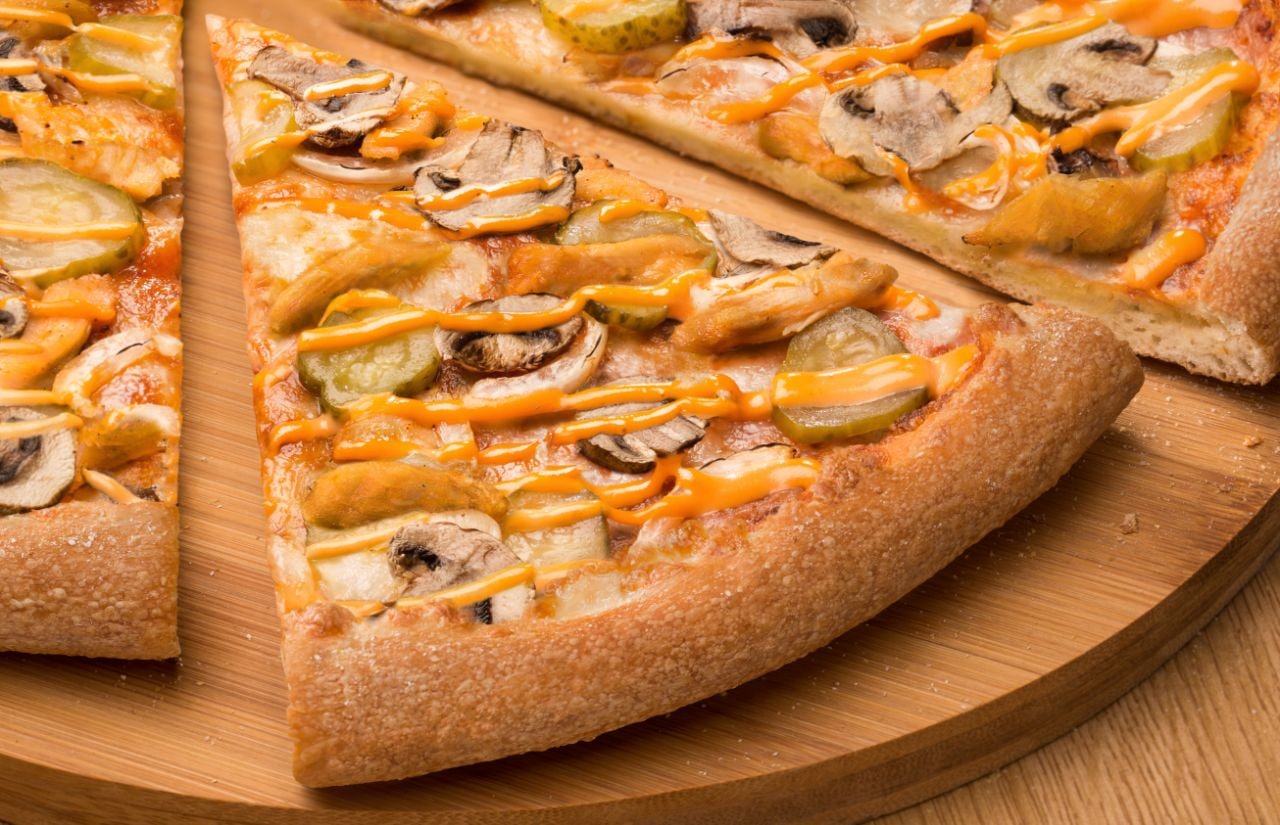
If you don’t yet know what you can do with the homemade beer yeast: how about a yeast braid with raisins or a plum cake? If you don’t like plums, you can also prepare a simple yeast dough and top it with fruit of your choice. If you want it hearty, we also have a recipe for pizza dough for you.

Another way to make your own yeast is to use dates or other unsulphured dried fruit to make yeast water. However, this alternative must rest for up to a week. Yeast substitutes such as baking powder are also suitable for some recipes. Making your own yeast from beer is easy and also quickly ready for use, which is a clear advantage for us over other variants.

So that your glasses don’t get dusty if they remain unused for a long time, you should pay attention to a few things about storing the glasses. Consequently, you can avoid dusty glasses and save yourself cleaning after you have taken them out of the cupboard.

Glasses that are not used often gather dust quickly, even in closed cupboards, and have to be cleaned again before they are used again. You can use a simple trick to ensure that the glasses stay clean.

Tips to avoid dusty glasses

Have you planned a big family meal and are you getting the holiday glasses out of the cupboard? Then to find that all the glasses are covered in dust and they need to be cleaned? This is annoying and takes up an unnecessary amount of time. Therefore, we have collected some tricks that will avoid dusty glasses in the future. Also, note our clever tips for cleaning the kitchen.

1) Glasses do not get dusty upside down

To avoid dusty drinking glasses, simply place the glasses upside down in the cupboard. As a result, no dust can get into the glass and you always have clean glasses at hand. In addition, note useful tips for polishing glasses.EMPTY

2) Regularly wipe dust against dusty glasses

If you struggle with dust in the apartment and keep your glasses on open shelves, your glasses can quickly gather dust. Then regular dusting helps. And if you don’t have time to dust the whole apartment, at least try to dust off the glasses.

3) Avoid dusty glasses with plants

Since plants provide moisture, they ensure that the dust is bound. Then it usually settles on the leaves of the plant. So you can put plants next to the shelves where you keep your glasses. Consequently, the glasses are better protected from dust. Also, note helpful tricks for separating wedged glasses.

True coffee connoisseurs only drink their coffee from freshly ground beans. If your favorite coffee is on sale, you would like to grab it without limits and secure a large supply. If it weren’t for the fear that the valuable aromas could evaporate if it was stored in the kitchen cupboard for a long time and the delicious coffee would only taste bland.

In general, it is always advisable to use fresh coffee beans as soon as possible. Nothing beats the full flavor of freshly roasted beans. However, if it is not possible to always get your beans fresh and in small portions, you have to store them.

Freezing larger amounts of coffee beans seems a good alternative. This is to preserve the aromas and give the coffee its full, fine taste even after it has been stored for a long time.

However, opinions differ on this topic. True advocates of freshly ground coffee call freezing coffee beans a vice because they don’t want the taste to be the same after thawing.

If you decide to freeze for practical reasons, it’s important to make sure the beans are frozen in an airtight container so that no moisture can get in. Even after removing the beans from the freezer, they should first be completely thawed to room temperature before they are removed from the packaging, otherwise condensation will form. Since roasted coffee beans contain hardly any moisture that freezes when they freeze, you can alternatively put them directly into the coffee grinder.

A problem when storing large quantities in the freezer is the need-based removal of portions. Every time the beans are taken out, they are exposed to temperature fluctuations, which damages them in the long run. Therefore, if possible, only freeze in portion size.

Although freshly roasted coffee is always preferable to stored coffee, if it is stored correctly, good quality coffee can be obtained, even over a long period of time. With or without freezing, coffee beans should be kept dry, airtight and stored in the dark. It is best to leave them in their original packaging to avoid loss of flavor when decanting. With the packaging, you can then store the beans in a ceramic jar or other airtight and lightproof container.

But since fresh coffee still tastes best, you should only buy as much coffee as you can use within a week. During this time, the beans stay fresh even with normal storage, without losing their aroma.

If you want to bake pizza properly, you don’t need a stone oven. But there is a crucial trick how the pizza gets really crispy in the oven at home. We’ll tell you.

Baking pizza properly is an art in itself. A traditional Italian pizza has a crispy base and topped with fresh ingredients. The secret behind this is the preparation in the stone oven: a fire burns under the stone, which heats up its surface considerably. The pizza is then baked crispy brown directly on the hot stone.

But you can also imitate how a stone oven works at home. Most modern ovens have a setting where the pizza gets nice and crispy without burning. We’ll show you a simple trick to make pizza like it’s out of the stone oven.

Choose the right setting

In order to bake pizza properly, you should select the appropriate setting on your oven. So first familiarize yourself with the different oven symbols.

The setting, which mimics the brick oven, is convection with bottom heat. You can recognize this setting by the symbol of a fan with a line or a wave underneath it. This setting is perfect for properly baking pizza. It is baked crispy on the bottom, but only gently cooked on top.

Bake your pizza with this setting in the lower third of the oven at maximum temperature. Depending on the recipe, the pizza is ready in ten to twenty minutes.

If your oven does not have this setting, then alternatively bake the pizza at the maximum temperature on top/bottom heat. Place the pizza at the bottom of the oven. In this way, the heat comes directly to the dough and makes it crispy. The baking time also varies with this variant depending on the recipe.

By the way: This setting is also suitable for heating up pizza. The leftovers will still taste good the next day.

Pizza like from the stone oven: ideas for at home

With the right setting on your oven, you can also make a pizza with a crispy crust at home. It tastes especially good if you make the pizza yourself. Both the pizza dough and the pizza sauce are prepared quickly. Then choose your favorite ingredients and top the pizza with peppers, spinach, olives, cheese or fresh rocket, for example. Get inspired by these pizza recipes:

  • Cauliflower Pizza
  • Spinach pizza
  • Pizza Marinara
  • Arugula Pizza

Tip: Pizza as fast food does not have to be unhealthy. You can also bake a healthy pizza without yeast and white flour. We’ll show you how it’s done here: Fast and healthy pizza? It works with this ingredient.

Who doesn’t know it: You left carrots for too long and now they’ve gone soft? No problem! This simple trick will make them crunchy again.

If you leave carrots for too long, they will become soft and take on a rubbery texture. Of course, they are still suitable as an ingredient in cooking – but most people simply prefer crunchy carrots in salads or as a raw food snack.

Luckily, there’s a simple trick you can use to refresh soft carrots. Not only do you enhance their taste, but you also avoid potential food waste.

Tip: When buying carrots, make sure that they are organic if possible. You are supporting ecologically more sustainable agriculture that, for example, does not use chemical-synthetic pesticides. Root vegetables such as carrots absorb these pesticides particularly strongly from the soil. The organic seals from Demeter, Naturland and Bioland are particularly recommended.

Make soft carrots crunchy again: Here’s how

Here’s the trick to making soft carrots crunchy again:

Place the carrots in a tall glass.
Fill the jar with cold water so that all the carrots are covered.
Place the jar in the refrigerator or other cool place for at least 8 hours.
After this period of time, you can take them out and enjoy them fresh.

In another article, you will learn how to store carrots correctly so that they can be kept for a long time.

Making carrots crisp again: important tips

Depending on how soft the carrots are, they can take up to 48 hours in water to crisp up again.

Tip: tend to put the carrots in a larger glass, as they often become plumper and therefore more voluminous in the water.

Good to know: You can also freshen up other root vegetables such as radishes or turnips with this trick.