Mohnstriezel is a sweet pastry from Silesia. It is traditionally eaten at Christmas or Easter. We show you a delicious recipe with a vegan version.
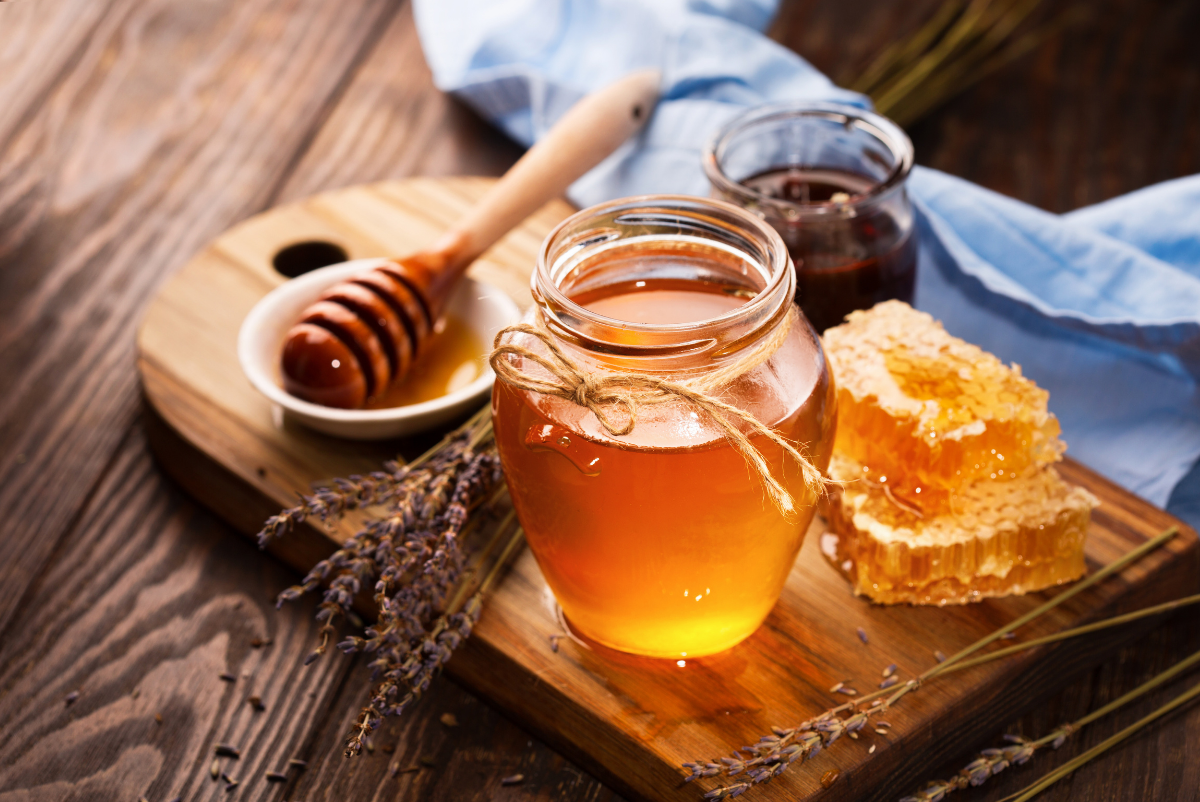
Originally Mohnstriezel comes from the former Silesia. The area is now mostly in Poland. The Silesian Mohnstriezel are still served in these regions as a traditional pastry at Easter or Christmas. They consist of a sweet yeast dough filled with poppy seeds or almonds. There are also delicious sprinkles and a sweet glaze. You too can make the Silesian Mohnstriezel yourself. We will show you a recipe for the sweet pastry with a vegan version.
Pay attention to the organic quality of the ingredients. In this way you can support species-appropriate animal husbandry and avoid chemical-synthetic pesticides. Above all, we can recommend the organic seals from Demeter, Bioland and Naturland, as they comply with stricter criteria than the EU organic guidelines. Also, make sure to buy eggs without chick shredding.
Buy ingredients that are locally and seasonally sourced. This avoids long transport routes and reduces global CO2 emissions. You can also support local providers in your region.
Mohnstriezel: The recipe
Ingredients:
600 gwheat flour
42 g yeast
630 mlmilk
230 g butter
260 gsugar
1vanilla bean
0.5 untreated lemon
100 g marzipan raw mass
2 tablespoons starch
1 egg
180 g blue poppy seeds
100 gicing sugar
Directions:
Put 500 grams of flour in a large mixing bowl and make a small well in the middle.
Crumble the yeast and pour it into the well.
Heat 130 milliliters of milk until lukewarm. Pour the warm milk over the yeast and let it soak briefly.
Cut 150 grams of butter into flakes and add them to the mixing bowl.
Now add 100 grams of sugar and process the ingredients with the hand mixer to form an even dough. Cover and let the dough rise for about an hour.
In the meantime, you can make the sprinkles. Put the remaining flour and 80 grams of sugar in a bowl.
Halve the vanilla bean and carefully scrape out the pulp with a knife. Put this in the bowl as well.
Wash the lemon thoroughly and grate half of the lemon zest into the bowl.
Now add the remaining butter in flakes and mix the ingredients into a crumbly dough. You can put the finished crumbles in the fridge.
Then it’s time for the filling. To do this, cut the raw marzipan into small pieces. Pour the marzipan into a pot.
Pour half of the remaining milk into a measuring cup. Whisk together the cornstarch or cornstarch substitute and egg until smooth.
Heat the marzipan with the remaining milk and sugar. Stir constantly so it doesn’t burn. Let the ingredients boil up briefly.
Then take the marzipan off the stove and stir in the blue poppy seeds and the milk with starch. Reheat the filling and keep stirring until you get a smooth mass. Then let them cool down.
On a floured work surface, roll out the dough into an oval shape.
Spread the poppy seed filling evenly over the pastry base. Roll up the Striezel from the two longer sides towards the middle.
Place the finished Mohnstriezel on a baking sheet lined with baking paper. Spread the crumbles evenly over the pastry and press lightly.
Bake the Mohnstriezel at 180 degrees top and bottom heat for about 45 to 50 minutes. Then let it cool down completely.
Halve the lemon. Use the half that you already scraped off the skin. Squeeze out the juice from this lemon half and stir in the icing sugar (tip: make your own icing sugar). Brush the cooled Mohnstriezel with the glaze as you like.
Mohnstriezel: Tips for the preparation

The Silesian Mohnstriezel need a certain resting and baking time. However, the effort is worth it for the tasty treat. With a little practice and patience, even baking beginners can prepare the sweet Striezel. The following tips will help you with a sustainable, varied or even vegan preparation:
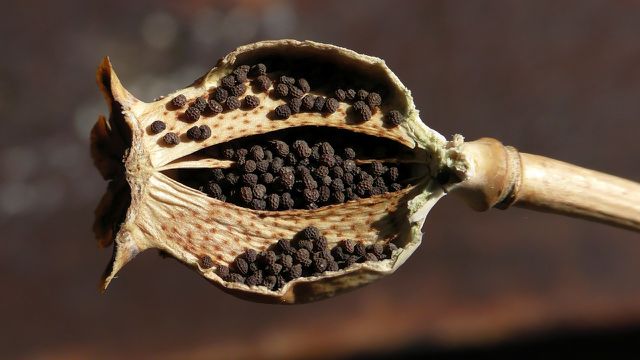
Blue poppy consists of the seeds of the opium poppy. It contains alkaloids that are used in the production of intoxicants and narcotics. The well-known morphine is also obtained from the opium poppy. The poppy seeds usually do not contain morphine, but they can become contaminated with it during harvest. The Federal Institute for Risk Assessment therefore recommends a maximum intake of 6.3 micrograms of morphine per day and kilogram. This corresponds to around 94.5 grams of poppy seeds per day for a person weighing 60 kilograms.
Vanilla originally comes from Mexico. Madagascar is now the largest cultivation area for vanilla beans. Unfortunately, pods from Germany or Europe are not available. Since the vanilla has to travel long distances, you should use it sparingly. Consume them consciously and preferably buy them with the Fairtrade seal.
You can refine the Mohnstriezel with various ingredients. For example, healthy raisins, almonds or other chopped nuts taste great in the filling. Jam or pieces of apple also give the filling a whole new taste. If you replace the wheat flour with wholemeal spelled flour, your pastries will be more nutritious and rich in fibre. However, the dough may need more liquid.
If you want your Striezel to be less sweet, you can reduce the sugar as you like.
You can also prepare your Mohnstriezel vegan. Replace the milk with plant-based milk and the butter with vegan margarine. You can use an egg substitute instead of eggs.