Cutting hair yourself is possible for men and women because with the right tools and a little patience you can create a great hairstyle. Save money and the hairdresser’s visit!
Cut your own hair: how it works!
A hairdresser is expensive, but the magnificent mane must be kept in check. To make your work easier and save money, you can use scissors yourself. Cutting hair yourself is basically not magic and can even be done by beginners. In order to get a good insight, there are certain instructions on how to cut long and short hair yourself on the Internet. This will soon result in a fantastic hairstyle at zero price.
What should you pay attention to when cutting your own hair?
One point is important before attempting any long or short haircut tutorial: goals. You need to know beforehand what you want the end result to look like. For example, you can only trim the ends or trim your current hairstyle. Even a complete type of change is possible on your own. Therefore, be aware beforehand of what you want in the end, so that you don’t start cutting without a plan.
The right scissors for cutting hair
Good equipment is the be-all and end-all when cutting hair. First of all, you need two mirrors, so you can also properly work on the back of your head. In addition, enough hair clips and hair ties are important, especially with longer hair. One of the most important utensils is the scissors. Never use conventional household scissors, as they are quite blunt and will damage your hair when cutting.
It is better if you invest some money in professional hairdressing scissors. This protects your hair and prevents miscuts. You can also read tricks for sharpening blunt scissors. For men who cut their own hair, on the other hand, a suitable machine is recommended. With such a hair cutting machine, short hair can be styled within seconds. The hair-cutting machine is a must, especially for shaving the neck or in narrow areas.
Which hairstyle would you like?
You probably know it from the hairdresser: before it finally starts, the hair is moistened. You should also moisten your hair when you are at home. This is a great help, especially when cutting hair yourself. How you moisturize your mane is up to you. You can wash your hair or just spritz it with a spray bottle. Even pulling through a hair straightener is possible, resulting in a smooth and easy-to-work-on surface.
When cutting, just remember that the hair will contract again after drying. So never cut off too much. If you don’t want to cut your hair step by step, but just trim your bangs, you don’t have to wet your hair.
On the other hand, if you have long hair or only cut the ends, it is best to do it upside down. Simply comb damp hair upside down and trim the ends all the way around to the desired length. Because you cut overhead, light and natural layers are created immediately, which makes the hair look airy and loose.
The so-called twisting method, on the other hand, is the perfect remedy for split ends. Simply twist a few strands into a thick braid and cut off the little hairs that stick out. In general, it makes sense if you keep it fairly simple. It is better to leave complicated or complex cuts to a professional because things can quickly go wrong. It is best if you do not remove more than 2.5 centimeters per cut.
What should you avoid when cutting your hair yourself?
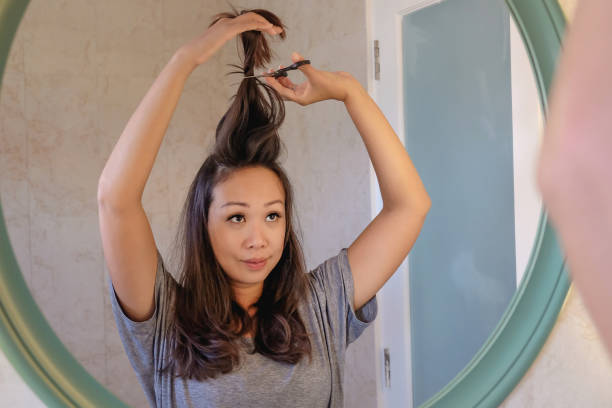
There are some little things that are rather counterproductive. It is important not to cut too much hair at once. It can happen that you then slip away and the result is crooked. It is better if you separate individual strands with the comb. But cutting your hair yourself using the braid method is a good solution. With the hair cutting braid method, you braid your hair in a thick braid or pull it tightly into a ponytail.
Now it doesn’t happen that the hair breaks out when cutting. Another problem is curls. It is almost impossible to set straight cuts with curly hair so that a wild hairstyle is created in the end. For this reason, it is better to leave your curls to a professional. In addition, read tips on maintaining natural curls.