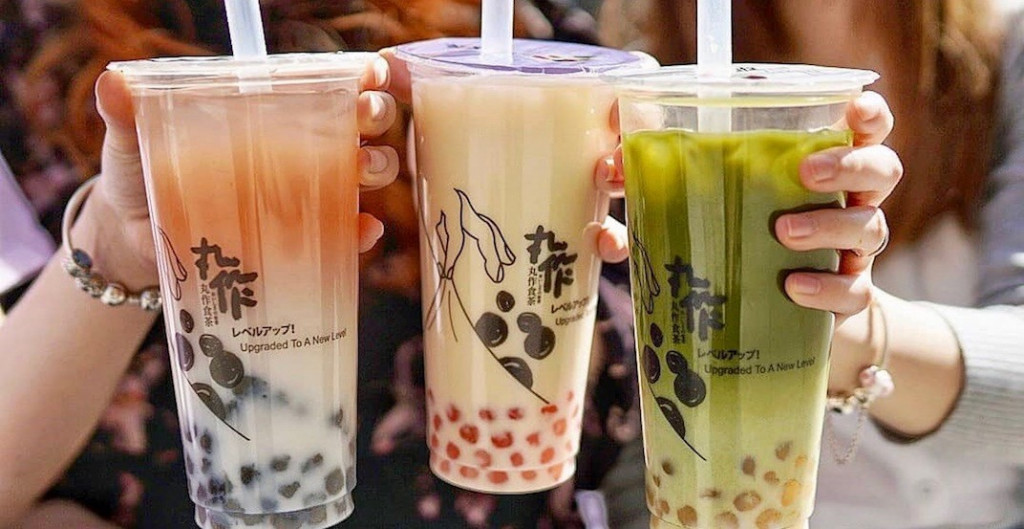
Colorful drinks with wobbly balls: bubble tea is back in fashion. We’ll show you here why it’s better to just make it yourself than to buy it.
Already ten years ago it was the trend drink par excellence in Germany: bubble tea. Freely translated, this means ball or pearl tea. The liquid refreshment comes from Asia, more precisely from Taiwan. Bubble tea has been there for more than 25 years. The special thing about it: in addition to tea, milk and syrup, small balls make the bubble tea what it is.
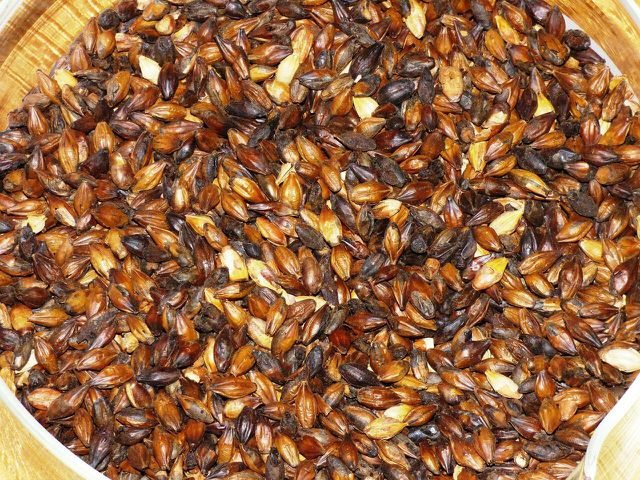
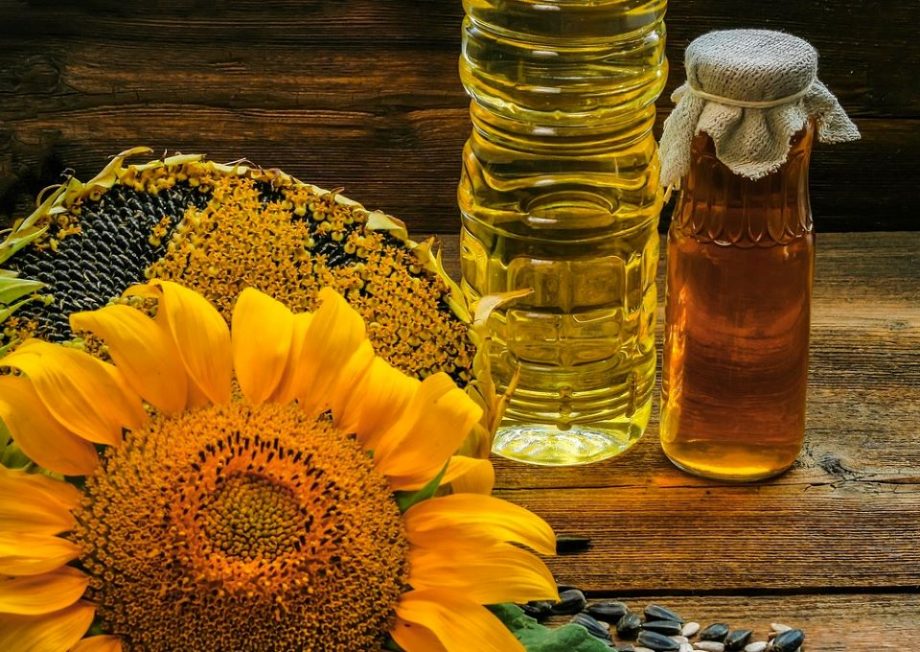
The classic version of the bubbles consists of tapioca pearls. These are made from maple syrup mixed with tapioca flour and cooked. The bubbles turn black because the syrup caramelizes.
Tapioca flour consists of ground cassava roots, which are often referred to as “tropical potatoes”. The tapioca flour is relatively neutral, the flavor comes from mixing with the syrup. The consistency of the pearls resembles that of jello.
There are now other options on the market: on the one hand, there are the “Popping Bobas”. They are filled with fruit juice and will burst if you bite into them. There are also “jellies” made from coconut flesh and fruit juice.
Why you should make bubble tea yourself

As tasty and trendy as the soft drink may be, there are good reasons not to buy commercial bubble tea. In addition to very obvious points such as the plastic packaging, there are also many hidden ingredients in Bubble Tea that are not necessarily obvious at first glance.
If you still feel like having the drink from time to time, you can make it yourself with just a few ingredients. This is how you decide what goes into the tea and how you serve it.
Plastic cup and straw: the packaging of bubble tea
Bubble tea shops usually offer little space and are designed according to the to-go principle. This means that the drink is filled into plastic cups and customers take it with them. But that’s not all: the lid of the cup is made of a thin plastic film into which a plastic straw is inserted.
Not exactly timely when you consider that an EU-wide ban on single-use plastic, which also affects plastic straws, is to come into force in July 2021. Because if you use plastic, you harm both the environment and your health. Because plastic contains many chemicals that can get into your body, according to the Bund für Umwelt und Naturschutz Deutschland (BUND). The additives are not firmly embedded in the plastic and are therefore particularly easy to remove from the cup and straw.
Packaging waste in particular poses a problem, as it is thrown away after it has been used once. It accounts for around a third of the plastic waste we produce; according to BUND, only a little is recycled.
Sugar content as high as cola
Tea and milk – actually, the main ingredients of bubble tea seem to be quite healthy. In fact, bubble tea contains about the same amount of sugar and calories as cola: a 500-milliliter cup of the trend drink contains between 300 and 500 calories, depending on the variety; the sugar content is up to 60 grams.
For comparison: The World Health Organization (WHO) recommends a maximum of 50 grams of sugar per day for adults. With a cup of bubble tea, this need is already covered, if not exceeded. For children and adolescents, the recommended intake of sugar is even lower.
As a consumer, you quickly underestimate the sugar content of bubble tea: the drinks are enriched with ice cubes, which weaken the sweet taste. If you make the bubble tea yourself, you can better control the sugar content.
Ingredients of Bubble Tea
From colorants and flavorings to acidifiers and preservatives – according to Stiftung Warentest, bubble tea contains numerous artificial ingredients. The survey was released during the first wave of bubble tea trends in 2012. However, the results are still usable, because the ingredients have not changed much.
There are also shops that use tea powder instead of fresh tea to prepare bubble tea. This creates a variety of tastes. The downside of the coin: the powders contain more chemical additives than natural teas. In the homemade bubble tea you can rely on natural ingredients.
Caffeine content in bubble tea
Black and green teas contain theine – a special name for the stimulant caffeine. Since green or black tea forms the basis for many bubble teas, the soft drinks also contain large amounts of caffeine. The stimulating effect is usually similar to that of cola, but is usually not marked when bubble tea is sold.
The problem with this is that children and young people in particular drink bubble tea. And caffeinated drinks are not suitable for them, according to the Association for Independent Health Advice (UGB).
Danger of choking from bubbles
As attractive as the bubbles make the tea, they can be life-threatening. Because the beads with a diameter of eight to eleven millimeters are very slippery and sometimes difficult to chew on.
The danger is increased by the straws: They are extra wide so that the balls can fit through. Due to the suction, the beads can get directly into the trachea and lungs. The situation in children is so alarming that the professional association of paediatricians in Germany advocated a warning on the cups with bubble tea in 2012. Adults can also choke on the bubbles.
If you make bubble tea yourself and want to serve it to children, make sure to use low-caffeine tea and do not offer it to young children.
Make bubble tea yourself
Although the above points make bubble tea questionable: you don’t have to do without the soft drink. With our simple recipe you can make it yourself and thus pay attention to natural ingredients and a low sugar content – you can do without the plastic cup and straw.
For all ingredients, make sure to use products with organic and fair trade seals – especially with tea, which you use as the basis for the drink. We particularly recommend the Naturland, Bioland and Demeter seals, as the certified products have to meet very strict environmental protection criteria. You can use black or green tea, but any other variety of your choice also tastes good as bubble tea.
To make the balls you need Tapioca Starch. Regional alternatives are corn starch or potato starch.
Caution: Homemade bubble tea is also unsuitable for small children, as they can choke on the balls.
Ingredients:
60 g tapioca, corn or potato starch
30 ml maple syrup
700 ml tea
300 ml vegetable milk
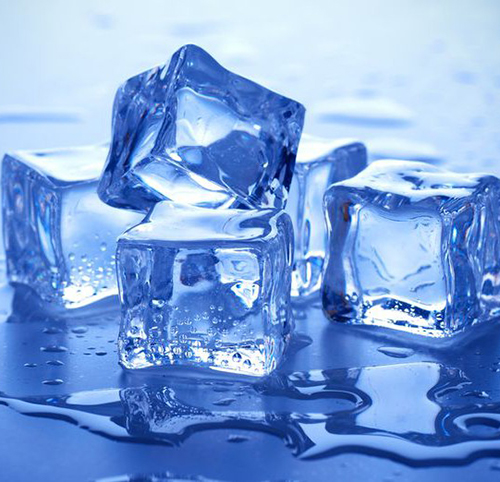
ice cubes
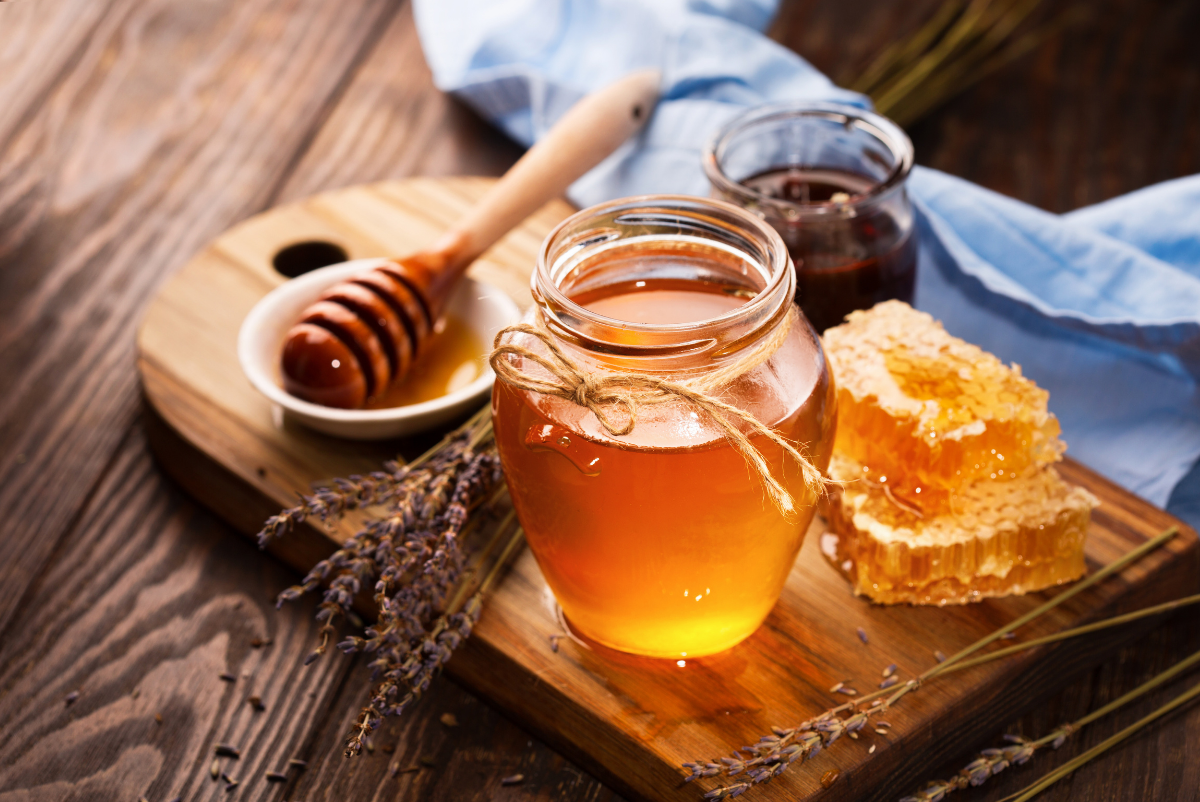
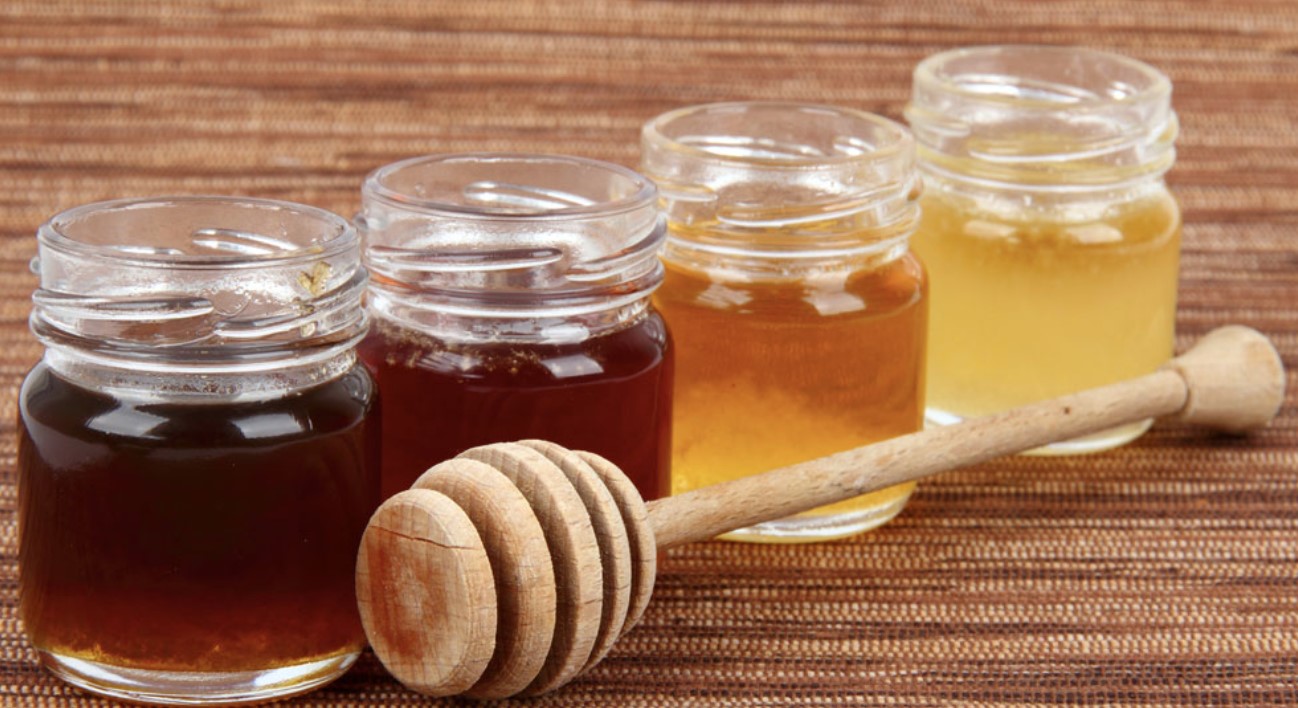
Honey, agave syrup or maple syrup for sweetening
Directions:
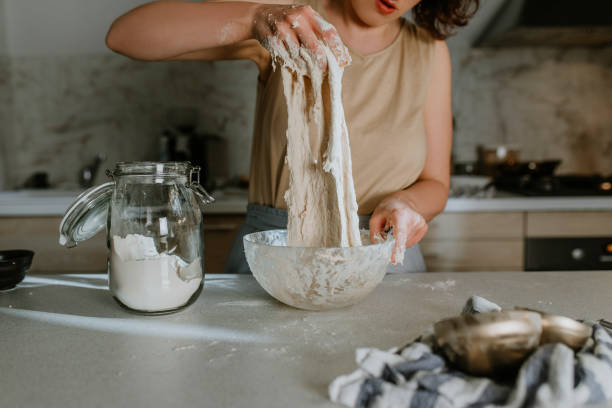
First you make the tapioca pearls. Put the starch in a bowl with the maple syrup.
Knead the ingredients into a homogeneous, caramel-colored mass.
Form hazelnut-sized balls from the syrup-starch mixture.
Boil water in a saucepan.
Put the balls in the water and let them cook for 20 minutes. Keep stirring every now and then.
If the bubbles have a jelly-like consistency, you can pour them into a colander. Then rinse the balls thoroughly with cold water. Tip: If you don’t use your bubbles straight away, you should store them in syrup so that they don’t stick together.
brew the tea It can be a little stronger, as the ice cubes will dilute it.
Divide the tea, bubbles, ice and milk into glasses. To sweeten, you can add honey, agave nectar, or maple syrup to taste.
Bubble tea sometimes fruity
To serve the bubble tea, you can put tall spoons or straws made of glass or metal into the glasses.
If you want to give your drink a fruity note, you can reduce the amount of tea and add a fresh juice of your choice to the bubble tea instead.