Tag

cutting

Browsing

Chopping onions is one of the most disliked cooking tasks for many. We show you two methods with which you can easily cut onions into small pieces or into rings.

Slicing Onion: Onion rings are the easiest

The easiest way is to cut an onion into many (half) onion rings. You take advantage of the structure of the onion:
First, peel and halve the onion. It is important that you cut through the onion on the side where the tuber base is located.
Then place the onion with the flat side on a board and cut narrow strips down the side.
The thinner the strips, the thinner the onion rings.
Tip: If you want whole rings instead of half onion rings, you must not halve the onion beforehand.

Cut the onion into very small pieces

To dice the onion, the following three-step method works best. However, it is not very easy. That’s why you’ll find an easier way to cut onions below.

1. First, peel and halve the onion and place it in front of you with the base of the bulb facing you.
Then use a knife to cut narrow strips into the onion half.
However, you don’t cut all the way to the back end, but stop just before the end. This way the onion doesn’t fall apart.

Cut onion – Step 2

2. Next, you need to rotate the onion 90 degrees and cut horizontal strips into the onion at the open end (see image). You need a sharp knife for this and you have to be careful not to cut yourself.

You should cut about three strips horizontally into the onion.
Again, don’t cut all the way to the end of the onion to keep it from falling apart.

Third cut: Dice the onion

3. Finally, cut the onion into small cubes. To do this, cut straight strips into the onion.

Since you rotated the onion in the previous step, cutting the strips again creates small cubes.
The thinner the strips, the smaller the cubes.
You can finally cut the end piece into small pieces.
This method gives you very fine onion pieces. However, you need to try them on an onion or two first and get some practice. If you don’t get along with this method, we have an easier method for you. The onion pieces don’t get that small.

Alternative method of slicing onions

First you need to peel and halve the onion.
Then you have to cut the onion into thin strips as with the halved onion rings.
Now turn the onion 90 degrees and cut it again into thin strips.
However, please note:
The onion pieces get bigger because the horizontal cut is missing.
Since there is no real end piece, you have to be careful not to slip off with the knife, especially at the end.

Cut onions without tears – 3 tips

The two substances alliinase and alliin are in the onion. When cutting onions, they meet and make our eyes water. This is a natural defense mechanism of the plant to protect itself from mice and other animals. The following tips will help:
Safety goggles or diving goggles ensure that the substances from the onion do not get into your eyes.
If you cut the onion at the window, you cry less. Because the onion vapors can be drawn off directly.
You can also peel the onion under water, for example in a bowl. The water ensures that the vapors cannot rise.

Cutting hair yourself is possible for men and women because with the right tools and a little patience you can create a great hairstyle. Save money and the hairdresser’s visit!

Cut your own hair: how it works!

A hairdresser is expensive, but the magnificent mane must be kept in check. To make your work easier and save money, you can use scissors yourself. Cutting hair yourself is basically not magic and can even be done by beginners. In order to get a good insight, there are certain instructions on how to cut long and short hair yourself on the Internet. This will soon result in a fantastic hairstyle at zero price.

What should you pay attention to when cutting your own hair?

One point is important before attempting any long or short haircut tutorial: goals. You need to know beforehand what you want the end result to look like. For example, you can only trim the ends or trim your current hairstyle. Even a complete type of change is possible on your own. Therefore, be aware beforehand of what you want in the end, so that you don’t start cutting without a plan.

The right scissors for cutting hair

Good equipment is the be-all and end-all when cutting hair. First of all, you need two mirrors, so you can also properly work on the back of your head. In addition, enough hair clips and hair ties are important, especially with longer hair. One of the most important utensils is the scissors. Never use conventional household scissors, as they are quite blunt and will damage your hair when cutting.

It is better if you invest some money in professional hairdressing scissors. This protects your hair and prevents miscuts. You can also read tricks for sharpening blunt scissors. For men who cut their own hair, on the other hand, a suitable machine is recommended. With such a hair cutting machine, short hair can be styled within seconds. The hair-cutting machine is a must, especially for shaving the neck or in narrow areas.

Which hairstyle would you like?

You probably know it from the hairdresser: before it finally starts, the hair is moistened. You should also moisten your hair when you are at home. This is a great help, especially when cutting hair yourself. How you moisturize your mane is up to you. You can wash your hair or just spritz it with a spray bottle. Even pulling through a hair straightener is possible, resulting in a smooth and easy-to-work-on surface.

When cutting, just remember that the hair will contract again after drying. So never cut off too much. If you don’t want to cut your hair step by step, but just trim your bangs, you don’t have to wet your hair.

On the other hand, if you have long hair or only cut the ends, it is best to do it upside down. Simply comb damp hair upside down and trim the ends all the way around to the desired length. Because you cut overhead, light and natural layers are created immediately, which makes the hair look airy and loose.

The so-called twisting method, on the other hand, is the perfect remedy for split ends. Simply twist a few strands into a thick braid and cut off the little hairs that stick out. In general, it makes sense if you keep it fairly simple. It is better to leave complicated or complex cuts to a professional because things can quickly go wrong. It is best if you do not remove more than 2.5 centimeters per cut.

What should you avoid when cutting your hair yourself?

There are some little things that are rather counterproductive. It is important not to cut too much hair at once. It can happen that you then slip away and the result is crooked. It is better if you separate individual strands with the comb. But cutting your hair yourself using the braid method is a good solution. With the hair cutting braid method, you braid your hair in a thick braid or pull it tightly into a ponytail.

Now it doesn’t happen that the hair breaks out when cutting. Another problem is curls. It is almost impossible to set straight cuts with curly hair so that a wild hairstyle is created in the end. For this reason, it is better to leave your curls to a professional. In addition, read tips on maintaining natural curls.

Cutting a mango can be a bit of a challenge because of the pit. But with a few tricks, it’s not difficult at all. We’ll show you how to serve the fruit properly.

How do I know if a mango is ripe?

When you cut open a mango, it should be nicely ripe. You can tell a ripe mango by the fact that it gives way slightly when you press the peel and has an intense scent. However, the color is not an indicator of the degree of ripeness, as there are also varieties that remain completely green.

If the mango is not yet ripe, you should give it a few days to ripen. For example, you can wrap them in newspaper and put them in a sunny place – this is the fastest way for them to ripen.

Cutting the mango: the mango hedgehog

With this trick, the mango can be easily cut into bite-sized cubes and the mango hedgehog looks great at the same time. It is important that you do not peel the mango beforehand. Here’s how you do it:
Wash the mango.
Cut the flesh from the pit on the left and right: mango pits are flat and the shape of the mango gives you an indication of how the pit lies inside (mangoes are also slightly flatter on one side). Place the knife about 1-2 cm to the right or left of the middle and cut down one side.
Use a knife to carefully score horizontal and vertical lines into the flesh. Be careful not to cut through the shell!
Turn the mango half over so the mango cubes are facing up.
You can either remove the remaining pulp around the core with a knife or “gnaw off”.

Cut the mango into thin slices

For desserts, cake decorations or on the fruit plate, it looks particularly nice if you cut your mango into fine slices. This is quite simple:
Wash and peel the mango. This can be done either with a vegetable peeler or with the help of a glass. Check out our other article for more mango peeling tips.
Cut the pulp from the pit on the left and right as described above.
Place the mango half flat-side down and use a sharp knife to thinly slice.
You can use a knife to remove the remaining pulp from the core as best you can.

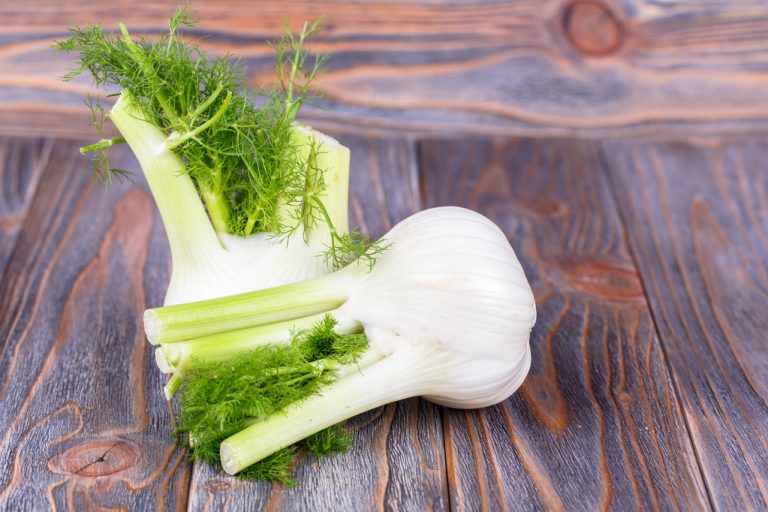
Cutting and cleaning fennel is not very complicated. We will explain how to cut fennel correctly to process the vegetables.

Clean the fennel properly

Unlike other vegetables, fennel is easy to prepare.

To clean fennel properly:
First remove the herb and root ends from the tuber. Tip: If you want, you can also process them later. For example, you can conjure up a homemade vegetable broth from the vegetable cuts. Or you can add the herb to the dish, finely chopped, or use it as a garnish for the finished dish.
Now wash the fennel bulb under running water.
Cut out dry and yellow spots from the tuber.

Cut the fennel properly

Fennel can be prepared both raw and cooked. For this you should remove the stalk.

Cut the fennel by removing the stalks and cutting the bulb in half.
Now cut the halves in half again.
Remove the stalk.
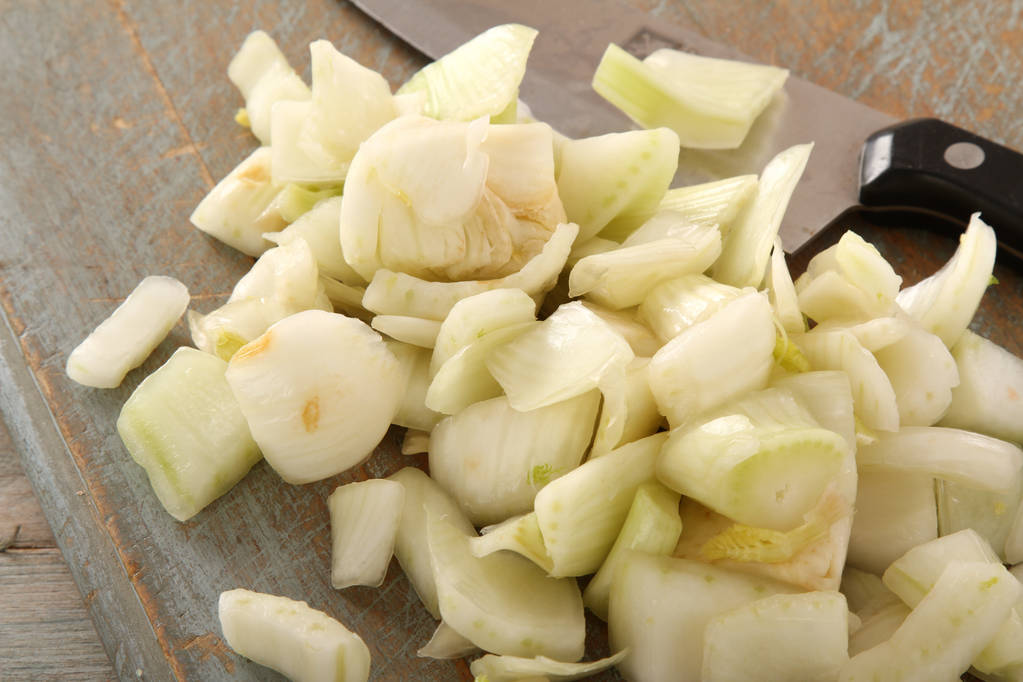
Cut the remaining bulb into strips.
You can now easily process the fennel strips. For example, you can boil them as soup vegetables, fry the fennel or prepare a fennel salad.

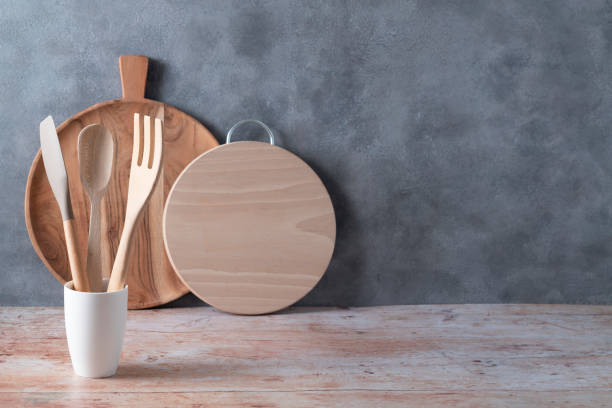
Clean and thoroughly clean chopping boards and kitchen boards made of wood with home remedies. If you want to give a wooden cutting board or breadboard a thorough clean, don’t usually set it up with soapy water because over time bacteria and germs will build up in the cutting grooves and it wouldn’t be entirely clean. There is a very efficient trick to getting your cutting boards and breadboards clean and tidy:

Clean kitchen boards with the microwave

To clean the cutting boards, place the boards in the microwave and allow only the germs to heat up and die. Then you can wash the cutting boards as normal, preferably in the dishwasher. The nice side effect of the microwave is that the unpleasant smell of old wooden chopping boards also disappears. So first the microwave and then the dishwasher and you have nice, fresh cutting boards at home again. In addition, note other sources of germs in the household and find out how you can effectively eliminate them.

Clean kitchen boards and remove odors

Do you regularly use wooden cutting boards, e.g. for breakfast or as a cutting board when preparing food? Then you have probably already experienced that some foods leave stubborn stains or odors on them. But removing these odors is easy to do: Use a lemon to clean.

So just rub the boards with lemon and then apply toothpaste. After a few minutes, simply rinse off the toothpaste thoroughly. This simple cleaning method not only removes stains but also stubborn odors.

Maintain teak boards

Teak boards are easy and quick to care for. Teak boards should be rubbed with ordinary cooking oil in a circular motion from time to time. This maintains the teak board