Tag

fresh

Browsing

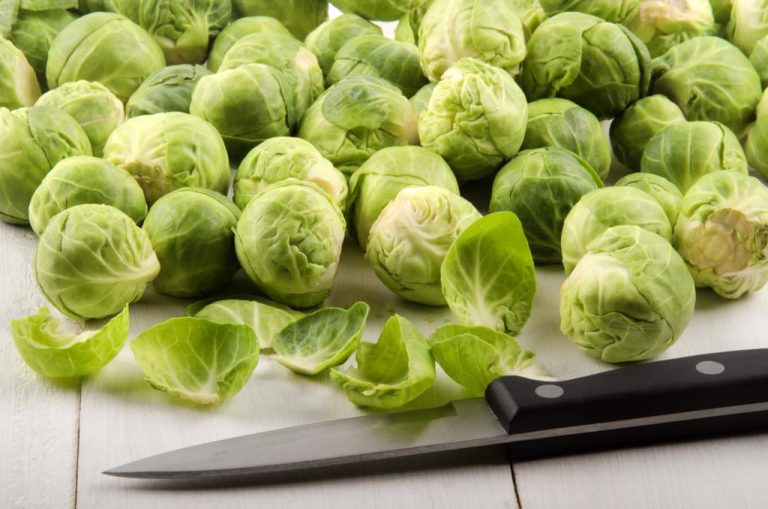
Leftover Brussels sprouts can be easily frozen: we will show you how to preserve the green winter vegetables for a long time and what you need to consider when freezing.

Brussels sprouts can be prepared in many ways – the winter vegetable is also very rich in vitamins and nutrients. If you have your own plant in the garden, you will quickly notice how productive it is: A single Brussels sprouts plant can produce up to 40 florets. If you can’t use up the entire harvest at once, it’s worth freezing Brussels sprouts – we’ll explain how to do that here.

Freezing Brussels sprouts: Clean and blanch

Before you freeze the Brussels sprouts, you should prepare them well:
First, the Brussels sprouts must be cleaned thoroughly. To do this, cut off the stalk and remove the withered and outer leaves.
Wash the Brussels sprouts in a large bowl of lukewarm water or rinse them under the faucet.
In the last preparatory step, you blanch the Brussels sprouts: Put them in a pot of boiling salted water for two minutes. Then scare him off with cold water.

Tip: This is how frozen Brussels sprouts don’t stick together

To prevent the florets from freezing together in the freezer, you should snap freeze them. This way you can always take as many florets out of the glass as you need later.

How it works:
Drain the Brussels sprouts or dry them with paper towels.
Line a baking sheet with parchment paper. If you don’t have a baking sheet at hand, you can also use a board or a large plate.
Arrange the florets on the tray so they don’t touch each other.
Now place the tray in the freezer or freezer for 1.5 to 2 hours. It is best to set your device to a particularly low temperature during this time.
When you take it out again, the Brussels sprouts are flash frozen. You can now freeze it as normal.

Freezing Brussels sprouts: Here’s how

How to freeze Brussels sprouts:
Store the Brussels sprouts in freezer-safe containers. If you haven’t flash frozen it, you should fill the Brussels sprouts in portion sizes – otherwise there will be some left over after defrosting.
Now place the filled containers in your freezer compartment.
The Brussels sprouts can now be kept for at least half a year. Later, thaw it directly in boiling water.

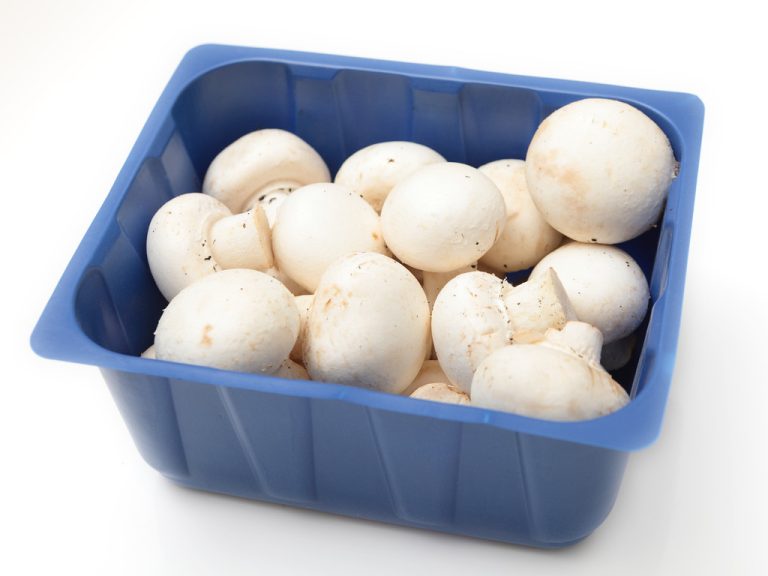
Fresh mushrooms can spoil quickly in the wrong conditions. Here you can find out how to store mushrooms correctly and make them last longer.

Mushrooms are perishable

Mushrooms can be harvested all year round and can be used in a variety of ways – whether in the vegetable pan, on the grill or simply raw. Anyone who has ever bought mushrooms in the usual plastic bowl and put them in the fridge knows their disadvantage: the mushrooms start to mold and smell unpleasant after a short time. They end up in organic waste. With a few simple tricks you can extend the shelf life of the mushrooms.

How to store mushrooms correctly

First you should free the mushrooms from the coarsest dirt. Never wash them under running water, it is better to wipe them off with kitchen paper or a tea towel. You can also clean them with a brush.
Mushrooms keep longer in cooler temperatures, so it’s best to store them in the crisper in the fridge.
Condensation forms quickly in closed plastic bowls or bags, from which the mushrooms become mushy and go moldy more easily. It is therefore better to store the mushrooms in a paper bag or in a dry and clean tea towel – it is important that they get air.
It is advisable not to store the mushrooms next to other odorous foods, as they easily absorb foreign odors and thus lose their typical mushroom taste.
You can tell that mushrooms are spoiled by the open, darkly discolored slats on the underside of the head. Brownish bruises often form and the stem also turns brown.
With these tips, the mushrooms should stay fresh for at least three days. Even after that, they are usually still edible, but they no longer taste as good as the fresh mushrooms.

It is best to buy mushrooms only as needed

If you can’t harvest your own mushrooms, you can often find loose mushrooms at the market or in a health food store. On the one hand, you avoid the plastic packaging and, on the other hand, you can determine the amount of mushrooms yourself. If you do have too many mushrooms left, you can also preserve them by either drying or freezing them and then using them as needed.

Chives are one of the most popular kitchen herbs. Here you can find out what you should consider if you want to freeze chives. With our tips, the leeks stay fresh and tasty.

Freezing chives: you should know that

Fresh chives refine many dishes with their slightly spicy note. However, the popular kitchen herb is only in season from April to October. The rest of the year, chives come from greenhouses, which use a lot of energy. In addition, the leek plant usually has long transport routes behind it in the colder months.

To be able to use chives with a clear conscience outside of the season, you can freeze them in the summer. In this way, it retains its characteristic taste and nutrients. Important: Harvest the chives before they bloom. After flowering, the culms tend to be bitter and less aromatic. In this article you will learn how you can easily grow herbs yourself. Alternatively, you can buy organic chives at the weekly market or in the organic shop and freeze them.

How to prepare for freezing:
Wash the chives.
Dry it thoroughly with a tea towel. This is important, otherwise it will clump together when frozen and you won’t be able to use smaller portions.
Cut the chives into small rings. You shouldn’t freeze whole straws, as they may stick together. Use sharp scissors to chop. If you chop the chives with a knife, the stalks will crush and lose their flavor.

Freeze chives without waste: Here’s how

You can use a plastic container or an old plastic bag as a freezer container for freezing chives if you have one at home. Important: In order to avoid the production of new plastic, you should not buy classic freezer bags. In another article you will find out what else you can do to reduce your plastic waste. But plastic cans or bags that you have already used can also be contaminated with pollutants.

It is therefore best if you reuse a disposable screw-top jar for freezing. Glasses that are as round and straight as possible with a wide opening are suitable for this. You can simply fill the chopped chives into the jar and store it screwed on in the freezer. Glass lunch boxes work just as well.

You should consider this if you want to use the frozen chives:
Make sure that you only interrupt the cold chain for a very short time. If the chives are thawing, they will become mushy and clumpy if you refreeze them.
Only use the chives when they are frozen: if the chives are thawed beforehand, the cell walls will burst and they will lose their aroma.

Identifying fresh fish and preserving fish made it easy. Recognize the fresh fish with tips and tricks and avoid smelly fish. Also, make fish last longer and thaw fresh fish without loss of quality and bring it home after fishing.

How do you recognize fresh fish?

If you want to test whether the fish is fresh when you buy it, look closely at the scales. If the scales are shiny and fit snugly against the skin of the fish, this is an indication of freshness. The gills must not be grey. They should be red or pink in color.

Fresh fish without loss of quality

Freshly caught fish spoils quite quickly. Warm weather wears it out, guts accelerate spoilage, and pH levels quickly drop into the acidic range—if you don’t treat the fish you catch properly, you’ll have little pleasure in eating it. Freshly caught fish should be killed and gutted after being caught. Then wrap it in greaseproof paper and keep it cool. This means it can be taken home and processed there without any loss of quality.

Leave the fish in the water for as long as possible

When a nice fish has bitten and you want it to end up on your plate later, it’s best to put it back in the water – in a large and spacious keepnet, of course, so it doesn’t swim away from us. This allows the fish to stay alive for as long as possible and is therefore fresher.

However, caution is advised: In some federal states it is forbidden to keep fish in keepnets. Here the prudent fisherman should inquire sufficiently before fishing. In the worst case, fines and confiscation of the fishing equipment can threaten.

Chill the dead fish as much as possible

The fish should not be taken out of its net until the angler has gone home. The fish is to be stunned directly and without delay with a blow on the head. He can now be killed with a knife wound between the pectoral fins. The fish should be gutted immediately afterward. If the intestines remain in the fish for too long, they can negatively affect the meat quality.

Once the fish has been gutted (it can be worthwhile to remove the head and the roughest scales as well), pack it up. Please do not use foil for this. This packs the fish as airtight as possible and the dead meat cannot evaporate. Greaseproof paper or the small bags made of this material is definitely better. The fish is to be packed in it.

The best thing for the meat quality is to keep the fish refrigerated. Because as soon as it is dead, the pH value of the meat slowly drops and makes the fish sour and soon inedible. Either you wrap a wet, cool towel around it. Or you can put it together with the wrapped greaseproof paper directly in a cool box. You can use it to go home and eat the fish or freeze it. However, it should be processed after 2-3 days.

Eat frozen fish with no aftertaste

Fish will keep best if you freeze them. So that the frozen fish does not retain its frozen taste, you can defrost it in milk. The aroma of the fish is brought out again.

When you bake buns, you save valuable food from being thrown away. It only takes a few minutes and rolls from the day before taste fresh again. Here you can find out what to look out for when baking bread rolls.

Bread is one of the oldest staple foods in the world. According to the WWF, 90 percent of Germans eat it at least once a day.

Baked goods are also among the most frequently thrown away foods: According to the WWF, more than a third of the production ends up in the garbage. In the supermarkets, rolls that are more than three hours old are no longer considered fresh. In addition, many people do not want to eat soft rolls from the day before. It is very easy to bake bread rolls and save them from the dustbin.

Bake the buns in the oven

How you store bread and pastries is crucial to help them last longer. Bread and pastries are best stored at room temperature and protected from air, for example in a bread bin. In the refrigerator, on the other hand, the baked goods quickly harden.

You can simply bake them in the oven so that your rolls still taste fresh from the baker later:
Brush the buns with a little water using a kitchen brush. If you don’t have a kitchen brush, run the buns under running water for 1-2 seconds.
Place the wet buns on a baking sheet.
Bake the rolls at 150 degrees Celsius for five to eight minutes until they are crispy again.
Allow the baked buns to cool briefly on the baking rack before serving.
This method is suitable if you want to bake a larger quantity of rolls. Avoid heating the large oven for just a bun or two to conserve electricity.

Bake the buns with the toaster

Many toasters have an attachment for baking buns. With a toaster, you can therefore bake small amounts of bread rolls, saving time and energy.

How to bake your rolls with the toaster:
Place one or two buns on your toaster’s raising device.
Choose the highest temperature and bake the buns for two to three minutes.
Then flip them over and bake for another minute or two. Then they are crispy on the other side too.
After you’ve baked the buns, serve them immediately.

Bake hard buns

You can also re-bake older, hardened rolls instead of throwing them away. If they are already too hard, you can use them for other things, such as breadcrumbs.

In this way, hard rolls taste fresh again:
Soak a tea towel in water and wring it out well.
Wrap the bun in the damp cloth and let it soak up the moisture for 2-3 minutes.
You can then use either of the two methods described to crisp up the moistened bun

You only need a small piece of fresh ginger for most dishes.

Tip 1 for correct storage: Don’t buy too much ginger

If you want to enjoy fresh ginger for as long as possible, you must not buy old tubers. Old ginger is very difficult to store. You can recognize fresh produce by the fact that the tuber feels firm and heavy. Ginger that is no longer as dewy is softer and has a wrinkled skin.

Also, don’t buy too much ginger at once. For most recipes you only need a few slices, the rest is often forgotten and eventually ends up in the bin. So you should consider beforehand how much ginger you need and how you want to use it.

Tip 2: Store ginger outside of the refrigerator

If your fresh ginger root is still unpeeled and uncut, you can store it in a dark and cool place outside the refrigerator. The pantry is best for this. You can store fresh ginger there for several weeks. Wrap it up completely in a paper towel beforehand and then put it in a sealable container or paper bag.

Sliced ​​ginger can also be stored outside the refrigerator for some time. Store it in a dark and cool place. While the interface may become a bit woody and hard over time, the ginger flesh stays fresh and you can keep using it.

Tip 3: Store cut ginger in the fridge

If you want to store cut ginger in the fridge, you should make sure that it is kept as airtight as possible. There is high humidity in the refrigerator, which promotes the formation of mold in food.
Option 1: To prevent the ginger cut from drying out too much, you can cover it with reusable beeswax towels instead of plastic or aluminum foil. Place the fully wrapped ginger in a sealable can or paper bag.
Option 2: Alternatively, you can slightly dampen a cloth kitchen towel and wrap the ginger in it before storing it in the crisper of the fridge.

You can use these methods to keep sliced ​​ginger fresh in the refrigerator for up to three weeks.

Tip 4: Freeze fresh ginger

If you always want to have a supply of ginger on hand, you can also freeze it. Proceed as follows:
Method 1: ginger pile
Peel the ginger and then grate it finely.
Use a spoon to form small mounds of the grated ginger.
Put these piles on a plate, which you then put in the freezer.
Once the ginger mounds are frozen, you can remove them from the plate and place them in a freezer bowl.
Method 2: ginger slices
Peel the ginger.
Cut it into strips or slices.
Place in a freezer-safe container and freeze.
You can pour hot water over the heaps or slices of ginger to make ginger tea or add them to dishes. Processed like this, the ginger will keep in the freezer for about 3 to 6 months.

Tip 5: Pot ginger and plant it yourself

Ginger is one of those foods that grows back on its own. This means that you can easily keep fresh ginger bulbs alive by planting them one at a time. In this way, you can also recycle ginger bulbs that have already sprouted. The ginger pieces sprout and form reed-like plants. After some time you can harvest fresh ginger bulbs for kitchen use.

Here you can find out how to plant ginger yourself.

Tip 6: Preserve ginger by pickling it

To prevent ginger from spoiling or becoming too woody and dry, you can preserve it by pickling it. Peeled, cut, grated and preserved in a vinegar broth, the ginger prepared in this way can be kept for up to six months. Pickled ginger is particularly popular with sushi.

Here are the instructions on how to pickle ginger.

Strawberries are very delicate and perishable. Therefore, it is important to store strawberries properly. You can find out here how they stay fresh the longest.

Freshly picked strawberries are very aromatic and rich in vitamin C, folic acid and other important nutrients. Unfortunately, they are also easily perishable and quickly lose their aroma. That’s why you should always buy them fresh from the region or pick them yourself. In addition, it is important that the strawberries are not crushed during transport and get fresh air.

It is best if you store the strawberries at room temperature and eat them the same day. Since water strips the flavor of the fruit, wash it and remove the stems and leaves just before eating. You should always cut out bad spots immediately, as mold in strawberries spreads quickly due to the high water content.

Store strawberries in the fridge

Strawberries will keep in the crisper drawer of the refrigerator for up to two days if you store them properly. For this it is important that you keep the strawberries unwashed in the fridge. Additional moisture would cause the fruit to spoil faster.

So that the strawberries get enough air, it is best to put them in a large sieve. But be careful not to stack them too high. It also makes sense to line the bottom of the crisper with kitchen paper, as it will absorb excess moisture. If you don’t have a large colander, you can store the strawberries on a large plate or tray lined with paper towels.

Freeze strawberries

If you want to store the fruit longer, you can also freeze the strawberries. Unfortunately, they get a bit mushy when defrosting, but you can still make a delicious strawberry sauce or a smoothie out of them, for example.

Tip: In order to be able to portion the fruit better later, you can freeze them individually before you freeze them properly. To do this, place them on a tray or large plate and freeze them for a few hours. Then fill them together in a freezer.

canning strawberries

Instead of freezing them, you can also cannish the strawberries. It works like this:
Wash the strawberries thoroughly and remove the pulp.
Place them in clean, boiled mason jars.
Boil water with sugar in a ratio of 3:1 in a saucepan.
Allow the resulting sugar water to cool.
Pour the sugar water over the strawberries up to the rim of the jar and seal tightly.
Now you boil the jars. If you don’t have a pressure cooker, you can also do this in the oven:
Place the mason jars on the rack in the oven.
Fill a baking sheet two inches high with water and slide it onto the rail under the rack.
Heat the oven to 130 degrees until the water on the tray starts to boil.
Turn off the oven and let the jars cool in the oven for about 30 minutes.
When the jars have cooled, you can remove them from the oven, label them, and store them in a cool, dark, and dry place.

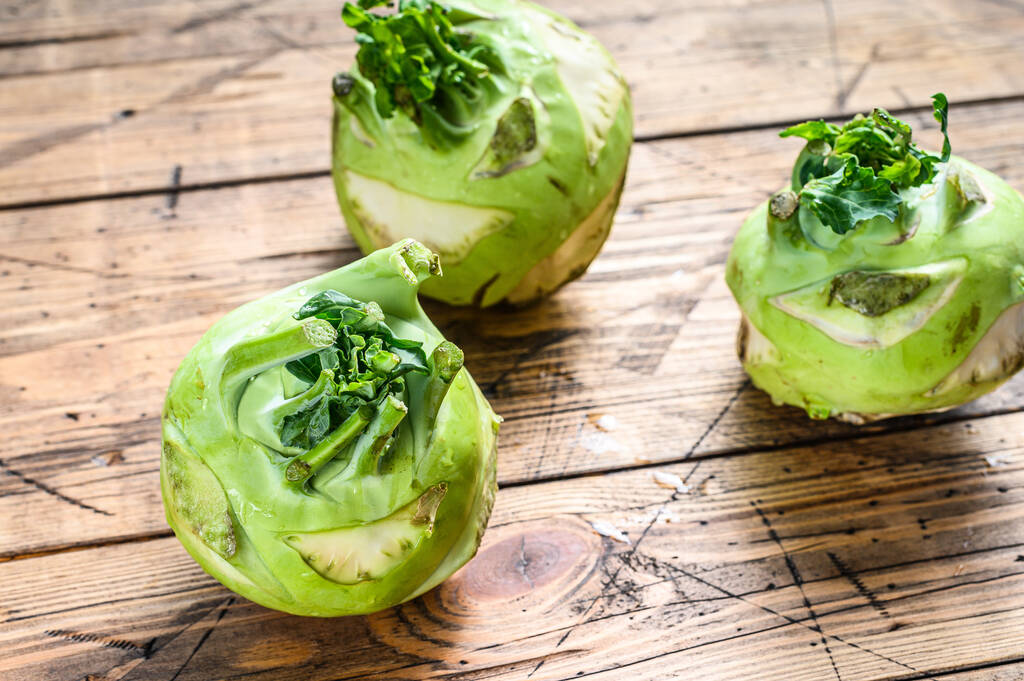
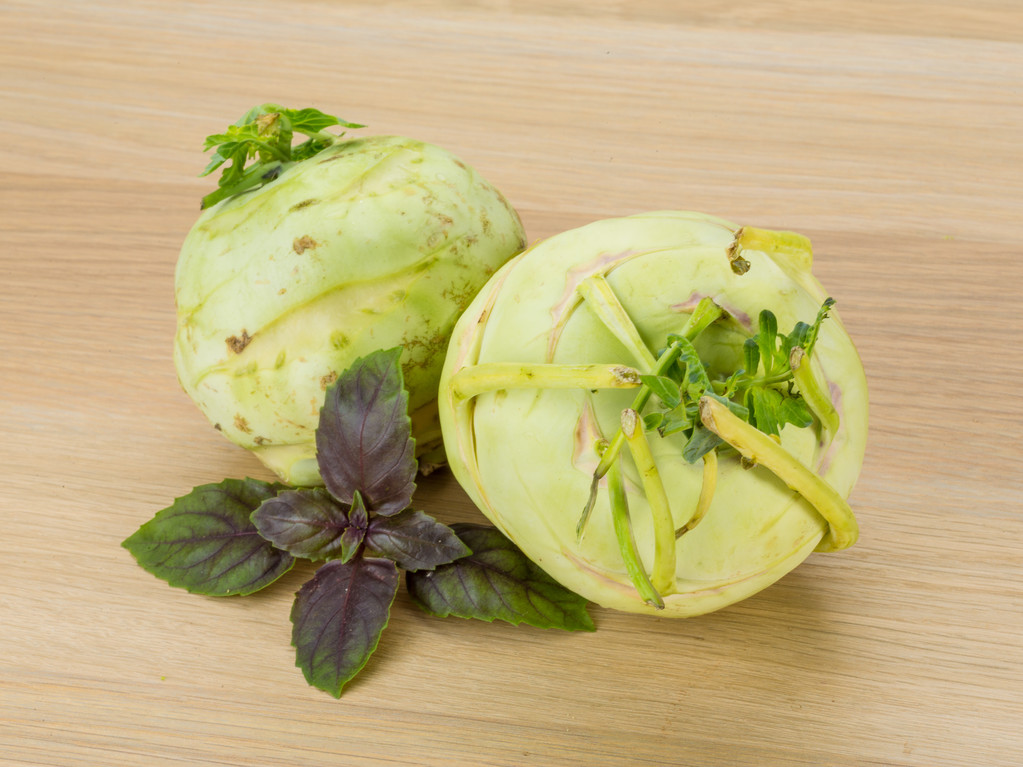
Kohlrabi is a healthy and delicious summer vegetable. You can freeze it so that you still have some of it in winter.

Depending on the variety, the kohlrabi harvest season begins in May and ends in autumn. If your harvest is very good, you can freeze kohlrabi and enjoy the vegetables even in winter. But even if you have leftover kohlrabi from a meal, you can freeze it to avoid wasting food.

Blanch and freeze the kohlrabi

If you want to preserve your kohlrabi harvest, then proceed as follows:
Peel and wash the fresh kohlrabi.
Cut it into strips or cubes. Be sure to remove woody spots.
Bring salted water to a boil in a saucepan.
Have ice water ready to chill.
Add the kohlrabi and blanch in boiling salted water for two minutes.
Then shock the kohlrabi in ice water.
Let it cool completely and drain well through a sieve.
Then freeze it in suitable glass or bioplastic freezer containers.
Defrosting: You can add the kohlrabi pieces to soups, stews and vegetable pans while they are still frozen. It is important not to cook it for too long, otherwise it will become too soft.

Alternative: Freeze raw kohlrabi

Some home gardeners and chefs skip a step and freeze their kohlrabi without blanching it first. To do this, peel the raw kohlrabi and cut it into sticks or cubes and place it in freezer-safe containers. After thawing, however, this method can change the appearance and consistency of the kohlrabi.

Reheating pizza is actually quite simple. We’ll show you how to prepare a fresh and delicious meal from the “leftovers” from the day before.

Are you also a fan of cold pizza that you bought the day before? According to chemist Maureen Cooper of Sterling University in Scotland, the cold pizza still tastes good because the tomato sauce keeps the cheese from seeping through to the pizza crust and making it mushy.

Nevertheless, not everyone is enthusiastic about the taste of a cold pizza. With our methods you can get the taste pretty close to that of the day before. And at the same time you are doing something against food waste.

Reheat and spice up pizza

To make your pizza taste a little more “like new”, you can add herbs, vegetables or fresh cheese before or after heating it up:

Herbs and salad: Fresh basil, rocket, thyme or rosemary spice up any pizza. However, be careful not to put basil or arugula in the oven or pan, or they will lose their strong flavor and burn. With the other two herbs this is fine.
Pickled and dried foods: You can halve or cut olives, chili peppers or dried tomatoes into small pieces and spread them on the pizza. You can even put them in the oven, as they develop their flavor well when warm.
Fresh: Garlic and onions give your pizza a very special freshness. If you would like to add some vegetables, for example peppers or mushrooms are suitable.
Mediterranean cheeses: You can even enhance the cheese flavor of your pizza with feta, mozzarella or parmesan. Together with the herbs, olives or tomatoes mentioned above, your pizza will have a particularly Mediterranean flair. All types of cheese can be reheated or put on top afterwards, depending on whether you prefer a melted or fresher taste. Vegan cheese is also suitable.
Extravagant: Many people will have their hair stand on end at this recommendation, but for some, pineapple gives the pizza a very special, exotic sweetness. Canned fruit or vegetables are ready prepared from the tin or rather from the jar and can be processed immediately. Corn or beetroot are also recommended.

Warm up pizza the right way: in the pan or in the oven

Note: If you reheat the pizza in the microwave, it will get pretty mushy.

Reheat pizza in pan:
Heat your pan to medium-high without adding oil.
Add the pizza and cook until the dough is no longer “wobbly”.
Now turn the heat down, add half a teaspoon of water to the bottom of the pan and place a pan lid on top.
After a minute or two, when the cheese melts, your pizza should be ready.
Reheat pizza in the oven:
Place your pizza on a baking sheet. Instead of baking paper, use a more sustainable baking paper substitute.
Preheat the oven to 250 degrees.
Spray the pizza lightly with water and drizzle some olive oil on top so it tastes fresher and crunchier at the end.
Bake them for about five minutes.

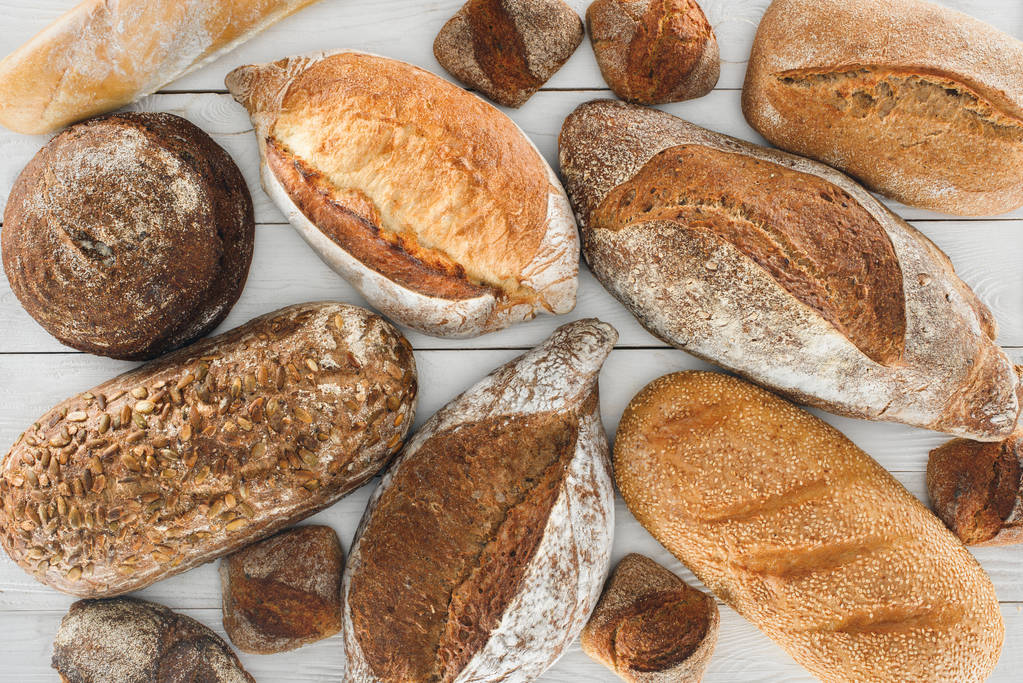
Defrosting bread without it becoming hard right away – not that easy. But with our tricks, the frozen bread tastes fresh again quickly. This works best if you take precautions when freezing.

In order for the frozen bread to taste fresh after defrosting, you have to consider a few things:

The first thing that matters is how you froze the bread. It is important that it was packed airtight.
If possible, freeze rolls in portions and bread in slices. Then you can always defrost exactly as much as you need.

Defrosting bread: tips & tricks

Take the portion out of the freezer early. The bread should be thawed for at least 1-3 hours before you eat or bake it.
If it only thaws for a short time, it becomes watery.
It is best to take the bread out of the freezer the evening before consumption. This allows the bread to defrost overnight.
Then make sure to cover it or thaw it in a cotton bag.

Bake thawed bread

If you briefly bake bread the next morning, it tastes (almost) like fresh bread. A few minutes in the oven and it’s crispy again. This is the best way to do it:

Set the oven to 125 degrees.
Brush the bread or bread slices with some water.
You can then bake the bread on a rack in the oven for about ten minutes. Once it’s crispy, it’s done.
Tip: You can also easily bake slices of bread in the toaster. This saves energy, because the toaster usually uses significantly less electricity than an oven.

For something quick: Defrost bread directly in the oven

If you need your bread quickly and don’t want to wait for it to defrost, you can defrost it directly in the oven. However, it won’t be quite as crispy.

Preheat the oven to about 180 degrees and put the bread in the oven for about 25 to 30 minutes. The time also depends on the size of the bread. You can eat slices of bread after 10 to 15 minutes.
Then let the bread rest at room temperature for a quarter of an hour. A few minutes is enough for slices of bread.
Frozen rolls should be taken out of the oven after 10 minutes.

Defrost bread in the microwave

You can also defrost individual slices of bread in the microwave:

Place the bread slices on a plate.
Set the microwave to the highest setting.
Heat the slices in short intervals of about 10 seconds.
Check from time to time whether your bread has already defrosted.
If it’s still cold, reheat it for a few seconds. As a rule, the bread slices are defrosted after 15 to 25 seconds.
You can store bread slices in the refrigerator for up to three months and then defrost them. Whole loaves of bread and rolls can be frozen for up to six months. Make sure you only get what you need from the freezer: the more often you freeze bread, the harder it gets.