Tag

Malt

Browsing

Maltose is not only found in beer and bread, but also in many other foods. But what is maltose and where is malt sugar used for sweetening?

What is maltose?

You may also know maltose under the name malt sugar. Maltose is one of the carbohydrates and is formed when starch is broken down. Maltose is mainly found in potatoes and barley. From a chemical point of view, maltose belongs to the family of double sugars (disaccharides), just like lactose or normal table sugar. However, malt sugar has a significantly higher glycemic index than table sugar, which makes it even more unhealthy and thus eliminates it as a sugar alternative.

use of maltose

The caramel-tasting malt sugar is less sweet than regular sugar. Its sweetening power is around 40 percent. Nevertheless, it is often used as a sweetener. Mainly to sell consumers a supposedly low-sugar product. Because maltose is viscous, it is also often used for thickening. In addition to confectionery, you can also find malt sugar in savory foods or light products as a fat substitute, but above all in:
drinks
Sweets
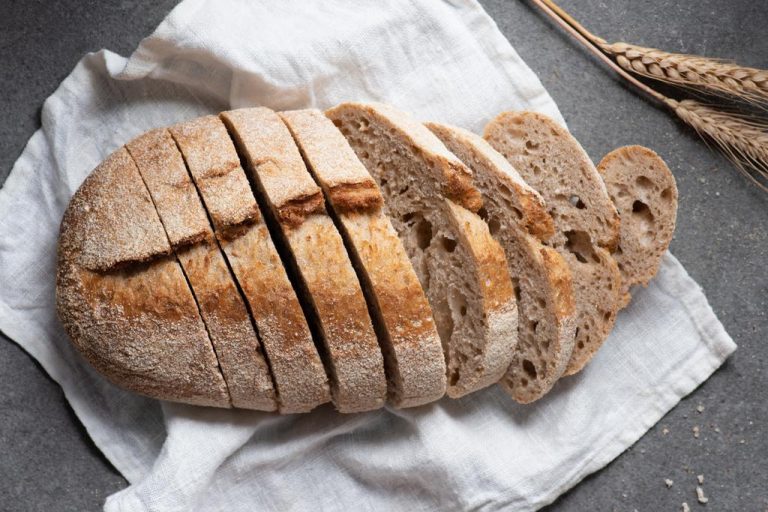
Baked goods, in particular bread
baby food
light products
Beer
Maltose is traditionally contained in malt beer, as the name suggests. The malt sugar here is the result of the brewing process. In addition, artificial lactic acid can be obtained from maltose.

Baking malt is a leavening agent that improves the texture and flavor of homemade bread. If you have a little time, you can easily make baking malt yourself – we’ll explain how it works.

Baked malt is made from sprouted grains that you dry in the oven, roast, and then finely grind. Baking malt fulfills two main tasks when baking bread: On the one hand, it refines the taste of the bread and also gives it a stronger colour. On the other hand, it can ensure that the dough rises better. This works especially well with wheat dough.

This is because the enzymes in the sprouted grains remain active when you dry them at low temperatures. Together with the yeast, they ensure that the bread rises particularly well. However, baking malt is not the only leavening agent – it only supports the function of the yeast. Recipes with baking malt therefore usually also contain yeast. You don’t have to change the amount of yeast if you also use baking malt.
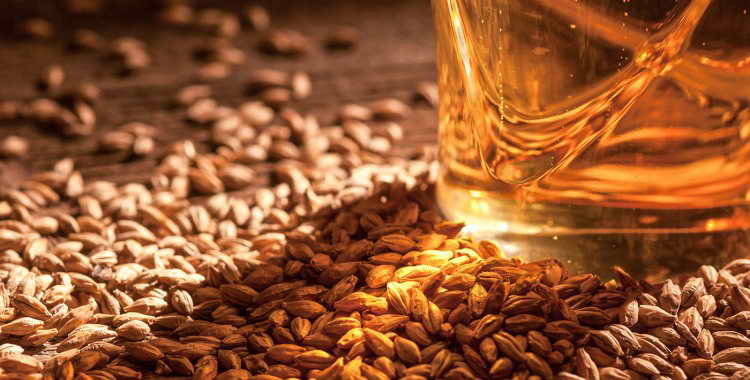
Baking malt can be bought ready-made, but you can also easily make it yourself. All you need is grains, water and a few days of patience – because depending on the type of grain, it takes a while for the grains to germinate.

Important: Always use untreated organic grain if you make baking malt yourself. On the one hand, you support sustainable agriculture that works without synthetic pesticides. On the other hand, conventionally processed cereal grains are often not germinable because they are usually dried at high temperatures. Your enzymes can then no longer be activated.

Make baking malt yourself: This is how it works

Ingredients:

200 gorganic cereal grains (e.g. wheat or spelt)
water

Directions:

Place the grains in a sieve. Place the sieve in a bowl and fill it with enough water to cover the grains by about an inch or two. Leave them like that for twelve hours.
Remove the strainer from the bowl and drain the water. Dry the bowl. Rinse the grains in the sieve well under fresh cold water and then put the sieve back into the dry bowl. Important: The bowl should get light during this step, but if possible not stand directly in a sunny place.
Let the grains sit, this time for about two to three days. Rinse again under cold water every 12 hours.
After some time, the grains will begin to germinate. You can tell by the fact that thin white shoots sprout at the ends, which gradually intertwine. Wait for them to grow long enough to branch and form a braid. Then you can move on to drying the kernels. How long the grains need to germinate varies depending on the type of grain. With spelled, for example, it usually takes longer than with wheat. Important: If the shoots turn green, the grains are no longer edible. It is therefore important to wait for the right moment.
Line a baking tray with baking paper (or an ecological baking paper substitute). Spread the grains out on the baking tray and let them dry in the oven at 70 degrees top/bottom heat for about an hour. It is best to clamp a wooden spoon in the oven door so that it remains open a crack and the moisture can escape better.
After the drying process, you can roast the grains. Increase the temperature to 170 degrees top/bottom heat and leave the grains in the oven for another 40 minutes. You can then do a taste test: if the grain already tastes slightly malty, it’s ready. Otherwise, roast the grains again for 10 minutes.
When the kernels are done, remove the tray from the oven and let them cool completely. Then check if the grains are really completely dried. They must no longer contain any moisture.
Once they have cooled, you can grind the grains. It is best to use a grain mill or coffee grinder for this. Alternatively, you can also put them in the blender.
Fill the ground baking malt into a clean screw-top jar and close it tightly.

Baking malt: tips for use
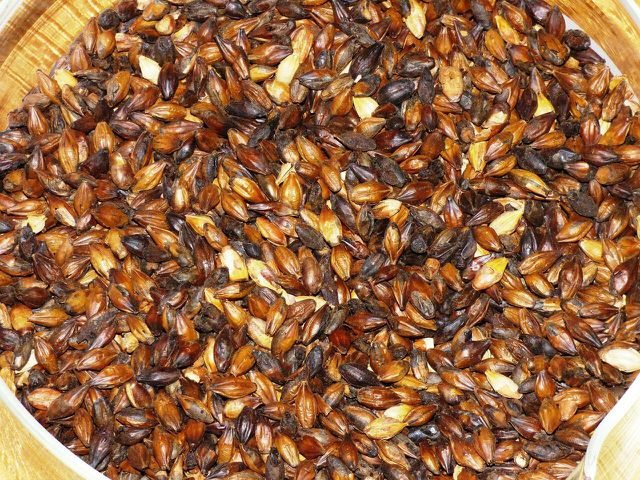
The baking malt will keep for several months in a screw-top jar. It is important that the glass is sterile. You can find tips for this here: Sterilizing glasses: The best methods with step-by-step instructions.

When baking bread, it is sufficient to use about 30 grams of baking malt per kilogram of flour, unless the recipe specifies otherwise. Simply mix the baking malt into the remaining ingredients before kneading them into a dough and follow the further instructions.

Tip: If you don’t have baking malt at hand, you can replace it with malt coffee if necessary. It is then sufficient to use about a fifth of the recommended amount of baking malt – for example six grams instead of 30 grams.

Introduction: What is Kali?

Kali is a traditional fermented beverage that has been a part of Estonian culture for centuries. It is made from simple ingredients such as bread, malt, and water, which are then fermented to create a slightly sour and refreshing drink. The beverage is typically consumed as a refreshing thirst quencher during the summer months, and it is also believed to have numerous health benefits.

History of Kali in Estonia

Kali has a long history in Estonia, dating back to the 13th century. It was originally consumed by peasants who used it as a cheap and easy way to quench their thirst. Over time, Kali became more popular and was adopted by the upper classes as well. During the Soviet era, Kali was even mass-produced and sold in stores throughout the country. Today, Kali is still a beloved beverage in Estonia, and many people make their own homemade versions.

The Recipe for Making Kali

The recipe for Kali is quite simple, and it only requires a few basic ingredients. To make Kali, you will need:

  • Rye bread
  • Malt
  • Water
  • Sugar (optional)

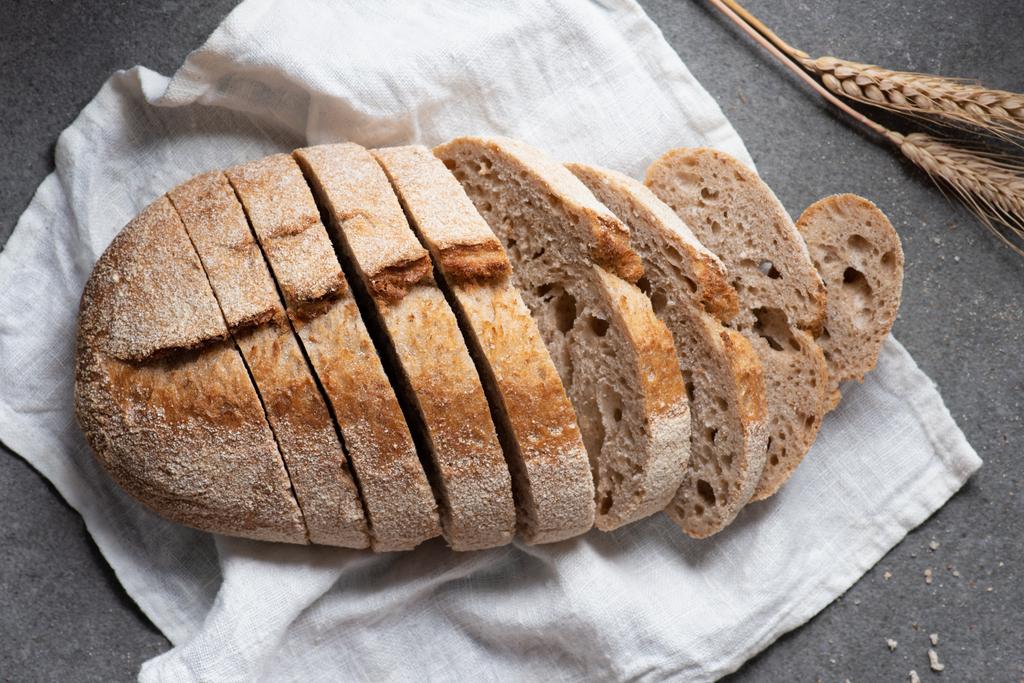
First, the rye bread is sliced and toasted until it is a dark brown color. Then, the bread is crushed and mixed with water and malt. The mixture is left to ferment for several days, after which it is strained and sweetened with sugar (if desired).

The Fermentation Process of Kali

The fermentation process is what gives Kali its unique flavor and health benefits. During fermentation, the yeast and bacteria in the mixture break down the sugars in the bread and malt, producing lactic acid. This acid gives Kali its slightly sour taste, and it also helps to preserve the beverage so that it can be stored for longer periods of time.

Health Benefits of Drinking Kali

Kali is believed to have numerous health benefits, which is one reason why it has been a popular beverage in Estonia for so long. Some of the health benefits of Kali include improved digestion, increased energy, and a boosted immune system. Kali is also low in alcohol, so it is a great alternative to beer or wine for those who want a refreshing drink without the buzz.

Cultural Significance of Kali in Estonia

Kali has deep cultural roots in Estonia, and it is often associated with summer and warm weather. Many Estonians have fond memories of drinking Kali with friends and family during outdoor picnics and festivals. Kali is also a symbol of Estonian resilience and resourcefulness, as it was traditionally made from simple ingredients that were readily available to peasants.

Modern Kali: Variations and Innovations

While traditional Kali is still popular in Estonia, there are also many variations and innovations on the original recipe. Some people add fruit juice or ginger to their Kali, while others experiment with different types of bread or malt. There are also commercial versions of Kali that are available in stores throughout Estonia.

Conclusion: Why Try Kali?

Kali is more than just a simple fermented beverage – it is a part of Estonian culture and history. Trying Kali is a great way to experience a taste of Estonia and to connect with the country’s traditions and heritage. Whether you make it yourself or purchase a bottle from a local store, Kali is a refreshing and unique beverage that is sure to quench your thirst and invigorate your senses.

Roast pork with malt beer sauce is a hearty dish for a Sunday dinner with many guests.

Ingredients for 1 roast

  • 2 kg pork leg with crust
  • 2-3 carrots
  • 2 onions

  • 0.75 l clear broth (instant broth also possible)
  • 3 tbsp honey
  • 200 ml malt beer
  • 1 bunch marjoram
  • 1 tbsp mustard
  • Salt pepper
  • 1/2 cup cream
  • sauce binder

Preparation of roast pork with malt beer sauce

  • Score the rind from the leg. Then season the meat with salt and pepper and place in a roasting pan. Wash the carrots and onions, cut them into small pieces, and add to the pork leg. Fry the whole thing at 200° (gas mark 3) for about 2 hours.
  • After 30 minutes of roasting, pour 1/4 liter of broth over the leg. Gradually add another 1/4 liter of broth over time.
  • 15 minutes before the end of the roasting time, mix a marinade of honey and malt beer and brush the meat in the oven with it.

  • After about 2 hours, remove the roast and pour the remaining stock through a sieve and then strain.
  • Add the rest of the broth and the marjoram to the stock and let it simmer for a while.
  • Then thicken the sauce with the sauce thickened and refine with a dash of cream.
  • Season with salt and pepper.